
1. Overview
The PARTPHONER Mosaic Solar Lights are exquisitely handcrafted glass globe lanterns designed to provide decorative and functional outdoor lighting. Featuring a high-efficiency polycrystalline silicon solar panel, these lights charge during the day and automatically illuminate at night, offering a bright, long-lasting, firefly-like glow. Constructed from premium ABS and sturdy cracked glass, they are waterproof and built to withstand various weather conditions, making them ideal for gardens, patios, and other outdoor spaces.
2. Package Contents
- 6 x Mosaic Glass Globe Solar Lights
- 1 x AAA Nickel-Metal Hydride Battery (pre-installed in each unit)
- User Guide
3. Specifications
| Feature | Specification |
|---|---|
| Brand | PARTPHONER |
| Model Number | PASO060AL6 |
| Product Dimensions | 4.2"L x 4.2"W x 4.33"H |
| Item Weight | 1.1 Pounds (per unit) |
| Material | Glass, Premium ABS |
| Shade Material | Glass |
| Shade Color | Blue |
| Finish Type | Polished |
| Power Source | Solar Powered |
| Light Source Type | LED |
| Number of Lights | 10 LED beads in handle, additional LEDs in globe |
| Color Temperature | 6000 Kelvin |
| Battery Type | 1 AAA Nickel-Metal Hydride (included) |
| Voltage | 1.2 Volts |
| Water Resistance Level | Waterproof (IP65) |
| Mounting Type | Tabletop Mount / Hanging |
4. Setup Instructions
- Unpack the Lights: Carefully remove all six mosaic solar lights from their packaging. Inspect each unit for any signs of damage.
- Activate the Lights: Each solar light has an ON/OFF switch located on the underside of the solar panel lid. Twist the lid counter-clockwise to open the unit. Locate the switch and slide it to the 'ON' position. Twist the lid clockwise to securely close it.
- Initial Charge: Place the solar lights in a location where the solar panel can receive at least 6-8 hours of direct sunlight. This initial charge is crucial for optimal performance. The lights will automatically begin charging when exposed to sunlight.
- Placement: Choose your desired location. The lights can be placed on flat surfaces such as tables or ledges, or hung using the integrated flexible rubber wire loop. Ensure the solar panel remains unobstructed to receive maximum sunlight.

Image: Detailed view of the handmade mosaic pattern on the glass globe.

Image: The large polycrystalline silicon solar panel for efficient charging.
5. Operating Instructions
The PARTPHONER Mosaic Solar Lights are designed for automatic operation. Once activated (switch in 'ON' position) and fully charged, they will function as follows:
- Automatic Charging: During daylight hours, the integrated solar panel will convert sunlight into electrical energy, storing it in the internal AAA battery. A full charge typically requires 6-8 hours of direct sunlight.
- Automatic Illumination: As dusk falls and ambient light levels decrease, the lights will automatically turn on. They are designed to provide illumination for up to 10 hours on a full charge.
- Automatic Shut-off: At dawn, or when the battery charge is depleted, the lights will automatically turn off.
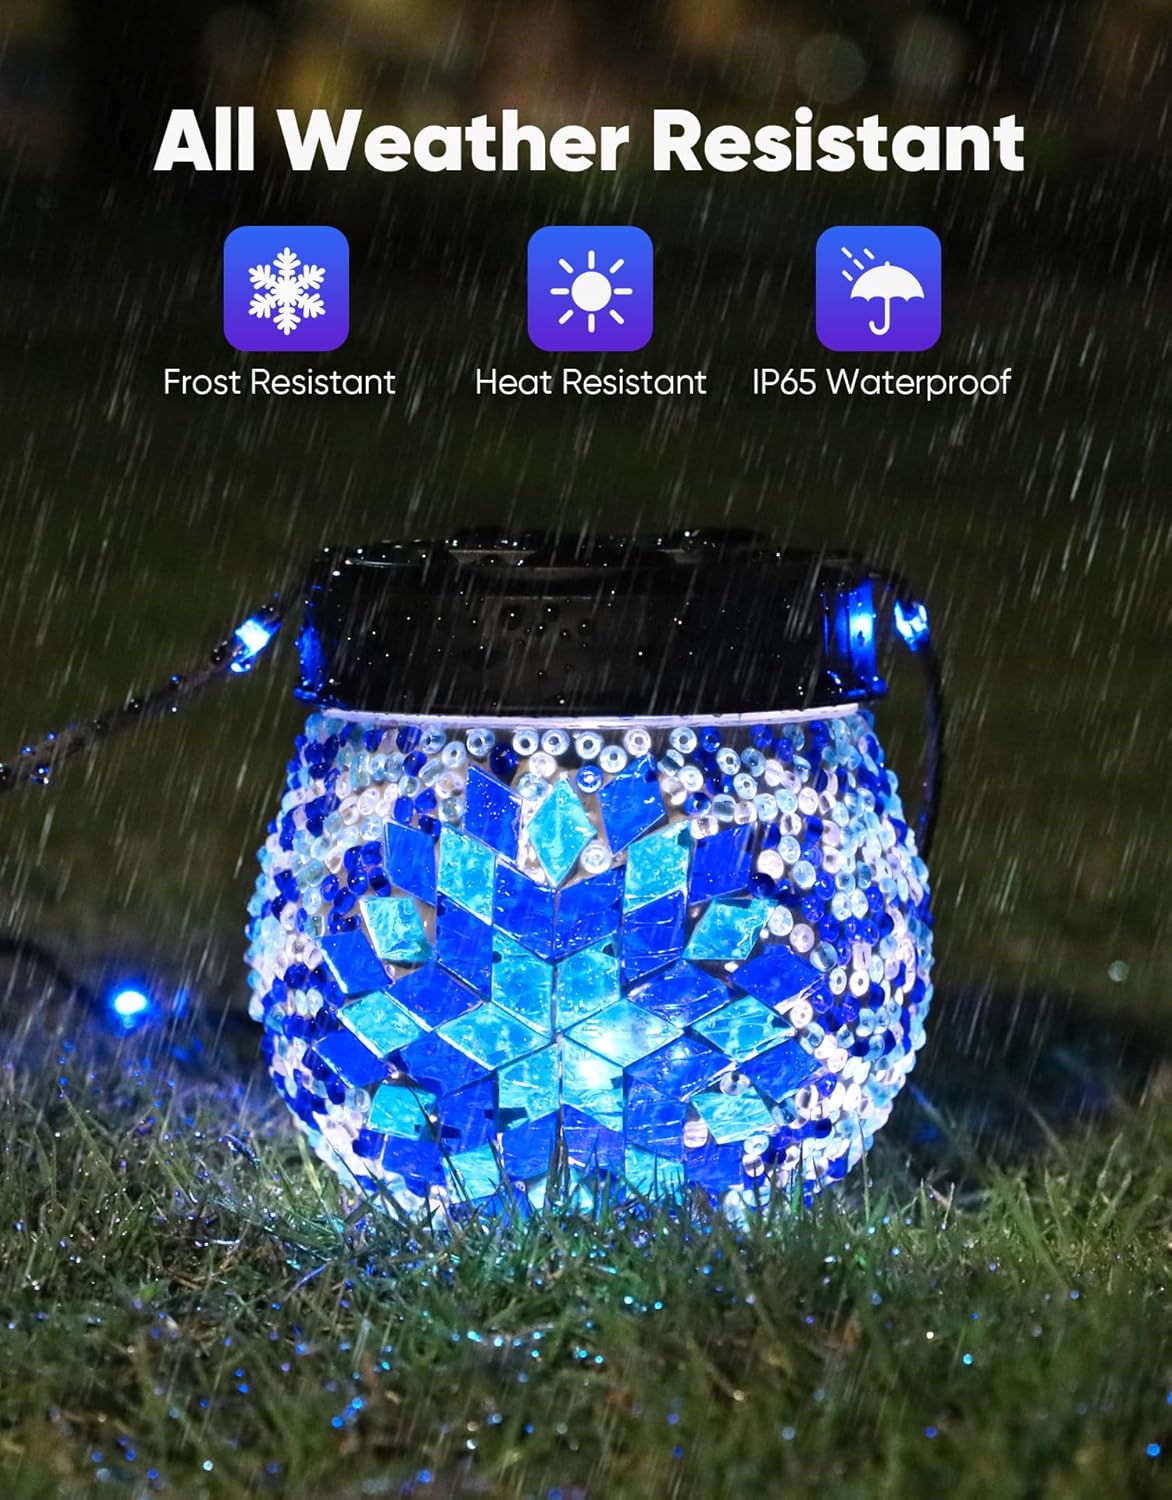
Image: Illustration of solar charging during the day and automatic illumination at night.
Video: A demonstration of the Mosaic Solar Lanterns, showcasing their design and how they light up.
6. Placement Recommendations
- For optimal charging, place the lights in an area that receives direct sunlight for at least 6-8 hours daily.
- Avoid placing the lights under trees, eaves, or other structures that may block sunlight from reaching the solar panel.
- Consider placing them on outdoor tables, ledges, or hanging them from shepherd hooks, tree branches, or deck railings to enhance your outdoor ambiance.
- The waterproof design allows for placement in gardens, flower beds, and near water features without concern for rain.

Image: Examples of versatile placement options for the solar lights in an outdoor setting.
7. Maintenance
- Cleaning: Regularly wipe the solar panel with a soft, damp cloth to remove dust, dirt, or debris. A clean solar panel ensures efficient charging.
- Battery Replacement: The included AAA Nickel-Metal Hydride battery is rechargeable. If the light duration significantly decreases over time, the battery may need replacement. To replace, twist open the solar panel lid, carefully remove the old battery, and insert a new rechargeable AAA Ni-MH battery (1.2V). Ensure correct polarity.
- Storage: If storing the lights for an extended period, ensure they are fully charged and the switch is set to 'OFF'. Store in a cool, dry place.
8. Troubleshooting
| Problem | Possible Solution |
|---|---|
| Light does not turn on at night. |
|
| Light duration is short. |
|
| Light flickers or is dim. |
|
9. Safety Information
- Do not dispose of batteries in fire as they may explode.
- Do not mix old and new batteries, or different types of batteries.
- Keep out of reach of small children.
- Do not attempt to disassemble or modify the product beyond battery replacement.
- While waterproof, avoid submerging the entire unit in water for extended periods.
10. Warranty and Support
PARTPHONER products are designed for durability and performance. For specific warranty details and customer support, please refer to the contact information provided with your purchase or visit the official PARTPHONER website. Please retain your proof of purchase for any warranty claims.