
Introduction
Thank you for choosing the jomparis H170C-DCF Small Digital Alarm Clock. This compact and versatile alarm clock is designed to provide accurate timekeeping, alarm functions, and environmental information. Please read this manual carefully to ensure proper setup and operation.
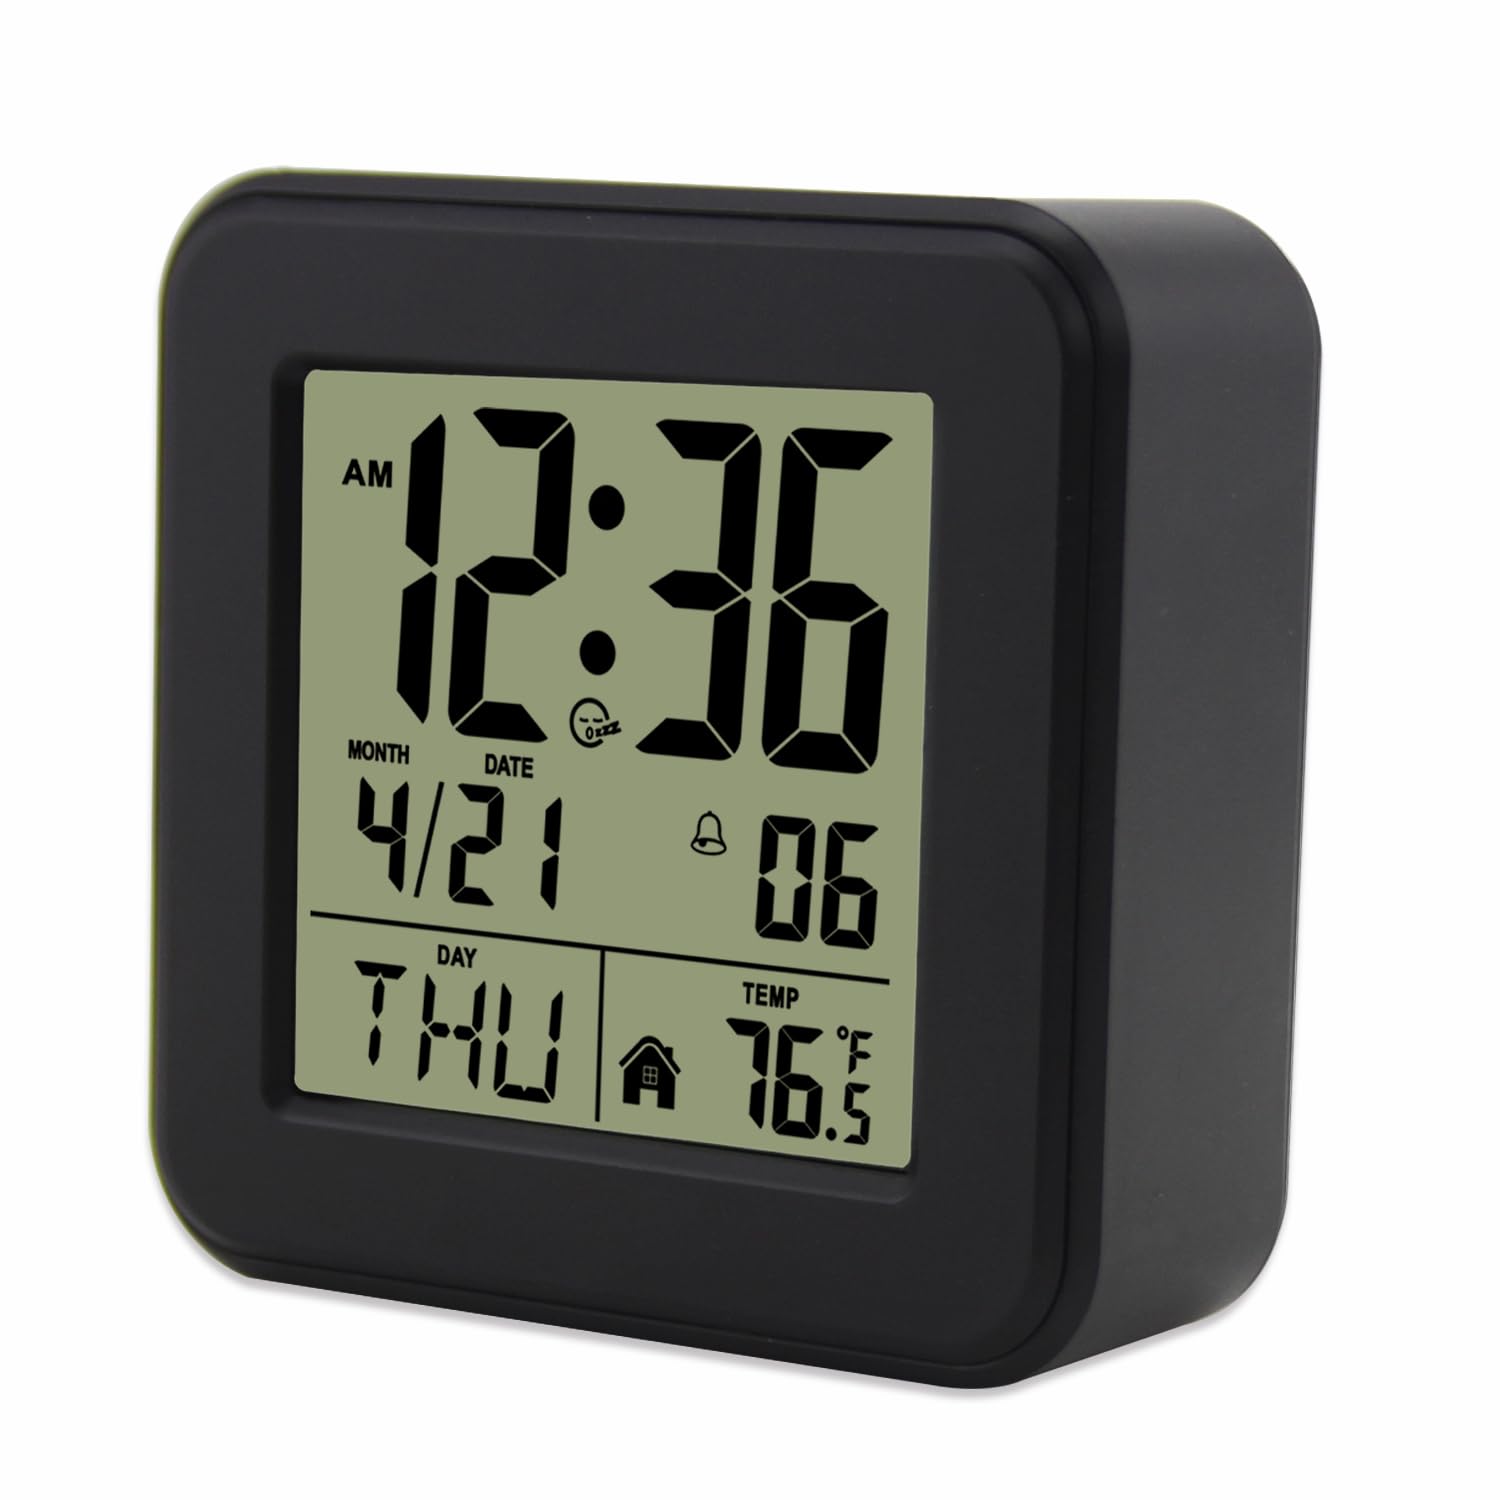
Figure 1: jomparis H170C-DCF Digital Alarm Clock
Product Features
- Clear 3.15-inch LCD display showing time, date, day of the week, and temperature.
- 12/24-hour time format selection.
- Alarm function with a 2-minute duration.
- 5-minute snooze function.
- Backlight for easy viewing in low light conditions (lasts 4 seconds).
- Temperature display in Celsius (°C) or Fahrenheit (°F).
- Compact and portable design, ideal for bedrooms, offices, and travel.
- Battery operated (requires 2 x AAA batteries, not included).

Figure 2: Key Features of the Alarm Clock
Setup
1. Battery Installation
The jomparis H170C-DCF alarm clock requires two (2) AAA batteries (not included) for operation.
- Locate the battery compartment cover on the back of the clock.
- Slide the cover downwards to open the compartment.
- Insert two new AAA batteries, ensuring the correct polarity (+ and -) as indicated inside the compartment.
- Replace the battery compartment cover by sliding it upwards until it clicks into place.

Figure 3: Back of the Clock with Battery Compartment
2. Initial Power On
Once batteries are installed, the clock will power on automatically. The display will show default time and date settings. You may need to adjust these settings to your local time and preferences.
Operating Instructions
Button Functions Overview
The clock features several buttons on the back for setting and control:
- RCC: (No function for this model, as per product specifications. Some models use this for radio-controlled time.)
- MODE: Used to enter time/date setting mode and cycle through settings.
- ALARM: Used to view and set the alarm time.
- UP (▲): Used to increase values during setting.
- DOWN (▼): Used to decrease values during setting and to switch between Celsius/Fahrenheit.
Figure 4: Control Buttons on the Back
Setting Time and Date
- Press and hold the MODE button for approximately 3 seconds to enter time setting mode. The hour digit will flash.
- Use the UP (▲) or DOWN (▼) buttons to adjust the hour.
- Press MODE again to confirm the hour and move to the minute setting. The minute digit will flash.
- Use the UP (▲) or DOWN (▼) buttons to adjust the minutes.
- Continue pressing MODE to cycle through and set the year, month, and day in the same manner.
- After setting the day, press MODE one last time to exit the setting mode.
Setting 12/24 Hour Format
While in normal time display mode, press the UP (▲) button to toggle between 12-hour (with AM/PM indicator) and 24-hour time formats.
Setting the Alarm
- Press the ALARM button once to display the current alarm time.
- Press and hold the ALARM button for approximately 3 seconds to enter alarm setting mode. The alarm hour digit will flash.
- Use the UP (▲) or DOWN (▼) buttons to adjust the alarm hour.
- Press ALARM again to confirm the alarm hour and move to the alarm minute setting. The alarm minute digit will flash.
- Use the UP (▲) or DOWN (▼) buttons to adjust the alarm minutes.
- Press ALARM one last time to exit alarm setting mode.
Activating/Deactivating the Alarm
While in normal time display mode, press the ALARM button repeatedly to toggle the alarm ON or OFF. An alarm icon (bell symbol) will appear on the display when the alarm is active.
Snooze Function
When the alarm sounds, it will last for two minutes. To activate the snooze function:
- Touch the top logo/symbol area on the clock. This will provide an additional 5 minutes of snooze time.
- To exit snooze mode before the 5 minutes are up, press any button on the back of the clock.
Backlight Function
In default mode, the screen is not continuously lit. To temporarily illuminate the display:
- Touch the top logo/symbol area on the clock. The backlight will activate for approximately 4 seconds.

Figure 5: Backlight in Action
Temperature Display (°C/°F)
The clock displays the room temperature. To switch between Celsius and Fahrenheit:
- While in normal time display mode, press the DOWN (▼) button. The temperature unit will toggle between °C and °F.
Video 1: Demonstrating Backlight, Temperature Unit Switch, and Time Settings on the jomparis Digital Clock.
Maintenance
- Cleaning: Wipe the clock with a soft, dry cloth. Do not use abrasive cleaners or solvents.
- Battery Replacement: Replace batteries when the display becomes dim or functions become erratic. Always use new AAA batteries and dispose of old batteries responsibly.
- Storage: If storing the clock for an extended period, remove the batteries to prevent leakage.
Troubleshooting
| Problem | Possible Cause | Solution |
|---|---|---|
| Display is blank or dim. | Low or dead batteries. | Replace with new AAA batteries. Ensure correct polarity. |
| Alarm does not sound. | Alarm is not activated. | Press the ALARM button to ensure the alarm icon is displayed. |
| Incorrect time or date. | Time/date not set correctly. | Follow the "Setting Time and Date" instructions to reset. |
| Backlight does not work. | Low batteries or not touching the correct area. | Replace batteries. Ensure you are touching the top logo/symbol area. |
| Temperature unit is incorrect. | Not toggled to desired unit. | Press the DOWN (▼) button to switch between °C and °F. |
Specifications
| Feature | Detail |
|---|---|
| Model Number | H170C-DCF |
| Brand | jomparis |
| Display Type | Digital LCD |
| Power Source | 2 x AAA Batteries (not included) |
| Product Dimensions | 3.15"W x 3.15"H x 1.34"D |
| Item Weight | 3.2 ounces |
| Special Features | Alarm, Calendar Display, LCD Display, Snooze, Temperature Display |
| Material | Plastic |
| Room Type | Bedroom, Classroom, Home Office, Kid's Room, Study Room |
Warranty and Support
For specific warranty information, please refer to the product packaging or the official jomparis website. If you encounter any issues or require further assistance, please contact jomparis customer support through their official channels.