
1. Introduction
This manual provides essential instructions for the safe and efficient operation of your Smad FBA-DWF-12A14LBMU All-in-One Washer and Dryer Combo. Please read this manual thoroughly before installation and use, and retain it for future reference. This appliance is designed to wash and dry laundry in a single unit, offering convenience and space-saving benefits.
Key features include a 2.7 cubic feet capacity, front-load design, 16 wash cycles, and a maximum spin speed of 1400 RPM.
2. Safety Information
WARNING: To reduce the risk of fire, electric shock, or injury, follow these basic precautions:
- Read all instructions before using the appliance.
- Do not wash or dry articles that have been previously cleaned in, washed in, soaked in, or spotted with gasoline, dry-cleaning solvents, or other flammable or explosive substances.
- Do not allow children to play on or in the appliance. Close supervision is necessary when the appliance is used near children.
- Before the appliance is removed from service or discarded, remove the door to the washing/drying compartment.
- Do not reach into the appliance if the tub or agitator is moving.
- Do not install or store this appliance where it will be exposed to the weather.
- Do not tamper with controls.
- Do not repair or replace any part of the appliance or attempt any servicing unless specifically recommended in the user-maintenance instructions or in published user-repair instructions that you understand and have the skills to carry out.
- Always disconnect the appliance from the power supply before attempting any service.
3. Product Overview
The Smad All-in-One Washer and Dryer Combo integrates both washing and drying functionalities into a single compact unit, ideal for optimizing space in apartments or dorms. It features a user-friendly LED display and a control knob for cycle selection.
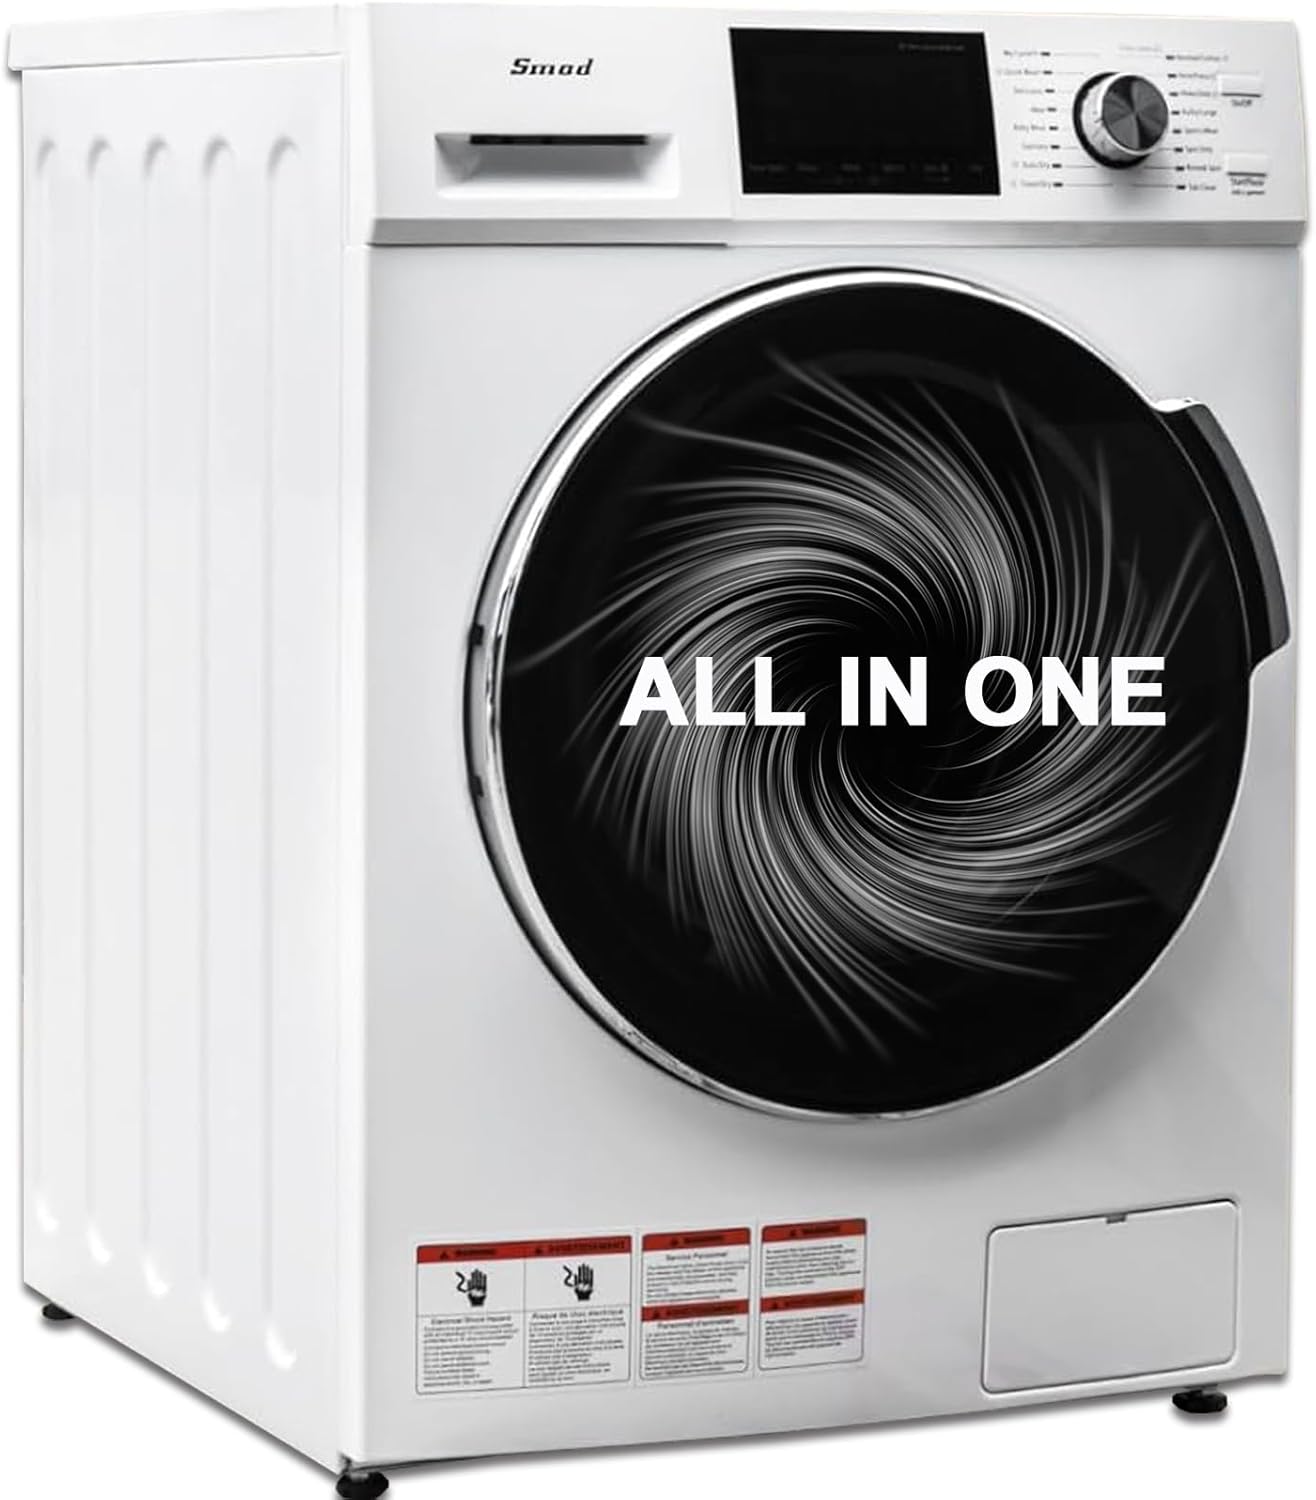
Image: Front view of the Smad All-in-One Washer and Dryer Combo.
The appliance is equipped with a durable stainless steel drum and offers a 26 lbs capacity, suitable for diverse laundry needs.

Image: Visual representation of laundry capacity, including items like bedding, shirts, jackets, and pants.
4. Setup & Installation
4.1 Unpacking
Carefully remove all packaging materials, including foam and tape. Inspect the appliance for any damage during transit. Keep packaging materials until you are satisfied with the product's condition.
4.2 Transport Bolt Removal
CRITICAL: Transport bolts MUST be removed before installation and operation. Failure to do so will cause excessive vibration and damage to the appliance.
- Locate the transport bolts and plastic spacers (including rubber grommets) on the backside of the machine.
- Loosen and remove all bolts and spacers using a spanner.
- Cover the holes with the provided transport hole plugs.
- Retain the transport bolts and spacers for future use, such as moving the appliance.

Image: Diagram showing the location and removal process of transport bolts.
4.3 Placement and Spacing
Place the appliance on a firm, level surface. Ensure there is at least 25 mm (approximately 1 inch) of spacing on all sides of the unit to allow for proper ventilation and to reduce noise during operation.

Image: Appliance dimensions for installation planning.
4.4 Connections
- Water Inlet: Connect the hot and cold water supply hoses to the corresponding inlets on the back of the machine and to your household water supply. Ensure connections are tight to prevent leaks.
- Drain Hose: Securely attach the drain hose to the appliance and route it to a suitable drain (e.g., utility sink or standpipe). Ensure the hose is not kinked or obstructed.
- Power Supply: Plug the appliance into a grounded 120 Volt, 11 Amp electrical outlet. Do not use extension cords.
5. Operating Instructions
5.1 Loading Laundry
Open the door and load laundry into the drum. Do not overload the machine; ensure there is enough space for clothes to tumble freely. The maximum capacity is 26 lbs.
5.2 Adding Detergent and Softener
Pull out the detergent dispenser drawer. Add appropriate amounts of detergent to the main wash compartment and fabric softener to the designated softener compartment. Refer to your detergent and softener packaging for recommended quantities.

Image: Softener dispenser drawer.
5.3 Selecting a Cycle
Turn the control knob to select one of the 16 available wash cycles. The LED display will show the selected cycle and estimated time. Common cycles include:
- Normal/Cotton
- Quick Wash
- Delicates
- Wool
- Baby Wear
- Sanitary
- Heavy Duty
- Spin Only
- Rinse & Spin

Image: Control panel with LED display and cycle options.
5.4 Special Functions
- Child Lock: To activate, simultaneously press and hold the "Delay" and "Temp." buttons for 3 seconds. This prevents accidental changes to settings during operation.
- Delay Start: This function allows you to set the washer to start a cycle up to 24 hours later. This can be useful for running the appliance during off-peak electricity hours or when you are away.

Image: Child Lock activation instructions.

Image: Delay Start feature illustration.
5.5 Starting and Pausing
Press the Start/Pause button to begin the selected cycle. Press it again to pause the cycle if needed. To add items after a cycle has started, press the Start/Pause button, wait for the door to unlock, add items, then close the door and press Start/Pause again.
6. Maintenance
6.1 Drum Clean Cycle
Regularly use the "Tub Clean" cycle to maintain the cleanliness of the drum and prevent odor buildup. Follow the instructions on the control panel for this cycle.
6.2 Exterior Cleaning
Wipe the exterior surfaces of the appliance with a soft, damp cloth. Do not use abrasive cleaners or solvents that could damage the finish.
6.3 Dispenser Cleaning
Periodically remove and clean the detergent dispenser drawer to prevent residue buildup. Rinse it under warm water and dry thoroughly before reinserting.
7. Troubleshooting
This section addresses common issues you might encounter. For more detailed troubleshooting or issues not listed here, please contact customer support.
| Problem | Possible Cause | Solution |
|---|---|---|
| Appliance does not start | Power cord unplugged, door not closed properly, Start/Pause button not pressed, Child Lock active. | Check power connection, ensure door is latched, press Start/Pause, deactivate Child Lock. |
| Excessive vibration/noise | Transport bolts not removed, appliance not level, uneven load. | Remove transport bolts, adjust leveling feet, redistribute laundry load. |
| Water not draining | Drain hose kinked or blocked, drain pump filter clogged. | Check drain hose for obstructions, clean drain pump filter (refer to full manual for location). |
| Clothes not drying properly | Overloaded, lint filter clogged, incorrect dry cycle selected. | Reduce load size, clean lint filter, select appropriate dry cycle. |
8. Specifications
| Feature | Detail |
|---|---|
| Brand | Smad |
| Model Number | FBA-DWF-12A14LBMU |
| Product Dimensions (D x W x H) | 25.2 x 23.4 x 33.5 inches |
| Item Weight | 172 pounds |
| Capacity | 2.7 Cubic Feet (26 lbs) |
| Voltage | 120 Volts |
| Amperage | 11 Amps |
| Number of Washing Cycles | 16 |
| Number of Drying Cycles | 8 |
| Max Spin Speed | 1400 RPM |
| Drum Material | Stainless Steel |
| Annual Energy Consumption | 90 Kilowatt Hours |
| Special Features | Child Lock, Compact, Softener Dispenser, LED Display, High Efficiency, End Of Cycle Signal, Delay Start, Drum Clean |
9. Warranty and Support
For warranty information and customer support, please refer to the documentation included with your purchase or contact Smad customer service directly. Ensure you have your model number (FBA-DWF-12A14LBMU) and purchase details available when seeking support.
Manufacturer: Smad
