
Retevis RT3S, HA1UV
Retevis RT3S and Ailunce HA1UV Ham Radio User Manual
Comprehensive Guide for Your Dual-Band DMR and Ham Radios
1. Introduction
This user manual provides detailed instructions for the operation, maintenance, and troubleshooting of your Retevis RT3S DMR Radio with GPS APRS and Retevis Ailunce HA1UV Ham Radio bundle. Please read this manual thoroughly before using your devices to ensure proper functionality and safety.
2. Product Overview
The Retevis RT3S and Ailunce HA1UV radios are designed for reliable communication, offering a range of features for amateur radio enthusiasts and outdoor activities.
2.1 Key Features
- DMR radio handheld with 3000 channels, supporting CTCSS/DCS tones and compatibility with Tier I & II.
- Dual band operation (VHF/UHF) for versatile communication.
- Integrated GPS and APRS functionality for real-time location tracking in digital mode.
- IP67 waterproof rating, capable of withstanding submersion up to 1 meter for 30 minutes.
- Long-lasting 2800mAh rechargeable battery providing up to 20 hours of use.
- Convenient USB-C charging port.
- 12 NOAA weather channels with alert function for severe weather detection.
2.2 Package Contents
Upon unboxing, please verify that all items listed below are present:
- Retevis RT3S DMR Radio
- Retevis Ailunce HA1UV Ham Radio
- Antennas (one for each radio)
- 2800mAh Batteries (one for each radio)
- USB-C Chargers (one for each radio)
- Belt Clips (if included)
- Lanyards (if included)
2.3 Product Visuals

Figure 2.3.1: Retevis RT3S and Ailunce HA1UV radios with their included accessories, including antennas, batteries, and chargers.
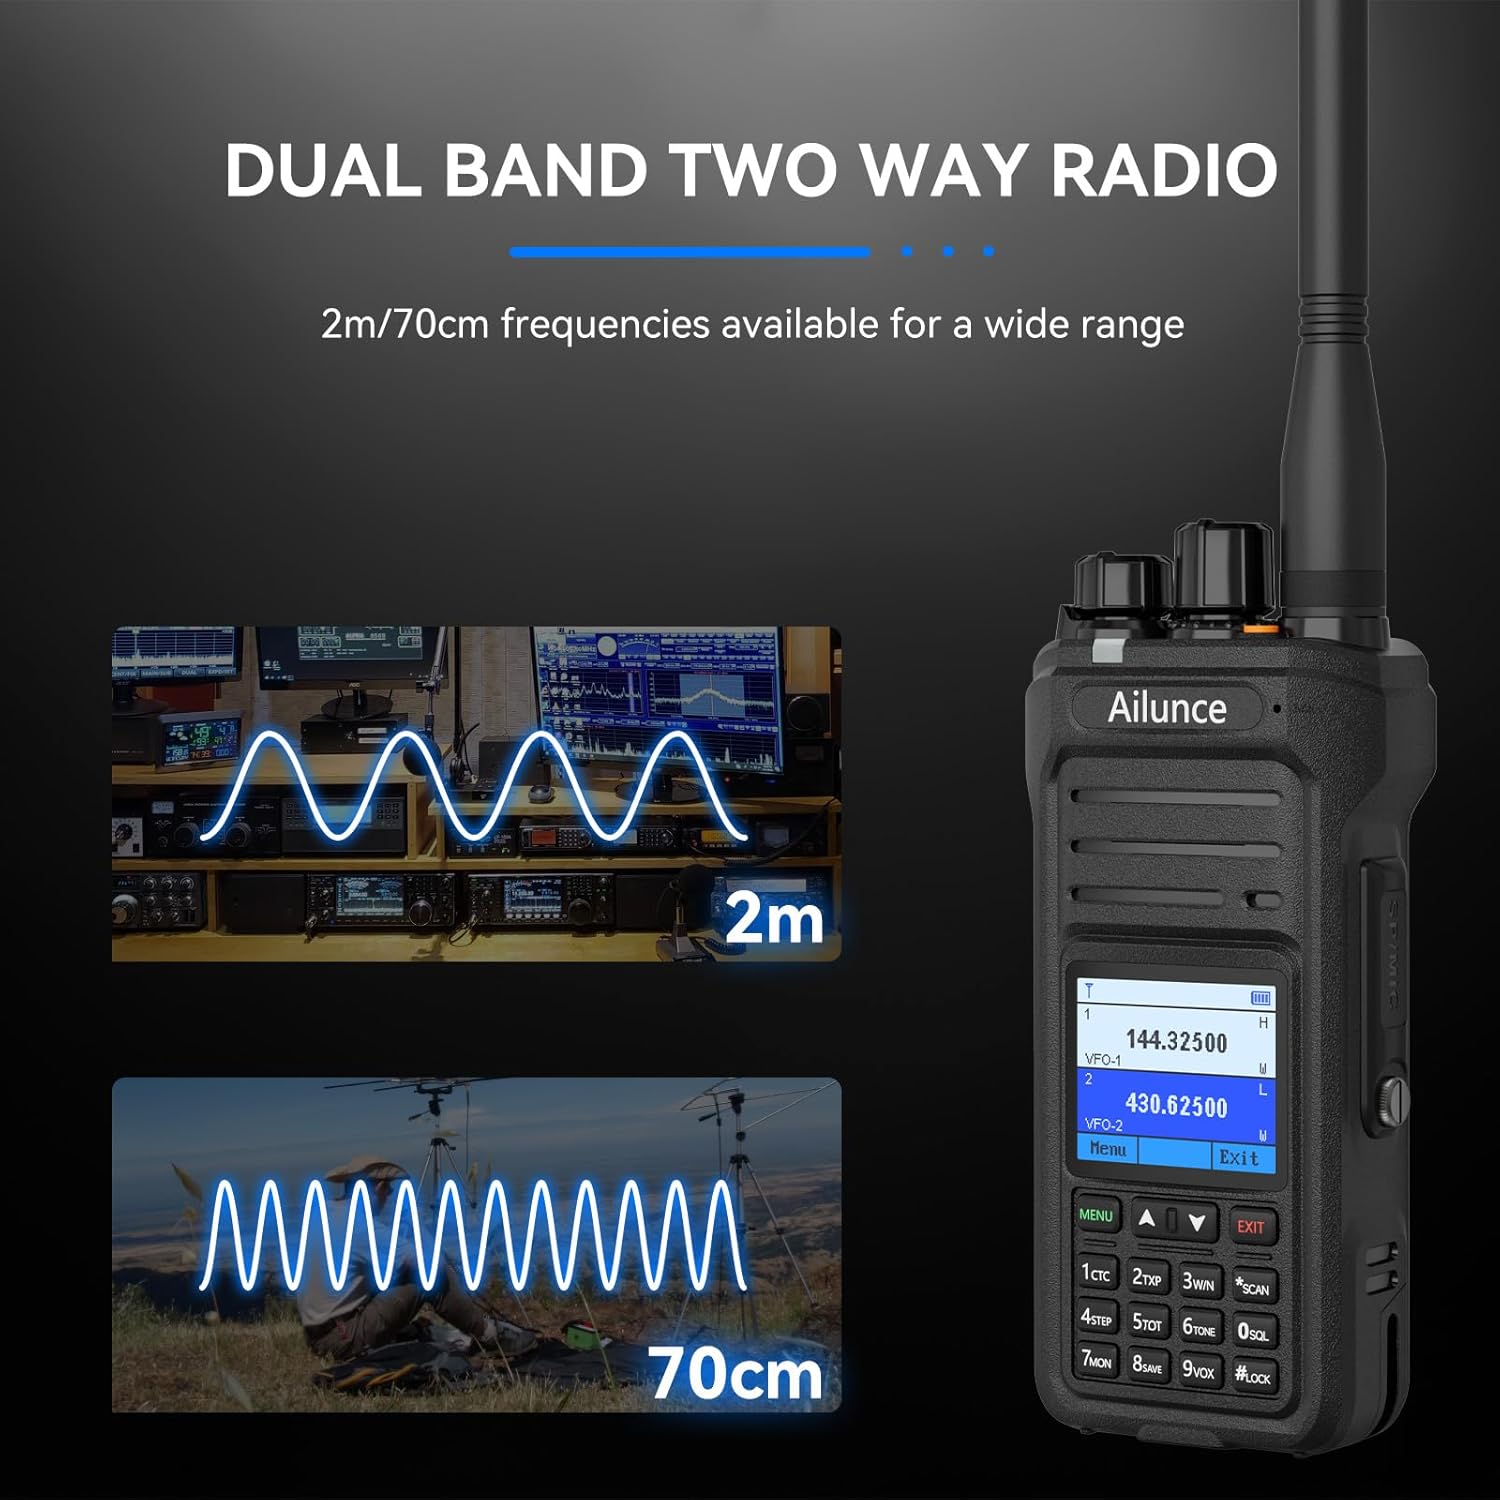
Figure 2.3.2: The Ailunce HA1UV radio highlighting its dual-band capability, operating on both 2m and 70cm frequencies.

Figure 2.3.3: The Ailunce HA1UV radio submerged in water, illustrating its IP67 waterproof rating, capable of withstanding 1 meter depth for 30 minutes.

Figure 2.3.4: The Ailunce HA1UV radio emphasizing its built-in 2800mAh battery, providing extended work time and featuring USB-C charging.
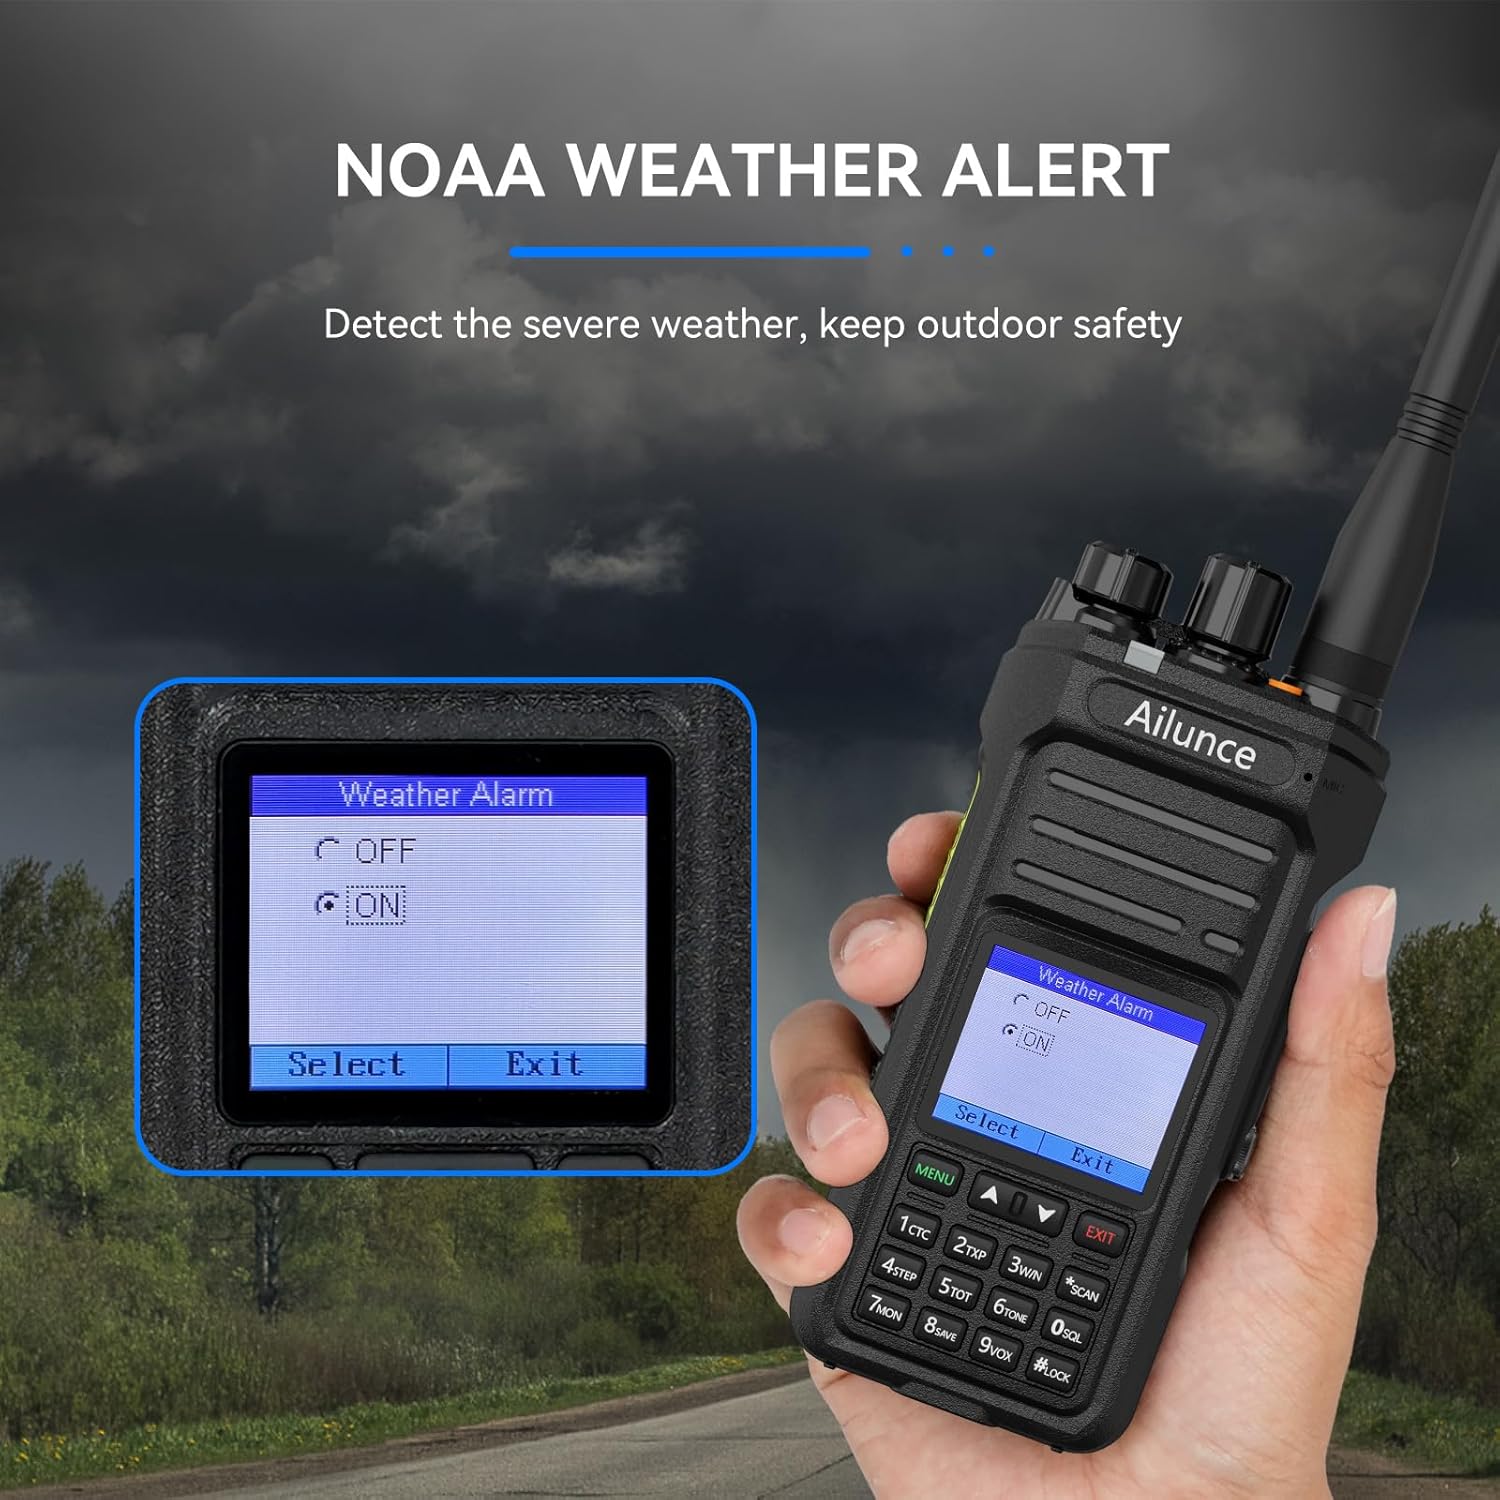
Figure 2.3.5: The Ailunce HA1UV radio showing its NOAA Weather Alert feature, designed to detect severe weather conditions for user safety.

Figure 2.3.6: Two Retevis RT3S radios, illustrating their dual-band DMR 2-way radio capabilities, including GPS, 3000 channels, and various call options.

Figure 2.3.7: The Retevis RT3S radio demonstrating its mixed working mode, supporting both digital and analog communication.

Figure 2.3.8: The Retevis RT3S radio, highlighting its smooth communication capabilities as a DMR 2-way radio.

Figure 2.3.9: The Retevis RT3S radio showcasing its LCD color display and large capacity 2800mAh rechargeable battery.
3. Setup
3.1 Battery Installation
- Ensure the radio is powered off.
- Locate the battery compartment on the back of the radio.
- Align the 2800mAh battery with the contacts and gently push it into place until it clicks securely.
- Close the battery compartment cover, if applicable, ensuring it is latched.
3.2 Antenna Attachment
- Locate the antenna connector on the top of the radio.
- Screw the provided antenna clockwise onto the connector until it is finger-tight. Do not overtighten.
3.3 Charging the Battery
- Connect the USB-C charger cable to the charging port on the radio.
- Plug the other end of the USB-C cable into a compatible USB power adapter (not always included) or a computer USB port.
- The charging indicator light on the radio will typically show red during charging and turn green when fully charged.
- A full charge for the 2800mAh battery may take several hours.
3.4 Initial Power On
- Rotate the power/volume knob clockwise until you hear a click and the radio powers on.
- Adjust the volume to a comfortable level.
- The display will illuminate, showing the current channel or frequency.
4. Operating Instructions
4.1 Channel Selection and Frequency Adjustment
- Use the channel knob or up/down buttons to navigate through the 3000 available channels.
- In VFO (Variable Frequency Oscillator) mode, you can directly input frequencies using the keypad.
- To set CTCSS/DCS tones, access the menu and navigate to the tone settings. Refer to the on-screen prompts for specific values.
4.2 Transmitting and Receiving
- To transmit, press and hold the Push-To-Talk (PTT) button on the side of the radio. Speak clearly into the microphone.
- Release the PTT button to receive.
- Ensure you are on an appropriate frequency or channel before transmitting.
4.3 DMR Digital Mode Operation (RT3S)
- The RT3S supports DMR Tier I and Tier II. Ensure your codeplug is correctly programmed for your desired talkgroups and contacts.
- Navigate through digital channels or contacts using the menu and keypad.
- For group calls or private calls, select the appropriate contact or talkgroup before transmitting.
4.4 GPS and APRS Functionality (RT3S)
- The RT3S can send and receive GPS information in digital mode.
- To use APRS, ensure the feature is enabled in the radio's menu and configured with the correct parameters (e.g., callsign, SSID, APRS server settings).
- APRS functionality works with hotspots and allows for real-time location information, useful for outdoor tracking.
4.5 NOAA Weather Alert (HA1UV)
- Access the NOAA weather channels through the radio's menu. There are 12 dedicated NOAA channels.
- Enable the weather alert feature to receive automatic notifications for severe weather conditions.
- The radio will emit an alert tone and display a warning when a weather alert is broadcast on a monitored NOAA channel.
5. Maintenance
5.1 Waterproof Care (IP67)
- While the radios are IP67 waterproof, it is recommended to dry them thoroughly after exposure to water.
- Do not operate the radio underwater. The IP67 rating is for accidental submersion.
- Ensure all port covers (e.g., USB-C port) are securely closed before exposing the radio to water.
5.2 Battery Care
- To prolong battery life, avoid fully discharging the battery frequently.
- Store the radio and battery in a cool, dry place when not in use for extended periods.
- Use only the provided or approved charging accessories.
5.3 Cleaning
- Clean the radio's exterior with a soft, damp cloth.
- Do not use harsh chemicals or abrasive cleaners.
- Ensure the radio is powered off and disconnected from any power source before cleaning.
6. Troubleshooting
| Problem | Possible Cause | Solution |
|---|---|---|
| Radio does not power on. | Battery is low or not installed correctly. | Charge the battery or re-install it securely. |
| Cannot transmit or receive. | Incorrect frequency/channel, antenna not connected, or out of range. | Verify channel/frequency, check antenna connection, move closer to other radios. |
| Poor audio quality. | Low signal strength, incorrect CTCSS/DCS, or microphone/speaker issue. | Adjust squelch level, verify tone settings, ensure microphone/speaker are clear. |
| GPS/APRS not working. | GPS signal blocked, APRS settings incorrect, or no hotspot connection. | Move to an open area, check APRS configuration in menu, ensure hotspot is active. |
| Weather Alert not activating. | NOAA channels not selected or alert feature disabled. | Tune to a NOAA channel, enable weather alert in settings. |
If the problem persists after attempting these solutions, please contact Retevis customer support.
7. Specifications
| Feature | Detail |
|---|---|
| Model Numbers | Retevis RT3S, Retevis Ailunce HA1UV |
| Brand | Retevis |
| Number of Channels | 3000 |
| Special Features | Rechargeable, Waterproof, Weather Alert, GPS, APRS |
| Frequency Range | 136-174 MHz (VHF), 400-470 MHz (UHF) |
| Water Resistance Level | IP67 Waterproof |
| Battery Capacity | 2800mAh |
| Battery Life | Up to 20 Hours |
| Charging Port | USB-C |
| Connectivity Protocol | DMR, GPS APRS |
| Compatible Devices | Other two-way radios, Tier I & II compatible |
8. Warranty and Support
8.1 Warranty Information
Retevis products typically come with a standard manufacturer's warranty. Please refer to the warranty card included with your product or visit the official Retevis website for specific warranty terms and conditions. Keep your purchase receipt as proof of purchase for warranty claims.
8.2 Customer Support
For technical assistance, troubleshooting beyond this manual, or warranty inquiries, please contact Retevis customer support through their official channels. You can often find support contact information on the Retevis website or by visiting the Retevis Store on Amazon.
Related documentsRT3S, HA1UV


Ask a question about this manual
Ask about setup, troubleshooting, compatibility, parts, safety, or missing instructions. Manuals+ will review the question and use this page’s manual context to help answer it.