
iTOMA 301
iTOMA Dual Alarm Clock Instruction Manual
Model: 301
Introduction
This manual provides detailed instructions for the setup, operation, maintenance, and troubleshooting of your iTOMA Dual Alarm Clock. Please read this manual thoroughly before using the device to ensure proper functionality and longevity.
Key Features
- Dual Alarm with Snooze: Set two independent alarms with an ascending volume buzzer.
- Three Week Modes: Customize alarms for everyday, weekdays only, or weekends only.
- 1.4" LED Digital Display: Clear green LED display for easy readability.
- Adjustable Dimmer: Four levels of display brightness.
- Night Light: Two-level night light for ambient illumination.
- Temperature Display: Shows room temperature in °F or °C.
- 12/24H Display: Switch between 12-hour and 24-hour time formats.
- Dual Power Supply: Operates on batteries (4xAA, not included) or USB power (AC adapter not included).
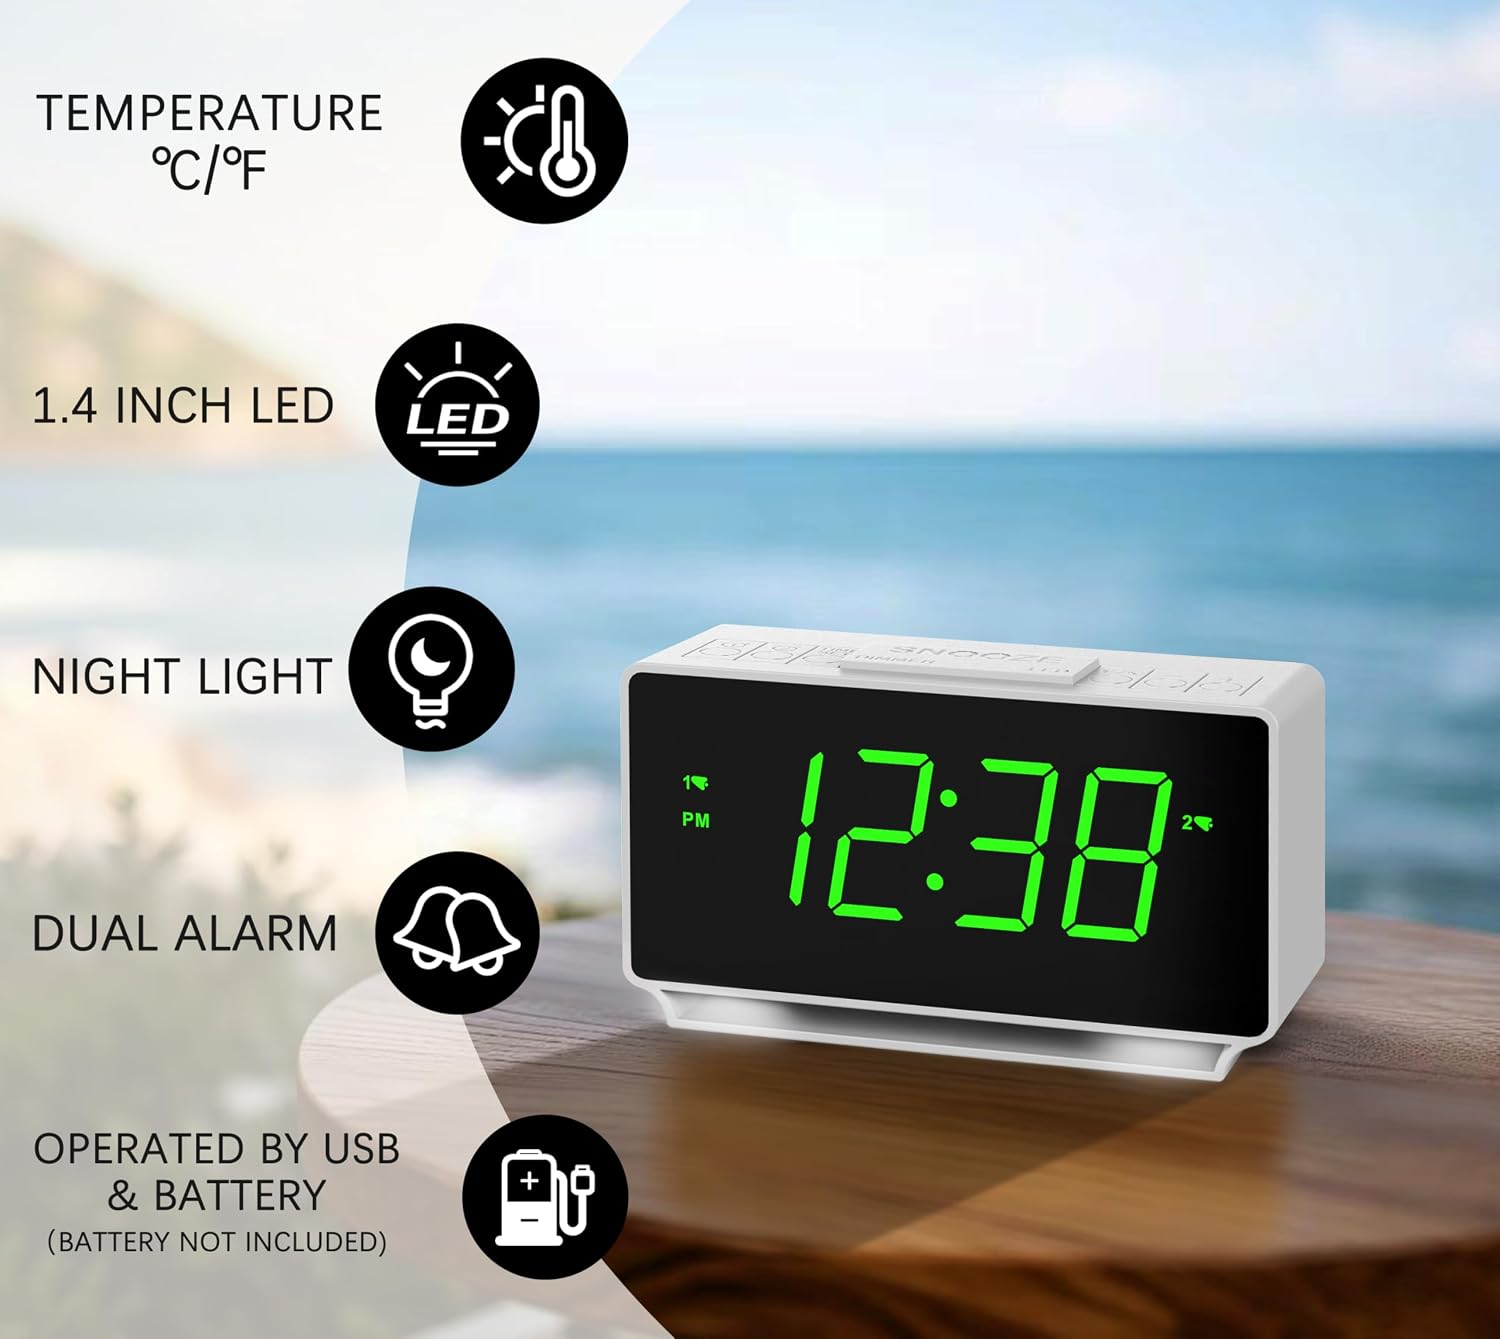
Figure 1: Overview of iTOMA Dual Alarm Clock features including temperature, LED display, night light, dual alarm, and power options.
Setup
1. Power Supply
The iTOMA Dual Alarm Clock can be powered by either a USB cable or 4xAA batteries (not included).
- USB Power: Connect the supplied USB charging cable to the Type-C port at the rear of the unit. Connect the other end to a 5V 1A USB power adapter (not included).
- Battery Power: Open the battery compartment cover on the bottom of the clock. Insert 4xAA batteries, ensuring correct polarity. In battery-powered mode, the screen brightness is reduced to conserve power.

Figure 2: The alarm clock can be powered via USB Type-A to C cable (adapter not included) or 4xAA batteries (not included).
2. Initial Power On
Upon connecting to power, the display will illuminate. If using batteries, ensure they are correctly inserted. The clock will typically display "12:00" or a default time.
Operating Instructions
1. Setting Time and Date
- Press and hold the TIME SET button for 2 seconds to enter time setting mode. The year segment will blink.
- Use the + or - buttons to adjust the year.
- Press TIME SET again to move to the month setting. The month segment will blink.
- Use the + or - buttons to adjust the month.
- Press TIME SET again to move to the date setting. The date segment will blink.
- Use the + or - buttons to adjust the date.
- Press TIME SET again to move to the hour setting. The hour segment will blink.
- Use the + or - buttons to adjust the hour.
- Press TIME SET again to move to the minute setting. The minute segment will blink.
- Use the + or - buttons to adjust the minute.
- Press TIME SET again to select the time format (12H/24H). Use + or - to toggle between 12-hour and 24-hour display.
- Press TIME SET one last time to save all settings, or wait for 40 seconds for automatic saving.

Figure 3: The clock supports both 12-hour and 24-hour time formats, easily switchable during time setting.
2. Setting Alarms
The clock features two independent alarms (Alarm 1 and Alarm 2).
- Press and hold the Alarm 1 or Alarm 2 button for 2 seconds to enter alarm setting mode. The hour segment will blink.
- Use the + or - buttons to adjust the alarm hour.
- Press the respective alarm button (Alarm 1 or Alarm 2) again to move to the minute setting. The minute segment will blink.
- Use the + or - buttons to adjust the alarm minute.
- Press the alarm button again to set the alarm volume. The current volume level will blink. Use + or - to adjust the volume.
- Press the alarm button again to set the alarm day mode. The current day mode will blink. Use + or - to select from:
- d1-5: Weekday (Monday to Friday)
- d6-7: Weekend (Saturday to Sunday)
- d1-7: Everyday (Monday to Sunday)
- Press the alarm button one last time to save the alarm setting, or wait for 40 seconds for automatic saving.

Figure 4: The dual alarm system allows for flexible scheduling with weekday, weekend, or everyday options, and includes a snooze function.
3. Snooze Function
When an alarm rings, press the large SNOOZE button to pause the alarm for 9 minutes. This can be repeated up to 6 times.
4. Stopping an Alarm
To stop a ringing alarm, press the corresponding Alarm 1 or Alarm 2 button. The alarm indicator on the display will disappear.
5. Adjusting Display Brightness (Dimmer)
Press the DIMMER button repeatedly to cycle through 4 levels of display brightness: High, Medium, Low, and Off.

Figure 5: The 1.4-inch LED display offers four brightness levels: High, Medium, Low, and Off, for comfortable viewing in any light condition.
6. Using the Night Light
Press the LED button to turn the white night light on or off. The night light has two levels (High/Low) which can be toggled by pressing the button again.

Figure 6: The alarm clock features a 2-level night light, providing subtle illumination for your bedroom or office desk.
7. Checking Room Temperature
Press the °F/°C button to display the current room temperature. Press and hold the °F/°C button to switch between Fahrenheit (°F) and Celsius (°C) display.
Figure 7: The clock displays room temperature, switchable between Celsius and Fahrenheit, with a range of 0-60°C (32-140°F).
Maintenance
- Cleaning: Use a soft, dry cloth to clean the surface of the clock. Do not use abrasive cleaners or solvents.
- Placement: Place the clock on a level, stable surface away from direct sunlight, heat sources, and excessive moisture or dust.
- Battery Care: If using batteries, remove them if the clock will not be used for an extended period to prevent leakage.
Troubleshooting
| Problem | Possible Cause | Solution |
|---|---|---|
| Display is blank or dim. | No power, low batteries, or dimmer set to OFF. | Check USB connection/power adapter. Replace batteries if using battery power. Press DIMMER button to increase brightness. |
| Alarm does not sound. | Alarm not set, alarm volume too low, or alarm is off. | Ensure alarm is set correctly (refer to "Setting Alarms"). Increase alarm volume. Verify alarm indicator is visible on display. |
| Time/Date is incorrect. | Time/Date not set or power interruption. | Reset time and date (refer to "Setting Time and Date"). Ensure continuous power supply. |
| Temperature reading is inaccurate. | Clock placed near heat source or in direct sunlight. | Move the clock to a location with stable ambient temperature. |
Specifications
- Model: 301
- Display: 1.4" Green LED
- Power Source: USB (5V 1A, adapter not included) or 4xAA Batteries (not included)
- Product Dimensions: 5.91"W x 3.54"H
- Item Weight: 9.4 ounces
- Temperature Range: 0-60°C (32-140°F)
- Snooze Duration: 9 minutes (up to 6 times)
Warranty and Support
For warranty information or technical support, please refer to the contact details provided on the product packaging or visit the official iTOMA website. Keep your purchase receipt for warranty claims.
Video 1: An official iTOMA video demonstrating the features and operation of the alarm clock. This video provides a visual guide to setting up and using the device's various functions.
Related documents301

Ask a question about this manual
Ask about setup, troubleshooting, compatibility, parts, safety, or missing instructions. Manuals+ will review the question and use this page’s manual context to help answer it.