
Introduction
This manual provides detailed instructions for the safe and efficient use of your NIORSUN 15.7 Inch Battery Operated Wall Sconce Set of 2. Please read this manual thoroughly before installation and operation, and retain it for future reference.

Figure 1: NIORSUN 15.7 Inch Battery Operated Wall Sconce in a living room setting.
Safety Information
- Ensure the product is installed on a stable surface.
- Do not expose the product to water or excessive humidity. This product is for indoor use only and is not water resistant.
- Use only the provided charging cable or a certified USB-C cable for charging.
- Do not attempt to disassemble or modify the product. This may void the warranty and pose a safety risk.
- Keep out of reach of children.
- Avoid direct eye exposure to the LED light source for prolonged periods.
What's in the Box
Verify that all components are present before proceeding with installation.
- 2 x Wall Sconce
- 1 x Remote Control
- Mounting Hardware (screws, wall anchors)
- USB-C Charging Cables (2)

Figure 2: Package contents of the wall sconce set.
Specifications
| Problem | Possible Cause | Solution |
|---|---|---|
| Sconce does not turn on. | Battery is depleted. | Charge the sconce fully using the USB-C cable. |
| Remote control is not working. | Remote battery is low or depleted. Obstruction between remote and sconce. | Replace the remote control battery. Ensure a clear line of sight to the sconce. |
| Light output is dim or inconsistent. | Battery is low. Sconce is set to a low brightness level. | Recharge the sconce. Adjust brightness using the remote or touch control. |
| Sconce falls off the wall. | Improper installation of mounting plate or sconce. | Ensure mounting plate is securely fastened to the wall and the sconce is correctly engaged with the interlocking mechanism. |
Setup and Installation
- Charge the Sconce: Before initial use, fully charge both wall sconces using the provided USB-C cables. The charging port is located on the side of the circular base. A full charge typically takes 7-9 hours.
- Select Mounting Location: Choose a desired location on your wall. Ensure the surface is clean and dry.
- Install Mounting Plate:
- Detach the mounting plate from the back of the sconce.
- Position the mounting plate on the wall and mark the screw holes.
- Drill pilot holes if necessary and insert wall anchors.
- Secure the mounting plate to the wall using the provided screws.
- Attach Sconce to Plate: Align the sconce with the installed mounting plate and slide it down to lock it into place. The interlocking design ensures a secure fit.

Figure 3: Wall sconce installation steps.
Charging the Sconce
Each sconce is equipped with a 5200mAh rechargeable battery. To charge, connect the provided USB-C cable to the charging port located on the circular base of the sconce and plug the other end into a suitable USB power adapter (not included). The indicator light will show charging status (e.g., red for charging, green for fully charged). A full charge provides approximately 24 to 38 hours of illumination, depending on the selected brightness and color temperature.

Figure 4: Sconce dimensions and USB-C charging port.
Operating Instructions
Your NIORSUN wall sconces can be controlled via the included remote control or by touch directly on the fixture.
Remote Control Functions
The remote control allows for convenient adjustment of various settings from a distance.
- ON/OFF: Press the power button to turn the sconce on or off.
- Brightness Adjustment: Use the brightness buttons (e.g., + / - or specific percentage buttons) to cycle through 0%, 25%, 60%, and 100% brightness levels.
- Color Temperature Change: Press the CCT button or specific temperature buttons (2700K, 4000K, 5000K) to switch between warm white, cool white, and daylight white.
- Timer Setting: Select 1H, 2H, 3H, 4H, or 6H to set an automatic shut-off timer.

Figure 5: Remote control and touch control features.
Touch Control Functions
The sconce also features a touch-sensitive area on its circular base for quick adjustments.
- Short Press: A short press on the touch area will cycle through the brightness levels (0%, 25%, 60%, 100%).
- Long Press: A long press on the touch area will change the color temperature (2700K, 4000K, 5000K).
Dimming and Color Temperature Adjustment
The sconces offer flexible lighting options to suit various moods and activities.
Brightness Levels
You can adjust the light intensity to one of four preset levels:
- 0% (Off)
- 25% (Low)
- 60% (Medium)
- 100% (High)

Figure 6: Brightness adjustment levels.
Color Temperature Options
Choose from three distinct color temperatures:
- 2700K: Warm White, suitable for relaxing environments like bedrooms.
- 4000K: Cool White, ideal for general illumination in family rooms or hallways.
- 5000K: Daylight White, bright and crisp, often used in task-oriented areas or stairwells.

Figure 7: Color temperature options and their typical uses.
Timer Function
The integrated timer function allows you to set the sconce to automatically turn off after a specified duration, conserving battery life and providing convenience.
- Available timer settings: 1 hour, 2 hours, 3 hours, 4 hours, 6 hours.
- To activate, press the desired timer button on the remote control. The light will turn off automatically after the set time.
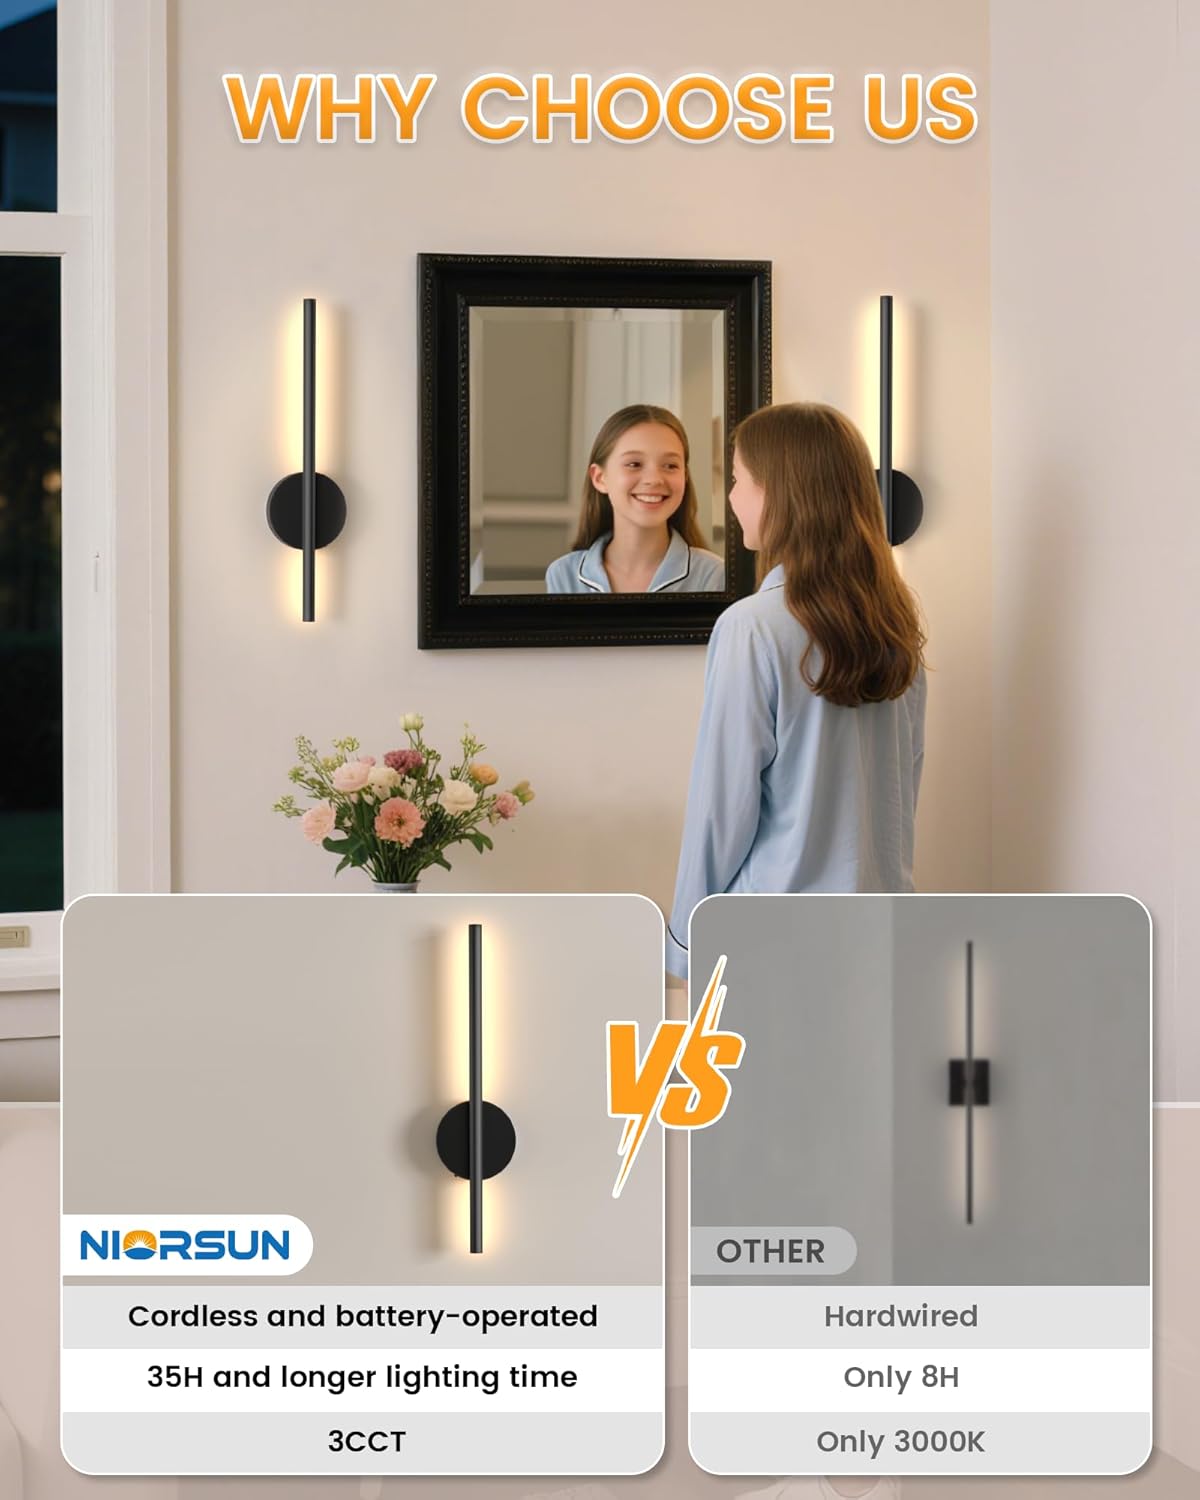
Figure 8: Timer function for automatic shut-off.
Maintenance
- Cleaning: Wipe the sconce with a soft, dry cloth. Do not use abrasive cleaners or solvents.
- Battery Care: For optimal battery life, avoid fully discharging the battery frequently. Recharge when the light dims significantly. If storing for an extended period, charge the battery to about 50% every 3-6 months.
- Storage: Store the sconce in a cool, dry place away from direct sunlight and extreme temperatures.
Troubleshooting
| Problem | Possible Cause | Solution |
|---|---|---|
| Sconce does not turn on. | Battery is depleted. | Charge the sconce fully using the USB-C cable. |
| Remote control is not working. | Remote battery is low or depleted. Obstruction between remote and sconce. | Replace the remote control battery. Ensure a clear line of sight to the sconce. |
| Light output is dim or inconsistent. | Battery is low. Sconce is set to a low brightness level. | Recharge the sconce. Adjust brightness using the remote or touch control. |
| Sconce falls off the wall. | Improper installation of mounting plate or sconce. | Ensure mounting plate is securely fastened to the wall and the sconce is correctly engaged with the interlocking mechanism. |
Warranty and Support
NIORSUN provides a 3-year manufacturer's warranty for this product. This warranty covers defects in materials and workmanship under normal use.
For warranty claims, technical support, or any questions regarding your product, please contact NIORSUN customer service through the retailer where the product was purchased or visit the official NIORSUN store page on Amazon: NIORSUN Store.