
1. Introduction
This manual provides essential information for the assembly, operation, and maintenance of your DWVO 5x3ft Resin Outdoor Storage Shed. Designed for durability and versatility, this shed offers a secure and weather-resistant solution for your outdoor storage needs. Please read these instructions carefully before beginning assembly and retain them for future reference.
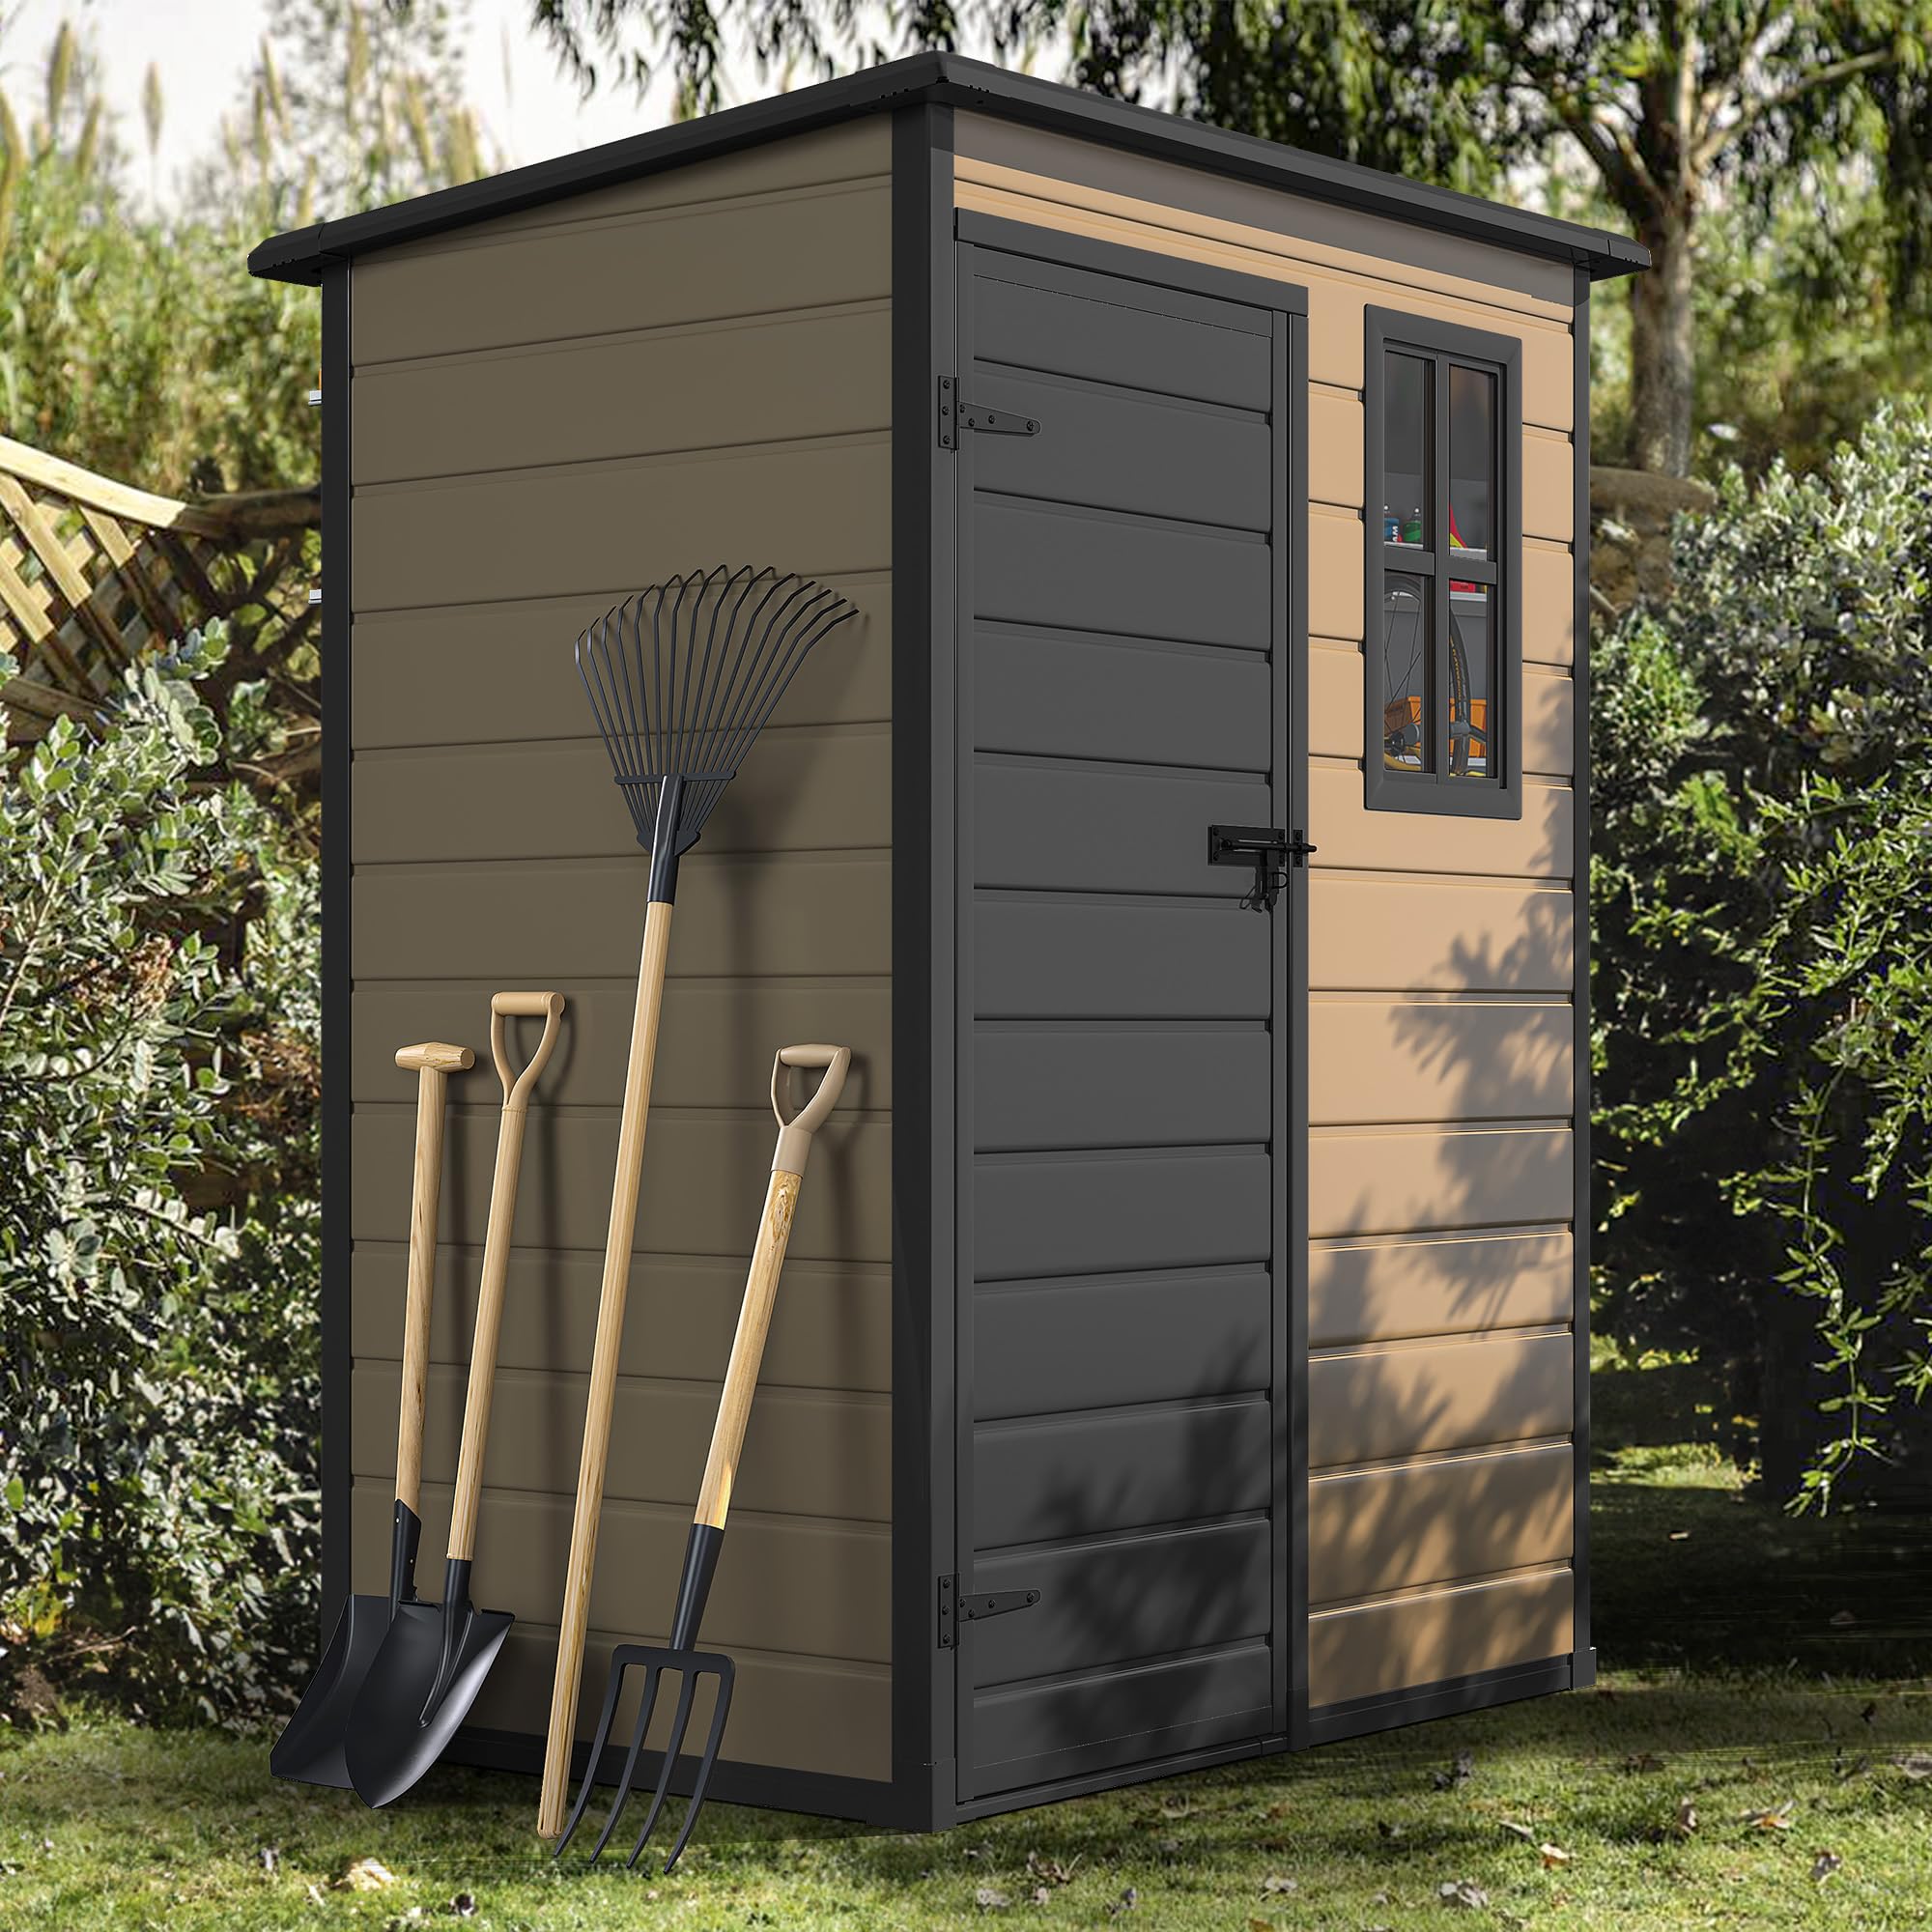
Image 1.1: The DWVO 5x3ft Resin Outdoor Storage Shed, showcasing its compact design and brown finish, suitable for various outdoor environments.
2. Safety Information
Always prioritize safety during assembly and use. Failure to follow these safety guidelines may result in injury or damage to the product.
- Read all instructions thoroughly before assembly.
- Ensure all parts are present and undamaged before starting.
- Wear appropriate safety gear, including gloves and eye protection, during assembly.
- Assemble the shed on a level, stable surface.
- Keep children and pets away from the assembly area.
- Do not climb on the shed or place heavy objects on the roof.
- Secure the shed to the ground to prevent tipping in strong winds.
- Refer to any additional safety warnings provided with the product packaging.
3. Package Contents
Your DWVO 5x3ft Resin Outdoor Storage Shed will arrive in two separate packages, which may be delivered at different times. Please ensure you have received both packages and all components before beginning assembly. The package includes all necessary panels, hardware, and a detailed installation guide.

Image 3.1: The shed positioned in a backyard, illustrating its integration into an outdoor living space.
4. Setup and Assembly Instructions
Assembly of the DWVO storage shed is designed to be straightforward, but requires careful attention to detail. It is recommended to have at least two people for assembly. A power drill will be necessary for certain steps, as some holes may not be pre-drilled. Ensure panels are correctly aligned to prevent fitment issues.
4.1 Site Preparation
- Choose a flat, level, and stable surface for the shed. A concrete slab or a well-compacted gravel base is ideal.
- Clear the area of any debris, rocks, or vegetation.
- Ensure adequate drainage around the shed location.
4.2 Assembly Steps (General Guidance)
- Unpack and Identify Parts: Lay out all components and verify against the parts list in your detailed installation guide.
- Assemble the Base: Construct the stable base frame first, ensuring it is square and level.
- Install Floor Panels: Carefully slide the 12mm thick double-layer resin floor panels into the base. Use a soft mallet or a piece of wood to gently tap panels into place if needed, avoiding direct hammering to prevent damage.
- Erect Wall Panels: Attach the side and back wall panels according to the instructions, ensuring they interlock correctly. The double-layer resin panels are 12mm thick for durability.
- Install Door Frame and Window: Secure the door frame and the translucent window into their designated positions.
- Attach Roof Structure: Assemble the roof frame and then attach the sloped roof panels. The sloped design aids in efficient drainage.
- Install Doors: Mount the lockable door, ensuring it swings freely and closes securely.
- Final Checks: Verify all screws are tightened, and panels are properly seated.

Image 4.1: An interior view highlighting the double-layer structure of the shed walls, providing strength and durability for storing various items like bicycles and tools.

Image 4.2: Detail of the shed's slanted roof, designed to prevent water and snow accumulation, enhancing its all-weather durability.
5. Operating Instructions
The DWVO storage shed is designed for simple and secure operation.
5.1 Accessing the Shed
- The shed features a single hinged, lockable door. To open, disengage the latch mechanism.
- For added security, a padlock (not included) can be used with the integrated lockable door design.
5.2 Utilizing Internal Space
- The shed provides 65 cubic feet of storage capacity.
- The translucent window allows natural light into the shed, improving visibility without compromising security.
- The heavy-duty 12mm thick double-layer resin floor protects stored items from ground moisture and provides stability for heavy equipment.
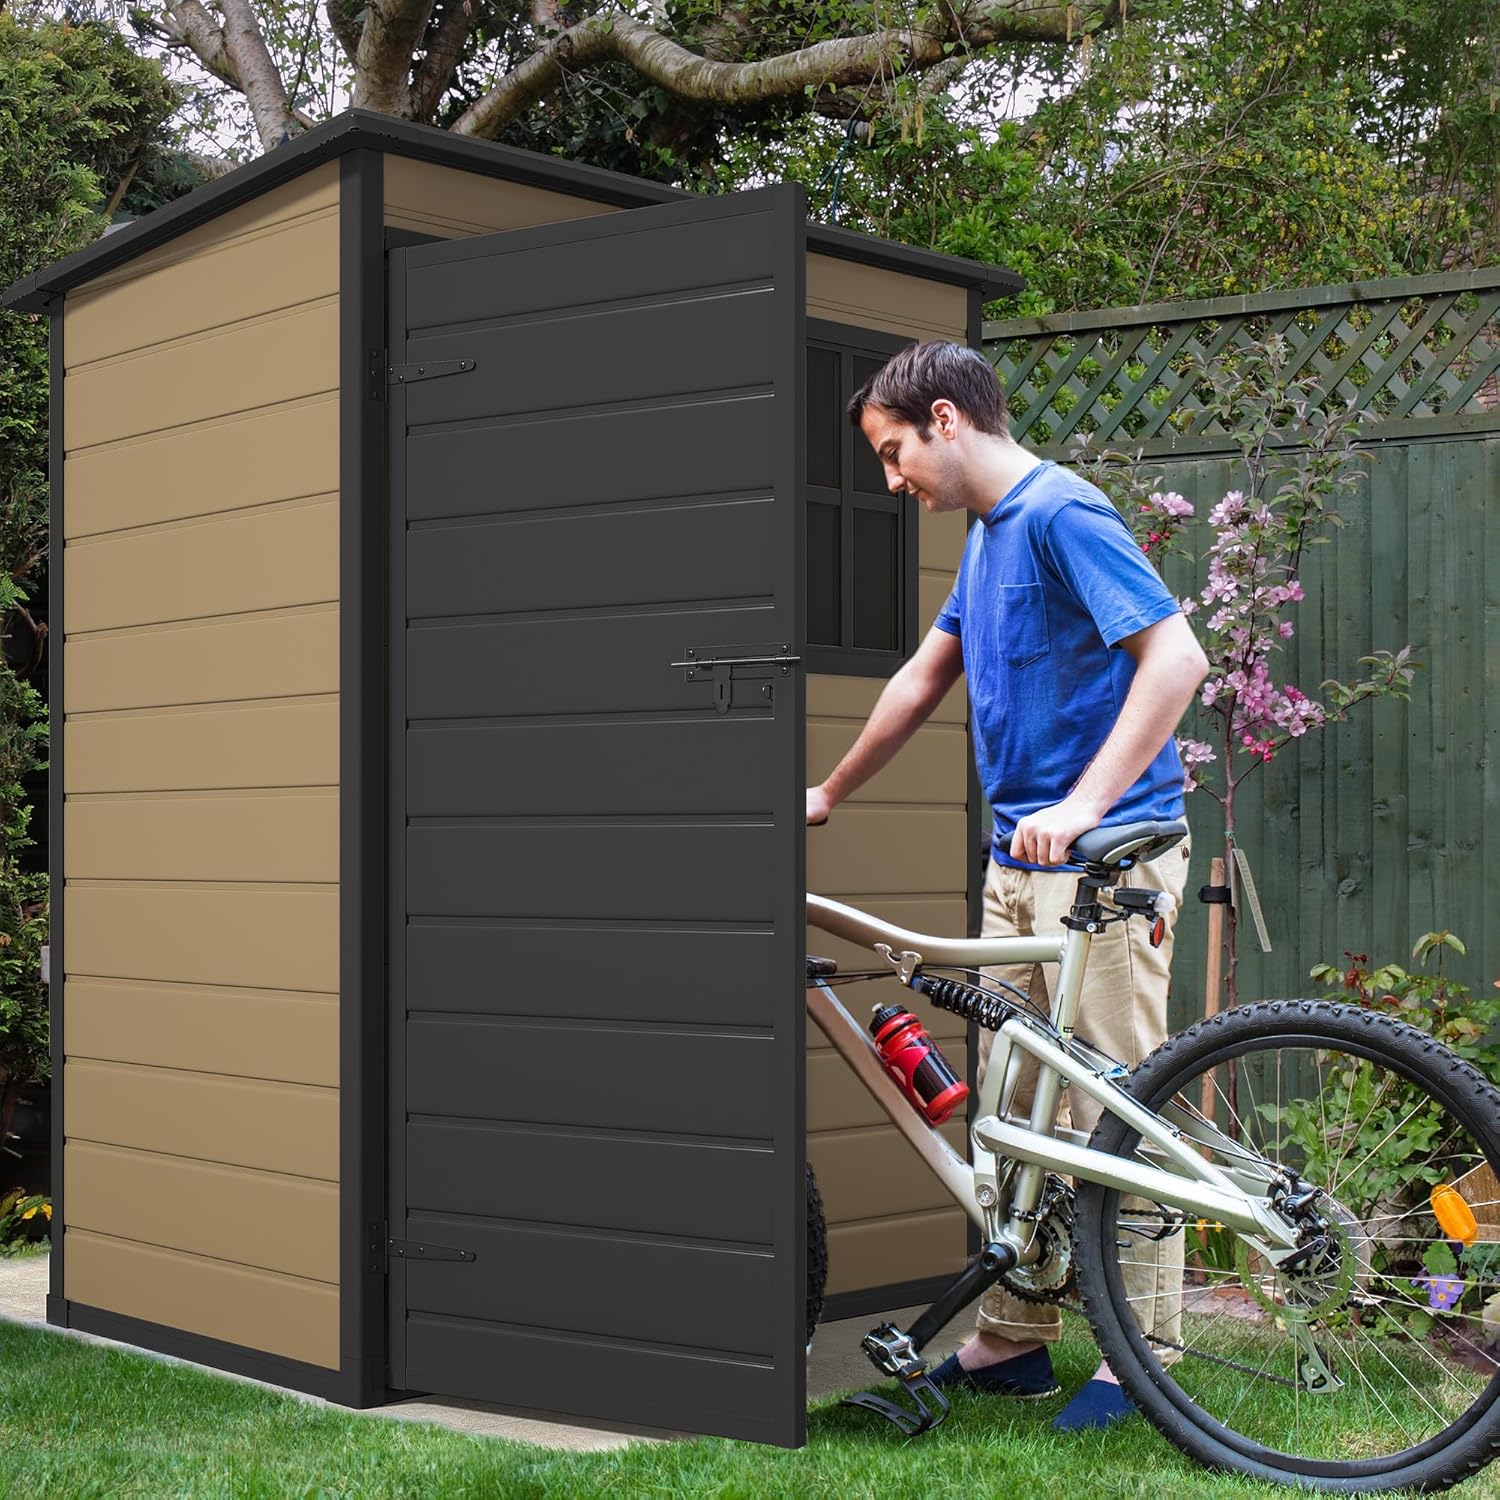
Image 5.1: A user demonstrating the ease of storing a bicycle within the shed, highlighting its practical storage capabilities.
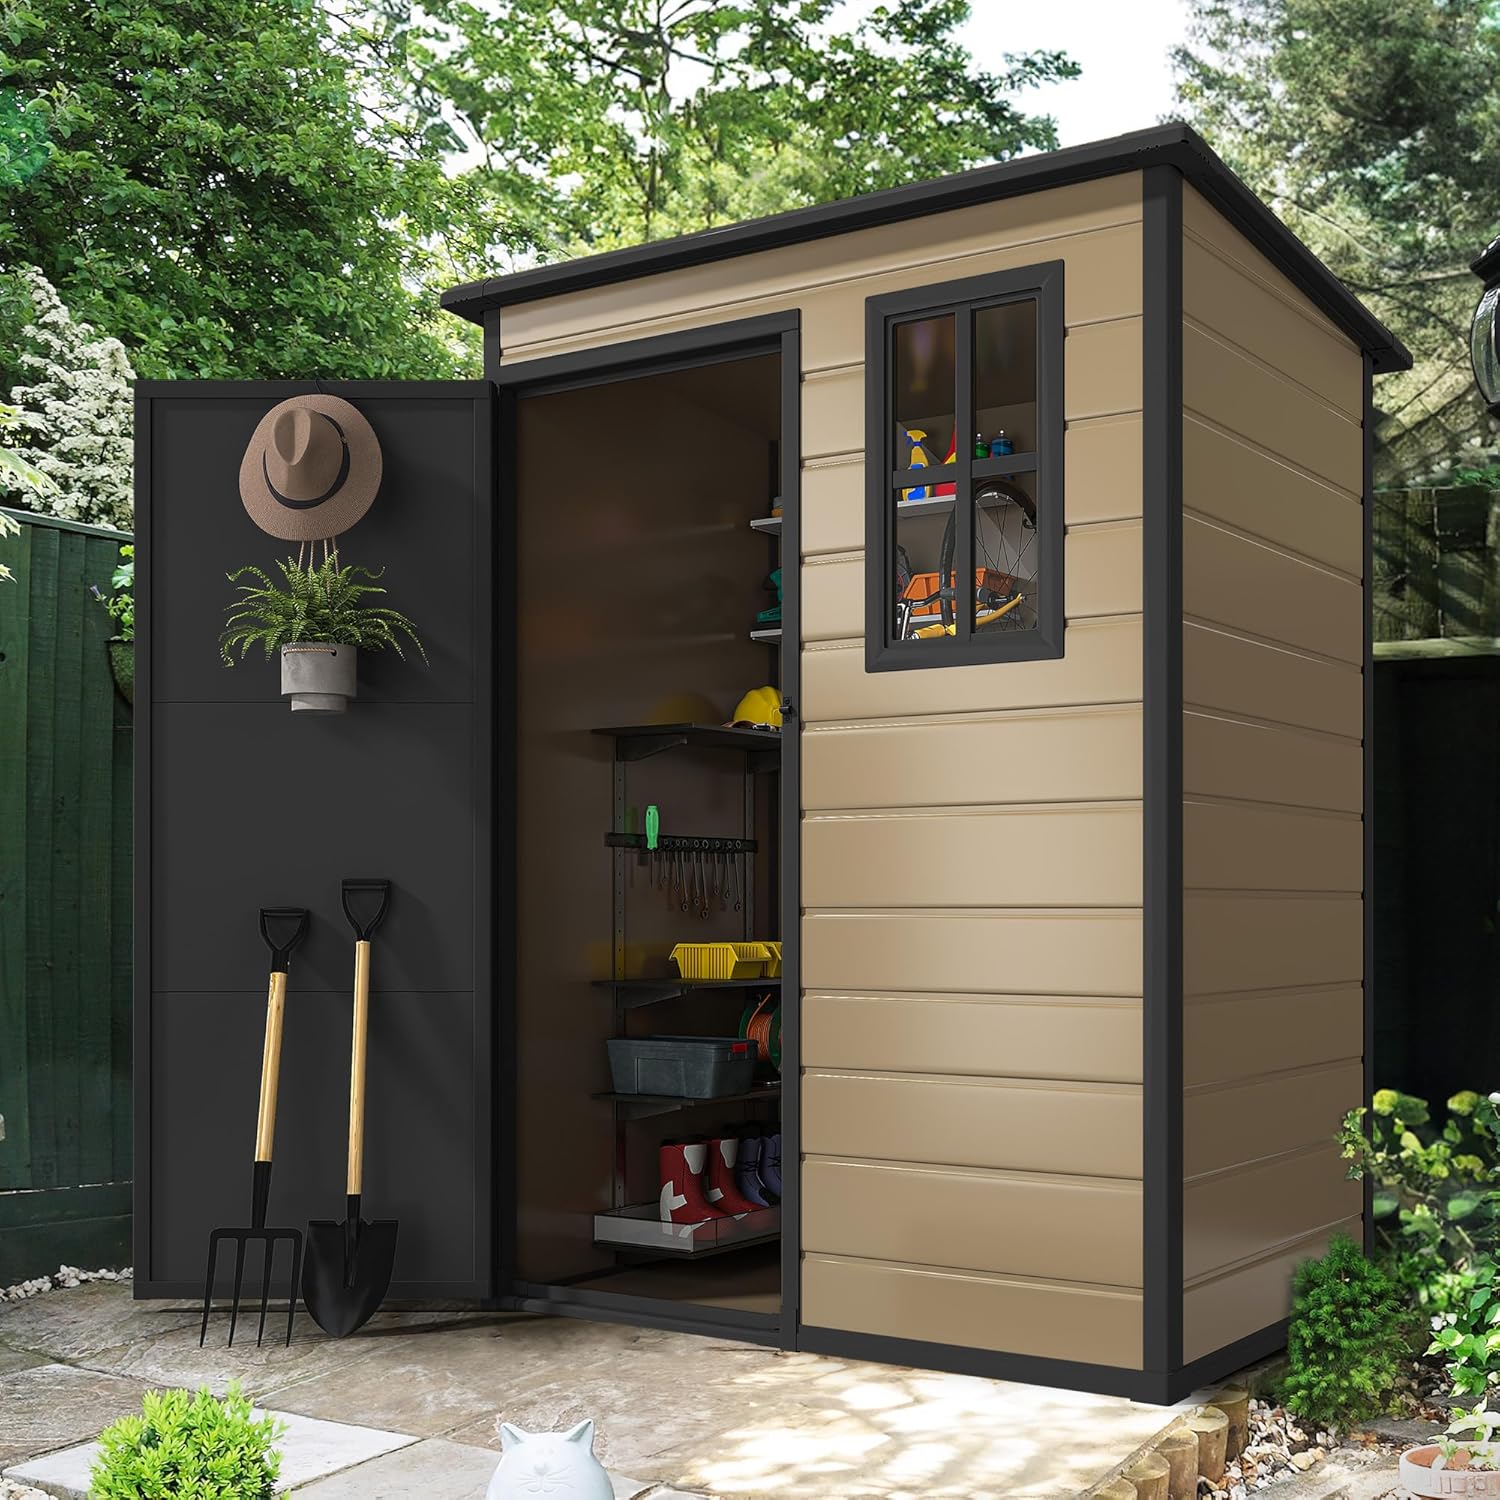
Image 5.2: The shed interior, showing ample space for organizing garden tools, shelves, and other outdoor equipment.

Image 5.3: Detailed view of key features including the smooth corner design, the robust lockable door mechanism, the functional visual window, and the stable base frame.
6. Maintenance
Regular maintenance will extend the life and appearance of your DWVO storage shed.
- Cleaning: Clean the shed periodically with mild soap and water. Avoid abrasive cleaners or harsh chemicals that could damage the resin material. Rinse thoroughly with water.
- Drainage: Ensure the area around the shed remains clear of debris to allow for proper water drainage from the sloped roof.
- Inspection: Periodically check all screws and fasteners to ensure they are tight. Inspect panels for any signs of damage or wear.
- Door Operation: Keep door hinges clean and lubricated if necessary to ensure smooth operation.
7. Troubleshooting
This section addresses common issues you might encounter with your storage shed.
| Problem | Possible Cause | Solution |
|---|---|---|
| Panels do not fit together properly. | Misalignment during assembly; warped panels. | Disassemble affected sections and re-align carefully. Ensure the base is perfectly level. Apply gentle, even pressure to snap panels into place. |
| Water leakage inside the shed. | Improperly sealed joints; blocked roof drainage; damaged panels. | Check all panel connections and roof seams for proper sealing. Clear any debris from the roof and surrounding area. Inspect panels for cracks and consider applying a waterproof sealant to problematic areas. |
| Door does not close or latch securely. | Misaligned door frame; obstructed hinges; damaged latch. | Adjust the door frame or hinges as needed. Clear any obstructions from the hinges. Inspect the latch for damage and replace if necessary. |
| Shed feels unstable. | Uneven ground; inadequate anchoring. | Ensure the shed is on a completely level surface. Secure the shed to the ground using appropriate anchoring methods (e.g., ground anchors, bolting to a concrete slab). |
8. Specifications
Detailed specifications for the DWVO 5x3ft Resin Outdoor Storage Shed.
| Feature | Specification |
|---|---|
| Brand | DWVO |
| Model Number | MADWVf4BmW |
| Color | Brown |
| Material | Plastic (Thermoplastic Synthetic Resin) |
| Product Dimensions (D x W x H) | 35.8"D x 59.4"W x 75.8"H (91cm D x 151cm W x 192cm H) |
| Internal Dimensions (D x W x H) | 29.9"D x 53.1"W x 70.8"H (76cm D x 135cm W x 180cm H) |
| Floor Area | 15 square feet |
| Storage Capacity | 65 cubic feet |
| Door Style | Single Hinged, Lockable |
| Water Resistance Level | Waterproof |
| Ultraviolet Light Protection | UV-resistant |
| Panel Thickness | 12mm (Double-layer resin) |

Image 8.1: A comprehensive diagram illustrating the external and internal dimensions of the shed, including height, width, and depth measurements in both inches and centimeters.
9. Warranty and Support
For any questions regarding your DWVO 5x3ft Resin Outdoor Storage Shed, including assembly assistance, missing parts, or warranty claims, please contact DWVO customer support. Refer to your product packaging or the DWVO official website for contact information.


