1. Introduction
This manual provides essential information for the safe assembly, operation, and maintenance of your Ciays 43-Inch Rectangular Propane Fire Pit. Please read all instructions carefully before using the product to ensure proper function and safety.
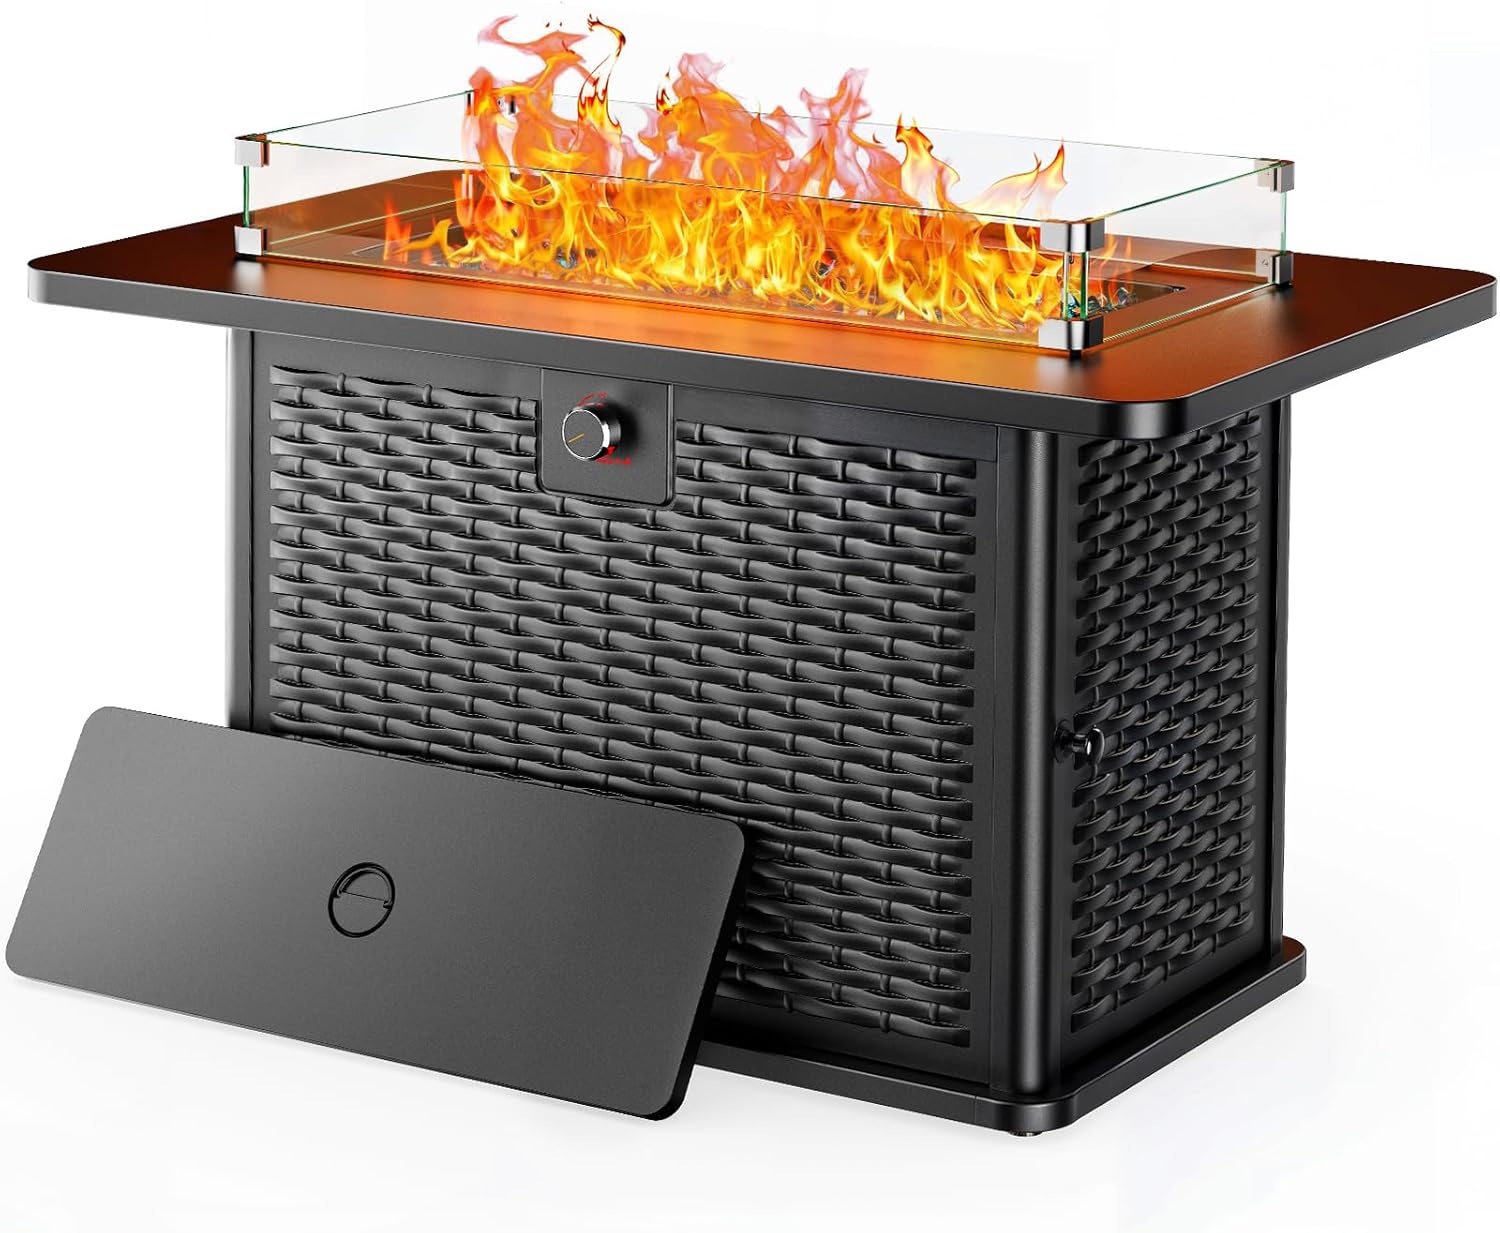
Image 1.1: Ciays 43-Inch Rectangular Propane Fire Pit with windshield and protective cover.
2. Important Safety Information
WARNING: Failure to follow these instructions could result in fire, explosion, or carbon monoxide poisoning, which could cause property damage, personal injury, or death.
- Always maintain a safe distance from the fire pit to combustible materials.
- Use only approved fuel types (Liquefied Petroleum Gas).
- Keep children and pets away from the fire pit when in use.
- Always extinguish the fire before leaving or going to sleep.
- Store the fire pit in a cool, dry place when not in use.
- Do not store or use gasoline or other flammable vapors and liquids in the vicinity of this or any other appliance.
- An LP cylinder not connected for use shall not be stored in the vicinity of this or any other appliance.
- For outdoor use only. Do not use indoors.
- Read all instructions before assembly and operation.
3. Package Contents
Verify that all components are present before beginning assembly. If any parts are missing or damaged, do not attempt to assemble or operate the fire pit. Contact customer service for assistance.
- Fire Pit Table Unit
- 304 Stainless Steel H-Burner (pre-installed)
- Glass Stones (for burner area)
- Transparent Wind Guard (glass panels and corner brackets)
- Protective Cover (for tabletop)
- Ignition Battery (AAA or AA, typically included)
- Hardware Pack (screws, washers, nuts)
- Instruction Manual
4. Assembly Instructions
Assembly typically requires two people and takes approximately 60-90 minutes. Tools required: Phillips head screwdriver, adjustable wrench (not included).
- Unpack Components: Carefully remove all parts from the packaging. Place them on a soft, clean surface to prevent scratches.
- Assemble Base Structure: Follow the diagrams in the included paper manual to connect the side panels and base frame. Ensure all screws are tightened securely.
- Attach Tabletop: Carefully place the tabletop onto the assembled base. Secure it using the provided hardware.
- Install Propane Tank Holder: If not pre-installed, secure the propane tank retention screw or strap inside the cabinet.
- Connect Gas Line: Connect the gas hose from the burner to the control valve, then to the propane tank regulator. Ensure all connections are hand-tight, then use a wrench for a final snug fit. Do not overtighten.
- Place Glass Stones: Distribute the glass stones evenly over the burner area, ensuring not to block the igniter or burner holes.
- Assemble Wind Guard: Attach the glass panels to the corner brackets using the provided hardware. Place the assembled wind guard around the burner opening.
- Install Ignition Battery: Insert the specified battery (e.g., AAA) into the igniter button compartment.

Image 4.1: The fire pit features a spacious 43-inch top and a cabinet for a standard 20 lb propane tank (not included).
5. Operating Instructions
5.1. Connecting the Propane Tank
- Ensure the control knob on the fire pit is in the "OFF" position.
- Open the cabinet door and place a standard 20 lb propane tank upright inside.
- Connect the regulator hose to the propane tank valve. Turn the black coupling nut clockwise until fully tightened.
- Secure the propane tank using the internal retention mechanism.
- Perform a leak test: Apply a soapy water solution to all gas connections. Open the propane tank valve. If bubbles appear, there is a leak. Close the tank valve immediately and re-tighten connections. Repeat until no bubbles are present. Do not operate if a leak persists.
5.2. Lighting the Fire Pit
- Ensure the propane tank valve is fully open.
- Push and hold the control knob in, then slowly turn it to the "LOW" position.
- While holding the control knob in, press and hold the igniter button repeatedly until the burner ignites.
- Once ignited, continue to hold the control knob in for 15-20 seconds to allow the thermocouple to heat up.
- Release the control knob. If the flame extinguishes, repeat steps 2-4.
5.3. Adjusting the Flame
The fire pit features an infinite adjustment knob, allowing precise control over flame height and heat output.
- To increase flame height and heat, slowly turn the control knob towards the "HIGH" position.
- To decrease flame height and heat, slowly turn the control knob towards the "LOW" position.

Image 5.1: The stepless adjustment switch allows for precise control of flame intensity.
5.4. Turning Off the Fire Pit
- Turn the control knob to the "OFF" position.
- Close the valve on the propane tank by turning it clockwise until fully closed.
- Allow the fire pit to cool completely before covering or moving.
6. Maintenance
6.1. Cleaning
- Exterior Surfaces: Wipe with a soft cloth and mild soapy water. Rinse thoroughly and dry completely. Do not use abrasive cleaners or solvents.
- Burner: Periodically inspect the burner for obstructions (e.g., spider webs, debris). Use a soft brush to clean burner ports.
- Glass Stones: The glass stones can be rinsed with water and allowed to dry before being placed back in the fire pit.
- Wind Guard: Clean glass panels with a glass cleaner and a soft cloth.
6.2. Storage
- Always ensure the fire pit is completely cool before covering or storing.
- Use the included protective cover to shield the fire pit from weather elements when not in use.
- Store the fire pit in a cool, dry location, away from direct sunlight and moisture.
- Disconnect the propane tank and store it in a well-ventilated area outdoors, away from heat sources and open flames.
7. Troubleshooting
If you encounter issues with your fire pit, refer to the following common problems and solutions:
| Problem | Possible Cause | Solution |
|---|---|---|
| Burner will not ignite | No gas flow; Igniter battery dead; Igniter electrode dirty or damaged; Air in gas line | Check propane tank valve; Replace igniter battery; Clean or adjust igniter electrode; Purge air by repeating lighting procedure |
| Low flame or flickering | Low propane level; Regulator issue; Burner ports obstructed | Check propane tank level; Ensure regulator is fully connected; Clean burner ports |
| Flame goes out after releasing control knob | Thermocouple not heated sufficiently; Thermocouple faulty | Hold control knob in for longer (15-20 seconds) after ignition; Contact customer service if issue persists |
| Gas odor detected | Gas leak | Immediately turn off gas at tank. Perform leak test. Do not operate if leak persists. Contact emergency services if odor is strong. |
8. Specifications
- Brand: Ciays
- Model Number: CIFPT53B-43-US
- Product Dimensions: 43"D x 25"W x 25"H
- Material: Alloy Steel
- Finish Type: Lacquered
- Shape: Rectangular
- Item Weight: 63.93 Pounds
- Fuel Type: Liquefied Petroleum Gas (LP Gas)
- Heat Output: 60,000 BTU
- Color: Black
- UPC: 810158829602
9. Warranty and Support
For warranty information or technical support, please refer to the contact details provided with your purchase documentation or visit the official Ciays website. Keep your purchase receipt as proof of purchase for any warranty claims.