
ClokoWe T800
ClokoWe Mini Projector T800 User Manual
Model: T800
1. Introduction
This manual provides detailed instructions for the safe and effective use of your ClokoWe Mini Projector T800. Please read this manual thoroughly before operating the device and retain it for future reference.
Safety Information
- Do not look directly into the projector lens when the lamp is on.
- Ensure proper ventilation around the projector to prevent overheating.
- Keep the projector away from water or other liquids.
- Use only the power adapter provided with the device.
- Do not attempt to disassemble or repair the projector yourself. Contact customer support for assistance.
2. Package Contents
Verify that all items are present in the package:
- ClokoWe Mini Projector T800
- HDMI Cable
- Remote Control
- Power Cord
- User Manual (this document)
3. Product Overview
Familiarize yourself with the projector's components and features.
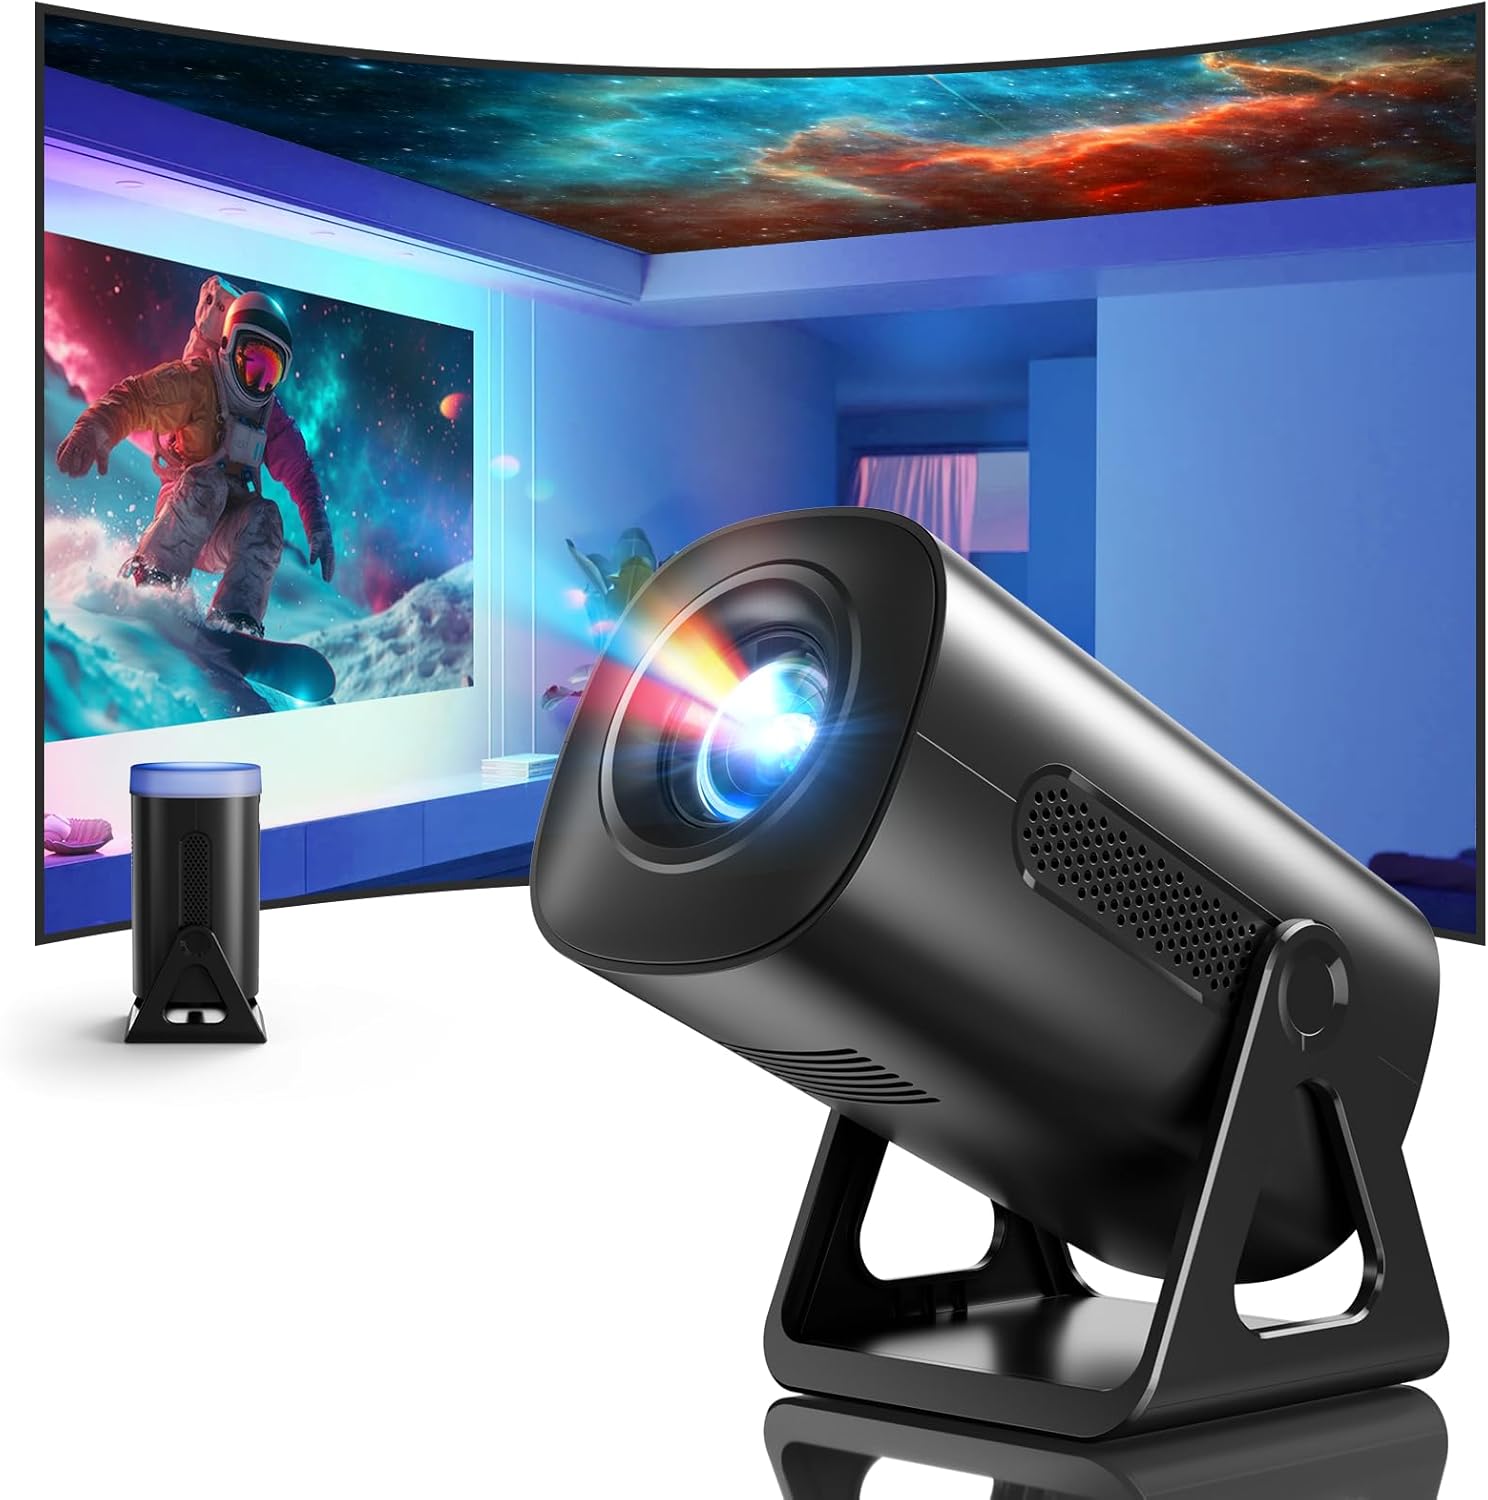
Image 3.1: Front view of the ClokoWe Mini Projector T800, showcasing its compact design and projection capability.
Key Features:
- Native 1080p Resolution with 4K Support
- 270° Rotatable Stand for flexible projection angles
- Integrated Star Projector with 6 Galaxy Projection Modes and 7 Ambient Night Light Colors
- Dual Band WiFi 6 (2.4G/5G) for stable wireless connectivity
- Bluetooth 5.2 HiFi Speaker for enhanced audio
- Automatic Keystone Correction and 50%-100% Zoom function
- Multiple connectivity options: USB, HDMI, AV, Audio

Image 3.2: Dimensions and weight of the projector, highlighting the 270-degree rotatable stand.
4. Setup
4.1 Power Connection
- Connect the power cord to the projector's power input port.
- Plug the other end of the power cord into a standard electrical outlet.
- The power indicator light will illuminate.
4.2 Placement and Adjustment
The 270° rotatable stand allows for flexible placement and projection.

Image 4.1: The projector's 270-degree rotation feature, enabling projection onto walls, floors, or ceilings.
- Positioning: Place the projector on a stable, flat surface.
- Angle Adjustment: Rotate the projector body on its stand to achieve the desired projection angle (up to 270 degrees).
- Focus: Use the focus ring on the projector lens to sharpen the image.
- Keystone Correction: The projector features automatic keystone correction. If the image appears trapezoidal, the device will automatically adjust it to a rectangular shape. Manual adjustments may also be available in the settings menu.

Image 4.2: Demonstration of automatic keystone correction and image zoom capabilities.
5. Operating Instructions
5.1 Initial Power On
- Press the power button on the projector or the remote control.
- The projector will start up and display the main interface.
5.2 Connectivity
The projector supports various input sources and wireless connections.

Image 5.1: Overview of supported device connections via HDMI, USB, and Audio interfaces.
5.2.1 WiFi Connection (Dual Band WiFi 6)
- Navigate to the 'Settings' menu on the projector.
- Select 'Network' or 'WiFi Settings'.
- Choose your desired 2.4G or 5G WiFi network from the list.
- Enter the password and connect.

Image 5.2: Demonstrating Dual Band WiFi 6 connectivity and wired screen mirroring with a smartphone.
5.2.2 Bluetooth Connection (Bluetooth 5.2)
- Go to 'Settings' and select 'Bluetooth'.
- Turn on Bluetooth and search for available devices.
- Select your Bluetooth speaker or headphones from the list to pair.

Image 5.3: The projector's Bluetooth 5.2 capability for connecting to external audio devices.
5.2.3 HDMI/USB/AV Connection
- Connect your device (e.g., laptop, TV stick, game console) to the corresponding HDMI, USB, or AV port on the projector.
- Select the correct input source from the projector's main menu using the remote control.
5.3 Projection Modes (Star Projector & Night Light)
The projector includes integrated ambient lighting features.

Image 5.4: The projector's ability to display 7 night light colors and 6 galaxy projection modes.
- Galaxy Projection: Access the 'Star Projector' or 'Galaxy Modes' option in the menu to select from 6 different galaxy patterns.
- Ambient Night Light: With the lens cover on, select from 7 ambient light colors to use the projector as a night light.
5.4 Image Adjustment
- Zoom Function: Adjust the projection size from 50% to 100% via the projector's menu settings.
- Picture Quality: The projector supports native 1080p resolution and 4K input. Ensure your source content is of high quality for the best viewing experience.
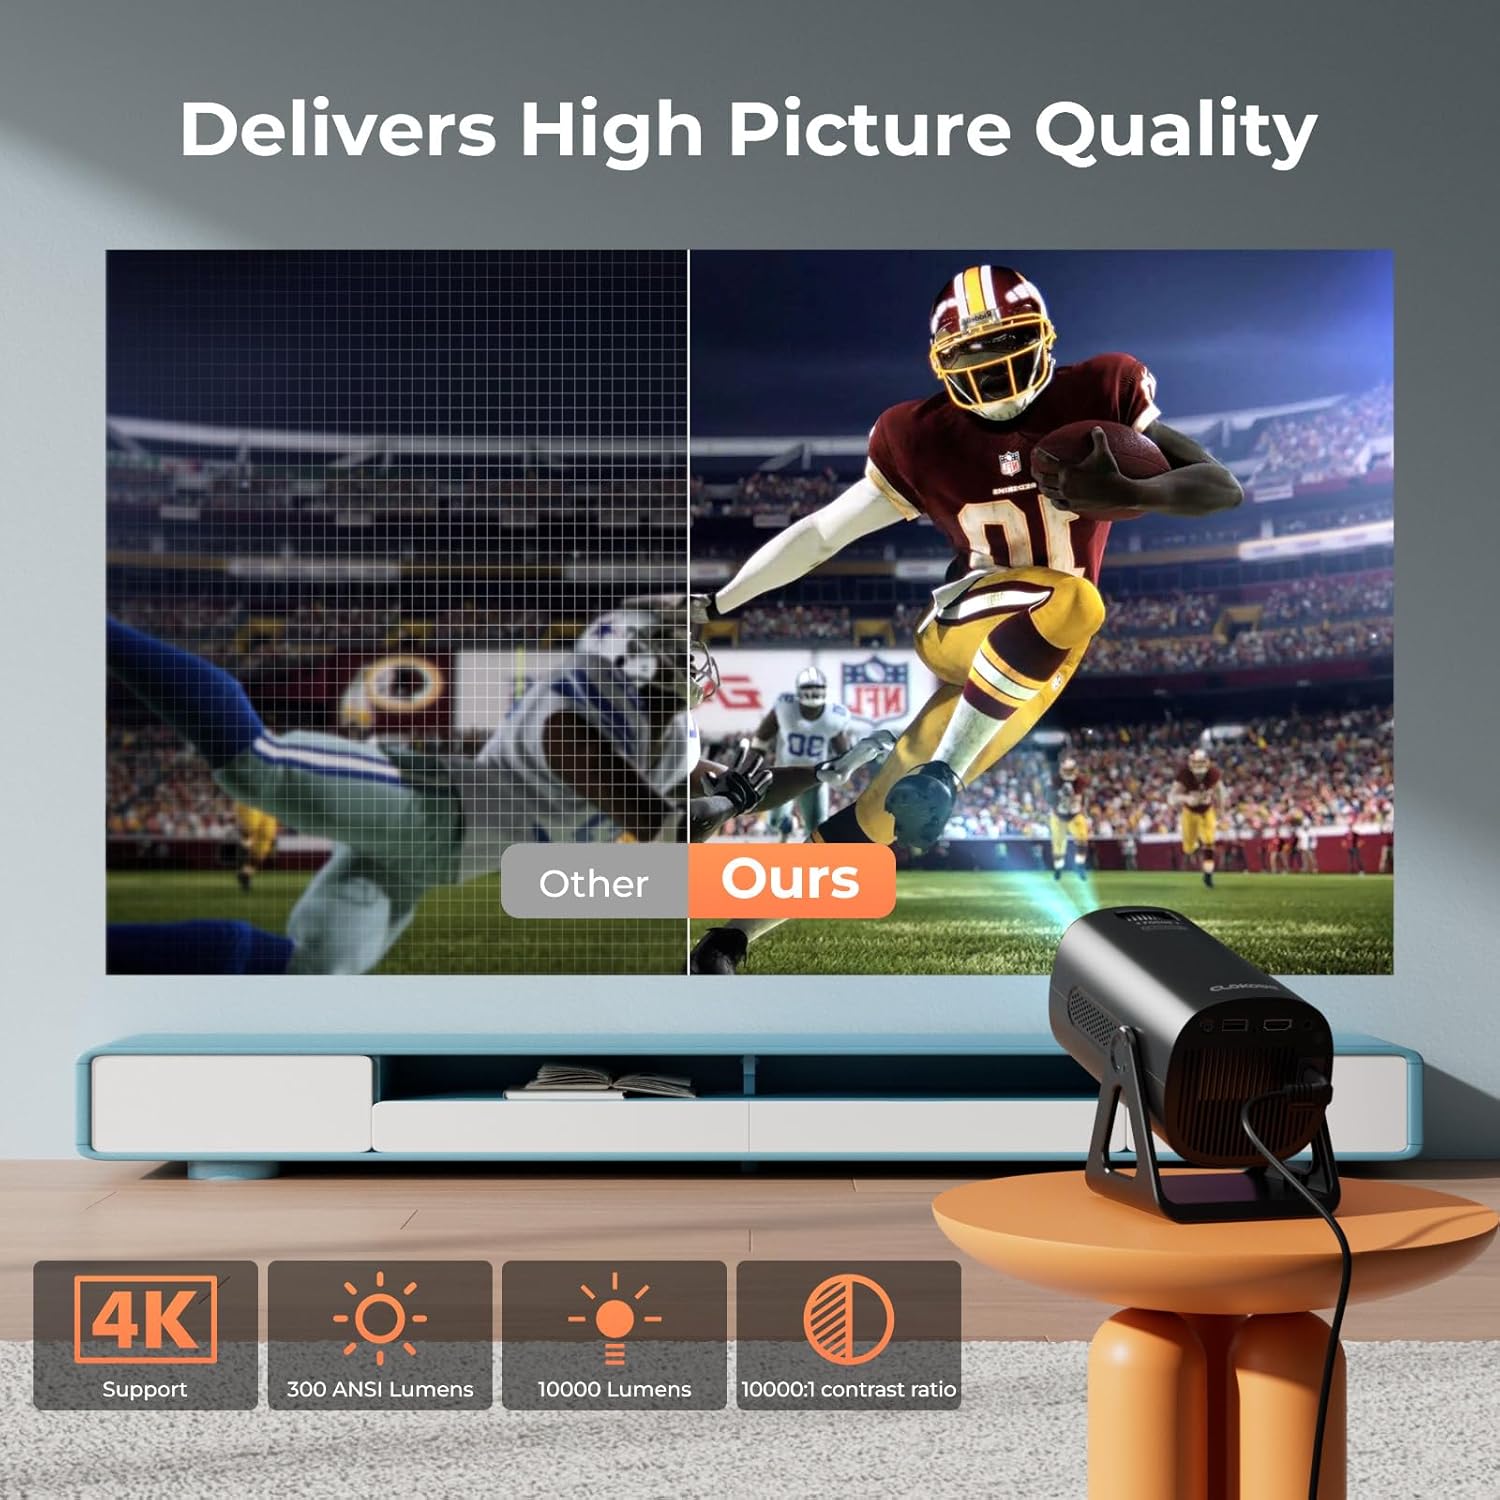
Image 5.5: Visual comparison of picture quality, emphasizing 4K support and brightness specifications.
6. Maintenance
- Lens Cleaning: Use a soft, lint-free cloth specifically designed for optical lenses to gently wipe the projector lens. Do not use abrasive cleaners.
- Dust Removal: Regularly clean the projector's vents with a soft brush or compressed air to prevent dust buildup, which can affect performance and lifespan.
- Storage: When not in use for extended periods, store the projector in a cool, dry place, preferably in its original packaging or a protective case.
- Power Off: Always power off the projector correctly and allow it to cool down before unplugging or moving it.
7. Troubleshooting
Common Issues and Solutions:
- No Power:
• Ensure the power cord is securely connected to both the projector and the power outlet.
• Check if the power outlet is functional. - No Image/Signal:
• Verify that the correct input source (HDMI, USB, AV) is selected in the projector's menu.
• Check the connection cables between the projector and the source device.
• Ensure the source device is powered on and outputting a signal. - Blurred Image:
• Adjust the focus ring on the projector lens.
• Ensure the projection surface is flat and the projector is stable.
• Check if the lens is clean. - Image is Trapezoidal:
• The automatic keystone correction should adjust this. If not, check for manual keystone adjustment options in the settings. - No Sound:
• Check the volume settings on both the projector and the source device.
• If using Bluetooth, ensure the external speaker/headphones are properly paired and connected.
• If using HDMI, ensure the audio output is correctly configured on the source device. - WiFi/Bluetooth Connection Issues:
• Ensure the projector is within range of the WiFi router or Bluetooth device.
• Restart the projector and the network device.
• Re-enter WiFi passwords carefully.
8. Specifications
| Feature | Specification |
|---|---|
| Model Number | T800 |
| Display Resolution | 1280 x 720 (Native 1080p, 4K Support) |
| Connectivity Technology | 3.5mm Jack, Bluetooth 5.2, HDMI, USB, Wi-Fi 6 (2.4G/5G) |
| Special Feature | Portable, 270° Rotatable Stand, Star Projector, Ambient Night Light, Auto Keystone Correction, Zoom |
| Recommended Uses | Business, Education, Gaming, Home Cinema |
| Item Weight | 2.38 pounds |
| Package Dimensions | 9.13 x 6.69 x 5.28 inches |
9. Warranty and Support
ClokoWe products are designed for reliability and performance. For warranty information, technical support, or service inquiries, please refer to the warranty card included in your package or visit the official ClokoWe website. Please have your model number (T800) and purchase details ready when contacting support.
Related documentsT800


Ask a question about this manual
Ask about setup, troubleshooting, compatibility, parts, safety, or missing instructions. Manuals+ will review the question and use this page’s manual context to help answer it.