
1. Introduction
Thank you for choosing the LARMACE Queen Size Bed Frame. This manual provides detailed instructions for assembly, operation, maintenance, and troubleshooting to ensure safe and optimal use of your new bed frame. Please read this manual thoroughly before assembly and retain it for future reference.

Image 1: LARMACE Queen Size Bed Frame
2. Safety Information
- Do not load more than 1000 pounds onto the bed frame.
- Handle all components with care to avoid potential sharp edges.
- Ensure all screws and bolts are securely tightened during assembly and periodically checked thereafter.
- Keep small parts away from children during assembly to prevent choking hazards.
- Do not stand on the bed frame or use it as a ladder.
- Unplug the charging station and LED lights before cleaning or maintenance.
3. Parts List
Before beginning assembly, verify that all parts are present and undamaged. Refer to the assembly video for visual identification of components.
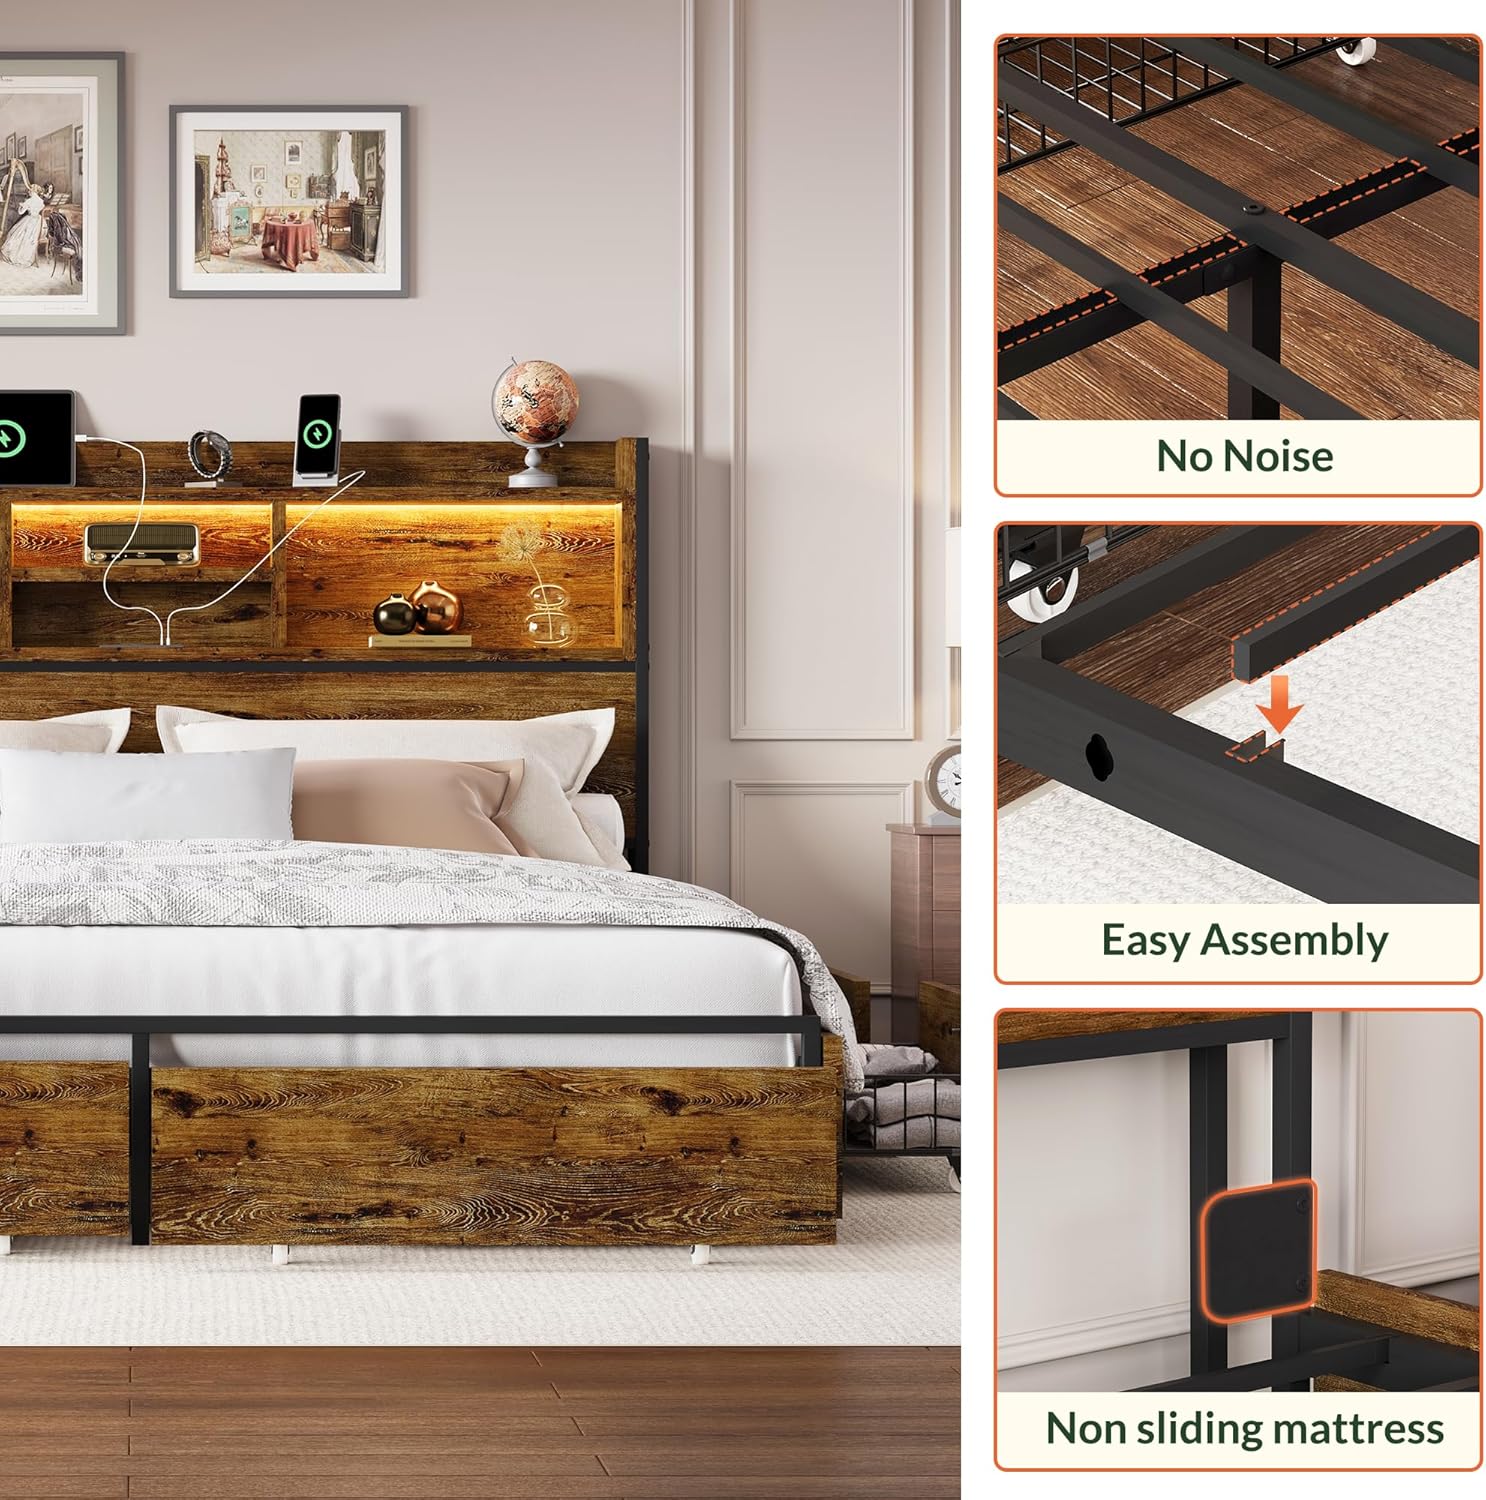
Image 2: Key components of the LARMACE Bed Frame.
- Headboard with integrated shelves, LED lights, and charging station.
- Metal bed frame components (side rails, crossbars, support legs).
- Wooden panels for headboard and drawer fronts.
- Six metal mesh storage drawers with wheels.
- Assembly hardware (screws, bolts, nuts, Allen wrench).
4. Setup and Assembly Instructions
Assembly is designed to be straightforward. All parts and tools are marked with letters or numbers for easy identification. It is recommended to assemble the bed frame with two people.
4.1. Assembly Video Guide
For a visual step-by-step guide, please watch the official LARMACE Bed Frame Installation Video:
Video 1: LARMACE Bed Frame Installation Guide. This video demonstrates the complete assembly process for the bed frame, including the headboard, main frame, and storage drawers.
4.2. Step-by-Step Assembly Overview
- Headboard Shelf Assembly: Assemble the internal shelves of the headboard using the provided screws.
- Charging Station Installation: Secure the charging station into the designated slot on the headboard.
- Headboard Panel Attachment: Attach the main wooden panels to the headboard frame.
- LED Strip Installation: Carefully attach the LED light strip to the underside of the headboard shelves.
- Main Bed Frame Construction: Assemble the metal side rails and crossbars, ensuring all connections are secure.
- Headboard to Frame Connection: Attach the assembled headboard to the main bed frame.
- Slat Installation: Place the metal slats onto the bed frame, ensuring they are evenly spaced and secured.
- Drawer Assembly: Assemble the metal mesh drawers and attach the wooden fronts. Ensure the wheels are properly installed.
- Drawer Placement: Insert the assembled drawers into their designated positions under the bed frame. Utilize the screw clips to secure drawers and prevent unwanted sliding.

Image 3: Six large capacity storage drawers with wheels.
5. Operating Instructions
5.1. LED Lighting System
The integrated RGB LED lighting system can be controlled via a dedicated mobile application or the included remote control. Features include:
- Over 60,000 color options.
- Adjustable brightness levels.
- Multiple lighting modes (e.g., rhythm color, static color).
- Timing function for scheduled on/off.
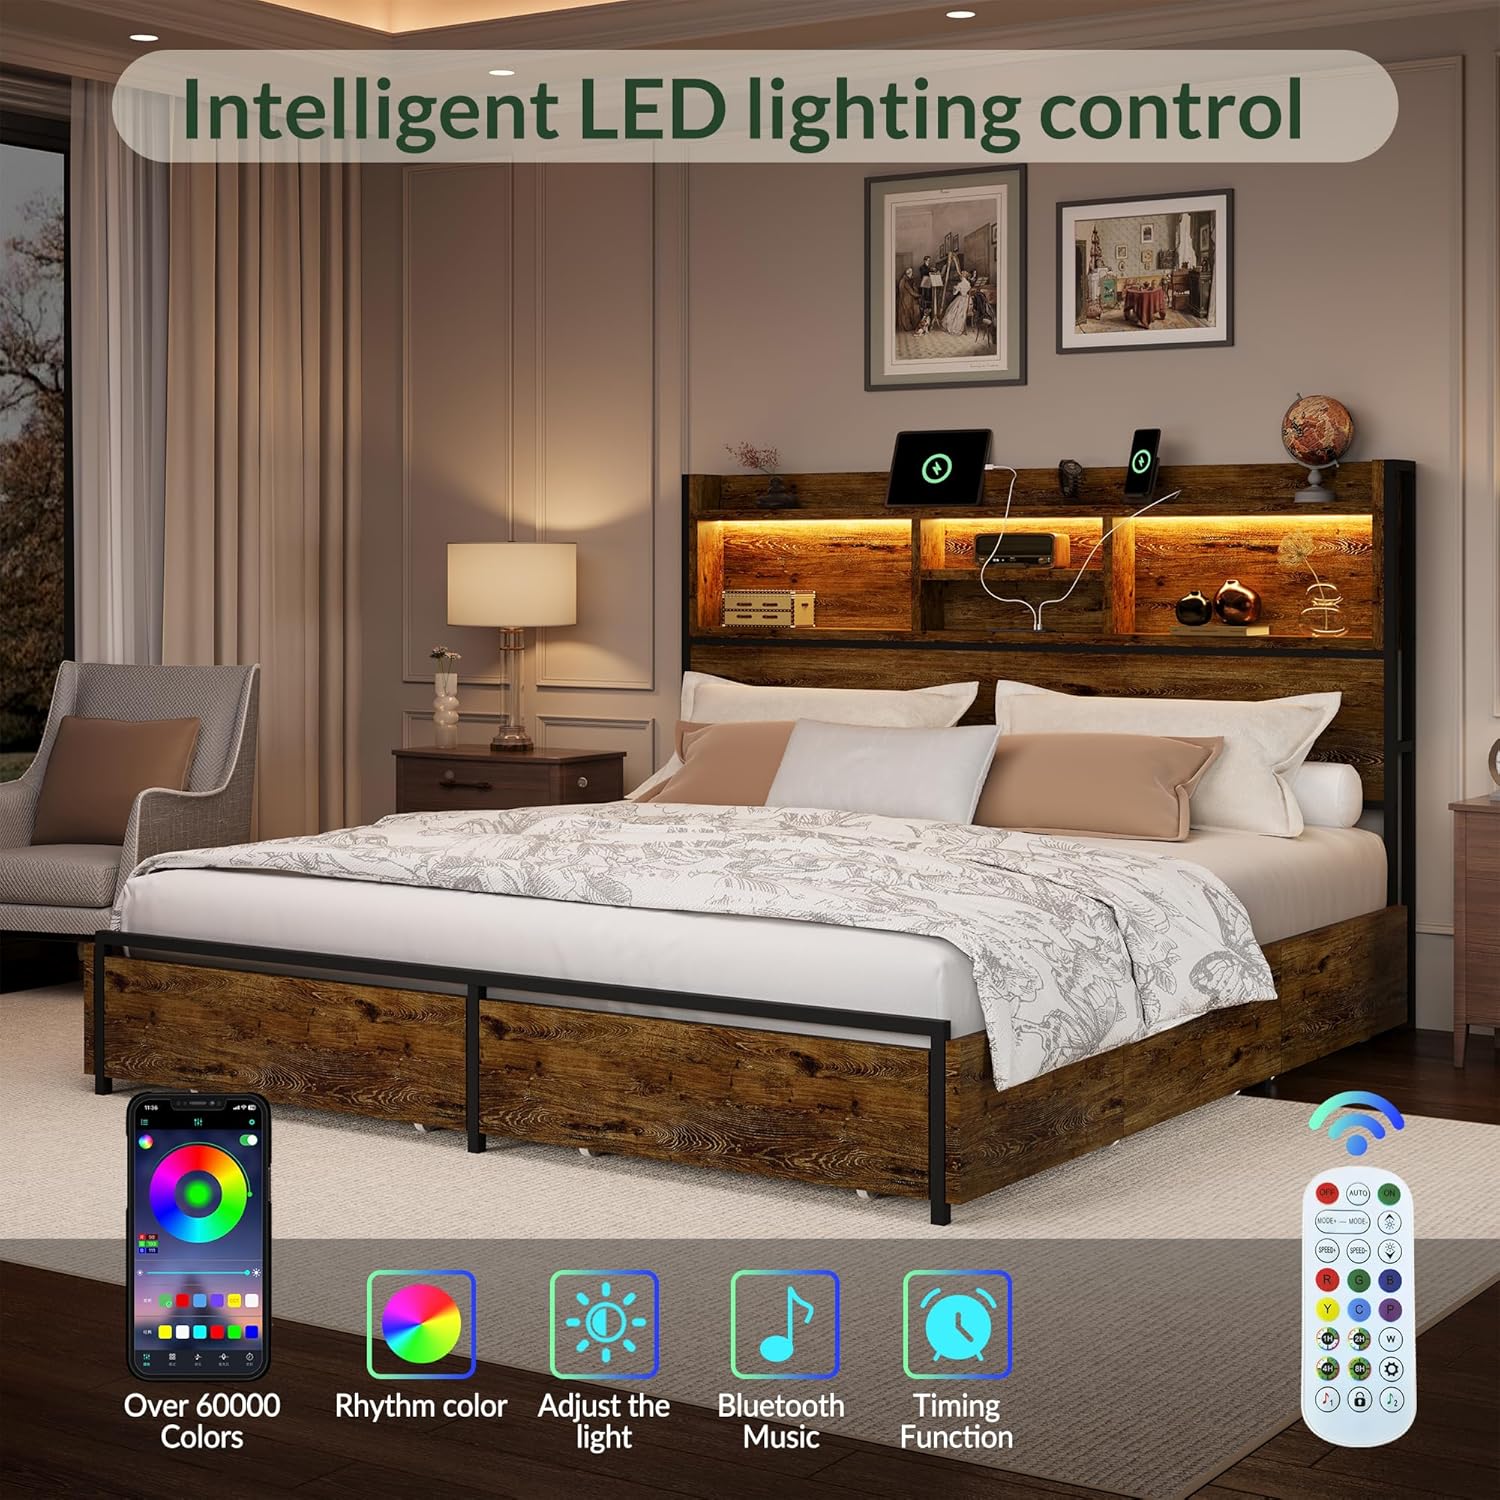
Image 4: Intelligent LED lighting control options.
5.2. Charging Station
The headboard features a built-in charging station for convenient power access:
- 2 x 125V/12A AC Outlets.
- 1 x 5V/2A USB Port.
- 1 x 5V/2A Type-C Port.
To use, simply plug the bed frame's power cord into a wall outlet. Devices can then be connected to the charging station ports.

Image 5: Practical built-in charging station.
5.3. Storage Drawers
The six sliding storage drawers provide ample space for various items. Each drawer is equipped with wheels for easy access. To prevent unwanted movement, utilize the integrated screw clips to secure the drawers to the bottom of the bed frame.
6. Maintenance
- Cleaning: Wipe down wooden surfaces with a soft, damp cloth. Avoid harsh chemicals. For metal parts, use a mild cleaner and dry thoroughly.
- Hardware Check: Periodically inspect all screws, bolts, and connections to ensure they remain tight. Tighten as necessary to maintain stability and prevent squeaking.
- LED Lights: If LED lights malfunction, check the power connection and remote control battery. If issues persist, contact customer support.
- Charging Station: Ensure the charging station is free from dust and debris. Do not attempt to repair internal components.
- Drawers: Keep drawer wheels clean and free of obstructions for smooth operation.
7. Troubleshooting
| Problem | Possible Cause | Solution |
|---|---|---|
| Bed frame squeaks. | Loose connections or uneven assembly. | Check and tighten all bolts and screws. Ensure the frame is level. |
| LED lights not working. | Power cord unplugged, remote battery dead, or faulty connection. | Ensure power cord is securely plugged in. Replace remote battery. Check LED strip connections. |
| Charging station not providing power. | Bed frame power cord unplugged or circuit overload. | Verify bed frame is plugged into a live outlet. Reduce number of devices plugged into the station. |
| Storage drawers slide out easily. | Screw clips not engaged or installed. | Ensure the screw clips are properly installed and engaged to prevent drawers from sliding. |
8. Specifications
- Size: Queen
- Product Dimensions: 86.8"L x 61.8"W x 51.2"H
- Weight Capacity: Up to 1000 lbs
- Material: Wood, Metal
- Color: Brown (Vintage Brown)
- Special Features: LED Lighting, Charging Station (2 AC, 1 USB, 1 Type-C), 6 Storage Drawers, No Box Spring Needed, Squeak Resistant, Easy Assembly.
- Recommended Mattress Size: 8"-12" thickness

Image 6: Product dimensions and mattress recommendation.
9. Warranty and Support
For warranty information, product support, or to report missing/damaged parts, please contact LARMACE customer service through your original point of purchase. Please have your order number and product model (B0DW7SQ6DL) ready for faster assistance.
You can also visit the official LARMACE store for more information: LARMACE Store on Amazon.


