
Introduction
This manual provides essential information for the safe and efficient installation, operation, and maintenance of your Koda 6000 LM Modern Directional Shop Light with Motion Sensor. Please read all instructions carefully before use and retain this manual for future reference.
Safety Information
- Always disconnect power before installation, maintenance, or cleaning.
- Ensure the power supply voltage matches the product's requirements (120V).
- Do not look directly into the LED light source when illuminated.
- This product is designed for indoor use only.
- Installation should be performed by a qualified electrician if you are unsure.
- Keep away from flammable materials.
Package Contents
Verify that all components are present and undamaged:
- 1 x Koda Modern Directional LED Shop Light
- 1 x Installation Kit (includes hanging chains, ceiling hooks, mounting clips, screws, plastic anchors, and end caps)
- 1 x 5 ft. Plug-in Power Cord with On/Off Switch
- 1 x Linkable Connector Cable (for connecting multiple fixtures)
Setup and Installation
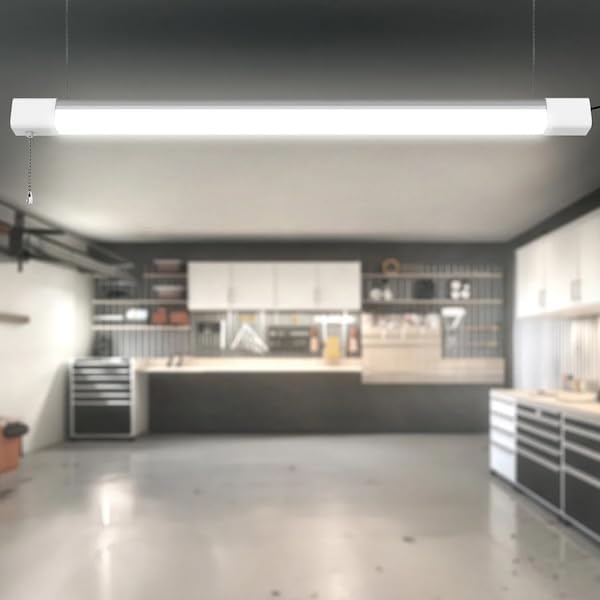
The Koda Shop Light offers flexible installation options, including flush mount and suspended mount. Up to 6 fixtures can be linked together for extended lighting coverage.
Dimensions Overview
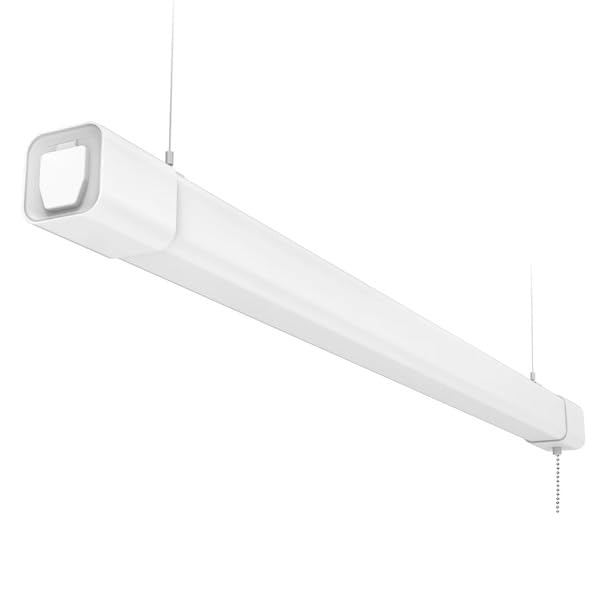
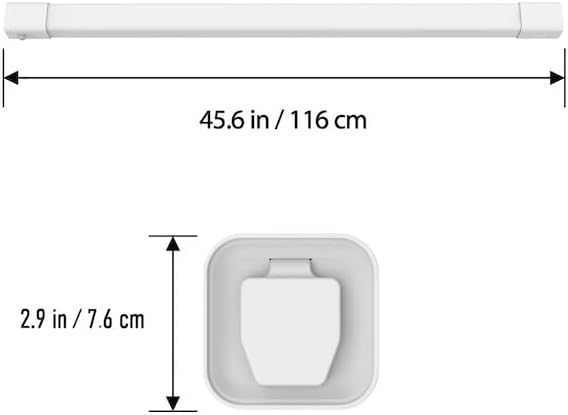
Image: Product dimensions showing a length of 45.6 inches (116 cm) and a width/height of 2.9 inches (7.6 cm).
Installation Methods
Choose between hanging mount or surface mount based on your preference and workspace requirements. The included installation kit provides all necessary hardware.
Hanging Mount Installation
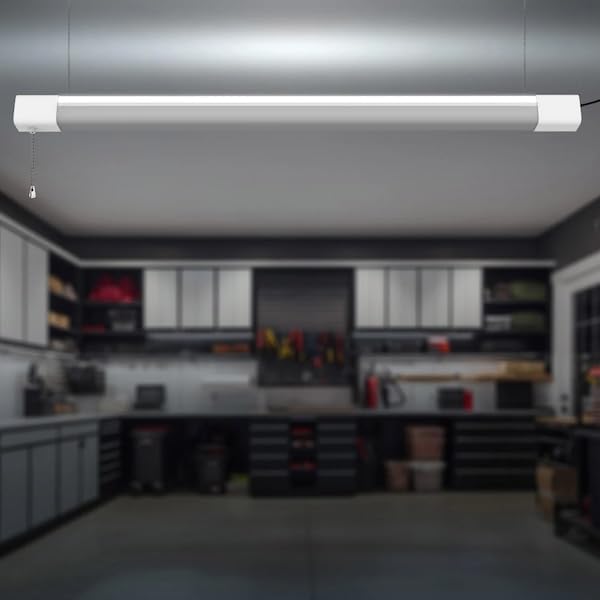
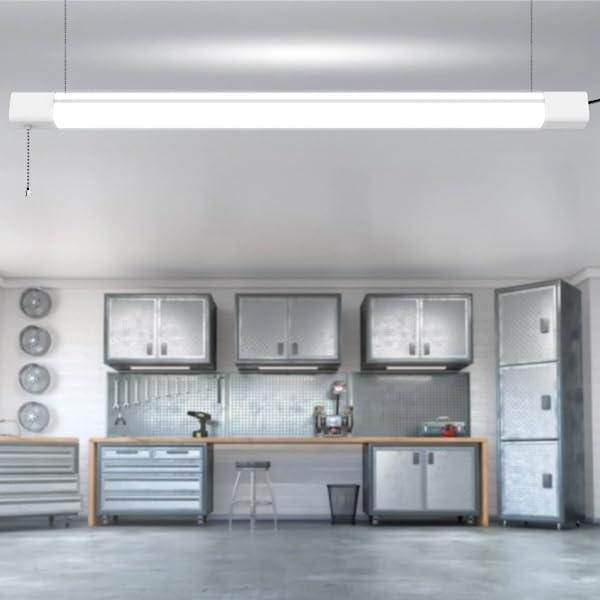
For suspended installation, use the provided hanging chains and ceiling hooks. Secure the hooks to a sturdy ceiling structure, then attach the chains to the light fixture. Adjust the chain length to achieve the desired height.
Video: Demonstrates the process of installing a shop light using hanging chains in a garage setting. This video provides a visual guide for suspended mounting.
Surface Mount Installation
For flush mounting, use the provided mounting clips and screws. Mark the desired locations on the ceiling or wall, drill pilot holes, insert plastic anchors if necessary, and secure the clips. Then, snap the light fixture into the secured clips.
Video: Illustrates the installation and use of an LED light fixture, including surface mounting techniques.
Linking Multiple Fixtures
The Koda Shop Light is designed to be linkable, allowing you to connect up to 6 fixtures. Use the provided linkable connector cable to create a continuous lighting system. Ensure the total wattage of linked fixtures does not exceed the recommended limit.
Video: Shows how to use hardwire connections to install and link multiple light fixtures.
Power Connection
Connect the 5 ft. plug-in power cord to one end of the light fixture and then plug it into a standard 120V electrical outlet. The power cord includes an integrated on/off switch for convenient control.
Operating Instructions
Your Koda Shop Light features an advanced motion sensor and multiple brightness settings for optimal control.
Power On/Off
Use the integrated on/off switch on the power cord to manually turn the light fixture on or off. Alternatively, if hardwired, use the wall switch connected to the circuit.
Motion Sensor Functionality
The advanced motion sensor detects movement to automatically turn the light on, providing hands-free operation. The light can be set to Ambient, Main, or All Light Brightness modes via the wall switch or pull switch (if applicable to your specific model variant).
Maintenance
To ensure longevity and optimal performance of your Koda Shop Light, follow these simple maintenance guidelines:
- Cleaning: Gently wipe the fixture with a soft, dry cloth. Do not use abrasive cleaners or solvents.
- Inspection: Periodically check the power cord and connections for any signs of damage.
- LED Lifespan: The LED light source is designed for up to 50,000 hours of use and does not require replacement.
Troubleshooting
If you encounter any issues with your Koda Shop Light, refer to the following common problems and solutions:
| Problem | Possible Cause | Solution |
|---|---|---|
| Light does not turn on | No power supply; Switch is off; Loose connection | Check power outlet; Ensure switch is in 'ON' position; Verify all connections are secure. |
| Motion sensor not working | Sensor obstructed; Incorrect mode selected | Ensure clear line of sight for sensor; Adjust mode settings (Ambient, Main, All Light Brightness). |
| Light flickers | Unstable power supply; Loose wiring | Check power source stability; Inspect wiring connections. |
Specifications
- Light Output: 6000 Lumens
- Power Consumption: 80 Watts
- Voltage: 120V
- Dimensions (L × W × H): 120 cm × 7.6 cm × 8.8 cm (47.25 in. × 3.0 in. × 3.5 in.)
- Weight: 1.81 kg (4.00 lb.)
- Lifespan: Up to 50,000 hours
- Mounting Options: Flush mounted or Suspended
- Linkable: Up to 6 fixtures
- Features: Advanced Motion Sensor, Ambient/Main/All Light Brightness selection
- Certifications: ETL Listed
- Material: Plastic
- Color: White
Warranty and Support
Koda products are designed for reliability and performance. For warranty information, technical support, or service inquiries, please refer to the contact details provided with your purchase documentation or visit the official Koda website.
