
Guide Sensmart Guide TE 211 Mini
Guide TE211 Mini Thermal Monocular User Manual
Model: TE 211 Mini
1. Overview
The Guide TE211 Mini is a portable thermal monocular designed for various applications, including hunting and outdoor observation. It features a 1.43-inch large touch screen, a 256x192 thermal sensor, and is ultra-lightweight and compact for easy portability. This manual provides detailed instructions for its setup, operation, and maintenance.
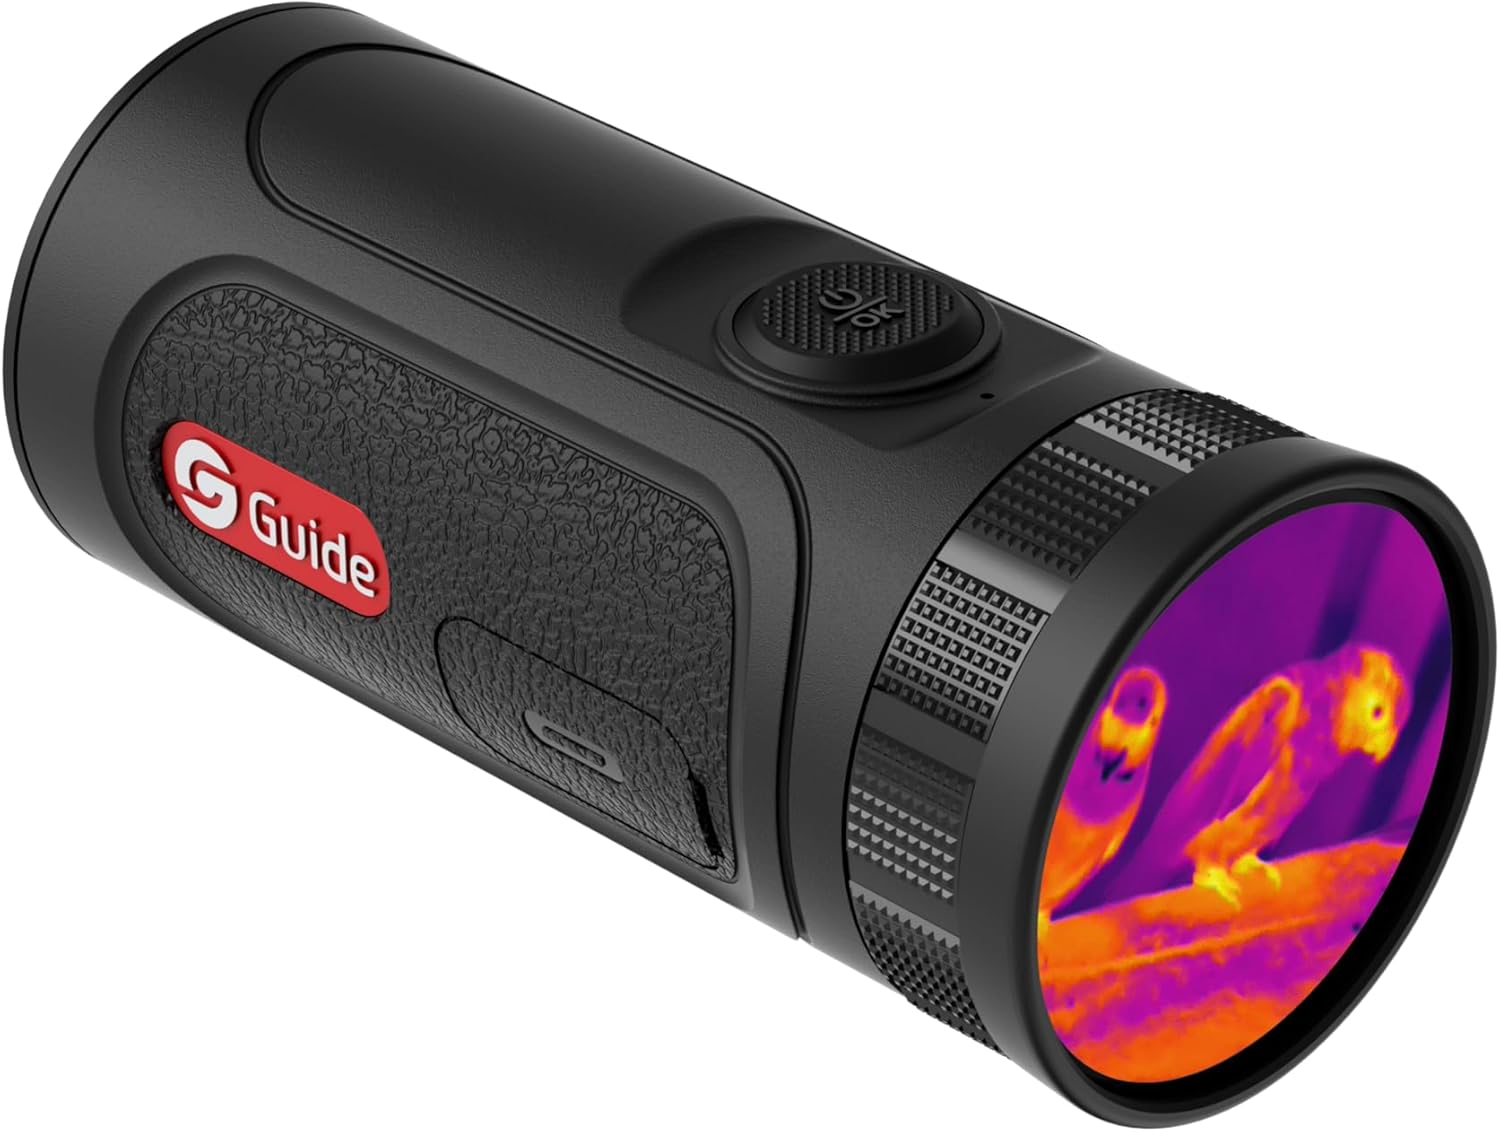
Figure 1: Front and side view of the Guide TE211 Mini Thermal Monocular, showcasing its compact design and the thermal lens.
2. What's in the Box
- Thermal Monocular (Guide TE211 Mini)
- Charger
- User Manual (this document)

Figure 2: Bottom view of the monocular, showing the charging port and attachment point for a wrist strap.
3. Product Features
3.1. Touch Screen Display
The TE211 Mini features a large 1.43" full-color AMOLED display, designed for comfortable viewing and reduced eye fatigue. The touchscreen interface simplifies operation, similar to a smartphone or smartwatch, allowing for intuitive navigation and control.

Figure 3: Visual representation of the 1.43" AMOLED round display and touch screen functionality, showing how to swipe and tap for menu navigation.
3.2. Ultra-Lightweight and Compact Design
Weighing only 205 grams and measuring 111mm, the TE Mini is designed for maximum portability. Its compact size allows it to be easily carried in a pocket or around the neck, making it smaller than most smartphones and ideal for extended use without fatigue.

Figure 4: Size comparison of the TE211 Mini with a smartphone, emphasizing its compact and lightweight nature.
3.3. Recording Capabilities
The monocular supports video recording with audio, thanks to its built-in recording microphone, and allows for still image capture. With 16GB of built-in storage, users can easily capture and share their observations. Content can be downloaded to a smartphone via the Target IR App.

Figure 5: Illustration of the monocular's ability to record photos, videos, and audio, with icons representing each function.
3.4. Extended Battery Life & Fast Charging
Enjoy up to 6 hours of continuous use on a single charge. The 20W quick charging feature allows for approximately 1 hour of operating time with just 10 minutes of charging, minimizing downtime.
3.5. Thermal Resolution & Detection Range
Equipped with a 256x192 thermal sensor and 30mK NETD, the monocular provides clear thermal and night vision imaging. It boasts a detection range of up to 550 yards, enabling effective observation over considerable distances.
3.6. Intelligent Sleep Mode
The device features an intelligent sleep mode that automatically activates when the monocular is tilted beyond a certain angle (e.g., 50 degrees), conserving battery life during periods of inactivity.

Figure 6: Diagram showing how the monocular enters sleep mode automatically when tilted, indicating angles of activation.
4. Setup
- Unboxing: Carefully remove all components from the packaging. Verify that all items listed in "What's in the Box" are present.
- Charging: Before first use, fully charge the monocular using the provided charger. Connect the charger to the device and a power source. The charging indicator will show progress.
- Power On: Press and hold the power/OK button located on the top of the device for a few seconds until the screen illuminates.
- Initial Setup: Follow any on-screen prompts for initial language selection or basic settings.
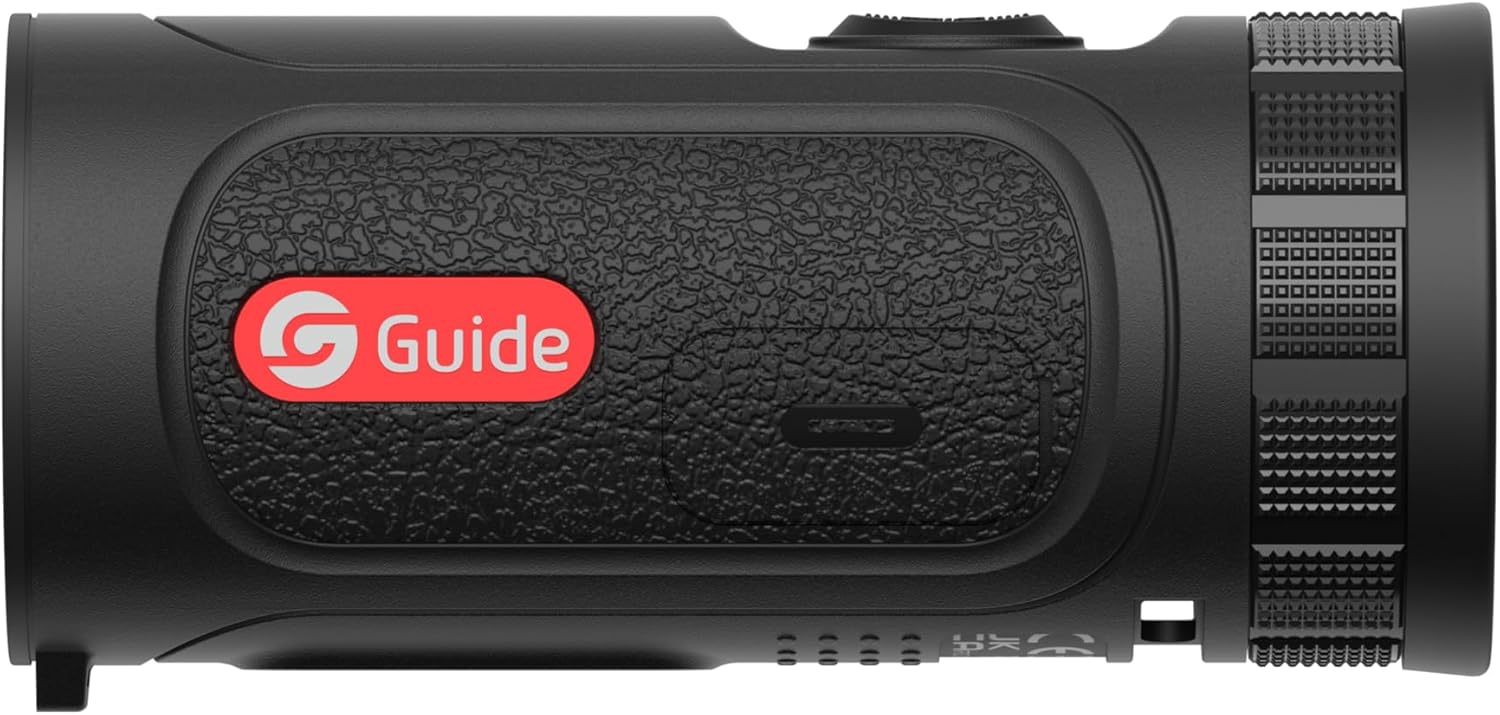
Figure 7: Top view of the monocular, highlighting the power/OK button for operation.
5. Operating Instructions
- Power On/Off: Press and hold the power/OK button to turn the device on or off.
- Touch Screen Navigation:
- Swipe across the screen to navigate through different menu options or color palettes.
- Tap on an icon or option to select it.
- Press the power/OK button to confirm selections or return to the main viewing screen.
- Changing Color Palettes: Access the color palette settings via the touchscreen menu. Options typically include Blue Hot, Green Hot, Sepia, White Hot, Black Hot, and Red Hot Iron.
- Zoom Function: The monocular supports digital zoom. Navigate to the zoom setting in the menu or use a designated gesture/button (refer to on-screen prompts) to cycle through zoom levels (e.g., 1x, 2x, 4x).
- Capturing Photos/Videos:
- To take a photo, briefly press the designated capture button (often the power/OK button when in live view).
- To record video, press and hold the capture button, or select the video recording option from the menu. Press again to stop recording.
- Data Transfer: Connect the monocular to a computer using the provided USB cable to transfer captured photos and videos. Alternatively, use the Target IR App on your smartphone for wireless transfer (if supported and configured).

Figure 8: The monocular held in a user's hand, illustrating its ergonomic and portable design for ease of use.
6. Maintenance
- Cleaning the Lens: Use a soft, lint-free cloth specifically designed for optical lenses to gently wipe the thermal lens. Avoid abrasive materials or harsh chemicals.
- Cleaning the Body: Wipe the monocular's body with a soft, damp cloth. Do not submerge the device in water.
- Storage: Store the monocular in a cool, dry place, away from direct sunlight and extreme temperatures. Use the lens cap when not in use to protect the lens.
- Battery Care: For long-term storage, ensure the battery is partially charged (around 50%). Recharge periodically if stored for extended periods to maintain battery health.

Figure 9: The lens cap, an essential accessory for protecting the monocular's thermal lens when not in use.
7. Troubleshooting
| Problem | Possible Cause | Solution |
|---|---|---|
| Device does not power on. | Low or no battery charge. | Charge the device fully using the provided charger. |
| Screen is unresponsive. | Software glitch or temporary freeze. | Perform a soft reset by holding the power button for an extended period (e.g., 10-15 seconds) until the device restarts. |
| Poor image quality. | Lens is dirty or fogged. Incorrect focus. | Clean the lens with a suitable optical cloth. Adjust focus if applicable (TE211 Mini has auto-focus, but ensure no obstructions). |
| Cannot transfer files. | Incorrect cable connection or driver issue. | Ensure the USB cable is securely connected. Try a different USB port or computer. Check for necessary drivers if connecting to a PC. Use the Target IR App for wireless transfer. |
8. Specifications
| Feature | Detail |
|---|---|
| Product Dimensions | 5.2 x 1.85 x 1.85 inches (5.2"D x 1.85"W x 1.85"H) |
| Thermal Resolution | 256x192 |
| NETD | 30mK |
| Detection Range | 550 yards |
| Display | 1.43" Full Color AMOLED Touch Screen |
| Weight | 205 grams (approx. 7.2 oz) |
| Objective Lens Diameter | 10 Millimeters |
| Focal Length | Fixed 10mm, F1.0 Germanium Lens with 4x Digital Zoom |
| Focus Type | Auto Focus |
| Power Source | Battery Powered (up to 6 hours use, 20W quick charging) |
| Compatible Devices | Smartphone (via Target IR App) |
9. Warranty and Support
Guide Sensmart offers a comprehensive warranty for the TE211 Mini Thermal Monocular:
- Thermal Sensor: 10-Year Warranty
- Body Parts: 5-Year Warranty
- All Accessories: 2-Year Warranty
For technical support, service, or warranty claims, please contact Guide Sensmart customer service through their official website or the contact information provided with your product packaging. Please have your model number (TE 211 Mini) and purchase details ready when contacting support.
Ask a question about this manual
Ask about setup, troubleshooting, compatibility, parts, safety, or missing instructions. Manuals+ will review the question and use this page’s manual context to help answer it.