1. Introduction
This user manual provides detailed instructions for the safe and efficient operation of the WANPTEK DPS305U Switching DC Power Supply. This device is a high-precision, four-digit LED display power supply offering adjustable voltage from 0-30V and current from 0-5A. It is designed for various applications including laboratory research, electronic production lines, communication equipment maintenance, and product development.
Please read this manual thoroughly before operating the device to ensure proper usage and to prevent damage or injury.
2. Safety Precautions
- Always connect the power supply to a grounded outlet.
- Do not operate the device in wet or damp conditions.
- Ensure proper ventilation; do not block the ventilation openings.
- Do not open the casing of the power supply. There are no user-serviceable parts inside. Refer all servicing to qualified personnel.
- Verify the input voltage matches the power supply's requirements before connecting to the mains.
- Disconnect power before making or changing connections to the output terminals.
- Avoid short-circuiting the output terminals for extended periods, although the device has protection features.
3. Product Overview
The WANPTEK DPS305U features a compact design with intuitive controls and a clear LED display for precise readings.
3.1 Front Panel Layout

Figure 3.1: Front view of the WANPTEK DPS305U DC Power Supply, showing the LED display, control knobs, USB ports, and output terminals.
The front panel includes:
- LED Display: Shows real-time voltage (V), current (A), and power (W) readings with four digits of precision.
- Voltage Adjustment Knobs (V-COARSE, V-FINE): Used to set the output voltage. V-COARSE for large adjustments, V-FINE for precise tuning.
- Current Adjustment Knobs (A-COARSE, A-FINE): Used to set the output current limit. A-COARSE for large adjustments, A-FINE for precise tuning.
- USB-A and USB-C Ports: For charging compatible devices or powering low-current USB devices.
- OCP (Over Current Protection) Indicator: Lights up when over-current protection is active.
- Power Switch (ON/OFF): To turn the unit on or off.
- Output Terminals (+, -, Ground): For connecting loads using banana plugs or bare wires.
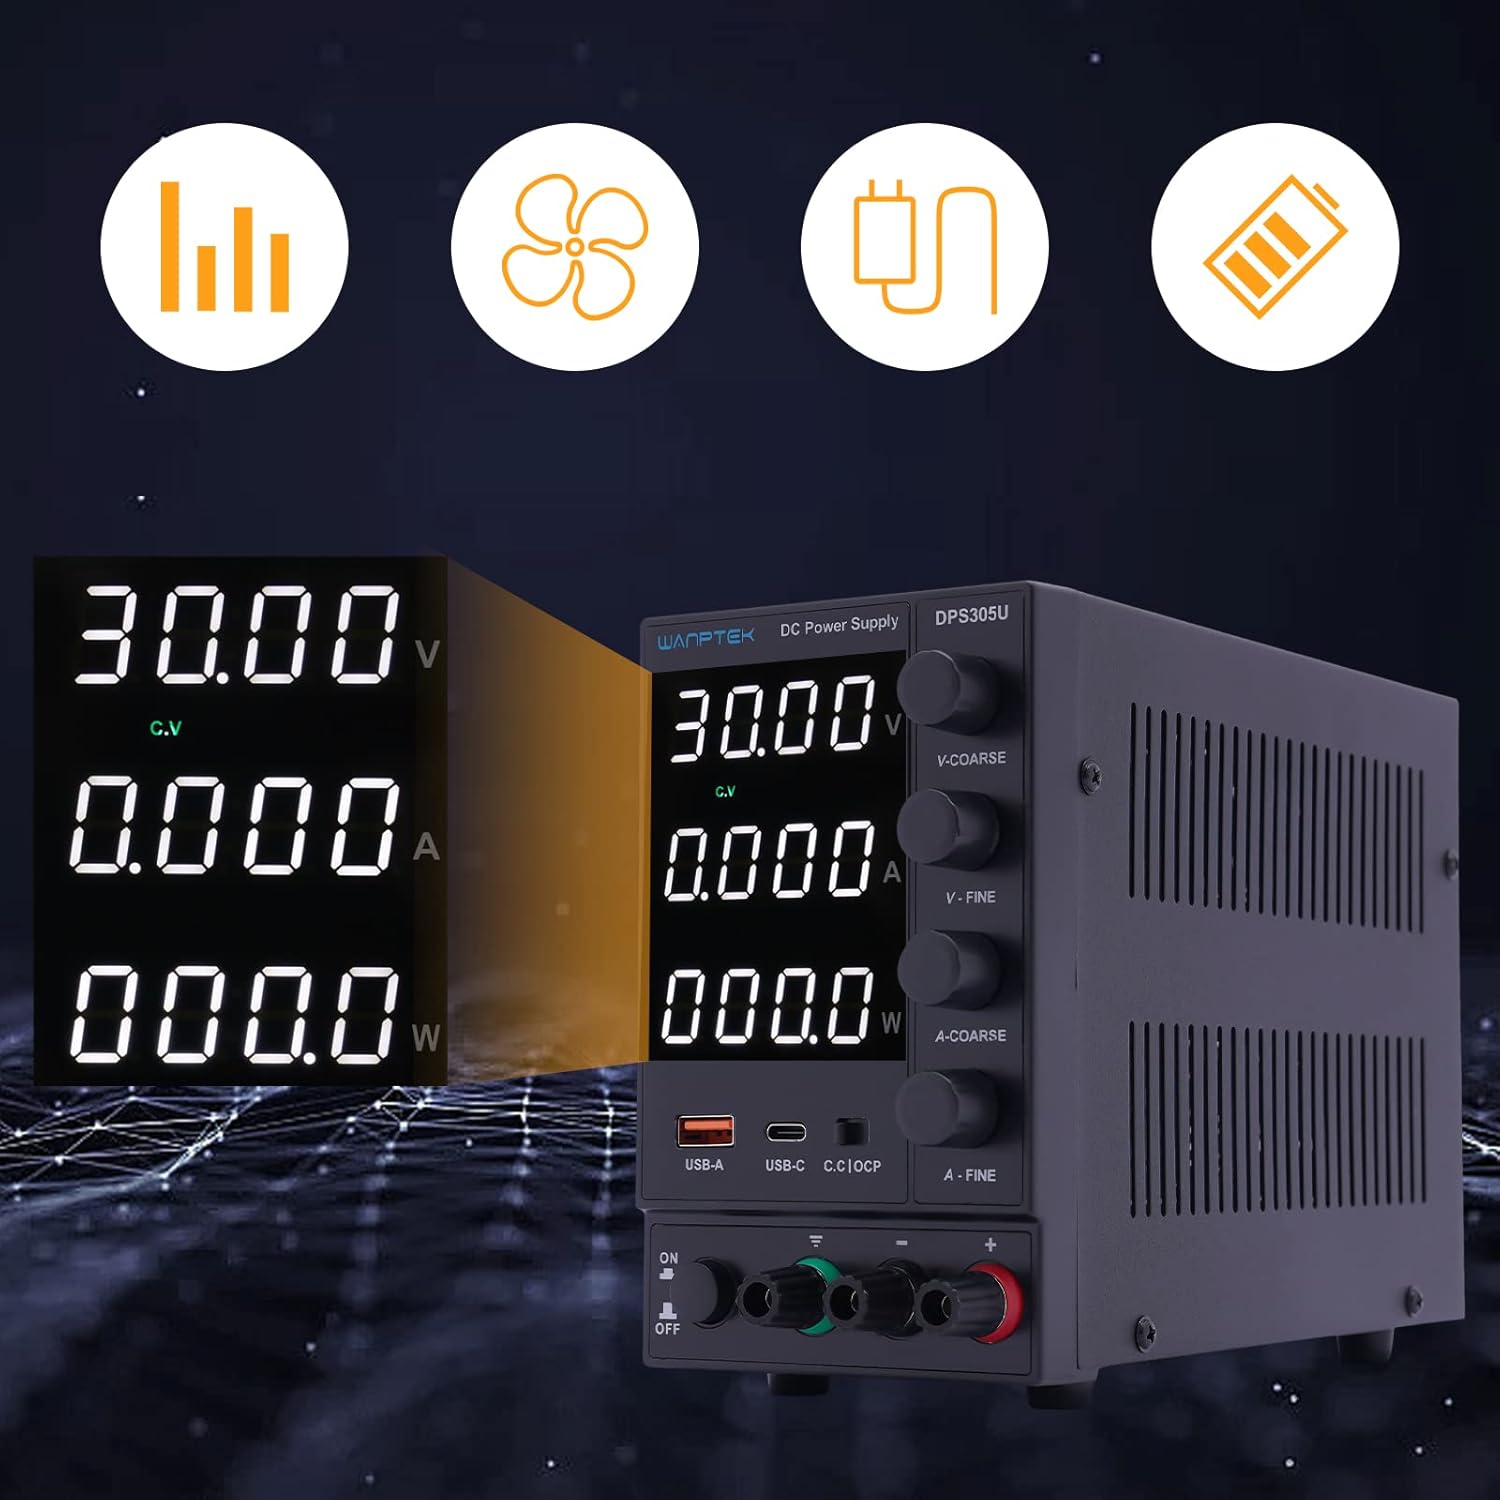
Figure 3.2: Detailed view of the digital display, indicating voltage, current, and power output, along with status indicators.
The display provides clear, real-time feedback on the power supply's output, essential for precise control during operation.
3.2 Rear Panel Layout

Figure 3.3: Rear view of the power supply, showing the power input socket and ventilation fan.
The rear panel typically includes the AC power input socket and a cooling fan for thermal management.
3.3 Package Contents
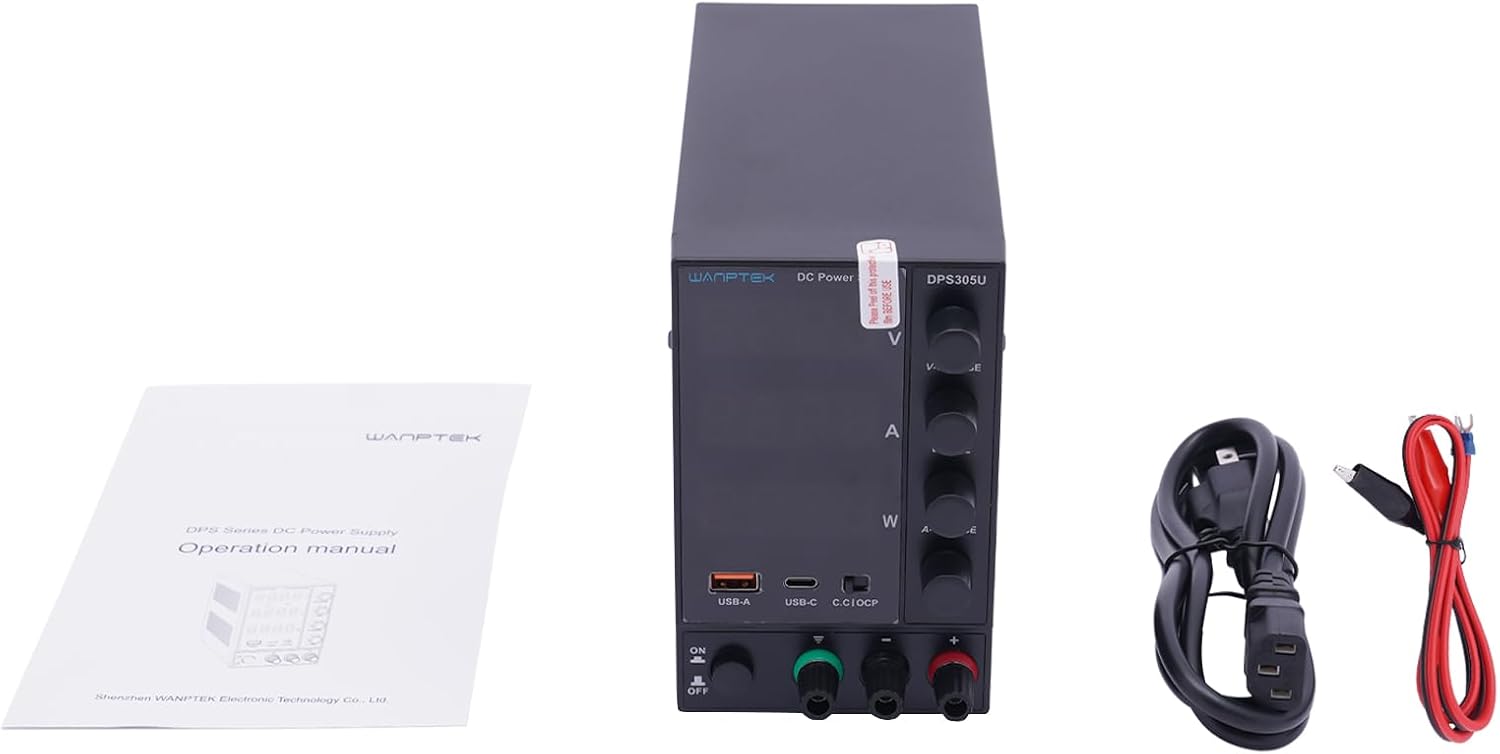
Figure 3.4: The standard package contents for the DPS305U, including the power supply unit, user manual, and necessary power and output cables.
Upon unpacking, verify that all items are present:
- WANPTEK DPS305U DC Power Supply Unit
- AC Power Cord
- Output Test Leads (Banana Plug to Alligator Clip)
- User Manual
4. Setup
- Placement: Place the power supply on a stable, level surface with adequate ventilation space around it. Ensure no objects block the air vents on the sides and rear.
- Power Connection: Connect the supplied AC power cord to the power input socket on the rear panel of the power supply, then plug the other end into a grounded AC outlet.
- Initial Check: Before connecting any load, ensure the power supply is off. Turn the voltage and current adjustment knobs to their minimum settings (fully counter-clockwise).
5. Operating Instructions
5.1 Setting Voltage and Current Limits (Constant Voltage / Constant Current Mode)
- Power On: Turn on the power supply using the ON/OFF switch. The LED display will illuminate.
- Pre-setting Voltage: Without a load connected, adjust the V-COARSE and V-FINE knobs to set the desired output voltage. Observe the voltage reading on the display.
- Pre-setting Current Limit: To set the current limit, temporarily short the positive and negative output terminals using a test lead (or a low-resistance load). The display will show the current. Adjust the A-COARSE and A-FINE knobs to set the desired maximum current. Remove the short circuit after setting.
- Connecting Load: Connect your device or circuit to the output terminals. Ensure correct polarity (+ to +, - to -).
- Operation: The power supply will operate in Constant Voltage (CV) mode if the load current is below the set limit, or in Constant Current (CC) mode if the load attempts to draw more current than the set limit. The corresponding CV or CC indicator on the display will light up.

Figure 5.1: The DPS305U in use, demonstrating its application in electronic testing and repair environments.
5.2 Using USB-A and USB-C Output Ports
The integrated USB-A and USB-C ports provide a convenient 5V output for charging or powering compatible USB devices. These ports operate independently of the main adjustable DC output.
- Ensure the power supply is turned on.
- Connect your USB device to either the USB-A or USB-C port using an appropriate cable.
- The device will begin charging or operating.
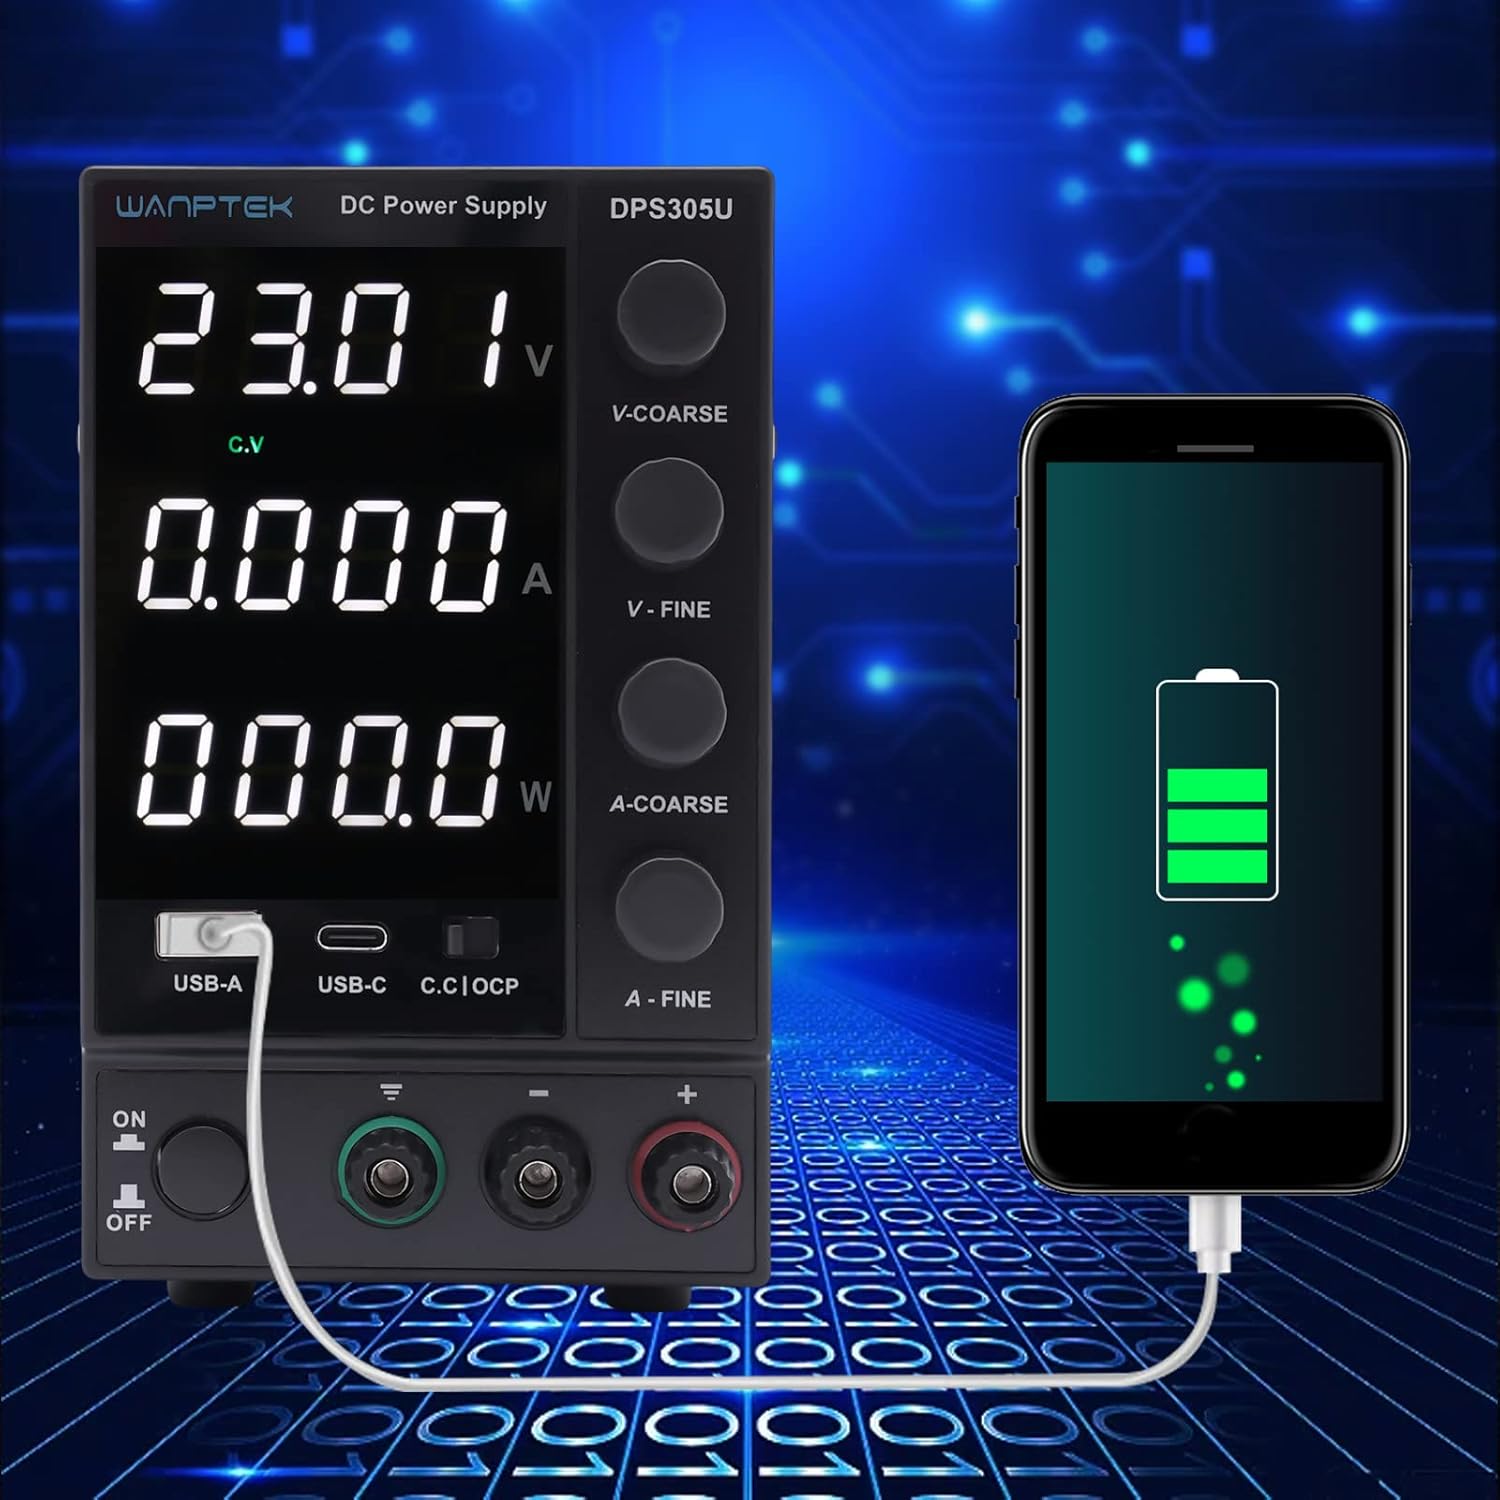
Figure 5.2: Demonstration of the power supply's USB-A port being used to charge a smartphone, highlighting its versatility.
5.3 Over Current Protection (OCP)
The OCP function protects the connected load from excessive current. When the output current exceeds the preset limit, the OCP indicator will light up, and the power supply will limit the current to the set value. This prevents damage to both the power supply and the connected device.
6. Maintenance
- Cleaning: Disconnect the power supply from the mains before cleaning. Use a soft, dry cloth to wipe the exterior. Do not use abrasive cleaners or solvents.
- Ventilation: Regularly check that the ventilation openings are clear of dust and debris to ensure proper airflow and prevent overheating.
- Storage: When not in use for extended periods, store the power supply in a cool, dry place, away from direct sunlight and extreme temperatures.
7. Troubleshooting
| Problem | Possible Cause | Solution |
|---|---|---|
| No power/display off | Power cord not connected; Power switch off; Blown fuse. | Check power cord connection; Turn on power switch; Check and replace fuse (if accessible and safe to do so, otherwise contact support). |
| No output voltage/current | Output terminals not connected; Voltage/current knobs set to zero; OCP activated. | Ensure proper connection to load; Adjust voltage/current knobs; Check for short circuit in load, remove it, and reset OCP if necessary. |
| Output voltage/current fluctuates | Unstable input power; Loose connections; Faulty load. | Ensure stable AC input; Check all connections; Test with a different load. |
| Unit overheats | Blocked ventilation; Excessive load. | Ensure vents are clear; Reduce load or operate within specified limits. |
8. Specifications
| Parameter | Value |
|---|---|
| Model | DPS305U |
| Input Voltage | AC 110V/220V ±10% (Switchable) |
| Output Voltage | 0-30V DC |
| Output Current | 0-5A DC |
| Display | 4-digit LED (Voltage, Current, Power) |
| Load Regulation (Voltage) | ≤0.5% + 10mV |
| Load Regulation (Current) | ≤0.5% + 3mA |
| Ripple & Noise (Voltage) | ≤5mVrms |
| Ripple & Noise (Current) | ≤3mArms |
| Protection | Overload, Over-temperature, Over-voltage, Over-current |
| USB Output | USB-A: 5V/2A, USB-C: 5V/3A |
| Dimensions (L×W×H) | Approx. 19cm × 9cm × 14.5cm (7.48in × 3.54in × 5.7in) |
| Weight | Approx. 1.5 kg |

Figure 8.1: Physical dimensions of the WANPTEK DPS305U power supply.
9. Warranty and Support
This product is covered by a standard manufacturer's warranty. For specific warranty terms and conditions, please refer to the documentation provided with your purchase or contact the seller directly.
For technical support, troubleshooting assistance, or inquiries regarding parts and service, please contact your point of purchase or the manufacturer's customer service department. Please have your model number (DPS305U) and serial number (if applicable) ready when contacting support.


