
1. Introduction and Applicable Models
This manual provides detailed instructions for the installation, setup, and operation of your XTRONS 10.25 Inch Android 14 Car Stereo. This advanced head unit offers enhanced clarity, vibrant colors, and a high-resolution touchscreen for an optimized driving experience.
Applicable Models & Years:
- For BMW 3 Series F30 F31 F34 (2013-2016) NBT system
- For BMW 4 Series F32 F33 F36 (2013-2016) NBT system
- For BMW M3 F80 F81 (2013-2019)
- For BMW M4 F82 F83 (2013-2019)

2. Key Features
- 10.25" IPS Screen: Experience enhanced clarity and vibrant colors with a 1920*720 high-resolution touchscreen. Supports 1080p format video playback for easy visibility and access to all options.
- Built-in Wireless CarAutoPlay / Android Auto: Access GPS, calls, music, Google Assistant, and Siri from your mobile phone for a connected and safer driving experience. Compatible with iPhone 5 and newer (iOS 8+) and Android phones (Android 4.3+).
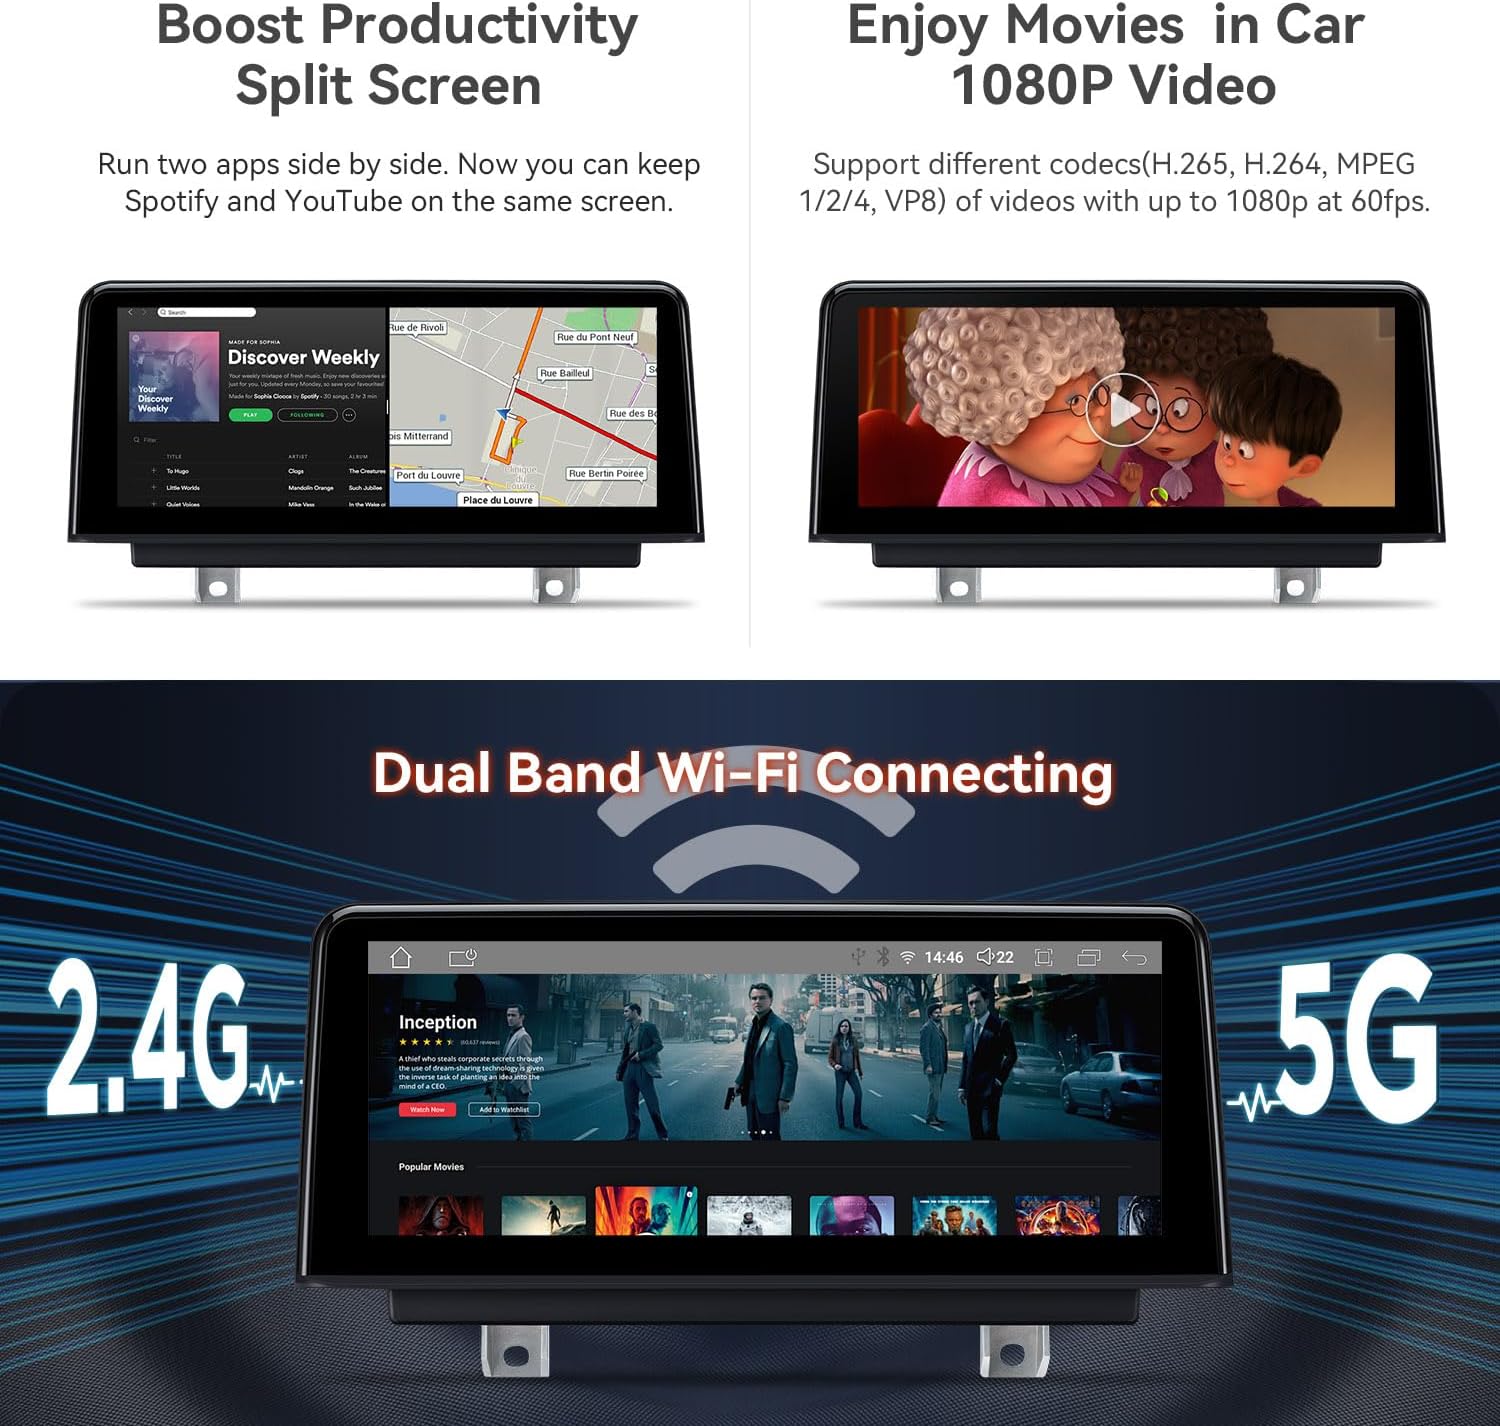
- Bluetooth 5.0 & Dual Band Wi-Fi: Connect your smartphone via Bluetooth for hands-free calls, contact searching, and music streaming. Dual-band Wi-Fi (2.4GHz and 5GHz) ensures flexible and seamless internet connectivity.
- Global 4G LTE: Insert a Micro-SIM card for mobile broadband connection anywhere, with download speeds up to 300Mbps. Supports 99% of carriers worldwide.
- Retain iDrive and Original Functions: Maintains iDrive system control and full range of original functions (supported in both original and Android systems). Multiple user interfaces are available.
- Split-Screen Mode: Use two apps side-by-side, such as Spotify for music while navigating.


3. Package Contents
The following accessories are included in your XTRONS 10.25 Inch Android 14 Car Stereo package:
- 1 × ISO Wiring Harness
- 1 × USB Cable
- 1 × 4G Antenna
- 1 × GPS Antenna
- 1 × Tweezers
- 1 x Mini Speaker
- 1 × Installation Instructions
- 1 × User Manual

4. Installation Guide
Follow these steps carefully for proper installation of your XTRONS car stereo. It is recommended to consult a professional if you are unsure about any step.
4.1 Wiring Harness Overview

4.2 Installation Steps
- Remove Original Components: Carefully pry out the air-conditioning trim panel and the original host panel. Disconnect all associated plugs and remove the original display screen.
- Connect Wiring: Connect the provided Linux ISO harness to the stock main unit. Ensure all connections are secure.
- Route Cables: Thread the USB harness plug to the base of the display and lay the female end of the USB connection cable into the passenger compartment.
- Install New Display: Connect the plugs of the Linux ISO harness and USB harness to the back of the Linux device. Connect the stock LVDS male connector to the back connector of the Linux device. Install the Linux device to the base of the original display and lock the screws to secure it.
- Reinstall Panels: Restore the connection plugs on the back of the air conditioning trim panel and the main engine panel. Put all panels back in their original positions.
4.3 Installation Videos
Refer to the following videos for visual guidance on the installation process:
5. Setup and Operating Instructions
After successful installation, follow these instructions to set up and operate your car stereo.
5.1 Initial Setup and Connectivity
- Bluetooth Pairing: Connect your smartphone via Bluetooth 5.0 for hands-free calls and audio streaming.
- Wi-Fi Connection: Connect to 2.4GHz or 5GHz Wi-Fi networks for internet access and app downloads.
- CarPlay / Android Auto: The unit supports built-in wireless CarAutoPlay and wired Android Auto. Ensure your phone's Bluetooth is connected for seamless integration.
5.2 Basic Operation and Features
- Touchscreen Interface: Navigate through menus and apps using the responsive 10.25-inch IPS touchscreen.
- Split-Screen Mode: Run two applications simultaneously, such as navigation and music playback.
- GPS Navigation: Utilize supported Android OS navigation software like Google Maps, Sygic, or Waze.
- App Usage: Download and use various Android applications, including streaming services and utility apps.
- OEM System Integration: Access original iDrive system controls and vehicle information directly through the new display.

6. Maintenance
To ensure the longevity and optimal performance of your XTRONS car stereo, follow these maintenance guidelines:
- Screen Cleaning: Use a soft, lint-free cloth to gently wipe the touchscreen. Avoid abrasive cleaners or harsh chemicals that could damage the display.
- Software Updates: Periodically check for firmware updates from XTRONS to ensure you have the latest features and bug fixes.
- Cable Connections: Ensure all cables are securely connected and free from damage. Loose connections can lead to intermittent issues.
7. Troubleshooting
If you encounter any issues with your XTRONS car stereo, refer to the following troubleshooting tips:
- No Sound Issue: If there is no sound, ensure the AUX harness is correctly connected and the car's audio input is set to AUX. Adjust the volume knob on the original car interface.
- Screen Display Problems: If the screen display is not correct (e.g., distorted, incorrect resolution), navigate to the settings menu and adjust the screen resolution to an appropriate option.
- Bluetooth Connectivity: If Bluetooth is not connecting, ensure the


