
1. Introduction
Thank you for choosing the Teesa AROMA 750 Automatic Coffee Machine. This manual provides essential information for the safe and efficient operation, maintenance, and troubleshooting of your new appliance. Please read these instructions carefully before first use and keep them for future reference.
Safety Information
- Always ensure the appliance is disconnected from the power supply before cleaning or maintenance.
- Do not immerse the appliance, power cord, or plug in water or other liquids.
- Keep the appliance out of reach of children.
- Use only original accessories and spare parts.
- Do not operate the appliance if it is damaged or malfunctioning. Contact customer support.
2. Package Contents
Please check that all items are present and in good condition:
- Teesa AROMA 750 Automatic Coffee Machine
- Ground coffee spoon
- Cleaning brush
- User Manual
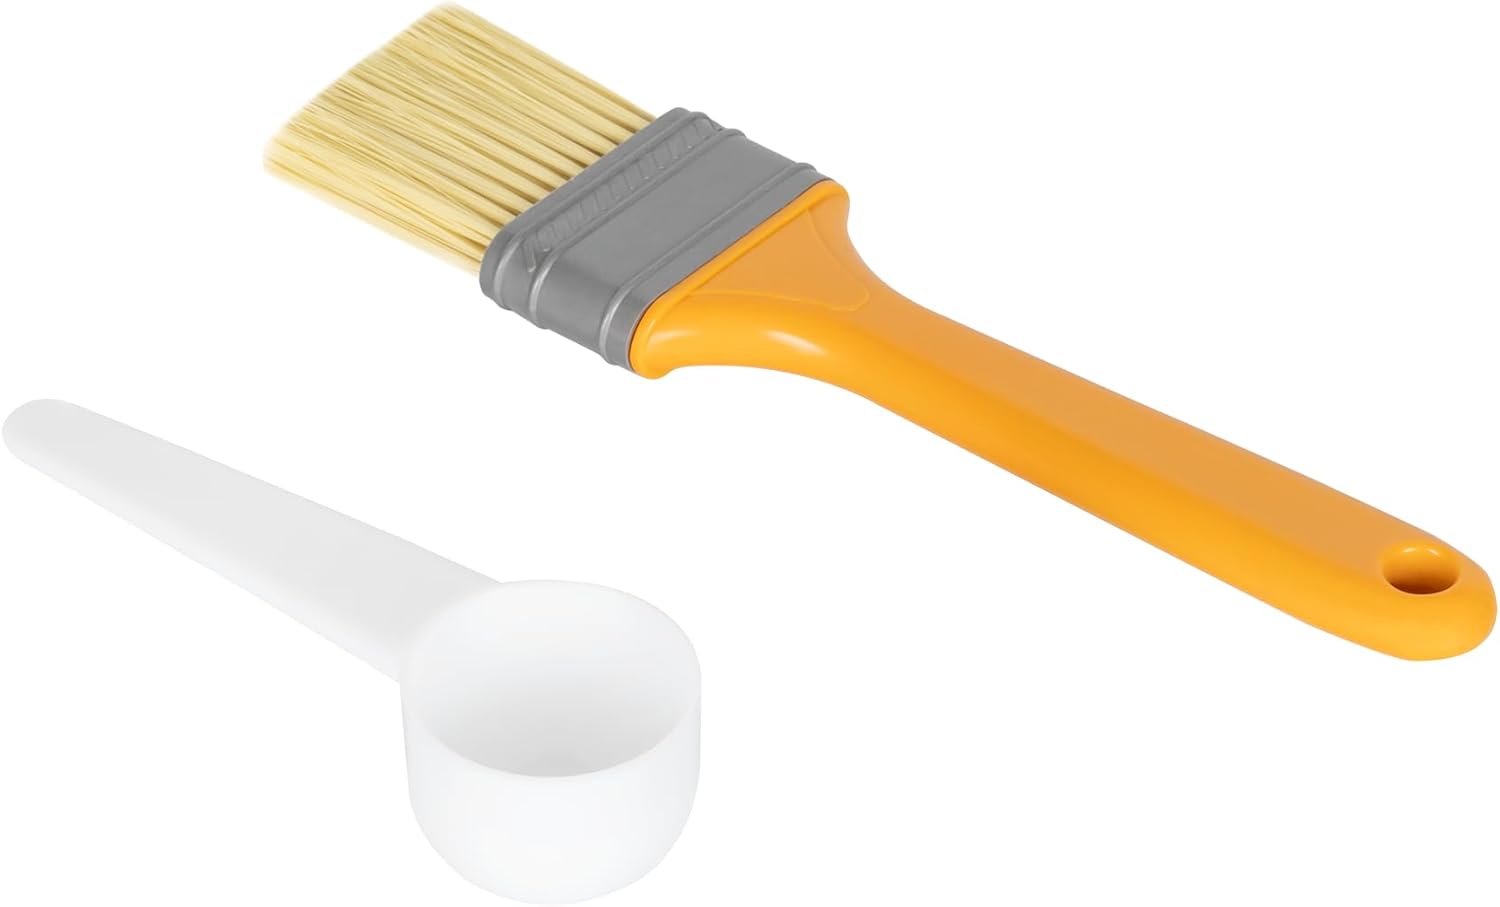
Image: Included ground coffee spoon and cleaning brush.
3. Product Overview
Familiarize yourself with the main components of your Teesa AROMA 750 coffee machine.
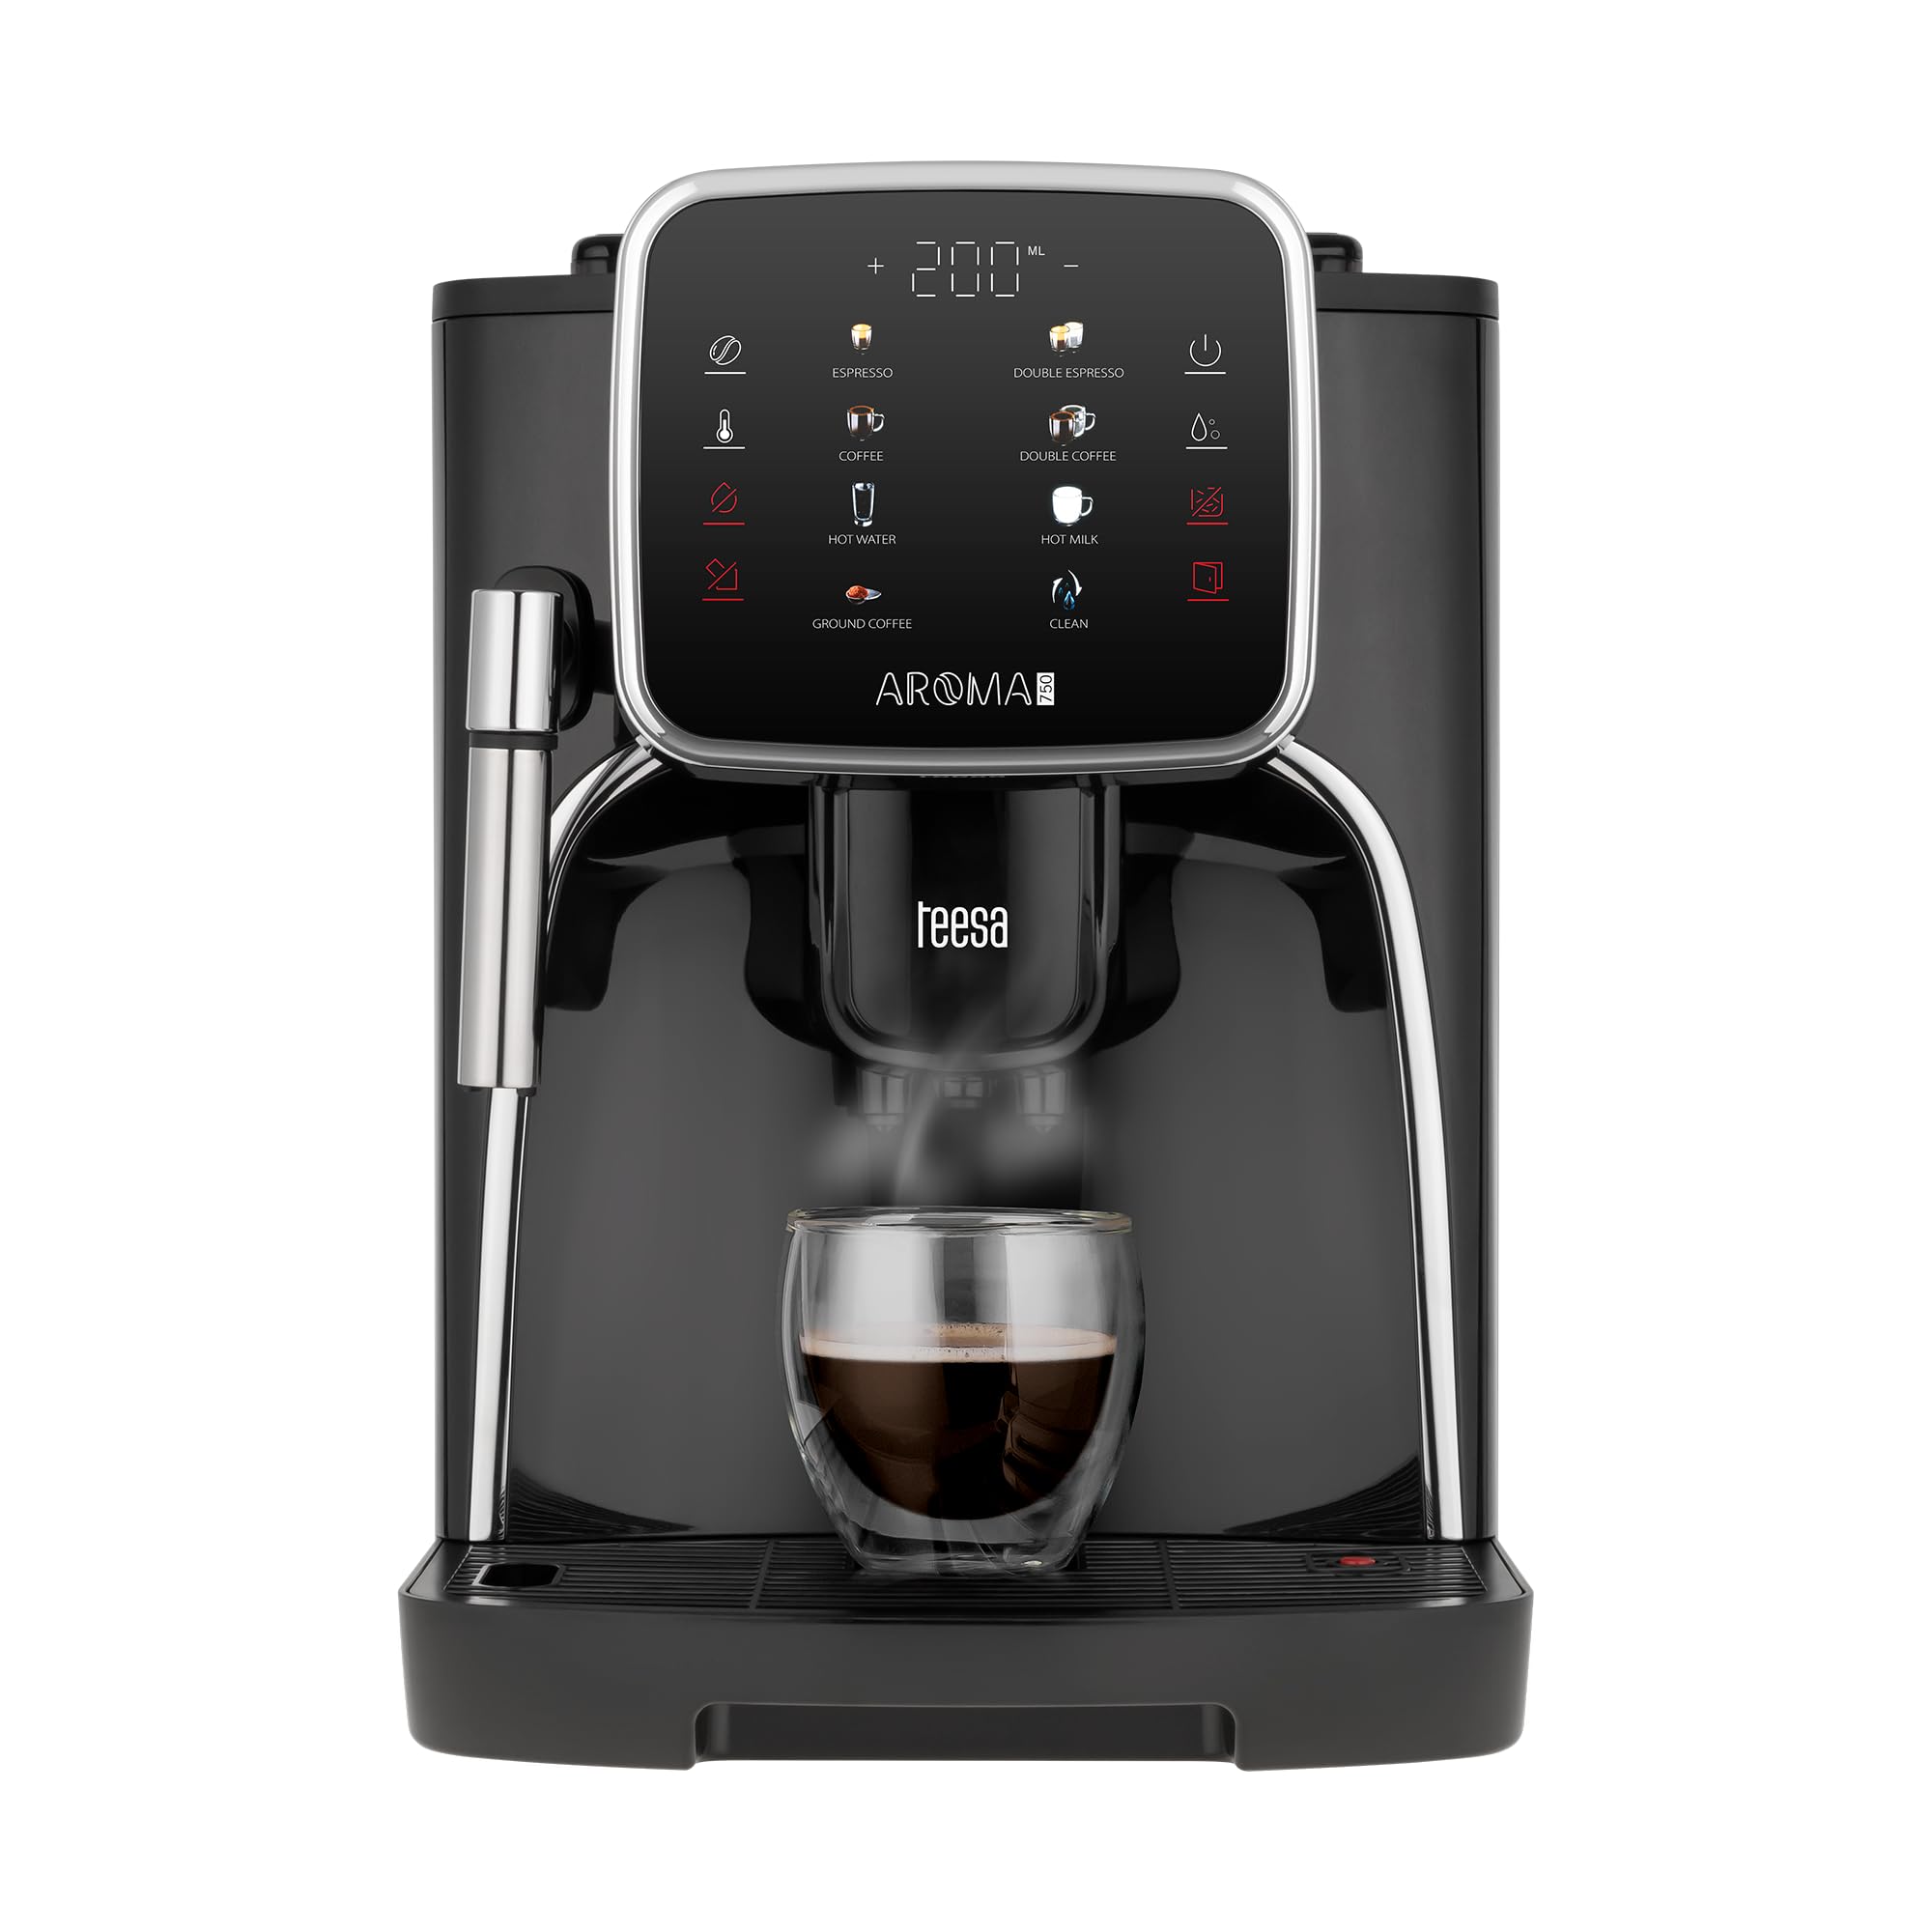
Image: Front view of the Teesa AROMA 750 Automatic Coffee Machine.

Image: Rear view showing the water tank and power switch.
Key Components:
- Touch Display: Intuitive LCD screen for selecting and customizing beverages.
- Coffee Bean Container: Located at the top, for whole coffee beans.
- Ground Coffee Chute: For pre-ground coffee.
- Water Tank: Removable tank for water, typically located at the back or side.
- Coffee Spout: Adjustable height for various cup sizes.
- Milk Frother: Steam wand for frothing milk.
- Drip Tray: Collects excess water and coffee drips.
- Coffee Grounds Container: Collects used coffee pucks.
- Cup Warmer: Passive heating surface on top to pre-warm cups.
4. Initial Setup
Follow these steps before using your coffee machine for the first time.
- Unpack: Remove all packaging materials and ensure no parts are missing or damaged.
- Position: Place the machine on a stable, level surface, away from heat sources and direct sunlight.
- Clean: Wipe the exterior with a damp cloth. Wash the water tank, drip tray, and coffee grounds container with warm soapy water, then rinse thoroughly.
- Fill Water Tank: Fill the water tank with fresh, cold water up to the MAX level. Ensure it is properly seated.
- Fill Bean Container: Open the lid of the coffee bean container and pour in fresh whole coffee beans. Close the lid securely.
- First Rinse Cycle: Place a large container under the coffee spout. Plug in the machine and turn it on. The machine will likely perform an automatic rinse cycle. Follow any on-screen prompts.

Image: Filling the coffee bean container.
5. Operating Instructions
Learn how to prepare various coffee beverages and use the machine's features.

Image: Using the touch display to select a beverage.
5.1. Basic Coffee Preparation (Espresso, Coffee)
- Ensure the water tank is filled and the bean container has enough beans.
- Place one or two cups under the coffee spout.
- On the touch display, select your desired beverage (e.g., Espresso, Coffee, Double Espresso, Double Coffee).
- The machine will automatically grind the beans, brew, and dispense the coffee.

Image: Two espressos being dispensed simultaneously.
5.2. Using Ground Coffee
- Open the lid of the ground coffee chute.
- Add one scoop of pre-ground coffee (do not overfill).
- Close the lid.
- Select the 'Ground Coffee' option on the touch display.
- The machine will brew and dispense the coffee.
5.3. Hot Water Function
- Place a cup under the hot water spout (if separate) or coffee spout.
- Select the 'Hot Water' option on the touch display.
- The machine will dispense hot water.
5.4. Milk Frothing
- Fill a pitcher with cold milk (dairy or non-dairy).
- Position the milk frother steam wand into the milk, just below the surface.
- Select the 'Hot Milk' option on the touch display.
- Move the pitcher up and down gently to create foam.
- Once desired foam is achieved, turn off the steam function.
- Immediately clean the steam wand after use by wiping it with a damp cloth and briefly activating the steam to clear any milk residue.

Image: Frothing milk using the steam wand.
5.5. Customizing Settings
The Teesa AROMA 750 allows you to customize your coffee experience:
- Coffee Volume: Adjust the amount of coffee dispensed for each beverage.
- Coffee Strength: Select from various strength levels to match your preference.
- Temperature: Adjust the brewing temperature for hotter or cooler coffee.
Refer to the on-screen menu for detailed instructions on how to access and change these settings.
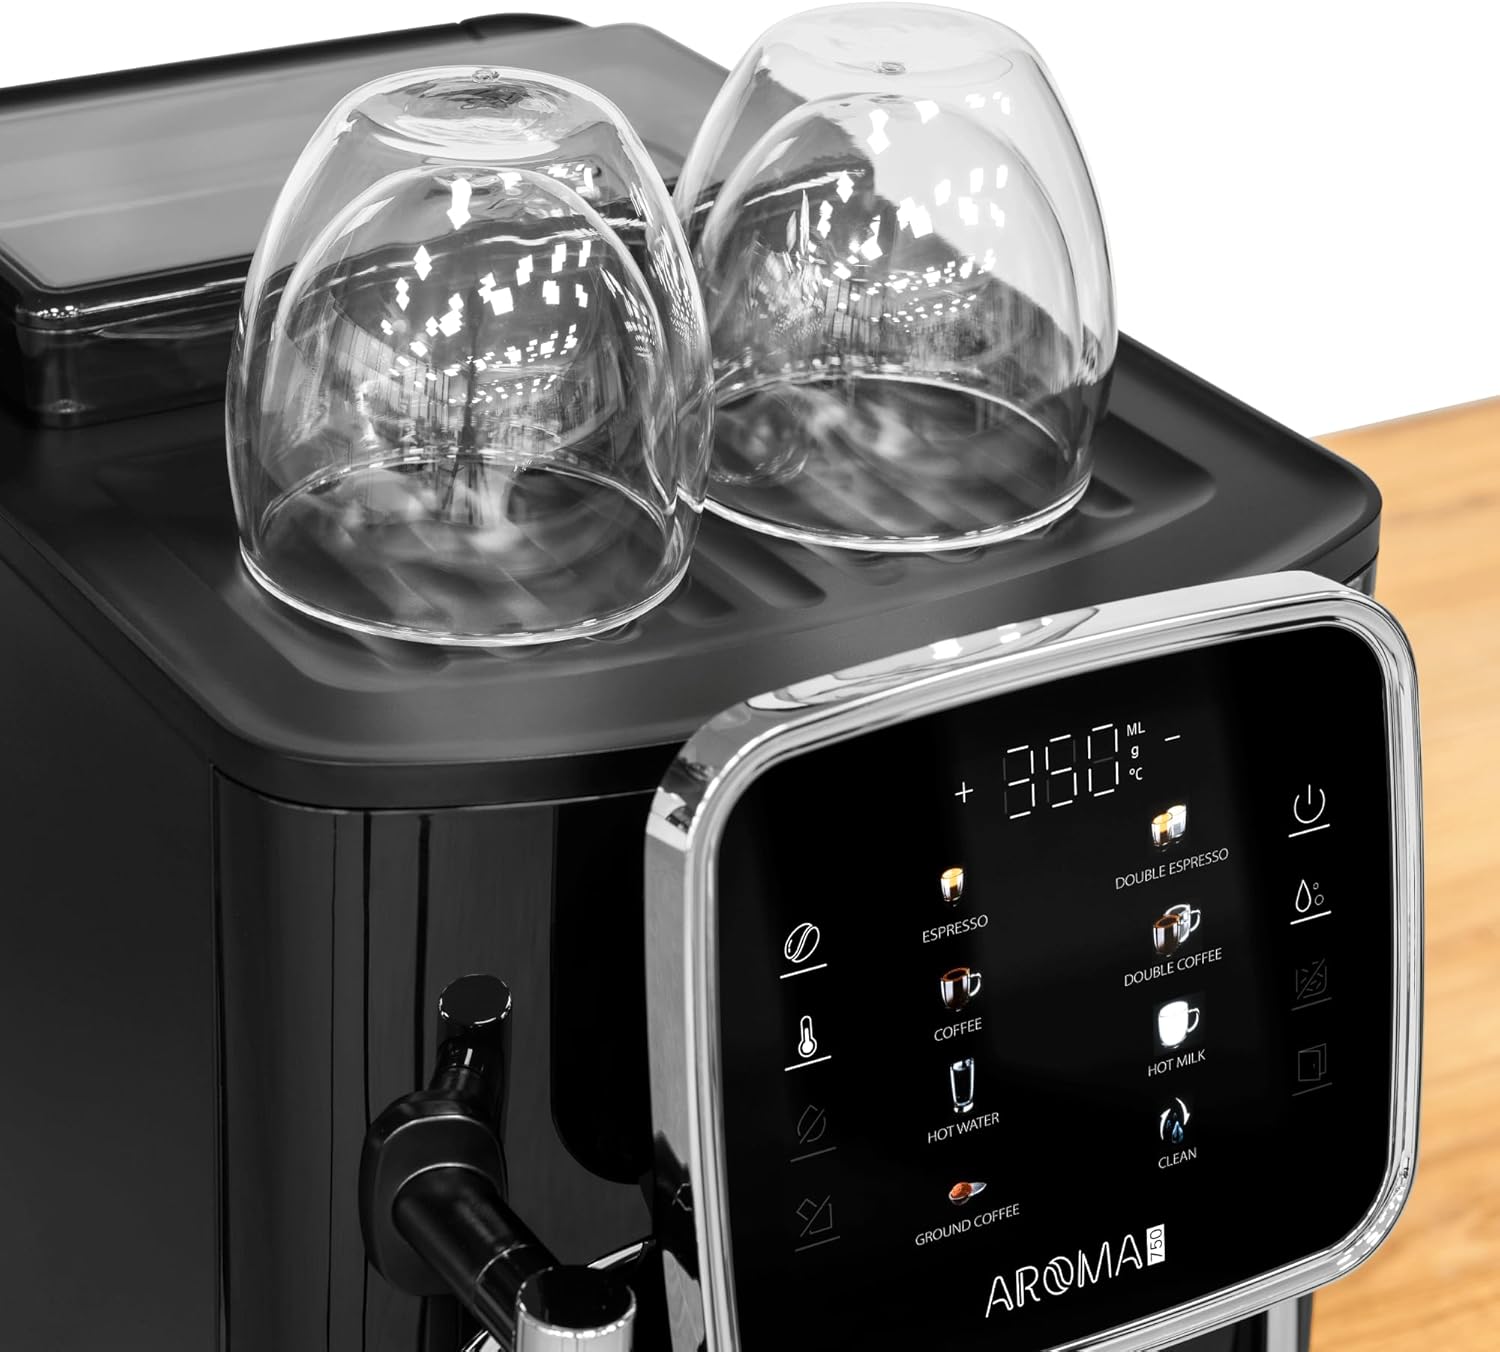
Image: Cups warming on the integrated cup warmer.
6. Maintenance and Cleaning
Regular cleaning and maintenance ensure optimal performance and longevity of your coffee machine.
6.1. Daily Cleaning
- Drip Tray and Coffee Grounds Container: Empty and rinse daily.
- Water Tank: Rinse daily and refill with fresh water.
- Coffee Spout: Wipe with a damp cloth.
- Milk Frother: Clean immediately after each use as described in Section 5.4.
6.2. Automatic Cleaning Cycle
The machine features an automatic cleaning function. When prompted by the display or periodically, initiate the 'Clean' cycle from the menu. Follow the on-screen instructions, which typically involve placing a container under the spout and possibly adding a cleaning tablet.
6.3. Descaling
Over time, mineral deposits can build up in the machine. The display will indicate when descaling is required. Use a suitable descaling solution designed for coffee machines and follow the instructions provided with the descaling agent and on the machine's display.
7. Troubleshooting
If you encounter issues, refer to the table below for common problems and solutions.
| Problem | Possible Cause | Solution |
|---|---|---|
| No coffee dispensed | Water tank empty; Coffee beans empty; Clogged spout | Fill water tank; Fill bean container; Clean coffee spout. |
| Coffee is too weak | Incorrect grind setting; Insufficient coffee strength selected | Adjust grind setting finer; Increase coffee strength via display. |
| Milk frother not producing foam | Steam wand clogged; Milk not cold enough | Clean steam wand thoroughly; Use fresh, cold milk. |
| Machine displays 'Descale' message | Mineral buildup in the system | Perform a descaling cycle as per instructions. |
| Loud grinding noise | Foreign object in grinder; Beans stuck | Turn off and unplug. Carefully inspect bean container for foreign objects. |
If the problem persists, please contact Teesa customer support.
8. Specifications
| Feature | Detail |
|---|---|
| Brand | Teesa |
| Model Number | TSA4012 |
| Coffee Maker Type | Automatic Espresso Machine |
| Pressure | 19 Bar |
| Water Tank Capacity | 1.8 Liters |
| Integrated Grinder | Yes |
| Milk Frother | Yes |
| Display | Touch LCD |
| Features | Automatic shut-off, Cup warmer, Automatic cleaning function |
| Product Dimensions (L x W x H) | 46 x 24 x 34 cm |
| Item Weight | 9 Kilograms |
| Included Components | Ground coffee spoon, cleaning brush |
9. Warranty and Support
For warranty information, technical support, or service inquiries, please refer to the warranty card included with your product or visit the official Teesa website. Keep your proof of purchase for warranty claims.


