1. Introduction
This manual provides detailed instructions for the installation, operation, and maintenance of your Cooler Master MasterLiquid Core II 240mm White CPU Liquid Cooler. Please read this manual thoroughly before installation and use to ensure proper functionality and safety.
The MasterLiquid Core II series offers enhanced cooling performance, improved aesthetics, and broad compatibility, including support for the latest AMD AM5 and Intel LGA 1851 sockets. It features a quiet G9R dual chamber pump, upgraded radiator fans with daisy chain design, and extra-long 400mm hoses.
2. Safety Information
- Ensure all power is disconnected from your computer before installation.
- Handle components with care to avoid damage.
- Refer to your motherboard manual for specific fan and pump header locations.
- Do not open the liquid cooler unit; it contains coolant under pressure.
- Keep out of reach of children.
3. Package Contents
Verify that all components are present before beginning installation:
- Cooler Master MasterLiquid Core II 240mm AIO Cooler (Radiator, Pump/Waterblock, Fans, Tubing)
- Mounting Hardware for Intel (LGA1700/1200/115X)
- Mounting Hardware for AMD (AM5/AM4)
- Thermal Compound
- Fan PWM Splitter Cable
- ARGB Lighting Cable
- User Manual (this document)
4. Setup and Installation
Follow these steps carefully for proper installation. The process varies slightly depending on your CPU socket type.
4.1. Intel LGA1700 Installation
- Prepare the Backplate: Adjust the backplate for LGA1700 by using the outer holes.
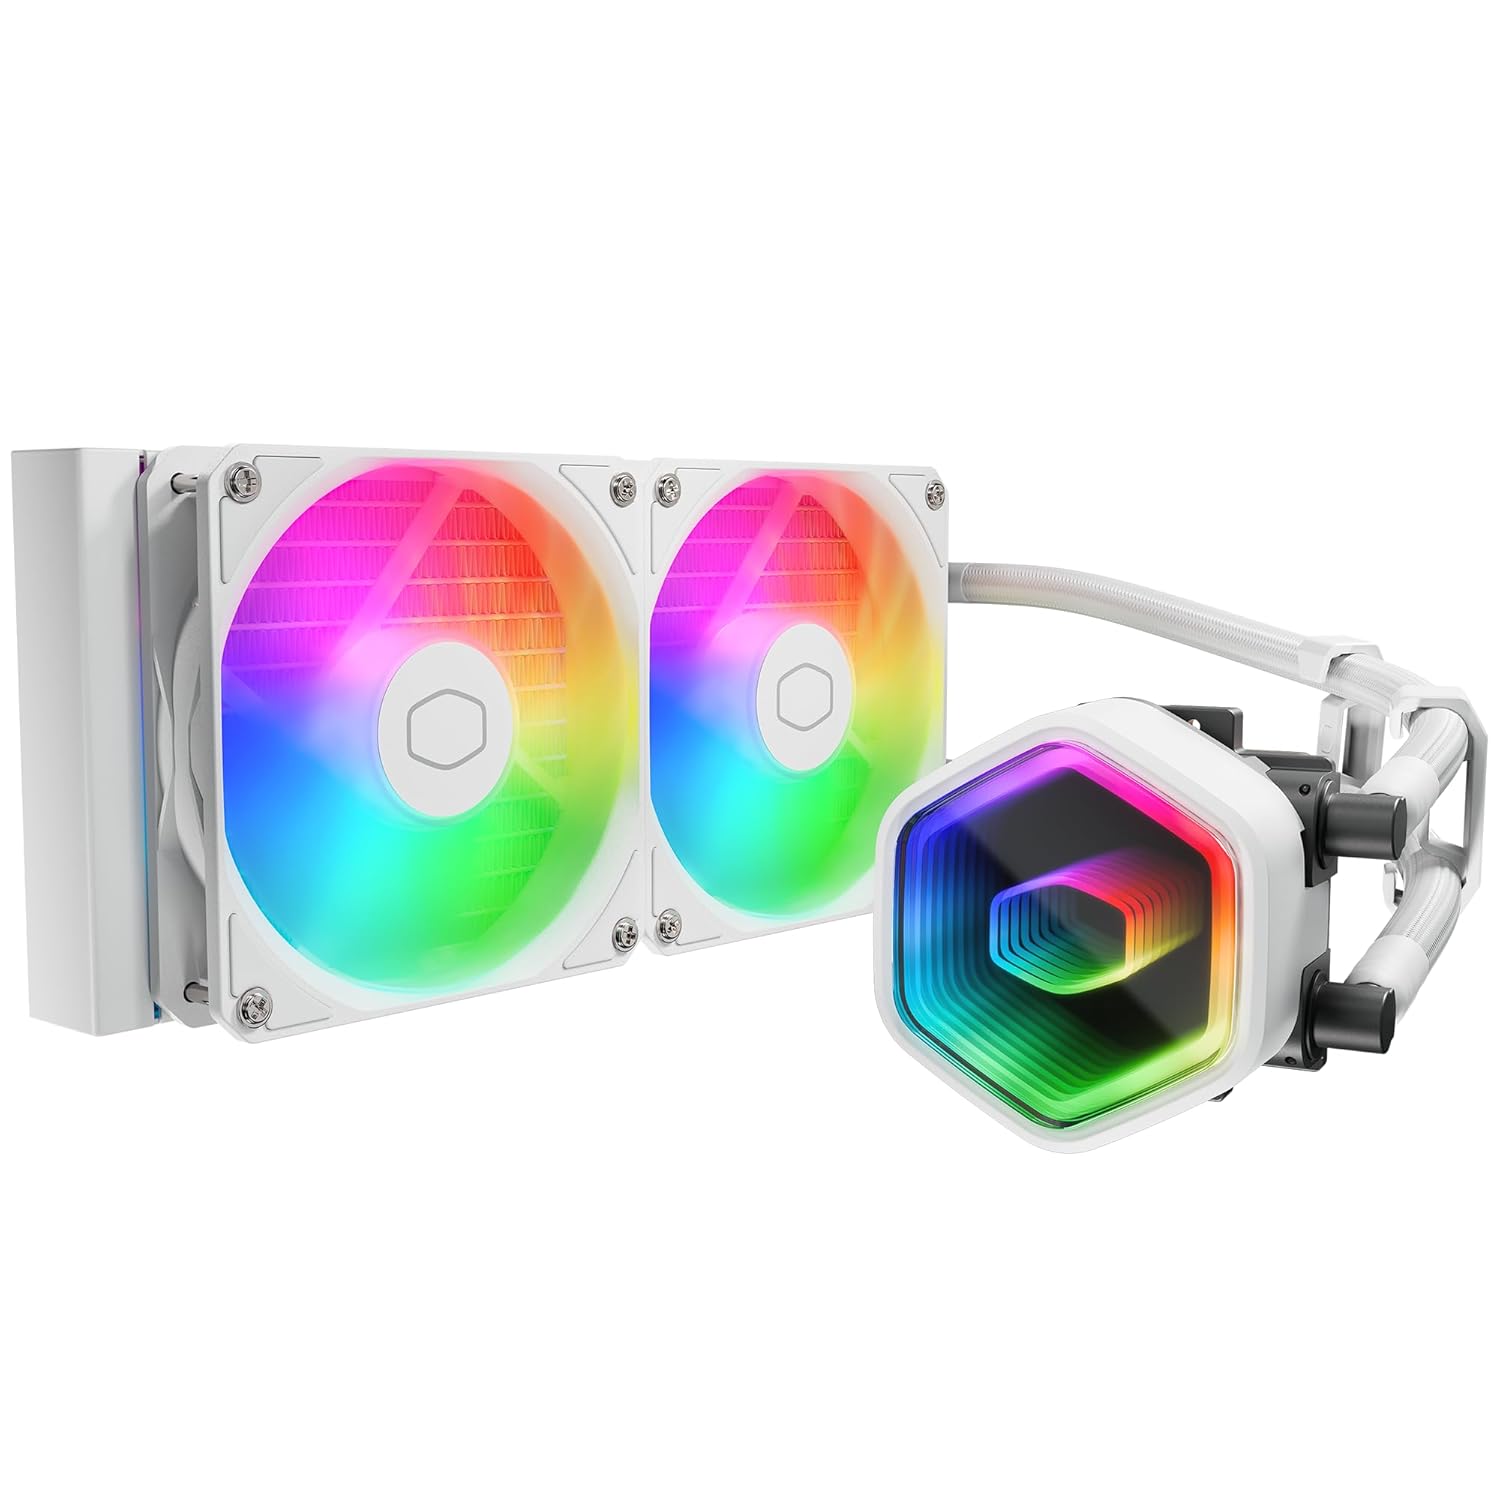
Image: Adjusting the backplate to the outer holes for LGA1700 compatibility.
- Install Backplate: Install the Intel backplate from the back side of the motherboard, ensuring the screws pass through the motherboard holes.

Image: Placing the Intel backplate on the rear of the motherboard.
- Install Standoffs: Install the LGA1700 standoffs onto the backplate screws from the front side of the motherboard. Ensure the correct direction (blue side up).

Image: Securing the blue LGA1700 standoffs onto the backplate screws.
- Apply Thermal Compound: Apply an appropriate amount of thermal compound to the CPU Integrated Heat Spreader (IHS).

Image: Applying thermal paste to the CPU surface.
- Prepare Waterblock: Align the arrow on the mounting bracket to the waterblock, then rotate to lock it in place. Remove the coldplate protective sticker.

Image: Attaching the mounting bracket to the waterblock and removing the protective film.
- Install Waterblock: Align the mounting holes on the bracket with the standoffs and carefully place the waterblock onto the CPU. Secure the metal brackets and waterblock with the four nuts, applying appropriate mounting pressure.

Image: The Cooler Master MasterLiquid Core II 240mm White CPU Liquid Cooler, fully assembled and ready for installation.
4.2. AMD AM5/AM4 Installation
For AMD AM5/AM4 sockets, the installation process utilizes the motherboard's existing backplate. You will need to rotate the AMD bracket to install it on the waterblock, then use the buckles to secure it to the CPU.
- Prepare Waterblock: Rotate the AMD bracket to install it on the waterblock. Remove the coldplate protective sticker.
- Apply Thermal Compound: Apply an appropriate amount of thermal compound to the CPU Integrated Heat Spreader (IHS).
- Install Waterblock: Use the buckles on the AMD bracket to install the waterblock onto the CPU. Tighten both screws on the bracket with a screwdriver to apply mounting pressure.
4.3. Cable Connections
- Fan ARGB Cables: Connect the fan 3-pin ARGB cables to sync the ARGB signal.
- Fan PWM Cables: Connect the fan 4-pin PWM headers to the PWM splitter cable.
- Connect Fan Splitter: Connect the fan PWM splitter cable to the motherboard's CPU_FAN socket to power the fans.
- Connect Pump Power: Connect the pump power cable to the CPU_OPT, AIO_PUMP, or WATER_PUMP socket on the motherboard.
- Connect ARGB Lighting: Connect the ARGB lighting cable to the motherboard's 3-pin +5V ARGB socket for lighting control.
4.4. Installation Video Reference
While no specific installation video for this exact Cooler Master model was provided by the seller, general installation principles for AIO coolers are similar. For visual guidance on AIO cooler installation, you may refer to general guides available online. Always prioritize the instructions provided in this manual and your motherboard's manual.
Note: No official installation video from Cooler Master for this specific product was available at the time of manual creation.
5. Operating Instructions
Once installed and powered on, your Cooler Master MasterLiquid Core II will begin cooling your CPU. For advanced control and customization:
- Fan Speed Control: Fan speeds are typically controlled via the motherboard's BIOS/UEFI settings or through motherboard-specific software. Adjust fan curves to balance cooling performance and noise levels.
- RGB Lighting Control: The ARGB lighting on the pump and fans can be controlled via your motherboard's RGB software (e.g., ASUS Aura Sync, MSI Mystic Light, Gigabyte RGB Fusion, ASRock Polychrome Sync). Ensure the ARGB cable is correctly connected to a compatible +5V ARGB header.
- Pump Operation: The pump operates continuously to circulate coolant. Ensure the pump header is set to run at 100% speed in your BIOS/UEFI for optimal performance.
6. Maintenance
Regular maintenance helps ensure the longevity and optimal performance of your liquid cooler:
- Dust Cleaning: Periodically clean dust from the radiator fins and fan blades using compressed air. Ensure fans are not spinning during cleaning to prevent damage.
- Visual Inspection: Regularly check the tubing for any signs of leaks, kinks, or damage. Ensure all connections are secure.
- Thermal Compound: Reapplying thermal compound is generally not required unless the cooler is removed from the CPU. If reinstallation occurs, clean off old thermal compound and apply new compound.
7. Troubleshooting
If you encounter issues with your liquid cooler, refer to the following common problems and solutions:
| Problem | Possible Cause | Solution |
|---|---|---|
| High CPU Temperatures |
|
|
| Fans Not Spinning |
|
|
| RGB Lighting Not Working |
|
|
| Unusual Noises (Gurgling, Buzzing) |
|
|
8. Specifications
| Feature | Detail |
|---|---|
| Model Number | MLW-D24M-A18PA-RW |
| Brand | Cooler Master |
| Product Dimensions | 37.2 x 21.2 x 14.3 cm |
| Item Weight | 1.45 kg |
| Power Connector Type | 4-Pin (for fans), 3-Pin (for pump) |
| Voltage | 12 Volts (DC) |
| Wattage | 260 watts (TDP) |
| Cooling Method | Water |
| Compatible Devices | Computer, Laptop (CPU) |
| Noise Level | 30 Decibels |
| Socket Compatibility | Intel LGA 1851, LGA1700, LGA1200, LGA115X; AMD AM5, AM4 |
9. Warranty and Support
Cooler Master provides a 5-year manufacturer's warranty for the MasterLiquid Core II series. For warranty claims, technical support, or further assistance, please visit the official Cooler Master website or contact their customer service directly.
You can find more information and support resources on the Cooler Master Store on Amazon.


