
ODK SPCB01010801020USDF-1
ODK Computer Desk
Instruction Manual
Introduction
Thank you for choosing the ODK Computer Desk. This manual provides detailed instructions for assembly, operation, maintenance, and troubleshooting to ensure you get the most out of your new desk. Please read all instructions carefully before beginning assembly or use.

Image: The ODK Computer Desk, 48-inch vintage model, featuring a spacious desktop, integrated power outlets, and a side storage bag.
Safety Information
- Ensure all parts are present and undamaged before assembly. Do not use if any parts are missing or broken.
- Assemble the desk on a soft, clean surface to prevent scratches.
- It is recommended that two people assemble this desk for ease and safety.
- Do not overtighten screws during assembly to avoid damaging the material.
- Keep small parts and packaging materials away from children and pets.
- Do not exceed the maximum weight capacity of the desk.
- Ensure the power cord is properly routed to avoid tripping hazards.
Package Contents
Before assembly, verify that all components listed below are included in your package. Refer to the assembly diagram for visual identification of parts.

Image: Exploded view diagram of the desk components, including the desktop, frame pieces, storage bag, headphone hook, and hardware.
Parts List:
- Desktop: 1 piece (Main working surface)
- Leg Frames: 2 pieces (Left and Right supports)
- Crossbars: 2 pieces (Connects leg frames for stability)
- Power Outlet Unit: 1 unit (Integrated with 3 AC outlets, 1 USB-A, 1 USB-C port)
- Fabric Storage Bag: 1 unit (Attachable side storage)
- Headphone Hook: 1 unit (Attachable hook)
- Adjustable Leg Pads: 4 pieces (Pre-installed or separate for leveling)
- Hardware Pack: Screws, Allen wrench, and other fasteners.
Assembly Instructions
Follow these steps carefully for quick and easy assembly. It is recommended to have a second person assist with assembly.
- Step 1: Assemble Leg Frames
Attach the crossbars to the leg frames using the provided screws. Ensure all connections are secure but do not fully tighten yet. - Step 2: Attach Desktop
Carefully place the desktop onto the assembled leg frames. Align the pre-drilled holes on the desktop with the holes on the leg frames. Secure the desktop using the appropriate screws. - Step 3: Install Power Outlet Unit
Locate the pre-cut opening on the desktop. Insert the power outlet unit into this opening and secure it with the designated screws. Ensure the power cord is routed correctly. - Step 4: Attach Storage Bag and Headphone Hook
Attach the fabric storage bag to the side of the desk using its integrated hooks or fasteners. Install the headphone hook to the desired location on the desk frame. - Step 5: Final Tightening and Leveling
Once all components are in place, go back and fully tighten all screws. Adjust the leg pads at the bottom of the desk legs to ensure stability and level the desk on uneven floors.
Image: Visual guide illustrating the assembly process from frame setup to final accessory attachment.
Features Overview
The ODK Computer Desk is designed with user convenience and functionality in mind. Key features include:
Integrated Power Outlets & USB Charging Ports
The desk features a built-in power strip with 3 standard AC outlets, 1 USB-A charging port, and 1 Type-C charging port. This allows for convenient charging of electronic devices directly from your desktop, reducing cable clutter.

Image: The integrated power hub with multiple outlets and USB ports for easy device charging.
Fabric Storage Bag
A removable fabric storage bag is included, providing extra space for books, documents, office supplies, or personal items, keeping your workspace tidy and organized.
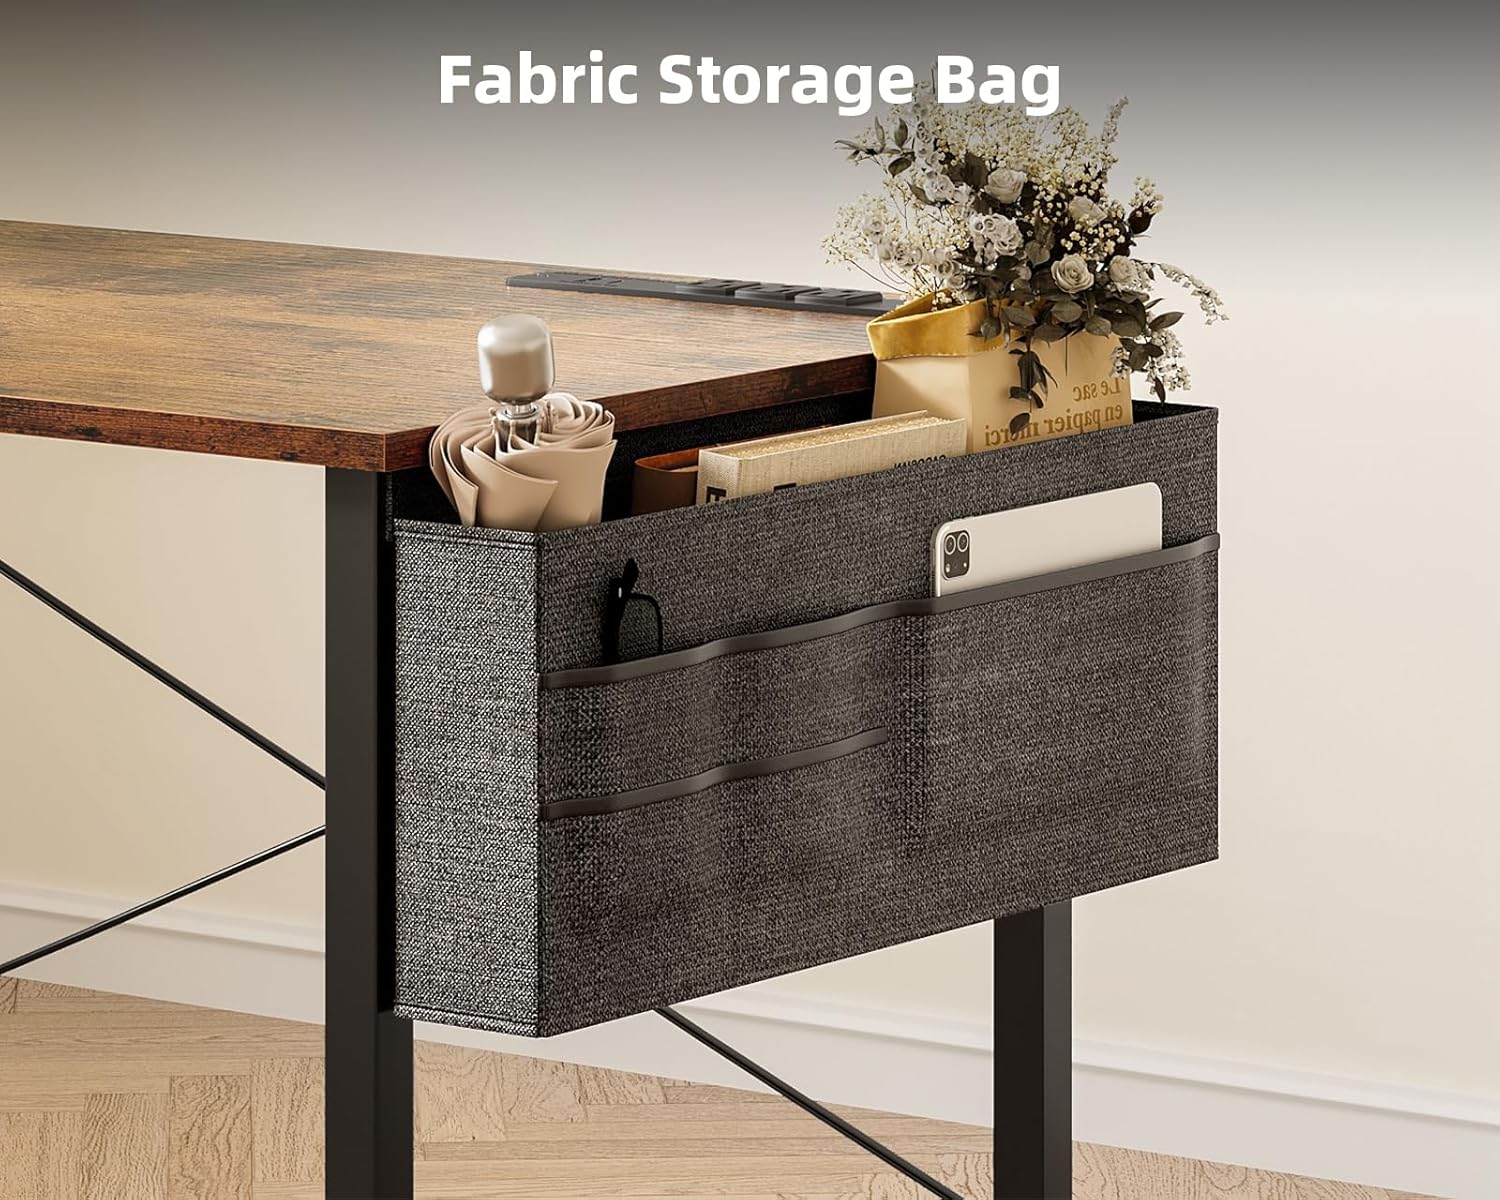
Image: The convenient side storage bag, perfect for keeping essentials within reach.
Headphone Hook
A sturdy hook is provided for hanging headphones, backpacks, or cables, further optimizing your desk space.
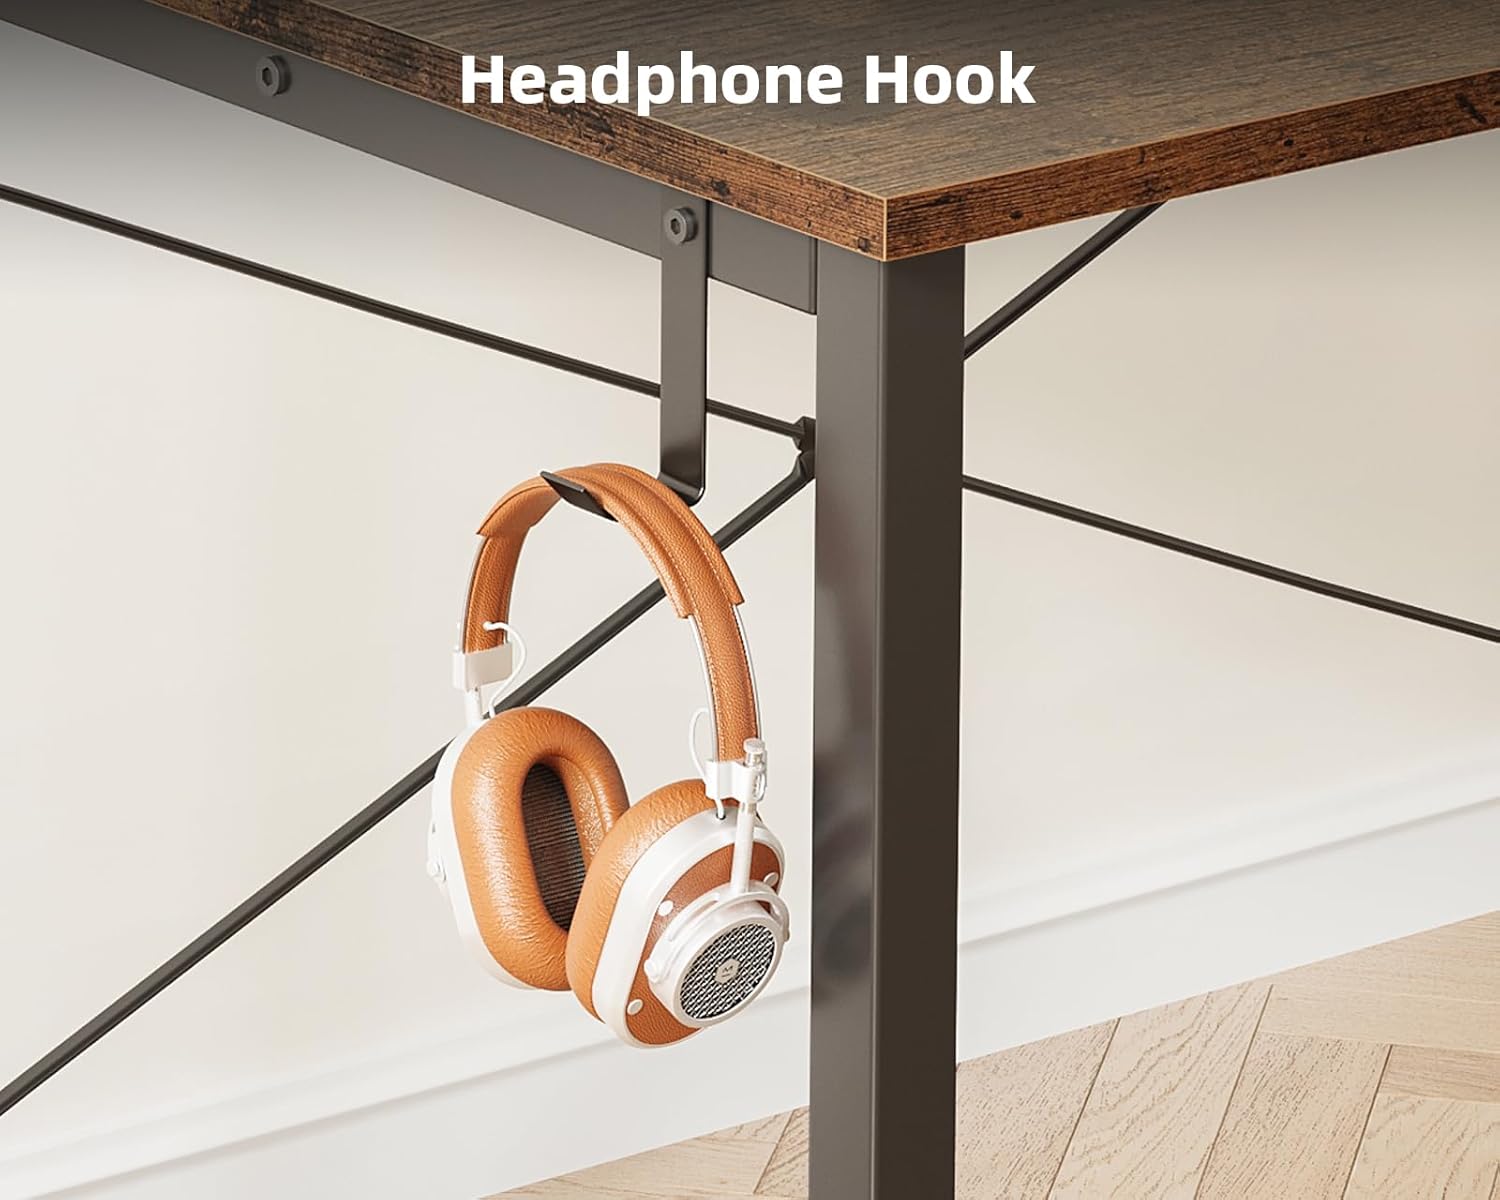
Image: The versatile headphone hook, providing a dedicated spot for your headset.
Adjustable Leg Pads
The desk is equipped with adjustable leg pads to ensure stability on uneven surfaces and protect your flooring from scratches.
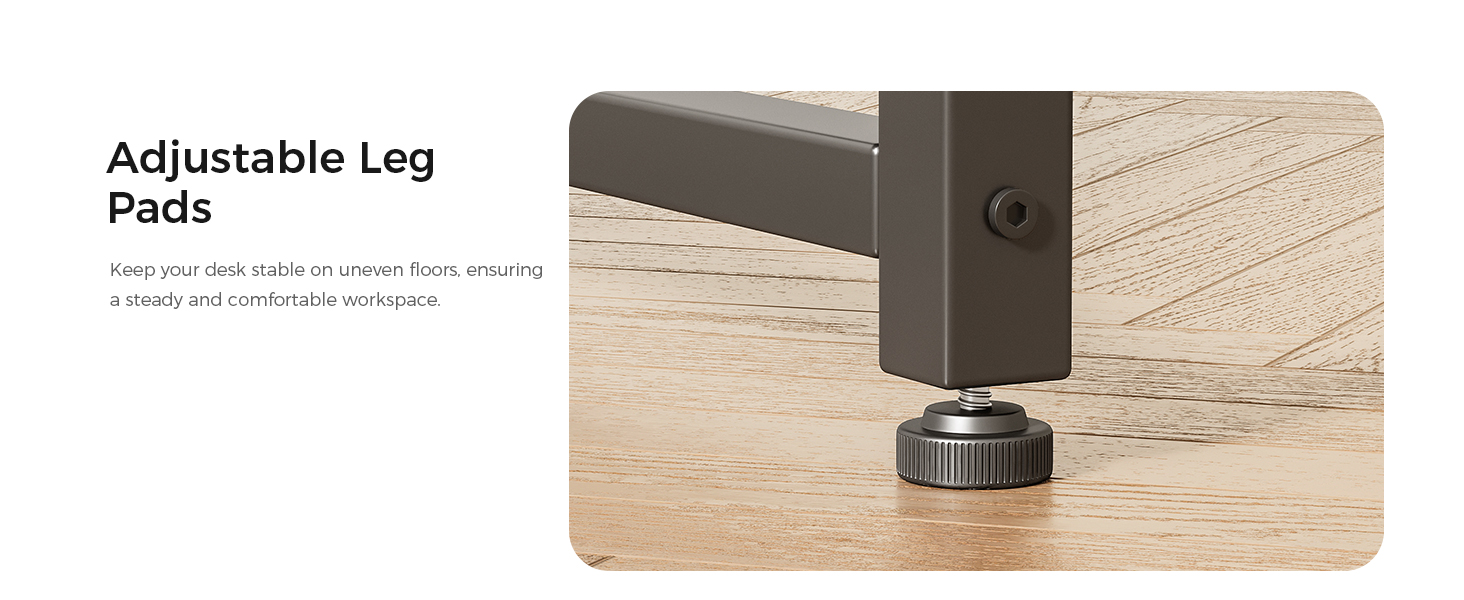
Image: An adjustable leg pad at the base of the desk leg, used for leveling and floor protection.
Operating Guidelines
To ensure optimal performance and longevity of your ODK Computer Desk, please adhere to the following guidelines:
- Placement: Position the desk on a flat, stable surface. Avoid placing it in direct sunlight or near heat sources to prevent material warping or discoloration.
- Weight Distribution: Distribute weight evenly across the desktop. Avoid concentrating heavy items in one area.
- Power Outlets: Use the integrated power outlets for charging compatible electronic devices. Do not overload the outlets. Disconnect devices when not in use.
- Cable Management: Utilize the cable routing features (if any, or simply route neatly) to prevent tangles and tripping hazards.

Image: The ODK Computer Desk set up as a functional workstation in a well-lit room.
Maintenance
Regular maintenance will help preserve the appearance and functionality of your desk.
- Cleaning: Wipe the desktop and frame with a soft, damp cloth. Avoid using harsh chemicals or abrasive cleaners, which can damage the finish.
- Spills: Immediately wipe up any spills to prevent staining or water damage to the desktop.
- Hardware: Periodically check all screws and fasteners to ensure they remain tight. Retighten if necessary.
- Storage Bag: The fabric storage bag can be removed and spot cleaned as needed.
Troubleshooting
| Problem | Possible Cause | Solution |
|---|---|---|
| Desk is wobbly. | Screws are loose; uneven floor. | Tighten all assembly screws. Adjust the leg pads to stabilize the desk. |
| Power outlets not working. | Power cord not fully plugged in; circuit breaker tripped. | Ensure the power cord is securely plugged into a wall outlet. Check your home's circuit breaker. |
| Parts missing or damaged. | Shipping damage; packaging error. | Contact ODK customer support with your purchase details for replacement parts. |
Specifications
- Model: SPCB01010801020USDF-1
- Brand: ODK
- Dimensions (D x W x H): 18.9"D x 47.24"W x 28.94"H (for 48 inch model)
- Color: Vintage
- Material: Engineered Wood (Top), Metal (Base)
- Item Weight: 20.72 Pounds
- Power Outlets: 3 AC Outlets (120V/12A), 1 USB-A Port (5V/2A), 1 Type-C Port (5V/2A)
- Assembly Required: Yes

Image: Detailed dimensions of the 48-inch ODK Computer Desk.
Warranty & Support
ODK products come with a limited warranty. For specific warranty details, please refer to the documentation included with your purchase or contact ODK customer support.
Customer Support:
If you have any questions, concerns, or require assistance with your ODK Computer Desk, please contact our support team:
- Email: support@casaottima.store
- Phone: 1-800-270-9115 (Monday - Friday, 9:00 AM - 5:00 PM PT)
- Online: Visit the ODK Store on Amazon for FAQs and additional resources.
Related documentsSPCB01010801020USDF-1


Ask a question about this manual
Ask about setup, troubleshooting, compatibility, parts, safety, or missing instructions. Manuals+ will review the question and use this page’s manual context to help answer it.