
1. Important Safety Instructions
Read all safety warnings and instructions carefully before operating this air compressor. Failure to follow these instructions may result in electric shock, fire, serious injury, or property damage. Keep this manual for future reference.
- Electrical Safety: Ensure the power source matches the compressor's voltage requirements (AC120V or DC12V). Do not operate in wet conditions. Always use a grounded outlet.
- Pressure Safety: Never exceed the maximum rated pressure of the tank or device being inflated. The compressor has an auto-stop function, but manual monitoring is recommended.
- Heat and Ventilation: The compressor generates heat during operation. Ensure adequate ventilation and do not block air vents. Allow the unit to cool down between uses. Maximum operating temperature is 80°C (176°F).
- Personal Protective Equipment: Always wear appropriate eye protection when operating the compressor.
- Children and Bystanders: Keep children and bystanders away from the operating compressor.
- External Air Filter: When inflating scuba diving tanks, always connect an external air filter to ensure air quality.
2. Product Overview
The VEVOR PCP Air Compressor is designed for rapid and efficient inflation of PCP airguns, paintball tanks, and small scuba diving bottles. It features a built-in converter for versatile AC/DC power options and an intelligent dual display for real-time monitoring.

Figure 2.1: VEVOR PCP Air Compressor main unit.
Key Features:
- Rapid Inflation: Fills a 0.5L air cylinder from 0 to 300bar in approximately 18 minutes.
- Auto-Stop Function: Automatically shuts off once the preset pressure is reached.
- Smart Dual Display: Provides real-time pressure and temperature readings.
- Versatile Power: Operates on AC120V (home) or DC12V (car battery) with a built-in power converter.
- Fan Cooling System: Integrated fan for efficient heat dissipation without external water cooling.
- Compact Design: Portable and easy to carry with an all-in-one package.

Figure 2.2: All-in-one compact design with portable handle and wire spool for easy transport and storage.

Figure 2.3: The compressor can fill a 0.5L tank to 300 bar in 18 minutes.

Figure 2.4: Intelligent dual display for clear pressure and temperature readings.

Figure 2.5: Versatile power options for both home (AC120V) and outdoor (DC12V) use.

Figure 2.6: The fan-based cooling system ensures fast heat dissipation without external cooling.

Figure 2.7: The 8mm quick connector is compatible with various air devices.
3. Setup and Assembly
Before first use, ensure all components are present and undamaged. Refer to the included accessory pack for all necessary parts.
3.1 Unpacking and Inspection
Carefully remove the compressor and all accessories from the packaging. Inspect for any signs of damage during transit. Contact customer support if any parts are missing or damaged.
3.2 Connecting Power
- AC Power (Home Use): Connect the provided AC power cord to the compressor and then to a standard AC120V wall socket.
- DC Power (Outdoor Use): Connect the battery clamp cable to the compressor and then securely attach the clamps to a 12V car battery (red to positive, black to negative).
3.3 Connecting the High-Pressure Hose
- Attach the 8mm quick-connect high-pressure hose to the compressor's output port.
- Connect the other end of the hose to the inflation valve of your PCP airgun, paintball tank, or scuba diving bottle. Ensure all connections are secure to prevent leaks.
- If inflating a scuba diving tank, connect an external air filter in-line with the hose as specified in the safety instructions.

Figure 3.1: Compressor and included accessories for setup.

Figure 3.2: Additional view of the compressor and connection accessories.
Video 3.1: This video demonstrates the VEVOR PCP Air Compressor, highlighting its features and operation for various airgun and tank inflation needs.
4. Operating Instructions
Follow these steps for safe and effective operation of your VEVOR PCP Air Compressor.
4.1 Pre-Operation Checks
- Ensure all connections (power, hose, tank) are secure.
- Verify the target device's maximum pressure rating.
- Confirm adequate ventilation around the compressor.
- Check that the bleed valve is closed before starting inflation.
4.2 Setting Pressure and Starting Inflation
- Connect the compressor to the power source. The digital display will illuminate.
- Use the control buttons (if applicable, refer to the physical unit for exact controls) to set the desired target pressure. The compressor will automatically stop when this pressure is reached.
- Press the 'Start' or 'Compressor' button to begin inflation. Monitor the pressure and temperature on the dual display.
- The compressor will automatically shut off once the set pressure is achieved.
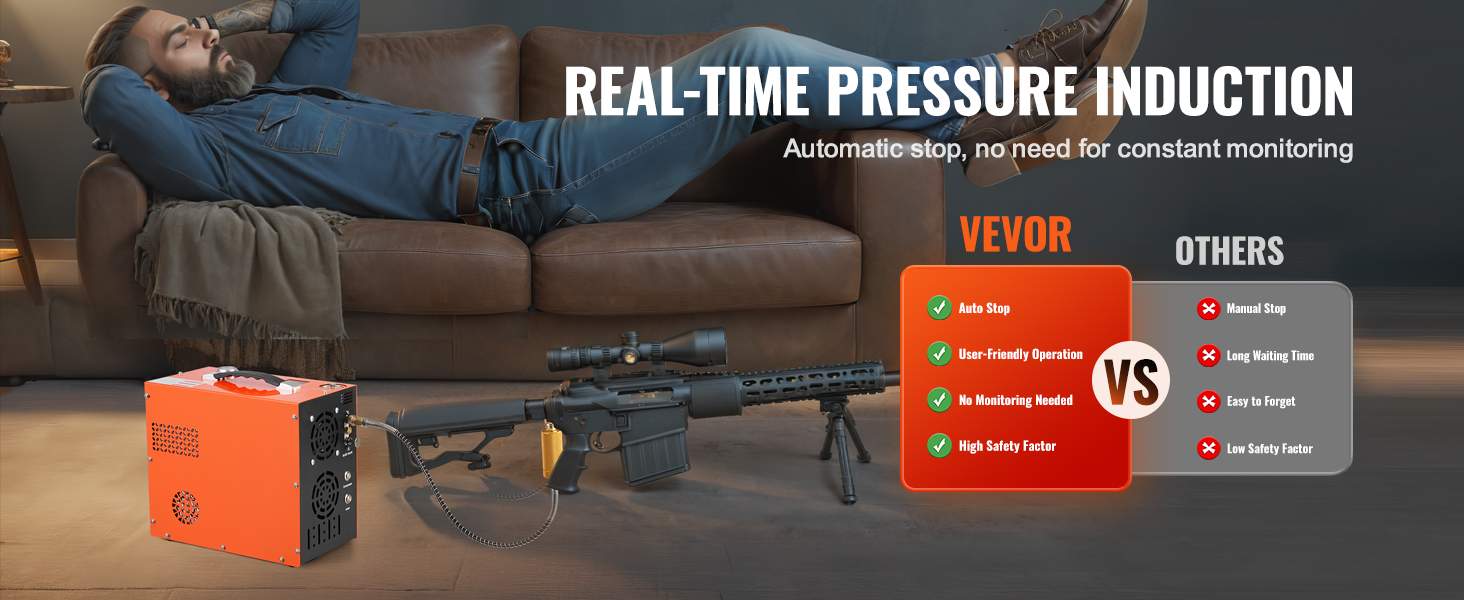
Figure 4.1: The compressor features real-time pressure induction and automatic stop for user convenience.
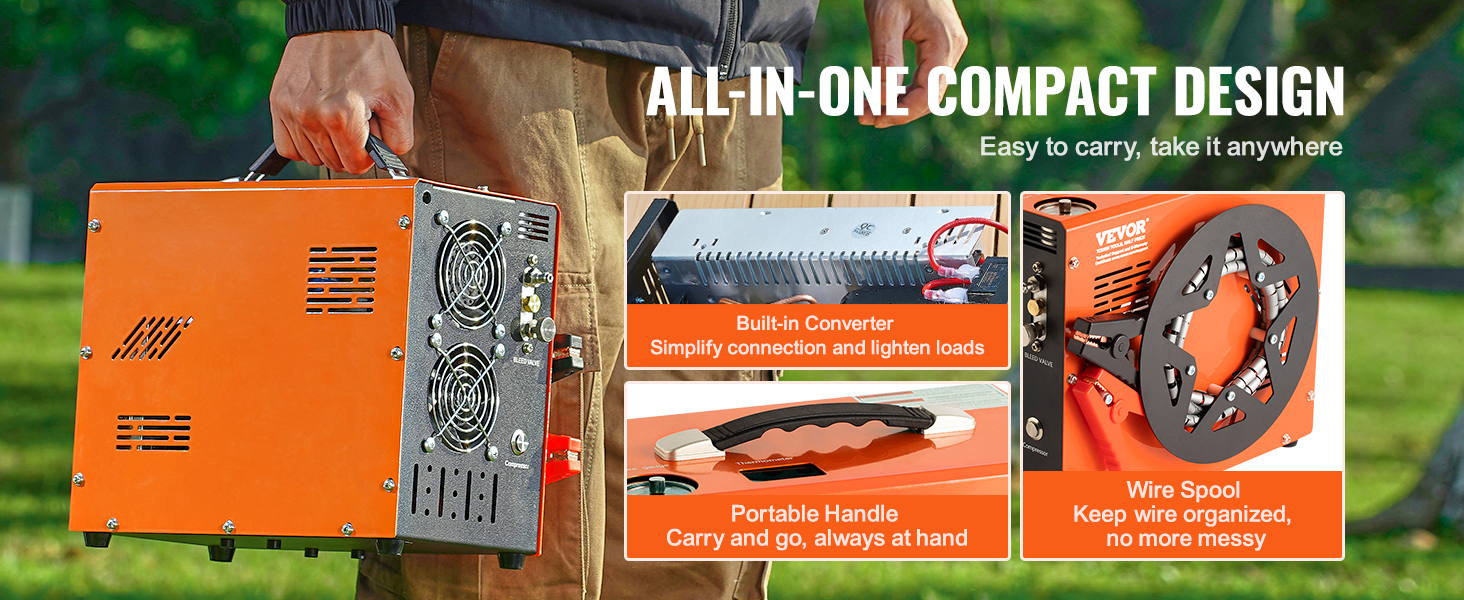
Figure 4.2: Simple one-click operation for ease of use.
4.3 Post-Inflation Procedure
- After the compressor stops, slowly open the bleed valve to release residual pressure from the hose.
- Once pressure is fully released, disconnect the hose from the tank and then from the compressor.
- Turn off the compressor and disconnect it from the power source.
5. Maintenance
Regular maintenance ensures optimal performance and extends the lifespan of your compressor.
5.1 Cooling System
The built-in fan cooling system is designed for efficient heat dissipation. Keep the fan vents clear of obstructions. Periodically clean any dust or debris from the fan grille using a soft brush or compressed air.
5.2 Filter Replacement
The compressor uses filter cotton to ensure clean air output. Regularly inspect the filter for discoloration or blockage. Replace the filter cotton as needed using the provided accessory pack. Refer to the detailed instructions in the full user manual for specific steps on accessing and replacing the filter.
5.3 General Cleaning and Storage
- Wipe the exterior of the compressor with a clean, damp cloth. Do not use harsh chemicals or abrasive cleaners.
- Store the compressor in a dry, cool place, away from direct sunlight and moisture.
- Keep all accessories organized and protected.
6. Troubleshooting
This section addresses common issues you might encounter. For more detailed troubleshooting, refer to the comprehensive user manual.
| Problem | Possible Cause | Solution |
|---|---|---|
| Compressor does not start | No power, loose connection, power switch off. | Check power cord/battery clamp connections. Ensure power switch is ON. Verify power source is active. |
| Compressor stops prematurely | Auto-stop reached, overheating, internal fault. | Check set pressure. Allow unit to cool if temperature is high. If issue persists, contact support. |
| Slow inflation or no pressure build-up | Hose leak, clogged filter, bleed valve open. | Check all hose connections for leaks. Replace filter cotton. Ensure bleed valve is fully closed. |
| Excessive noise or vibration | Loose components, unit not on a stable surface. | Ensure unit is on a flat, stable surface. Check for any loose screws or parts. |
| Smoke or unusual smell | Internal electrical issue, overheating. | Immediately turn off and unplug the compressor. Do not operate. Contact customer support. |
7. Specifications
Detailed technical specifications for the VEVOR PCP Air Compressor.

Figure 7.1: Product dimensions and key specifications.
| Specification | Value |
|---|---|
| Brand | VEVOR |
| Model Name | PCP Air Compressor |
| Rated Power | 300 W |
| Maximum Pressure | 4500 PSI / 30 Mpa |
| Maximum Temperature | 80°C / 176°F |
| Voltage | AC120V / DC12V |
| Cooling Method | Efficient Cooling Fan |
| Stop Type | Auto Stop |
| Capacity | 0.5 Liters (for 0.5L cylinder fill time) |
| Item Weight | 18.1 lbs / 8.2 kg |
| Dimensions (L x W x H) | 12.36" x 7.6" x 9.65" (300 x 200 x 260 mm) |
| Material Type | Metal |
| Included Components | 1 x Power Cord, 1 x Filter, 1 x Accessory Kit (5 x Filter Cotton, 5 x White Washer, 5 x Filter O-Rings, 5 x Burst Discs, 1 x Air Nozzle, 1 x Check Valve), 1 x User Manual, 1 x Battery Clip |
8. Warranty and Support
For warranty information, technical support, or service inquiries, please refer to the official VEVOR website or the contact information provided in your product packaging. Keep your purchase receipt for warranty claims.


