
Introduction
This manual provides comprehensive instructions for the safe and effective use of your DEPSTECH DS300 Dual Lens Endoscope and its accompanying carrying case. Please read this manual thoroughly before operating the device to ensure proper functionality and to prevent damage.
The DEPSTECH DS300 is an advanced inspection camera designed for detailed visual inspection in hard-to-reach areas. The included carrying case offers robust protection and efficient organization for your equipment.
Product Overview
The DEPSTECH DS300 Dual Lens Endoscope features a high-resolution camera with dual lenses, a 4.3-inch TFT LCD screen, and adjustable LED lights. It is designed for various inspection tasks, providing clear images and videos.
The custom-designed EVA carrying case ensures your endoscope and accessories are protected and organized during transport and storage.
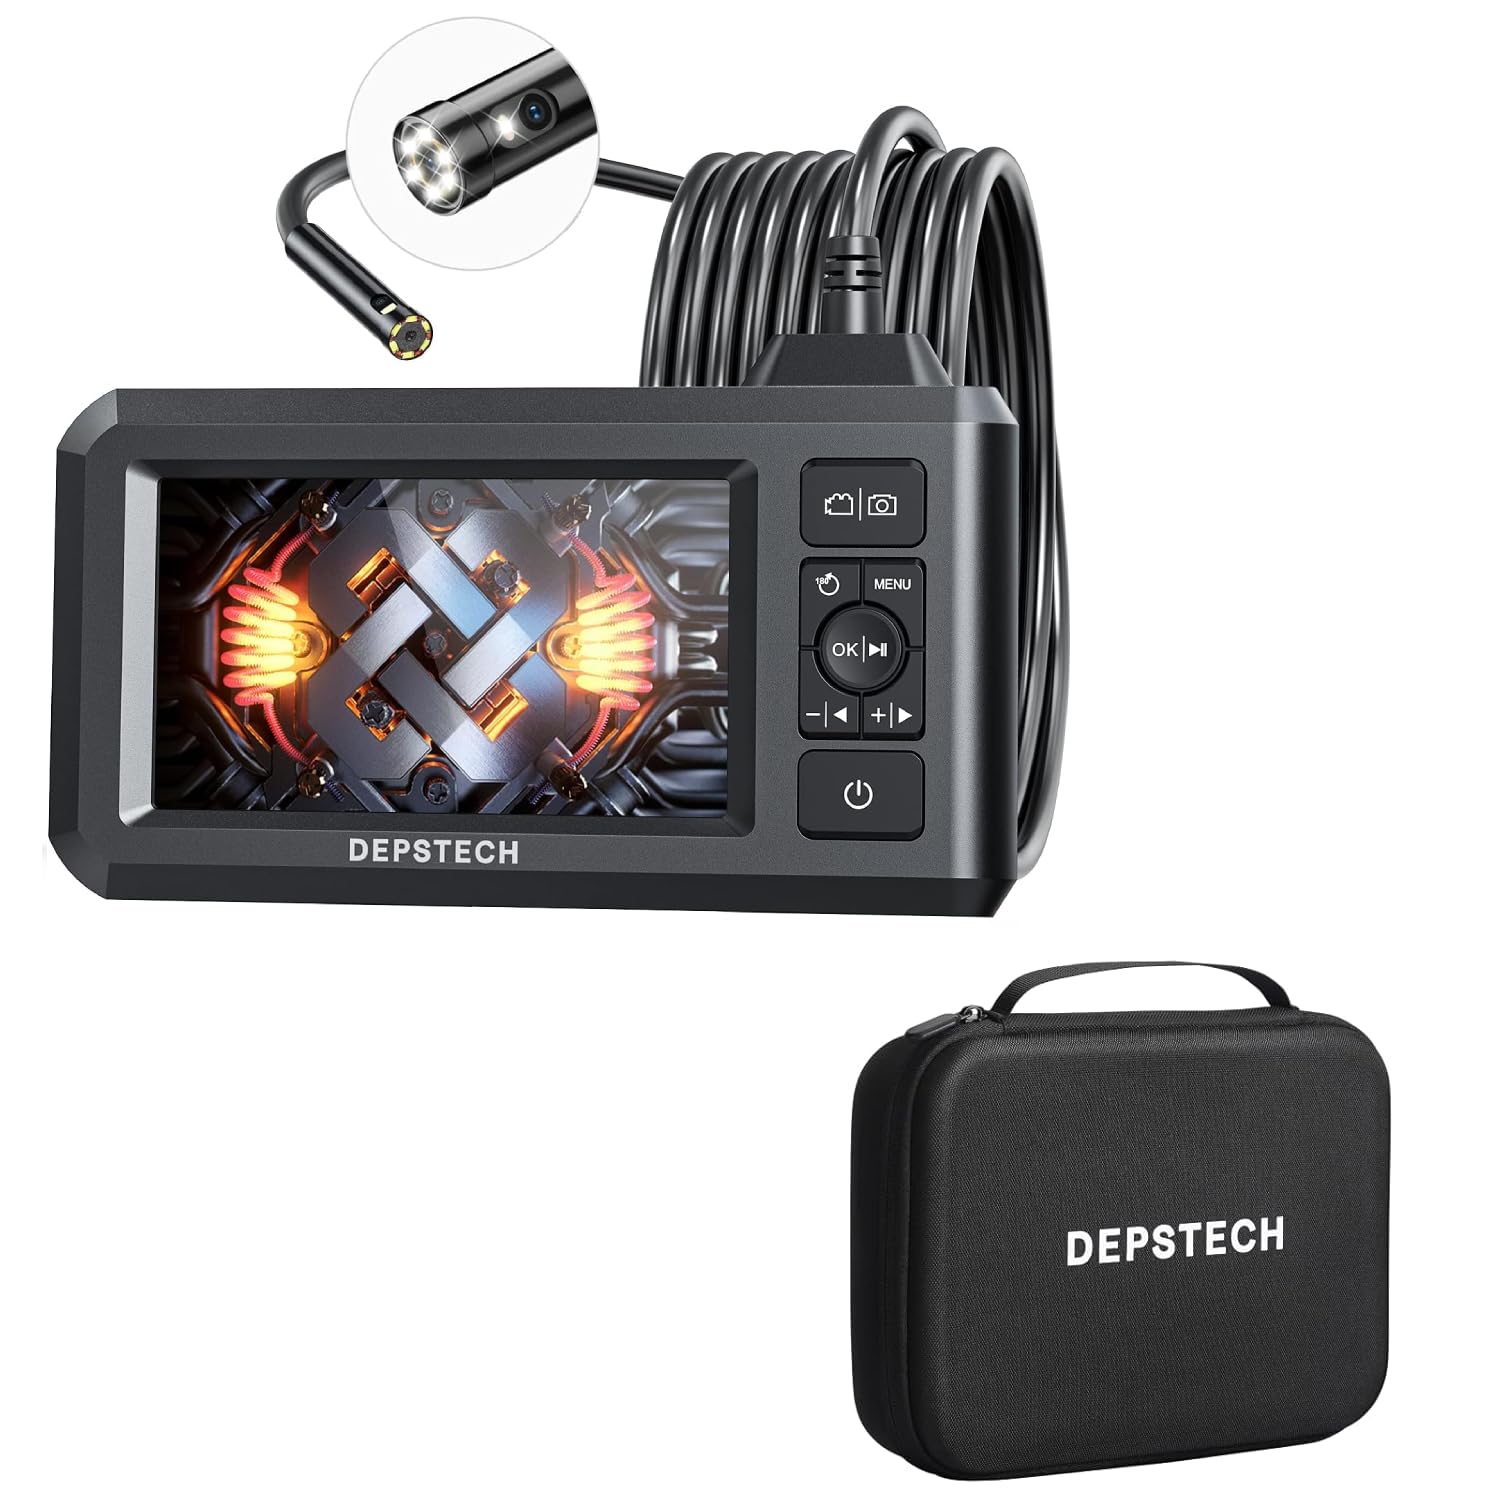
Figure 1: DEPSTECH DS300 Dual Lens Endoscope and Carrying Case Bundle. This image displays the complete product package, including the endoscope unit with its flexible probe and the protective carrying case.
Key Features of the DS300 Endoscope:
- Dual Lens Technology: Allows switching between different viewing angles without additional attachments.
- FOV 70° Button: Provides a wider field of view in confined spaces.
- 4.3-inch TFT LCD Screen: Wide-angle display for clear viewing.
- 1080P HD Resolution: Captures crisp images (2.0 MP) and fluent videos.
- Adjustable 7 LED Lights with Bluart 2.0: Enhances visibility in dark environments.
- Built-in Rechargeable Battery: Provides approximately 4 hours of continuous operation.

Figure 2: Bluart 2.0 Lens Technology. This diagram illustrates the advanced lens system and LED illumination, highlighting how it captures clear 1080P images in various lighting conditions.
Key Features of the Carrying Case:
- Robust Protection: Shields the endoscope from impacts, drops, and environmental factors.
- Efficient Organization: Dedicated compartments for the borescope, cables, and accessories.
- Wide Compatibility: Designed for DEPSTECH DS320, DS300, DS620, and other 4.3-inch screen borescopes.
- Portable Design: Lightweight and compact for easy transport.

Figure 3: Carrying Case with Custom Fit Compartments. This image shows the interior of the carrying case, detailing the specific slots for the borescope, charging cable, TF card, user manual, and other accessories.

Figure 4: Efficient Organization. This image contrasts a disorganized setup with the neatly arranged components within the carrying case, emphasizing its organizational benefits.
Setup
1. Charging the Device
Before first use, fully charge the endoscope. Connect the provided USB cable to the charging port on the device and to a standard USB power adapter (not included) or a computer USB port. The charging indicator will illuminate during charging and turn off when fully charged. A full charge typically takes approximately 3-4 hours.
2. Inserting the SD Card
The DS300 supports an SD card for storing images and videos. Locate the SD card slot on the side of the device. Gently insert the SD card with the metal contacts facing down until it clicks into place. To remove, push the card in slightly until it springs out.
3. Powering On/Off
- Power On: Press and hold the power button (⏻) for a few seconds until the screen illuminates.
- Power Off: Press and hold the power button (⏻) again until the screen turns off.
Operating Instructions
1. Basic Controls
Familiarize yourself with the buttons on the device:
- Power Button (⏻): Power on/off.
- Menu Button (MENU): Access system settings.
- OK/Play Button (OK/▶): Confirm selections in menu, play/pause videos.
- Up/Down Arrows (▲/▼): Navigate menus, adjust LED brightness.
- Photo/Video Button (📷/📹): Switch between photo and video modes, take photo/start recording.
- Lens Switch Button (FOV 70°): Switch between front lens, side lens, or split-screen view.
2. Switching Lenses and Viewing Modes
The DS300 features a dual-lens system. Press the FOV 70° button to cycle through the available viewing modes:
- Front Lens View: Displays the view from the primary camera at the tip of the probe.
- Side Lens View: Displays the view from the secondary camera on the side of the probe.
- Split-Screen View: Displays both front and side lens views simultaneously for a comprehensive perspective.
3. Adjusting LED Brightness
While in live view, press the ▲ (Up) or ▼ (Down) arrow buttons to increase or decrease the brightness of the LED lights on the camera probe. This helps illuminate dark inspection areas.
4. Capturing Images and Videos
- Taking Photos: In live view, press the 📷/📹 button once to take a still image. The image will be saved to the inserted SD card.
- Recording Videos: Press and hold the 📷/📹 button to start video recording. A recording indicator will appear on the screen. Press and hold the button again to stop recording. Videos will be saved to the SD card.
5. Viewing Stored Media
To review captured images and videos:
- Press the MENU button to enter the main menu.
- Navigate to the "Playback" or "Gallery" option using the arrow buttons and press OK to select.
- Browse through your files using the arrow buttons. Press OK/▶ to view an image or play a video.
- Press MENU to exit playback mode.

Figure 5: Endoscope in Use. This image demonstrates the DEPSTECH DS300 endoscope being used for an inspection in an automotive engine bay, highlighting its practical application.
Maintenance
1. Cleaning the Lens and Probe
After each use, especially in dirty or oily environments, clean the camera lens and probe. Use a soft, lint-free cloth slightly dampened with isopropyl alcohol or a mild lens cleaning solution. Do not use abrasive cleaners or immerse the main unit in liquids.
2. Cleaning the Screen
Wipe the screen with a soft, dry, lint-free cloth. For stubborn smudges, use a screen cleaning solution specifically designed for electronics, applied to the cloth, not directly to the screen.
3. Storage
When not in use, store the DEPSTECH DS300 endoscope and all its accessories in the provided carrying case. Ensure the device is powered off and the probe is coiled neatly without sharp bends. Store in a cool, dry place away from direct sunlight and extreme temperatures.
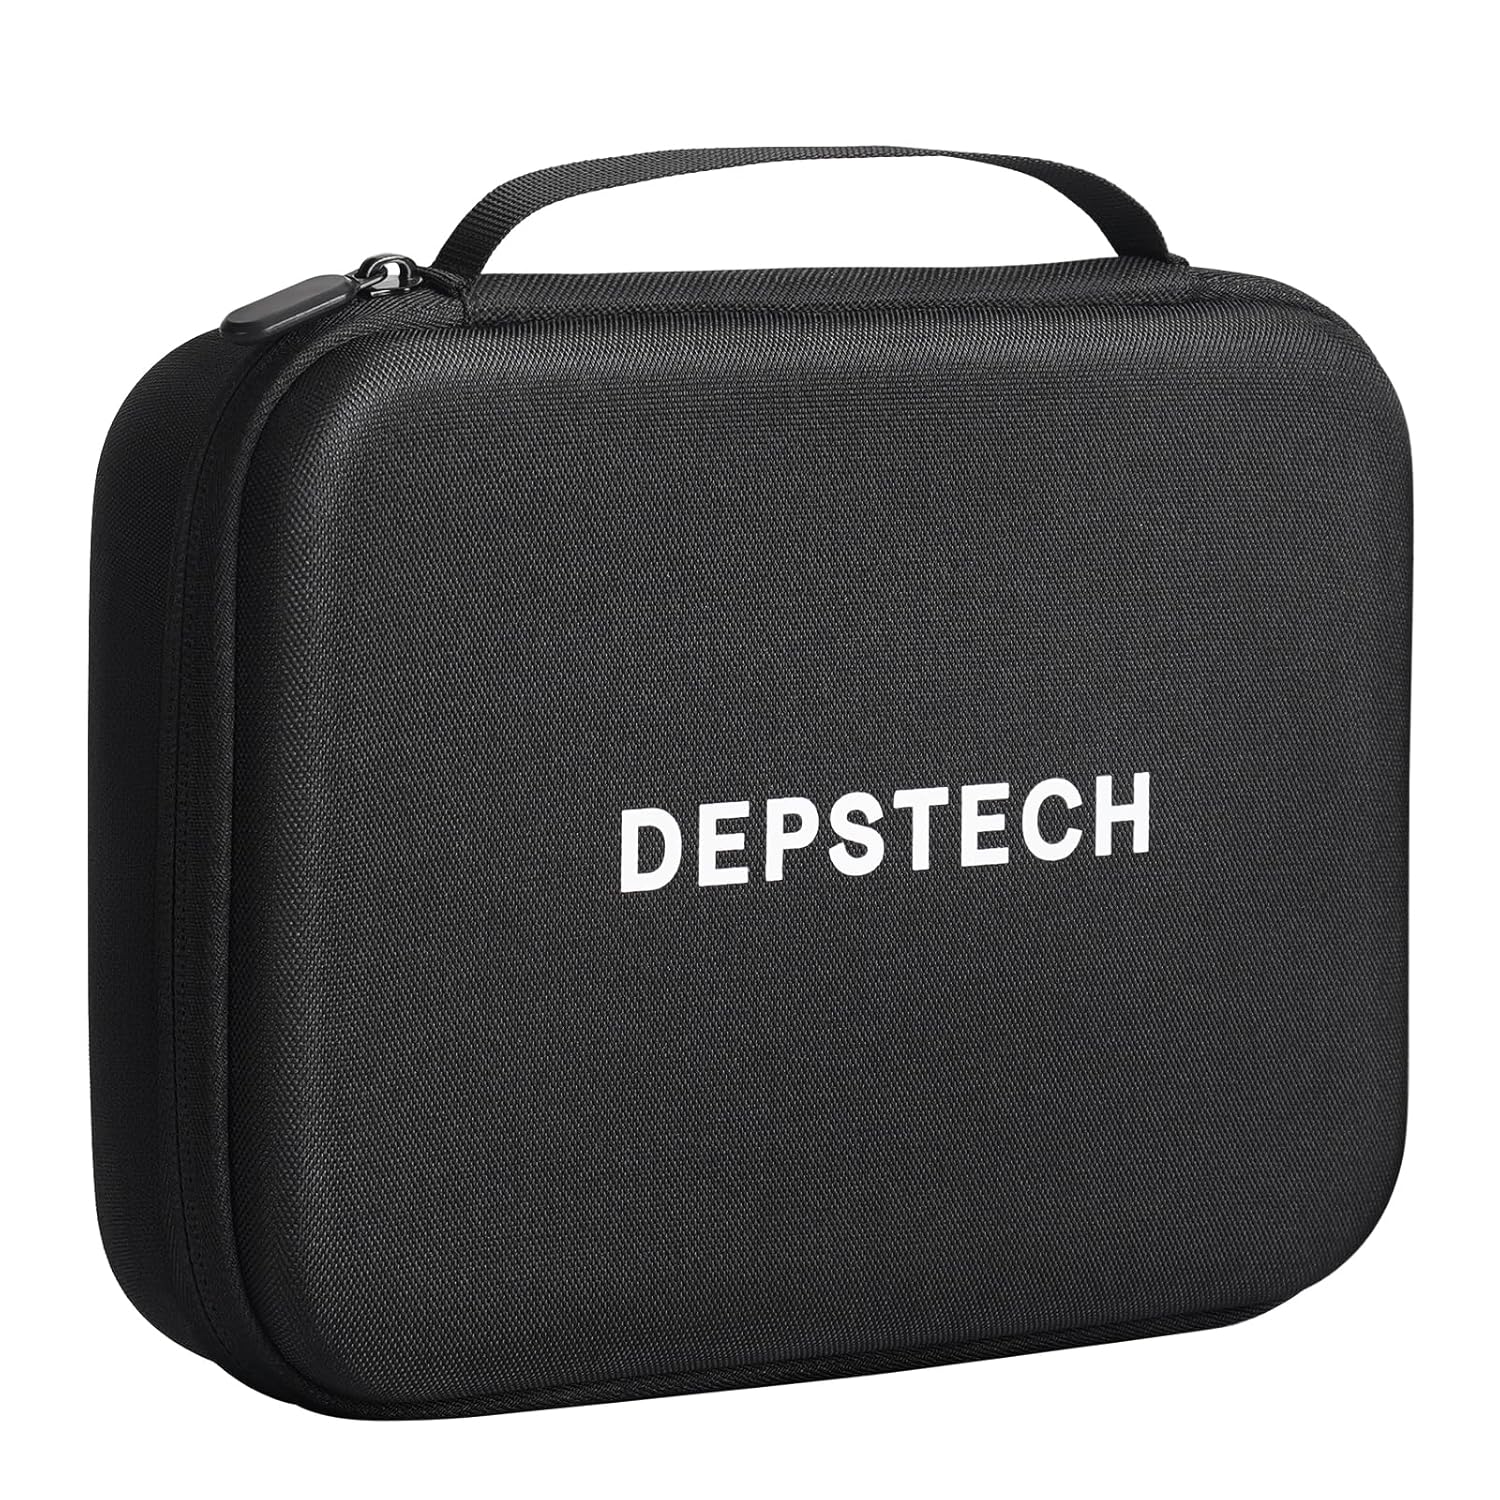
Figure 6: DEPSTECH Carrying Case. This image shows the exterior of the protective EVA carrying case, designed for secure storage and transport of the endoscope.
Troubleshooting
| Problem | Possible Cause | Solution |
|---|---|---|
| Device does not power on. | Low battery. | Charge the device fully. |
| No image on screen. | Probe not connected securely; device malfunction. | Ensure the probe is firmly connected. If issue persists, contact support. |
| Image is blurry or dark. | Lens is dirty; insufficient lighting. | Clean the camera lens. Adjust LED brightness using the arrow buttons. |
| Cannot save photos/videos. | No SD card inserted; SD card full or corrupted. | Insert a compatible SD card. Delete old files or format the SD card (backup data first). |
| Device freezes. | Software error. | Press and hold the power button for 10 seconds to force a restart. |
Specifications
- Model: DS300
- Screen: 4.3-inch TFT LCD
- Camera Resolution: 2.0 MP (for images), 1080P (for videos)
- Lens Type: Dual Lens (Front and Side)
- Field of View (FOV): 70°
- Illumination: 7 Adjustable LED Lights with Bluart 2.0 technology
- Battery Life: Approximately 4 hours continuous use
- Storage: Supports SD Card (Media Type)
- Exposure Control: Automatic
- Shooting Modes: Automatic, Custom
- Color: Black
- Carrying Case External Dimensions: 10.1'' x 7.5'' x 3.0'' (25.6cm x 19cm x 7.5cm)
- Carrying Case Weight: 0.8 lb

Figure 7: Carrying Case Dimensions. This image provides a visual representation of the external dimensions of the carrying case, indicating its length, width, and height.
Warranty and Support
DEPSTECH products are designed and manufactured to high-quality standards. For information regarding warranty coverage, please refer to the warranty card included with your product or visit the official DEPSTECH website.
If you encounter any issues or have questions not covered in this manual, please contact DEPSTECH customer support for assistance. Contact information can typically be found on the product packaging or the official DEPSTECH website.


