
DOKIO DOKIO 150W-18V
DOKIO 150 Watt 18 Volt Monocrystalline Solar Panel User Manual
Model: DOKIO 150W-18V | Brand: DOKIO
1. Introduction
This manual provides essential information for the safe and efficient use of your DOKIO 150 Watt 18 Volt Monocrystalline Solar Panel. Designed for high efficiency and durability, this solar panel is ideal for various off-grid applications, including RVs, marine vessels, boats, and general off-grid power systems. Please read this manual thoroughly before installation and operation to ensure optimal performance and longevity of your solar panel.

Figure 1.1: DOKIO 150 Watt Monocrystalline Solar Panel. This image shows the front view of the solar panel, highlighting its monocrystalline cells and overall design.
2. Safety Instructions
Always observe the following safety precautions to prevent injury and damage to the solar panel or other equipment:
- Do not attempt to disassemble or modify the solar panel.
- Handle the solar panel with care to avoid dropping or impacting it, which can damage the cells or glass.
- Ensure all electrical connections are secure and properly insulated to prevent short circuits.
- Wear appropriate personal protective equipment (PPE), such as gloves and eye protection, during installation.
- Avoid touching the electrical terminals when the panel is exposed to sunlight, as it will generate voltage.
- Install the panel in a location that can withstand its weight and potential wind/snow loads (up to 2400Pa wind and 5400Pa snow).
- Keep the panel away from flammable materials and sources of ignition.
3. Product Components and Features
The DOKIO 150W Monocrystalline Solar Panel includes the following key components and features:
- Monocrystalline Solar Cells: High-efficiency cells for superior power generation.
- Durable Low Iron-Tempered Glass: Provides protection and allows maximum light transmission.
- Anti-Corrosion Aluminum Frame: Ensures structural integrity and long-term durability.
- EVA Film: Encapsulates and protects the solar cells.
- TPT Backsheet: Provides electrical insulation and protection from environmental factors.
- Junction Box: Houses bypass diodes and provides MC4 output cables for connection.
- MC4 Connectors: Standard connectors for easy and secure wiring.
- Pre-drilled Mounting Holes: Facilitate easy installation.

Figure 3.1: Key features of the DOKIO solar panel, including bypass diodes, corrosion-resistant aluminum frame, 35-inch cable length, IP67 MC4 output cable, and four mounting holes for easy installation.

Figure 3.2: Exploded view showing the internal layers of the solar panel, from the durable low iron-tempered glass to the junction box, highlighting the Grade A+ monocrystalline cells.
4. Technical Specifications
| Specification | Value |
|---|---|
| Brand | DOKIO |
| Material | Monocrystalline Silicon |
| Product Dimensions (L x W x H) | 43.3" x 25.98" x 0.98" |
| Efficiency | High Efficiency (23-24% higher than average power) |
| Connector Type | MC4 |
| AC Adapter Current | 5.29 Amps |
| Maximum Voltage | 18 Volts |
| Maximum Power | 150 Watts |
| Item Weight | 19.96 pounds |
| Model Number | DOKIO 150W-18V |
| Color | Black |
| Certification | ISO |

Figure 4.1: Detailed dimensions of the solar panel (87cm x 89cm x 2.5cm) and examples of how many panels can be installed on a boat (1-4 panels) or an RV (1-9 panels).

Figure 4.2: Comparison illustrating DOKIO's Grade A+ solar cells with 23-24% efficiency, higher than the average 19-20% of other Grade B/C cells.
5. Setup and Installation
The DOKIO 150W solar panel is designed for straightforward installation. Follow these steps for proper setup:
5.1 Mounting the Solar Panel
The panel features pre-drilled holes for easy mounting. Ensure the mounting surface is stable and can support the panel's weight and environmental loads. For optimal performance, position the panel to receive maximum direct sunlight throughout the day.

Figure 5.1: Illustration of easy solar panel setup, showing a worker installing the panel on a roof, highlighting the simple installation process and adaptability to various roof types.
5.2 Electrical Connections
The solar panel is equipped with MC4 connectors for secure and reliable electrical connections. It can be used for 12-volt battery charging or wired in series for 24/48-volt battery charging or grid-tied applications. A charge controller and battery (not included) are required for a complete solar power system.

Figure 5.2: Basic wiring diagram showing the connection flow from the solar panel to a PWM charge controller, then to a battery, and finally to a power inverter. Note that the charge controller, battery, and inverter are not included with the solar panel.
5.3 Series and Parallel Connections
For higher voltage requirements, multiple panels can be connected in series. For higher current and power output at the same voltage, panels can be connected in parallel.

Figure 5.3: Diagram illustrating how to connect multiple solar panels in series to increase the total voltage output. This setup is suitable for systems requiring higher input voltage to the charge controller.
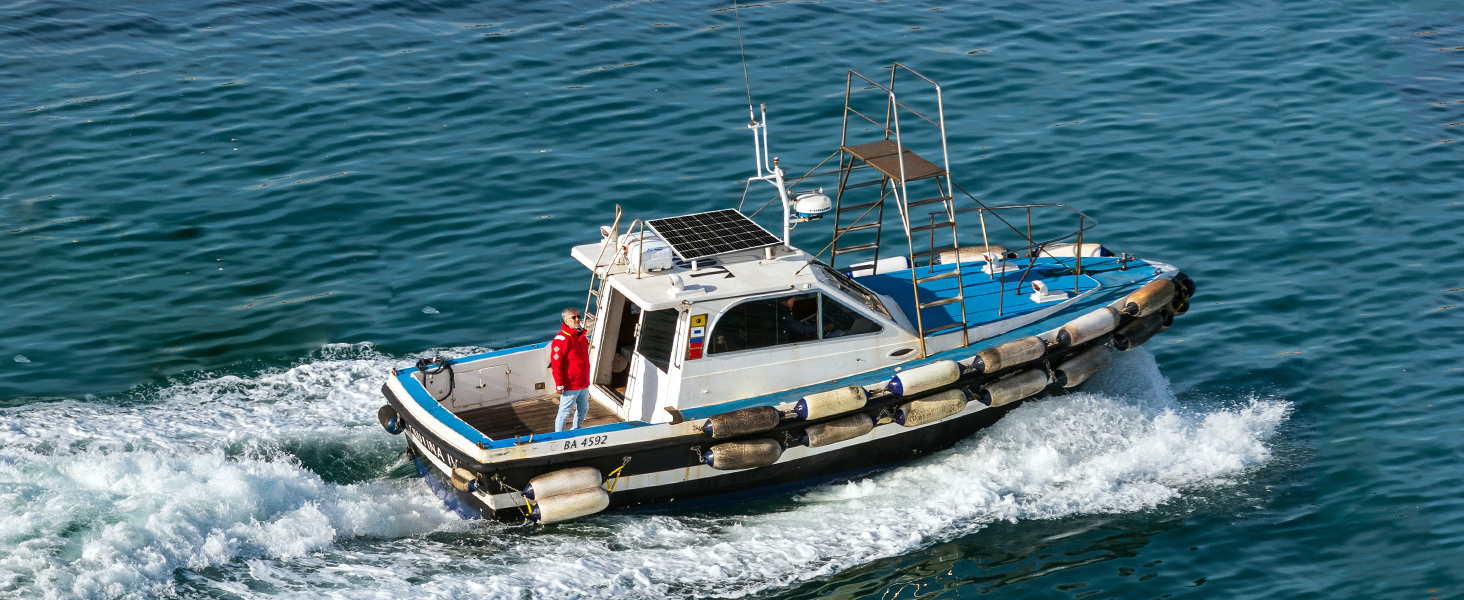
Figure 5.4: Diagram illustrating how to connect multiple solar panels in parallel to increase the total current output while maintaining the same voltage. This setup is useful for increasing overall power generation.
6. Operating the Solar Panel
Once installed and connected to a charge controller and battery system, the DOKIO solar panel will begin generating electricity when exposed to sunlight. The amount of power generated depends on several factors:
- Sunlight Intensity: Direct, unobstructed sunlight yields the highest output.
- Panel Angle: Orient the panel directly towards the sun for maximum efficiency.
- Temperature: Solar panel efficiency can decrease slightly at very high temperatures.
- Shading: Even partial shading can significantly reduce power output. Ensure the panel is free from shadows.
The panel is suitable for various applications:

Figure 6.1: Examples of common applications for the DOKIO solar panel, including residential use, RVs, camping setups, and yachts, demonstrating its versatility for off-grid power needs.
7. Maintenance
Regular maintenance ensures the long-term performance and efficiency of your solar panel:
- Cleaning: Periodically clean the surface of the solar panel with a soft cloth and mild, non-abrasive cleaner to remove dirt, dust, and debris. A clean panel ensures maximum light absorption.
- Inspection: Regularly inspect the panel for any physical damage, such as cracks in the glass, bent frames, or loose connections. Check the wiring for signs of wear or corrosion.
- Shading: Ensure no new obstructions (e.g., growing trees, new structures) are casting shadows on the panel.
- Weather Resistance: The panel is designed to withstand harsh weather conditions, including high wind (2400Pa) and snow loads (5400Pa), and extreme temperatures from -40°F to 185°F. However, extreme weather events should prompt a post-event inspection.

Figure 7.1: Visual representation of the DOKIO solar panel's ability to endure various weather conditions, including heavy snow (5400P), extreme cold (-40°F), high heat (185°F), and strong winds (2400P).
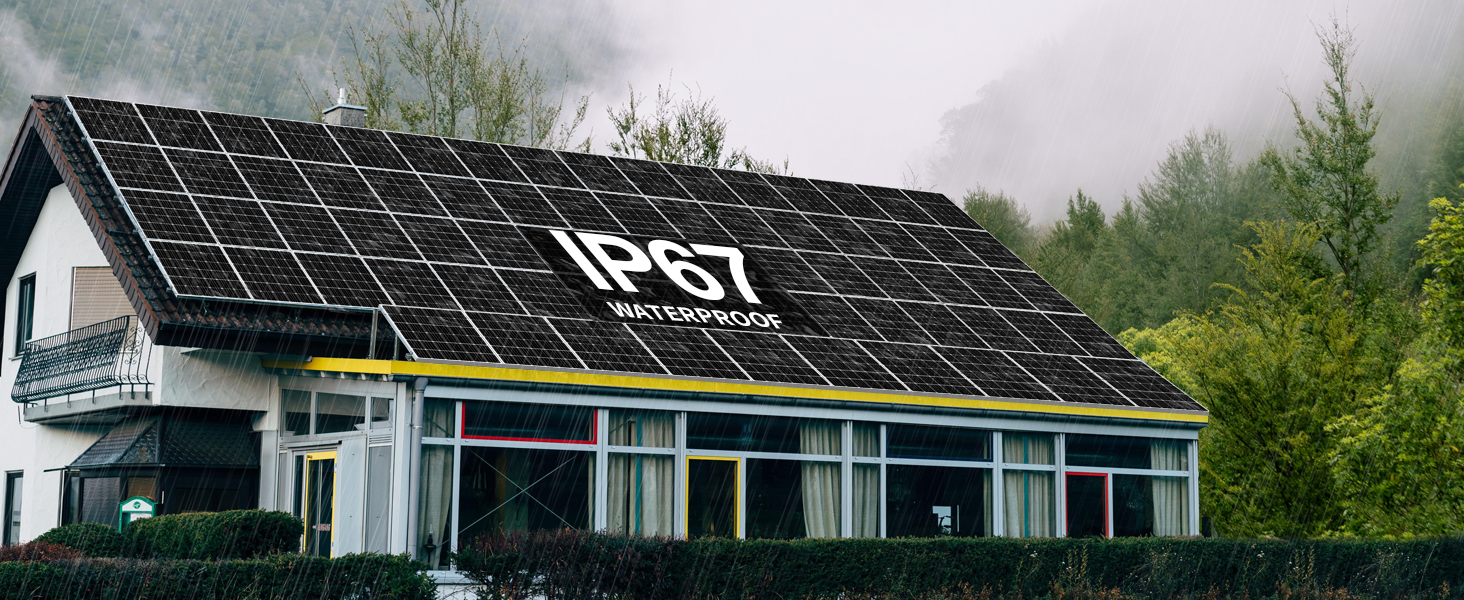
Figure 7.2: Image highlighting the IP67 waterproof rating of the solar panel, indicating its resistance to dust and water ingress, suitable for outdoor environments.
8. Troubleshooting
If you experience issues with your DOKIO solar panel, refer to the following common problems and solutions:
| Problem | Possible Cause | Solution |
|---|---|---|
| No power output | No sunlight; Shading; Loose connections; Damaged panel/cable; Faulty charge controller. | Ensure direct sunlight; Remove shading; Check all wiring connections; Inspect panel for damage; Test charge controller. |
| Low power output | Partial shading; Dirty panel surface; Incorrect panel angle; High temperature; Undersized charge controller/battery. | Clear all shading; Clean panel surface; Adjust panel angle for optimal sun exposure; Ensure proper ventilation; Verify system component sizing. |
| Battery not charging | Faulty charge controller; Disconnected battery; Battery is at full capacity; Incompatible battery type. | Check charge controller status; Ensure battery is connected; Verify battery charge level; Confirm battery compatibility with charge controller. |
| Overheating of components | Poor ventilation; Overload on inverter/charge controller. | Ensure adequate airflow around charge controller and inverter; Reduce load if necessary. |
9. Warranty Information
The DOKIO 150 Watt Monocrystalline Solar Panel comes with a 25-year transferable power output warranty, ensuring that the panel will produce a certain percentage of its rated power for 25 years. Additionally, there is a 5-year warranty on materials and workmanship, covering defects in manufacturing and materials under normal use and service conditions.
For detailed warranty terms and conditions, please refer to the warranty card included with your product or contact DOKIO customer support.
10. Customer Support
If you have any questions, require technical assistance, or need to report an issue with your DOKIO 150 Watt Monocrystalline Solar Panel, please contact DOKIO customer support. Our team is available to provide guidance and resolve any concerns you may have.
Please have your product model number (DOKIO 150W-18V) and purchase information ready when contacting support to facilitate a quicker resolution.
Related documentsDOKIO 150W-18V


Ask a question about this manual
Ask about setup, troubleshooting, compatibility, parts, safety, or missing instructions. Manuals+ will review the question and use this page’s manual context to help answer it.