
1. Introduction
Thank you for choosing the Huuger Desk with Power Outlets. This desk is designed for durability and functionality, featuring a thick desktop and integrated power solutions. This manual provides essential information for the safe assembly, operation, and maintenance of your new desk.
Key features of your Huuger Desk include:
- Thick Desktop & Durable Metal Tubes: The desktop is 0.95 inches thick, supported by 1.97-inch metal tubes for enhanced stability and sturdiness.
- Multiple Charging Options: Equipped with 4 AC outlets, 2 USB ports, and 1 Type-C port, along with a 6.6ft power cord for convenient device charging.
- Reinforced for Extra Stability: Designed with reinforced corners and adjustable feet to ensure stability on various floor surfaces.
- Simple Assembly: Features clear instructions and pre-labeled parts for straightforward setup.
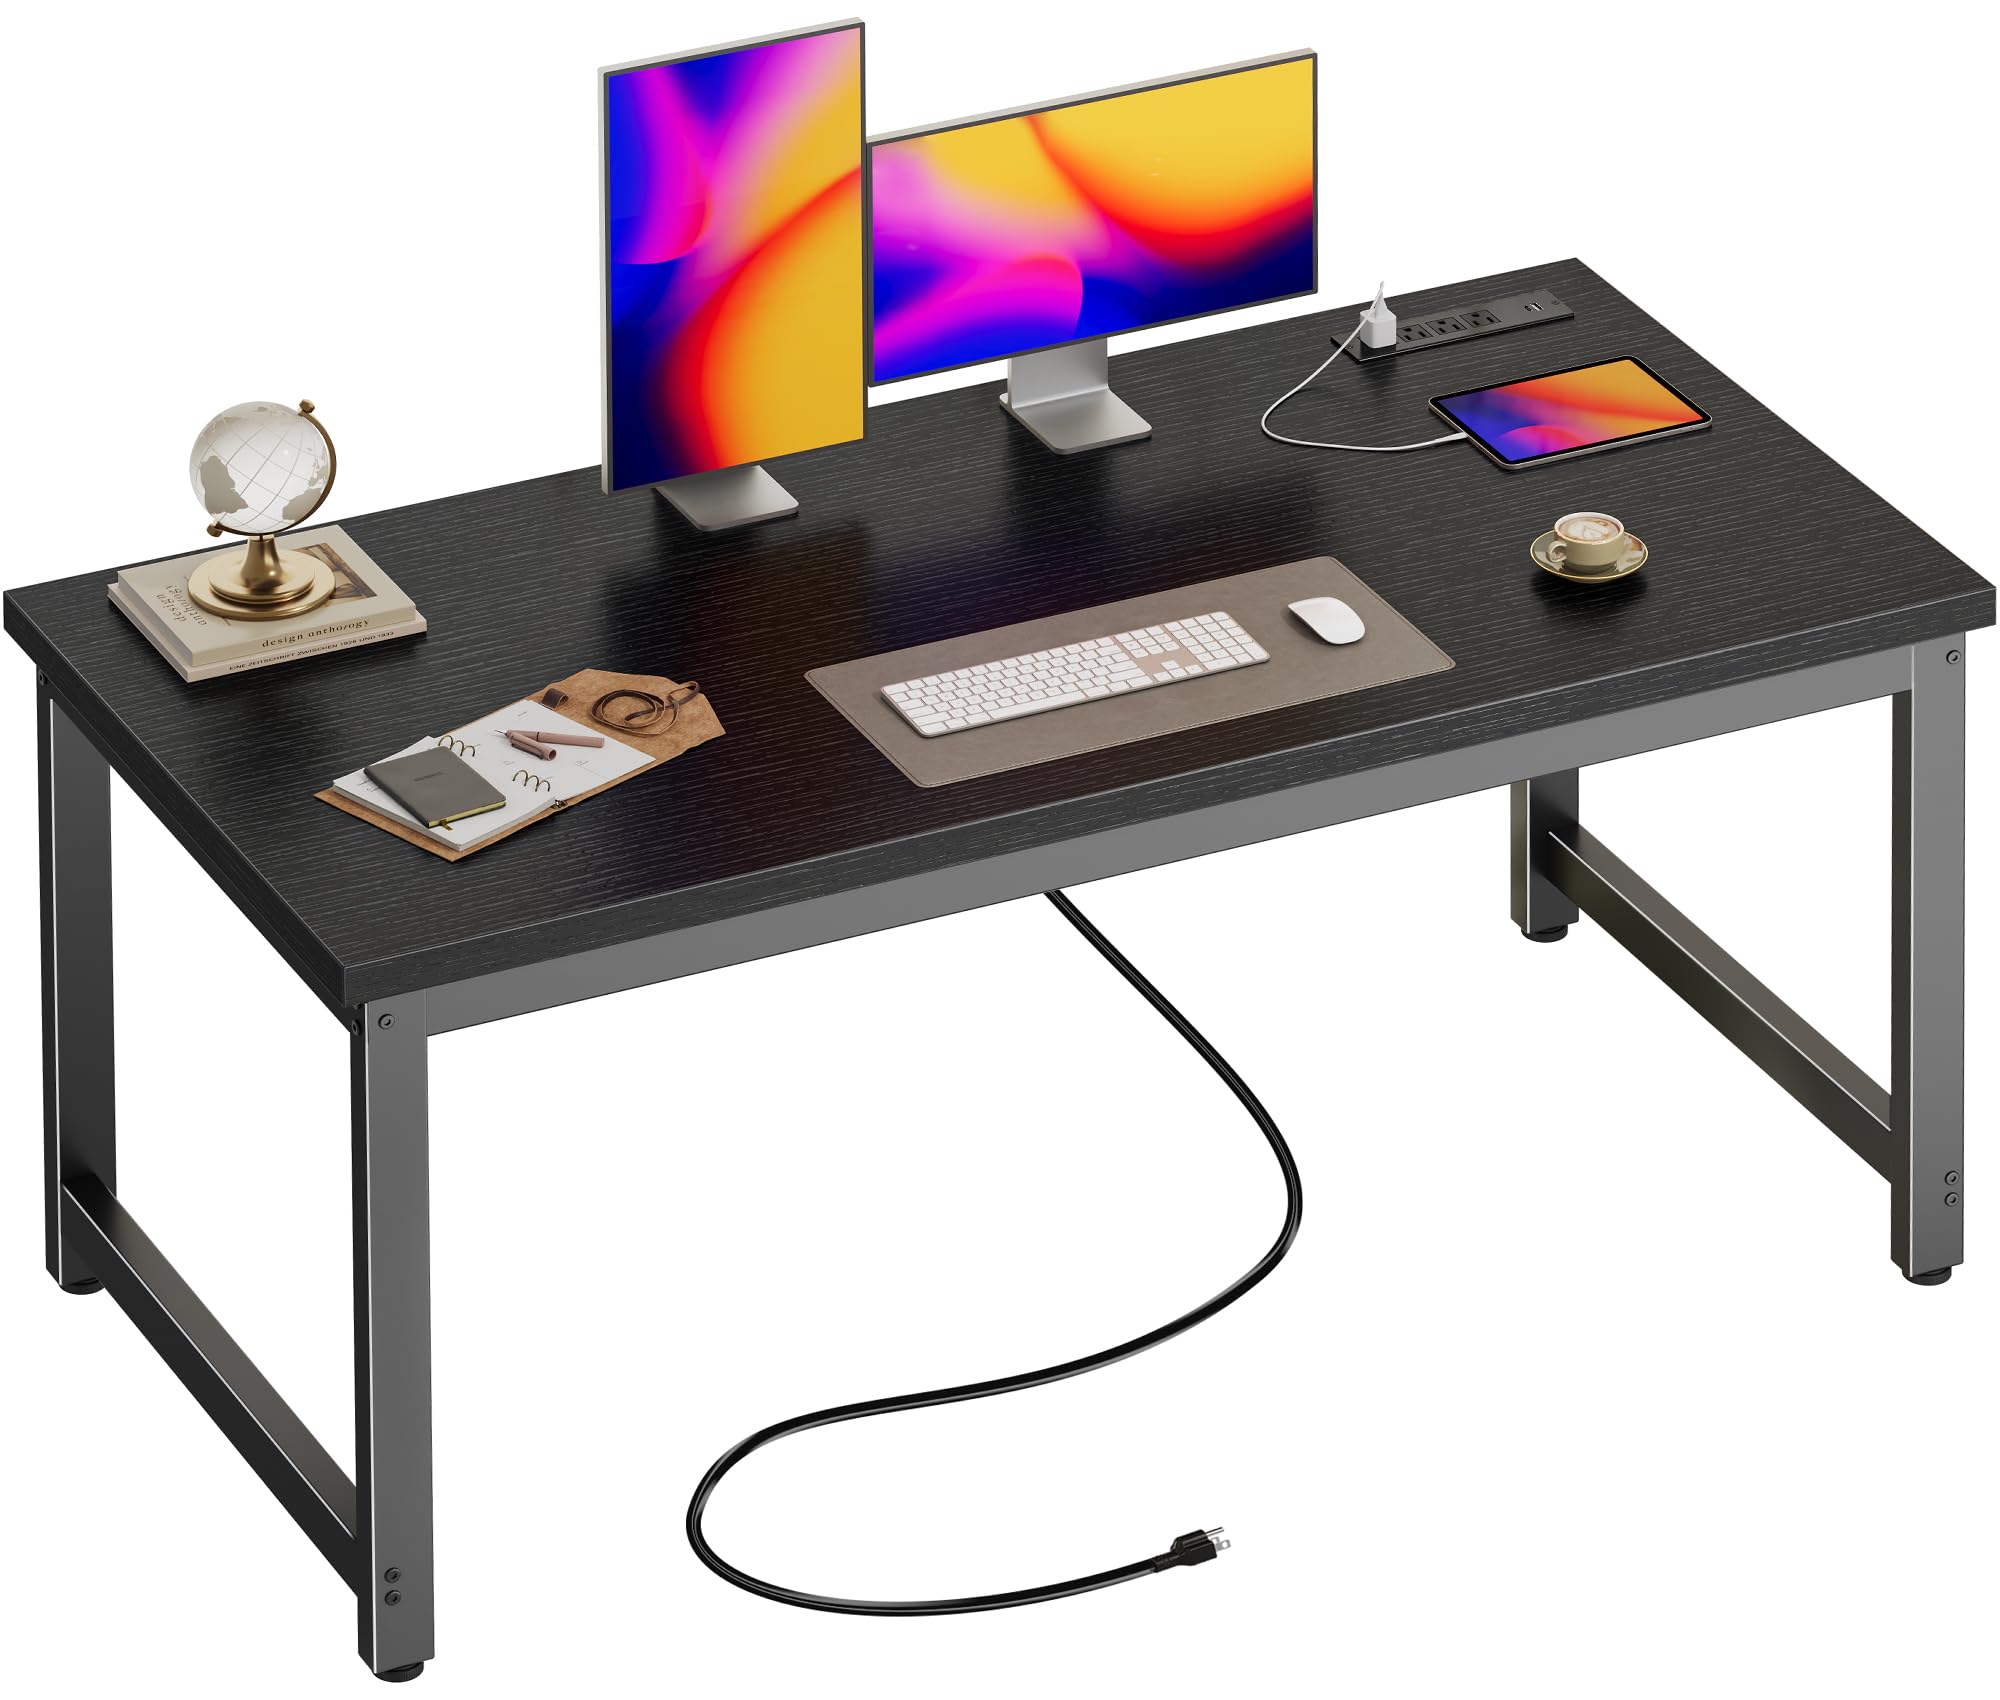
Image 1.1: The Huuger Desk with Power Outlets, showcasing its design and integrated power strip.
2. Safety Information
Please read and understand all safety instructions before assembling or using the desk. Failure to follow these instructions may result in injury or damage to the product.
- Assembly Safety: Assembly requires careful handling of parts and proper use of tools. Always follow the provided instructions to ensure safety during assembly.
- Weight Capacity: Do not exceed the maximum load capacity of 220 lbs (100 kg) to prevent structural damage or injury.
- Electrical Safety: Ensure the power cord is properly connected to a grounded outlet. Do not overload the integrated power strip. Avoid spilling liquids near electrical components.
- Placement: Place the desk on a level surface to prevent wobbling. Keep the desk away from direct heat sources or excessive moisture.
- Children and Pets: Keep small parts and packaging materials away from children and pets during assembly.
3. Setup and Assembly
The Huuger Desk is designed for simple assembly. All necessary tools and pre-labeled parts are included to facilitate the process. It is recommended to assemble the desk in the area where it will be used.
Assembly Steps:
- Step 1: Build the Frame. Carefully unpack all components and identify the frame parts. Assemble the metal frame according to the diagrams in the instruction manual, ensuring all screws are tightened securely.
- Step 2: Place the Desktop. Position the desktop onto the assembled frame. Align the pre-drilled holes in the desktop with the frame.
- Step 3: Add the Outlets. Insert the integrated power outlet module into its designated slot on the desktop. Secure it in place as per the instructions.
- Step 4: Finalize. Ensure all connections are secure and the desk is stable. Adjust the leveling feet if necessary to compensate for uneven floors.

Image 3.1: Visual guide for the four-step assembly process of the Huuger Desk.
For detailed diagrams and specific hardware identification, refer to the separate assembly guide included in your package.
4. Operating the Power Outlets
Your Huuger Desk features a convenient integrated power strip to charge multiple devices directly from your workspace.
Using the Power Module:
- The power module includes 4 standard AC outlets (125V/12A), 2 USB ports (5V-2A), and 1 Type-C port (5V-2A).
- Connect the desk's 6.6ft power cord to a wall outlet.
- Plug your devices (e.g., laptops, monitors, smartphones, tablets, desk lamps) directly into the available ports on the desk's power module.
- Ensure devices are compatible with the provided voltage and amperage.

Image 4.1: Close-up view of the integrated power outlets, including AC, USB, and Type-C ports.

Image 4.2: Illustration of multiple devices being charged simultaneously using the desk's power module.
5. Maintenance
Proper care will ensure the longevity and appearance of your Huuger Desk.
- Cleaning: Wipe the desk surfaces with a damp cloth. Avoid harsh chemicals or abrasive cleaners that may damage the finish.
- Spills: Immediately wipe up any spills to prevent damage to the desktop material and electrical components.
- Inspection: Periodically check all screws and connections to ensure they remain tight. Retighten if necessary.
- Electrical Components: Ensure the power cord and integrated outlets are free from damage. Do not attempt to repair electrical components yourself.
6. Troubleshooting
If you encounter any issues with your Huuger Desk, please refer to the following common solutions:
- Desk Wobbles: Check that all assembly screws are securely tightened. Ensure the desk is on a level surface and adjust the leveling feet at the bottom of the legs as needed.
- Power Outlets Not Working: Verify that the desk's main power cord is firmly plugged into a functional wall outlet. Check if the wall outlet itself is receiving power. Ensure the power strip's circuit breaker (if present) has not tripped.
- Damaged Parts: If any parts are damaged during shipping or assembly, do not proceed with assembly. Contact customer support for replacement parts.
7. Specifications
Detailed specifications for the Huuger Desk, Model 54*24 inch:
| Feature | Detail |
|---|---|
| Brand | Huuger |
| Model | 54*24 inch |
| Product Dimensions (D x W x H) | 23.6"D x 54"W x 29"H |
| Desktop Thickness | 0.95 inches (24mm) |
| Base Material | Metal |
| Top Material Type | Engineered Wood |
| Color | Black |
| Special Feature | Built-In USB Outlet (4 AC, 2 USB, 1 Type-C) |
| Item Weight | 18.55 kg |
| Maximum Load Capacity | 220 lbs |
| Assembly Instructions | Clear instructions and pre-labeled parts for easy setup. |
| Product Care Instructions | Wipe with Damp Cloth |

Image 7.1: Detailed product dimensions and key structural features of the Huuger Desk.

Image 7.2: Comparison illustrating the 0.95-inch thick desktop panel of the Huuger Desk versus thinner alternatives.
8. Warranty and Support
For warranty information, product support, or to inquire about replacement parts, please contact Huuger customer service. Refer to the contact information provided in your product packaging or visit the official Huuger website.
Protection plans may be available for purchase separately to extend coverage beyond the standard manufacturer's warranty. Please check with your retailer for details.