1. Safety Instructions
Please read all safety instructions carefully before using the appliance. Failure to follow these instructions may result in electric shock, fire, or serious injury.
- Electrical Safety: Ensure the voltage indicated on the appliance matches your local power supply. Do not immerse the appliance, cord, or plug in water or other liquids. Always unplug the appliance when not in use and before cleaning.
- General Use: This appliance is for household use only. Do not use outdoors. Supervise children closely when the appliance is in use. Do not operate the appliance with a damaged cord or plug.
- Placement: Place the appliance on a stable, heat-resistant surface, away from walls and other heat sources. Ensure adequate ventilation around the appliance. Do not cover the air inlet or outlet vents during operation.
- Hot Surfaces: The exterior surfaces of the appliance can become very hot during operation. Use oven mitts when handling hot components.
- Food Preparation: Do not overfill the cooking chamber. Ensure food items do not block the heating element.
2. Product Overview
The GOURMETmaxx Hot Air Fryer XXL is a versatile 4-in-1 appliance designed for frying, grilling, roasting, and dehydrating with minimal oil. It features a large 11-liter capacity and a digital touch display for easy operation.
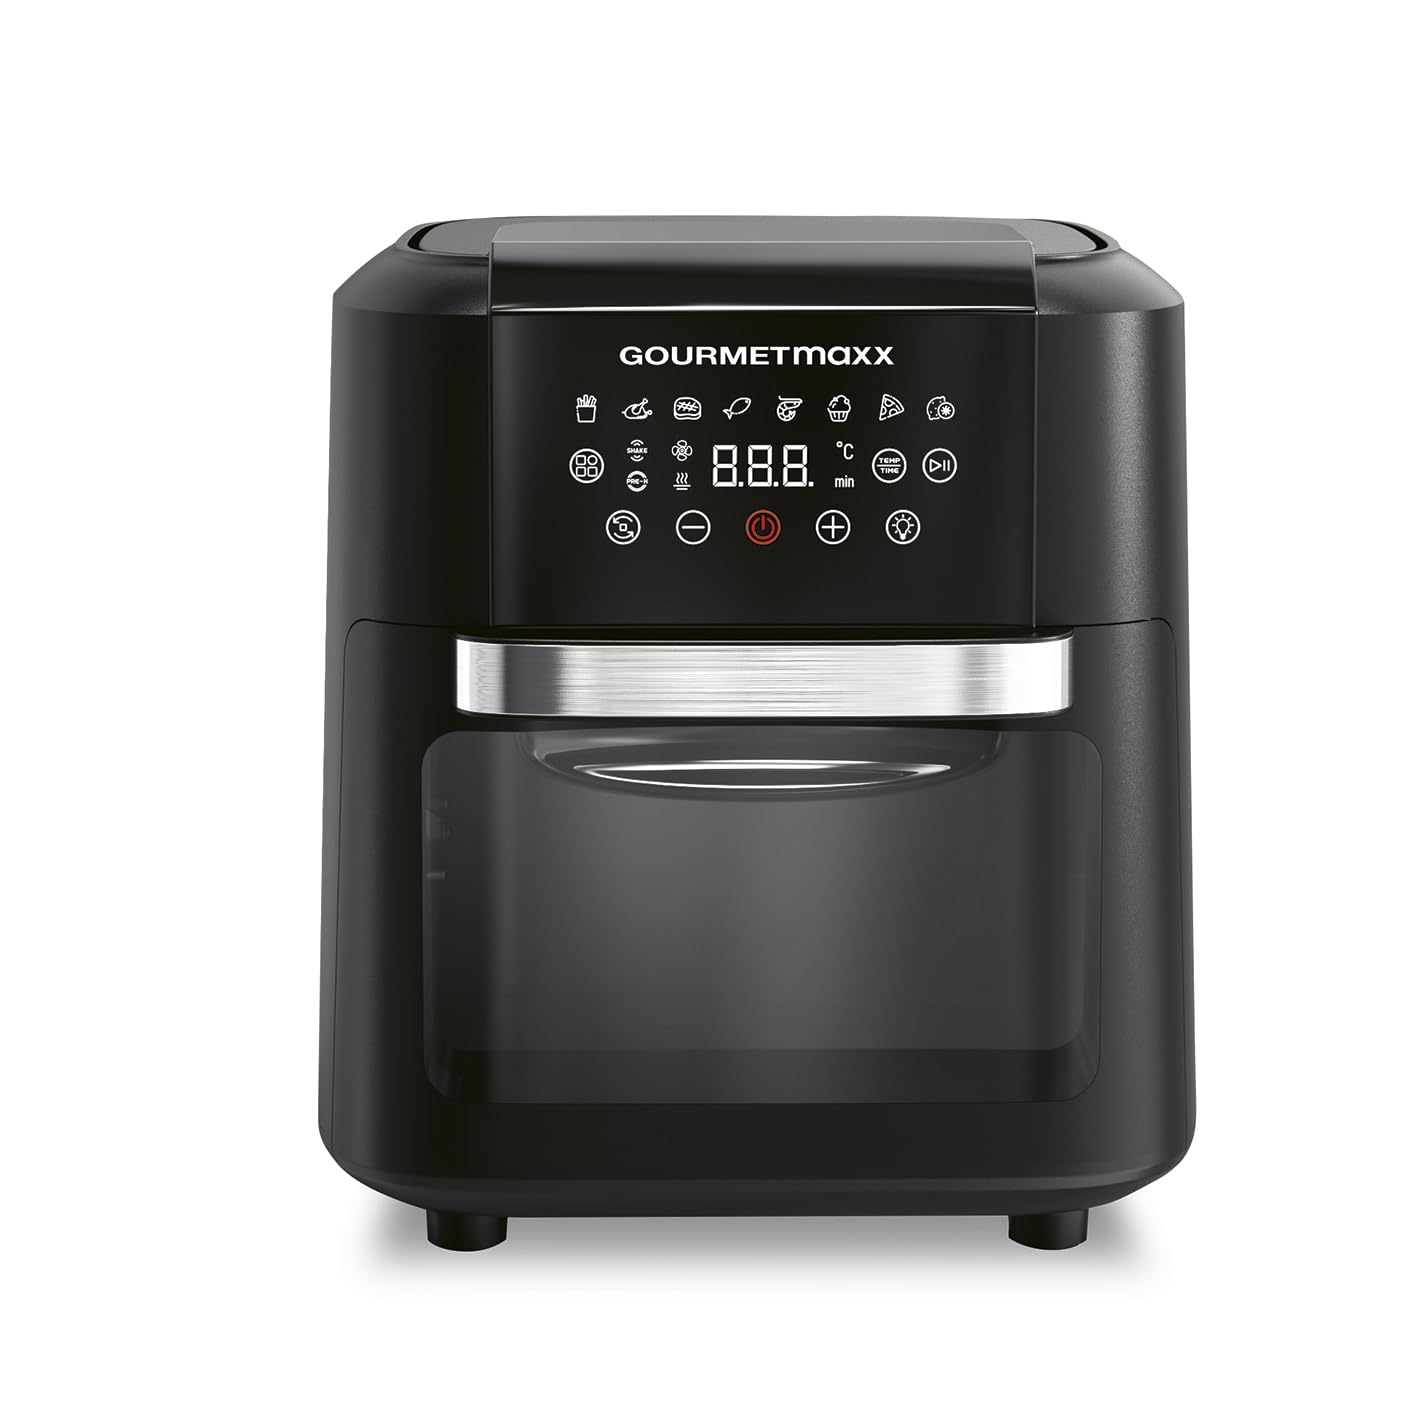
Image 1: GOURMETmaxx Hot Air Fryer XXL in a kitchen setting, showcasing its design and various food preparation capabilities. The appliance is black with a clear viewing window, displaying a roasted chicken. Surrounding the fryer are dishes of fries, grilled meat, dried fruits, and small pastries.
Components:
- Main Unit: Houses the heating element and fan.
- Control Panel: Digital touch display with preset programs, temperature, and timer controls.
- Cooking Chamber: 11-liter capacity for various food items.
- Viewing Window: Allows monitoring of cooking progress.
- Accessories: (Specific accessories like rotisserie spit, mesh baskets, drip tray may be included depending on package. Refer to packaging for exact contents.)
3. Setup
3.1 Unpacking
- Carefully remove the appliance and all accessories from the packaging.
- Remove any protective films or stickers from the appliance.
- Retain the packaging for future storage or transport.
3.2 Initial Cleaning
- Wipe the exterior of the main unit with a damp cloth.
- Wash all removable accessories (e.g., baskets, trays) with warm soapy water. Rinse thoroughly and dry completely before use.
- Do not use abrasive cleaners or scouring pads, as these can damage surfaces.
3.3 Placement
- Place the appliance on a flat, stable, and heat-resistant surface.
- Ensure there is at least 10 cm of clear space around the back and sides of the appliance, and 30 cm above, for proper air circulation.
- Do not place the appliance near flammable materials or heat sources.
4. Operating Instructions
4.1 Control Panel Overview
The digital touch display allows you to select programs, adjust temperature, and set the timer. Refer to the icons on the control panel for specific functions.
4.2 Basic Operation
- Power On: Plug the appliance into a grounded electrical outlet. The display will illuminate. Press the power icon to turn on.
- Preheating: For best results, preheat the appliance for 3-5 minutes at the desired cooking temperature before adding food.
- Loading Food: Place food into the appropriate accessory (e.g., mesh basket, rotisserie spit). Do not overfill.
- Setting Temperature and Time:
- Use the temperature icons (+ / -) to adjust the cooking temperature (e.g., 80°C - 200°C).
- Use the timer icons (+ / -) to set the cooking time (e.g., 1 - 60 minutes).
- Using Preset Programs: The appliance features 8 preset programs for common dishes. Select the desired program icon on the touch display. The appliance will automatically set the optimal temperature and time.
- Start/Pause: Press the start/pause icon to begin or temporarily stop cooking.
- Shake Reminder: For some programs or longer cooking times, a "shake" reminder may appear. This indicates it's time to shake or turn the food for even cooking.
- Keep Warm Function: After cooking, the appliance may automatically switch to a "keep warm" mode for a set period.
- Automatic Shut-off: The appliance will automatically turn off when the timer reaches zero or if the door is opened during operation.
4.3 Cooking Tips
- For crispy results, lightly brush or spray food with oil.
- Smaller food items generally require shorter cooking times.
- When cooking multiple batches, allow the appliance to reheat briefly between batches.
- Always check food for doneness before serving.
5. Maintenance and Cleaning
Regular cleaning ensures optimal performance and extends the lifespan of your appliance.
- Before Cleaning: Always unplug the appliance and allow it to cool completely before cleaning.
- Exterior: Wipe the exterior with a damp cloth and mild detergent. Do not use abrasive cleaners.
- Cooking Chamber: Wipe the interior with a damp cloth. For stubborn residue, use a non-abrasive sponge and warm soapy water.
- Accessories: All removable accessories are generally dishwasher-safe or can be washed by hand with warm soapy water. Ensure they are completely dry before reassembling or storing.
- Heating Element: Gently clean the heating element with a soft brush to remove any food particles. Do not use water directly on the heating element.
- Storage: Store the appliance in a cool, dry place when not in use.
6. Troubleshooting
If you encounter issues, refer to the following common problems and solutions:
| Problem | Possible Cause | Solution |
|---|---|---|
| Appliance does not turn on. | Not plugged in; power outlet malfunction; appliance fault. | Ensure the plug is securely inserted. Test the outlet with another device. If the problem persists, contact customer support. |
| Food is not cooked evenly. | Overfilling; food not shaken/turned; incorrect temperature/time. | Do not overfill the basket. Shake or turn food halfway through cooking. Adjust temperature and time as needed. |
| White smoke coming from the appliance. | Grease residue from previous use; fatty food cooking. | Clean the appliance thoroughly after each use. For very fatty foods, place a small amount of water in the drip tray to reduce smoke. |
| Food is not crispy. | Too much moisture; not enough oil; cooking time too short. | Pat food dry before cooking. Lightly brush or spray with oil. Increase cooking time or temperature slightly. |
7. Technical Specifications
- Brand: GOURMETmaxx
- Model: XXL 11 Liters
- Capacity: 11 Liters
- Wattage: 1700 W
- Color: Black
- Material: Acrylonitrile Butadiene Styrene (ABS)
- Product Dimensions: 33.9 x 40.4 x 38.3 cm (D x W x H)
- Item Weight: 8.18 Kilograms
- Special Feature: Timer, Touch Display, 8 Preset Programs, Shake Reminder, Keep Warm Function, Automatic Shut-off
8. Warranty and Customer Support
This GOURMETmaxx appliance comes with a standard manufacturer's warranty. Please refer to the warranty card included in your product packaging for specific terms and conditions.
For technical assistance, troubleshooting beyond this manual, or warranty claims, please contact GOURMETmaxx customer support:
- Website: www.gourmetmaxx.de (Example, actual website may vary)
- Email: support@gourmetmaxx.com (Example)
- Phone: +49 (0) 123 456789 (Example)
Please have your model number (XXL 11 Liters) and purchase date ready when contacting support.


