
TOWODE 8CH
TOWODE 8CH POE Network Video Recorder Instruction Manual
Model: 8CH
1. Product Overview
The TOWODE 8CH POE Network Video Recorder (NVR) is designed for comprehensive home and business security surveillance. This NVR supports high-resolution IP cameras, offering advanced features such as H.265+ video compression, intelligent motion detection, and remote access capabilities. It provides a reliable solution for continuous 24/7 recording and efficient video storage.

Figure 1.1: Front and rear view of the TOWODE 8CH POE NVR, showcasing its compact design and various ports. A 2TB hard drive is also depicted, indicating the pre-installed storage capacity.
Key Features:
- High Resolution Support: Compatible with 4K/2K/8MP/5MP/3MP/1080P IP cameras for clear video capture.
- 8 POE Ports: Provides power and data transmission for up to 8 Power over Ethernet (PoE) cameras, simplifying installation.
- H.265+ Video Compression: Reduces storage space requirements by approximately 50% compared to traditional compression methods, extending recording duration.
- Remote Access: Monitor your surveillance system anytime, anywhere via a dedicated mobile application (APP) or PC software.
- Intelligent Alarm: Features accurate motion detection with instant notifications via APP push or email alerts.
- Pre-installed Storage: Comes with a 2TB hard drive pre-installed, expandable up to 8TB via SATA ports.
- Plug and Play: Simplifies setup by automatically powering and connecting PoE cameras via Ethernet cables.
- ONVIF Protocol Support: Ensures compatibility with a wide range of ONVIF-compliant IP PoE cameras.
2. Setup Guide
2.1. What's in the Box
- 1 x TOWODE 8CH POE Network Video Recorder
- 2 x 1TB Hard Drive (Total 2TB pre-installed)
- Power Adapter
- USB Mouse
- Ethernet Cable
- Quick Start Guide
2.2. NVR Port Identification
Familiarize yourself with the ports on the rear panel of the NVR for proper connection.

Figure 2.1: Detailed diagram of the NVR's rear panel, showing the ON/OFF switch, PoE Ports (for IP Cameras), Audio OUT, HDMI Port (for HD TV), Power Input (DC Adapter), Ethernet Port (for Router), VGA Port (for PC Monitor), and USB Port.
- ON/OFF Switch: Power control for the NVR.
- PoE Ports (1-8): Connect PoE IP cameras directly. These ports provide both power and data.
- LAN Port: Connect to your router or network switch for internet access and remote viewing.
- VGA Port: Connect to a VGA monitor for local display.
- HDMI Port: Connect to an HDMI monitor or TV for high-definition local display.
- Audio OUT: Connect to external speakers for audio output.
- USB Ports: Connect a USB mouse for control, or a USB flash drive for backup.
- DC 52/48V Power Input: Connect the provided power adapter.
2.3. Hard Drive Installation/Verification
The NVR comes with a 2TB hard drive pre-installed. If you need to expand storage or troubleshoot a hard drive issue, refer to the following:

Figure 2.2: Illustration of the NVR's internal hard drive bay (pre-installed 1TB HDD shown, product comes with 2TB) and the capability to expand storage up to 8TB using an external HDD.
Important Note:
- If the hard disk is not identified, check if the hard disk port is disconnected. Reinsert the hard disk cable if necessary.
- If the system detects no storage space, the hard disk may need to be formatted. Format the hard disk in the NVR settings, and it may require formatting twice for proper recognition.
- The NVR supports a maximum capacity of 8TB HDD through its SATA ports.
2.4. Connecting Your System
- Connect Monitor: Connect a monitor (VGA or HDMI) to the NVR's corresponding port.
- Connect Mouse: Plug the USB mouse into one of the NVR's USB ports.
- Connect Cameras: Connect your PoE IP cameras to the NVR's PoE ports (1-8) using Ethernet cables. The NVR will automatically power the cameras.
- Connect to Network: Connect the NVR's LAN port to your router using an Ethernet cable for internet access and remote viewing.
- Power On: Connect the power adapter to the NVR's DC power input and plug it into a power outlet. Flip the ON/OFF switch to 'ON'.

Figure 2.3: Illustrates the connection process: PoE NVR connected to a PoE Camera via an Ethernet Cable, and to a monitor via HDMI or VGA.
2.5. Mobile App Setup (XMEye Pro)
For remote access and monitoring, download the XMEye Pro application.

Figure 2.4: Step-by-step guide for setting up remote access via the XMEye Pro app, including simple connection, app download, and live view.
- Simple Connection: Ensure your NVR is connected to your network as described in Section 2.4.
- Download Free XMEye Pro App:
- Scan the QR code displayed on the NVR's local interface or in the quick start guide.
- Alternatively, download from App Store (iOS), Google Play (Android), or directly from http://d.xmeye.net/Xmeye.
- Register and Add Device: Follow the in-app instructions to register an account and add your NVR device using its serial number or QR code.
- Enjoy Live View: Once added, you can view live footage and playback recordings from your mobile device.
3. Operating Instructions
3.1. Live View and Recording
Once the NVR and cameras are set up, you can view live feeds and manage recordings.
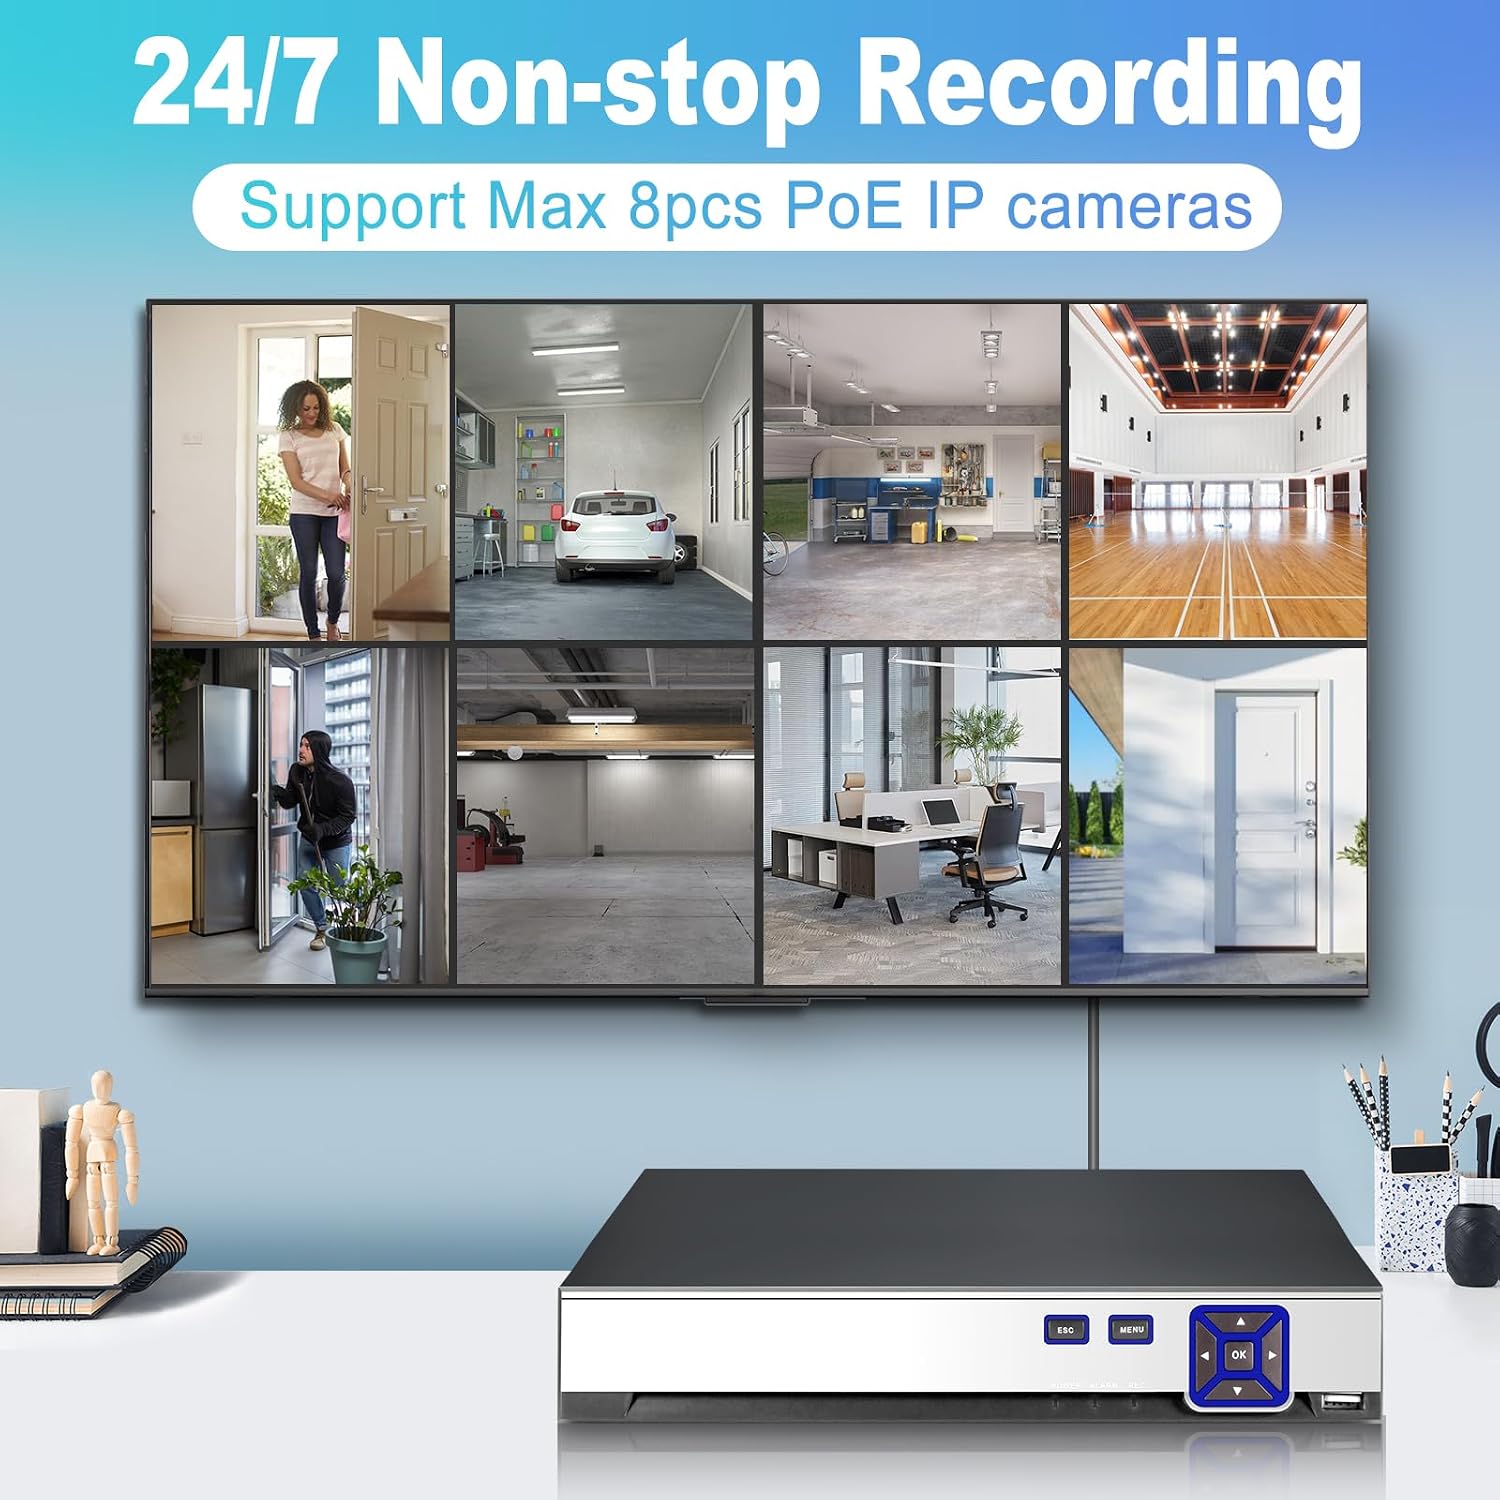
Figure 3.1: Display showing simultaneous live feeds from 8 PoE IP cameras, demonstrating the 24/7 non-stop recording capability of the NVR.
The NVR supports continuous 24/7 recording for all connected cameras. You can switch between single-camera view and multi-camera grid view on your local monitor or through the remote access applications.
3.2. Remote Access and Playback
Access your NVR and recorded footage from anywhere using the dedicated applications.

Figure 3.2: Various devices (smartphone, tablet, Mac, Windows PC) demonstrating the ability to view live images and play back videos anytime, anywhere.
- Mobile App (XMEye Pro): Provides real-time alerts, remote access to live view, and playback of recorded events.
- PC/Mac Software: Offers comprehensive control and viewing options for desktop users.
- Playback: Use the timeline feature in the app or software to select specific times for video playback.

Figure 3.3: Illustrates the video playback timeline, allowing users to easily navigate and review recorded footage at specific timestamps.
3.3. Intelligent Alarm (Motion Detection)
Configure motion detection to receive alerts for suspicious activity.

Figure 3.4: Depicts the AI Motion Detection feature, highlighting how every detail is captured and alerts are sent via APP push notifications or email.
- Access the NVR's menu (local monitor or remote software) to navigate to the alarm settings.
- Enable motion detection for desired cameras.
- Adjust sensitivity and define detection zones to minimize false alarms.
- Configure notification methods (APP push, email alerts).
3.4. H.265+ Video Compression
The NVR utilizes advanced H.265+ compression technology to optimize storage efficiency.

Figure 3.5: Comparison illustrating that H.265+ compression saves approximately 50% more storage space than H.264, allowing for significantly longer recording durations (e.g., 98 days vs. 14 days).
This technology allows for longer recording periods on the same hard drive capacity, reducing the need for frequent data backups or larger storage devices.
4. Maintenance
4.1. Hard Drive Management
- Formatting: If a new hard drive is installed or an existing one is not recognized, format it through the NVR's system settings. This process may need to be repeated twice for full recognition.
- Capacity Expansion: The NVR supports up to 8TB external HDD. Ensure any new hard drives are compatible and properly formatted.
- Regular Backup: Periodically back up important footage to an external USB drive or network storage to prevent data loss.
4.2. Firmware Updates
Periodically check the TOWODE official website for available firmware updates. Firmware updates can improve system stability, add new features, and address security vulnerabilities. Follow the instructions provided with the firmware update package carefully to avoid damaging the device.
4.3. Cleaning
Keep the NVR unit clean and free from dust. Use a soft, dry cloth to wipe the exterior. Ensure ventilation openings are not blocked to prevent overheating.
5. Troubleshooting
| Problem | Possible Cause | Solution |
|---|---|---|
| Hard disk not identified/No storage space | Loose hard disk cable; Unformatted hard drive; Incompatible hard drive. |
|
| No video display on monitor | Incorrect video output settings; Loose cable connection; Monitor issue. |
|
| Cameras not showing video | Camera not powered; Faulty Ethernet cable; Camera not ONVIF compatible; IP address conflict. |
|
| Remote access not working | NVR not connected to internet; Incorrect network settings; App/software issue. |
|
6. Specifications
| Feature | Detail |
|---|---|
| Model Number | 8CH |
| Number of Channels | 8 |
| Supported Resolution | Up to 4K/2K/8MP/5MP/3MP/1080P |
| Video Compression | H.265+ |
| Internal Storage | 2 TB (Pre-installed) |
| Max. Storage Capacity | 8 TB (via SATA HDD) |
| Connectivity Technology | Wired (PoE, Ethernet) |
| Compatible Devices | ONVIF-compliant IP PoE Cameras |
| Remote Access | Mobile APP (XMEye Pro), PC, Mac, Tablet |
| Dimensions | 9.69 x 8.49 x 1.96 inches |
| Item Weight | 1.76 pounds |
| Manufacturer | TOWODE |
7. Warranty and Support
7.1. Warranty Information
TOWODE products are covered by a limited warranty. Please refer to the warranty card included with your product or visit the official TOWODE website for detailed warranty terms and conditions. Keep your purchase receipt as proof of purchase for warranty claims.
7.2. Technical Support
For technical assistance, troubleshooting, or any questions regarding your TOWODE 8CH POE Network Video Recorder, please contact TOWODE customer support. Contact information can typically be found on the official TOWODE website or in the product packaging.
When contacting support, please have your product model number (8CH) and a detailed description of your issue ready to facilitate faster assistance.
Ask a question about this manual
Ask about setup, troubleshooting, compatibility, parts, safety, or missing instructions. Manuals+ will review the question and use this page’s manual context to help answer it.