
1. Introduction
This manual provides essential information for the safe and efficient use of your CUNPU 27-inch QHD 120Hz IPS Gaming Monitor. Please read this manual thoroughly before operating the device and retain it for future reference.
The CUNPU 27-inch monitor features a 2560x1440p QHD resolution IPS panel with a 120Hz refresh rate, designed for both gaming and professional creative work. It offers 100% sRGB color coverage for vibrant visuals, Adaptive Sync technology to reduce screen tearing, and eye care features for extended use. Its ultra-thin bezel design and VESA compatibility provide versatile setup options.

Image: The CUNPU monitor showcasing its frameless design, ideal for multi-monitor setups.
2. Safety Information
Observe the following safety precautions to prevent damage to the monitor and ensure user safety:
- Do not expose the monitor to rain, moisture, or extreme temperatures.
- Ensure proper ventilation around the monitor to prevent overheating.
- Use only the power adapter supplied with the monitor.
- Avoid placing heavy objects on the power cord or the monitor itself.
- Do not attempt to disassemble or repair the monitor yourself. Refer all servicing to qualified personnel.
- Keep the monitor away from strong magnetic fields.
3. Package Contents
Please check the box for the following items:
- 1x CUNPU 27-Inch Monitor
- 1x Monitor Stand
- 1x 12V4A Power Adapter
- 1x HDMI Cable
- 1x User Manual (this document)
4. Setup
4.1 Stand Assembly
To assemble the monitor stand:
- Carefully place the monitor face down on a soft, clean surface to prevent scratches.
- Attach the stand base to the stand neck, securing it with the provided screw.
- Align the assembled stand with the mounting slot on the back of the monitor and push until it clicks into place.
4.2 VESA Mount Installation (Optional)
The monitor supports VESA 100x100mm mounting for wall mounts or monitor arms (VESA mount not included). Follow these steps for VESA installation:
Video: VESA Installation Guide. This video demonstrates how to install a VESA mount onto the monitor using the provided screws and caps.
- First, install the long screws into the VESA low screw holes on the monitor.
- Next, install the short screws into the VESA high screw holes on the monitor.
- Finally, align the VESA base plate with the screw holes and secure them with the black screw caps.

Image: Rear view of the CUNPU monitor, highlighting the VESA 100x100mm mounting points and the ultra-thin bezels.

Image: The CUNPU monitor shown with a VESA mount attached, demonstrating its compatibility for customized setups.
4.3 Connecting to a Device
The monitor provides HDMI 2.0 and DisplayPort 1.4 inputs. Connect your computer or gaming console using the appropriate cable.
- HDMI Connection: Use the included HDMI cable to connect the monitor to your device's HDMI output.
- DisplayPort Connection: Use a DisplayPort cable (not included) to connect the monitor to your device's DisplayPort output.
- Power Connection: Connect the power adapter to the monitor's DC input and then plug it into a power outlet.

Image: Rear view of the CUNPU monitor displaying its HDMI, DisplayPort, USB, Audio Out, and DC power input ports.
5. Operating Instructions
5.1 Power On/Off
Press the power button located on the monitor to turn it on or off. The power indicator light will illuminate when the monitor is on.
5.2 On-Screen Display (OSD) Menu
The OSD menu allows you to adjust various monitor settings. Use the control buttons (usually located on the back or bottom of the monitor) to navigate the menu.
- Navigation: Use the directional buttons to move through menu options.
- Selection: Press the 'OK' or 'Menu' button to select an option or confirm a setting.
- Exit: Press the 'Exit' or 'Back' button to return to the previous menu or exit the OSD.
5.3 Picture Settings
Adjust display settings for optimal viewing experience:
- Brightness/Contrast: Adjust the overall luminance and contrast ratio.
- Color Settings: Modify color temperature, hue, and saturation. The monitor supports 100% sRGB for accurate color reproduction.
- HDR: Enable High Dynamic Range for enhanced contrast and color depth in compatible content.

Image: The CUNPU monitor showcasing its vibrant colors, 100% sRGB coverage, 300 cd/m² brightness, and 16.7 million display colors.

Image: A visual comparison demonstrating the enhanced contrast and detail when HDR is enabled on the CUNPU monitor versus when it is off.
5.4 Gaming Features
- Refresh Rate: The monitor supports up to 120Hz refresh rate for smooth motion. Ensure your connected device is configured to output at this refresh rate.
- Adaptive Sync: Enable Adaptive Sync (FreeSync/G-Sync compatible) in the OSD menu to synchronize the monitor's refresh rate with your graphics card's frame rate, eliminating screen tearing and stuttering.

Image: The CUNPU monitor emphasizing its 120Hz refresh rate for smooth visual performance in gaming and fast-paced applications.

Image: A split screen showing the effect of Adaptive Sync, with a smooth image on one side (Adaptive Sync on) and screen tearing on the other (Adaptive Sync off).
5.5 Eye Care Features
The monitor includes features to reduce eye strain during prolonged use:
- Flicker-Free Technology: Reduces screen flickering for a more comfortable viewing experience.
- Low Blue Light Mode: Activates a filter to reduce harmful blue light emissions. This can be enabled via the OSD menu.
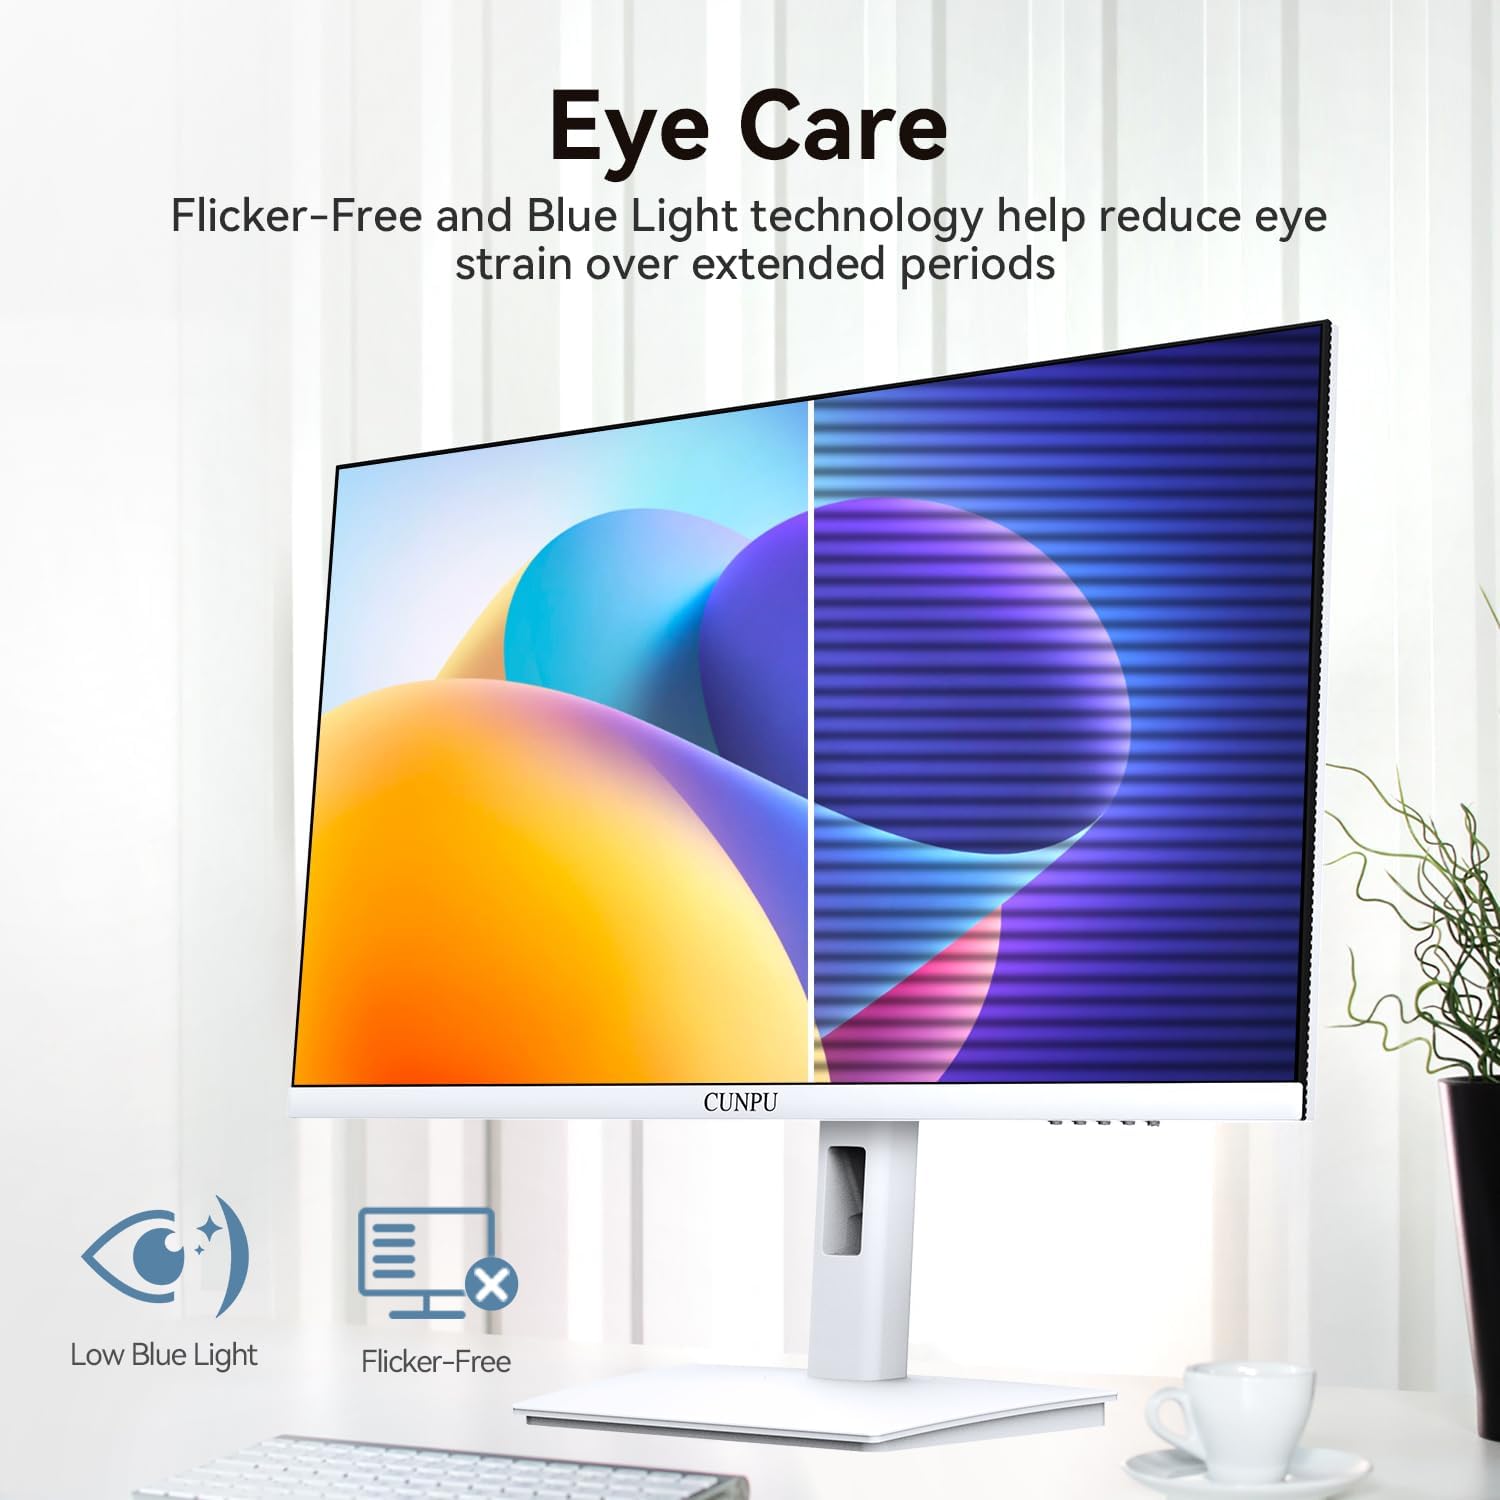
Image: The CUNPU monitor illustrating its eye care features, including low blue light and flicker-free technology, designed to reduce eye strain.
6. Maintenance
To ensure the longevity and optimal performance of your monitor, follow these maintenance guidelines:
- Cleaning the Screen: Gently wipe the screen with a soft, lint-free cloth. For stubborn marks, dampen the cloth with a small amount of water or a specialized screen cleaner. Do not spray liquid directly onto the screen.
- Cleaning the Casing: Use a soft, dry cloth to clean the monitor casing. Avoid using abrasive cleaners or solvents.
- Storage: If storing the monitor for an extended period, disconnect it from power and store it in a cool, dry place, preferably in its original packaging.
7. Troubleshooting
If you encounter issues with your monitor, refer to the following common problems and solutions:
No Power / No Display
- Ensure the power adapter is securely connected to both the monitor and a working power outlet.
- Verify that the power indicator light on the monitor is on. If not, press the power button.
- Check the video cable (HDMI or DisplayPort) connection between the monitor and your device. Try re-seating the cable or using a different cable.
- Ensure your computer or device is powered on and not in sleep mode.
- Try connecting the monitor to a different power outlet.
Flickering Screen / Image Distortion
- Check the video cable connection. A loose or faulty cable can cause flickering.
- Ensure your graphics card drivers are up to date.
- Adjust the refresh rate in your computer's display settings to match the monitor's supported rates (e.g., 120Hz).
- Disable or enable Adaptive Sync in the OSD menu to see if it resolves the issue.
- Test the monitor with a different device or cable if possible.
Colors Appear Washed Out or Incorrect
- Adjust the color settings (brightness, contrast, color temperature) in the OSD menu.
- Ensure HDR is correctly configured on both the monitor and your operating system if you intend to use it. Sometimes, incorrect HDR settings can lead to washed-out colors.
- Verify that the correct color profile is selected in your operating system's display settings.
8. Specifications
| Feature | Detail |
|---|---|
| Model Number | S027/32/34ES |
| Screen Size | 27 Inches |
| Panel Type | IPS |
| Resolution | QHD Wide 1440p (2560 x 1440 Pixels) |
| Refresh Rate | Up to 120Hz |
| Aspect Ratio | 16:9 |
| Brightness | 300 lm (300 cd/m²) |
| Contrast Ratio | 1000:1 |
| Color Gamut | 100% sRGB, 16.7 Million Colors |
| Pixel Pitch | 108 PPI |
| Connectivity | 2x HDMI 2.0, 1x DisplayPort 1.4, 1x USB, 1x Audio Out, 1x DC Power |
| VESA Compatibility | 100x100mm |
| Product Dimensions | 7.5 x 24.11 x 20.97 inches |
| Item Weight | 13.9 pounds |

Image: Diagram showing the physical dimensions of the CUNPU monitor and a clear layout of its connectivity ports.
9. Warranty and Support
Your CUNPU monitor is covered by a limited warranty. Please refer to the warranty card included in your package for specific terms and conditions. For technical support, troubleshooting assistance, or warranty claims, please contact CUNPU customer service through the retailer where you purchased the product or visit the official CUNPU website.
Contact Information:
- For support, please refer to the contact details provided by your retailer or on the CUNPU official website.