
1. Introduction
Thank you for purchasing the ROCAM CR1024 Projection Alarm Clock Radio. This device combines a digital alarm clock with a projection feature, FM radio, and convenient USB charging ports. Please read this manual carefully to ensure proper use and optimal performance of your new alarm clock.

Image 1.1: The ROCAM CR1024 Projection Alarm Clock Radio displaying time, date, temperature, and humidity, with the time projected onto a surface. The device also features an FM radio and dual alarm settings.
2. Safety Information
- Do not expose the device to water or excessive moisture.
- Avoid placing the device near heat sources or in direct sunlight.
- Use only the provided power adapter.
- Keep out of reach of children.
- Do not attempt to disassemble or repair the device yourself. Contact customer support if issues arise.
3. Package Contents
Please check the package for the following items:
- ROCAM CR1024 Projection Alarm Clock Radio
- Power Adapter
- USB-C Charging Cable
- User Manual (this document)
4. Product Overview
4.1. Controls and Buttons
- SNOOZE/OK/*: Snooze alarm, confirm settings, adjust display brightness (short press).
- VOL-/AL1: Decrease volume, set Alarm 1.
- VOL+/AL2: Increase volume, set Alarm 2.
- 12/24H: Switch between 12-hour and 24-hour time format.
- °C/°F: Switch between Celsius and Fahrenheit temperature display.
- PRESET/STORE: Save FM radio stations, recall presets.
- RADIO/SCAN: Turn FM radio on/off, auto-scan for stations.
- DIM: Adjust projection brightness.
- ROTATE: Rotate projected time display.
4.2. Display Elements
- Time Display: Large LED digits for current time.
- AM/PM Indicator: For 12-hour format.
- DST Indicator: Daylight Saving Time.
- Date Display: Month and Day.
- Day of Week: Indication for current day.
- Temperature/Humidity: Indoor temperature and humidity readings.
- Alarm 1/2 Indicators: Show active alarms.
- FM Frequency: Displays current radio station frequency.
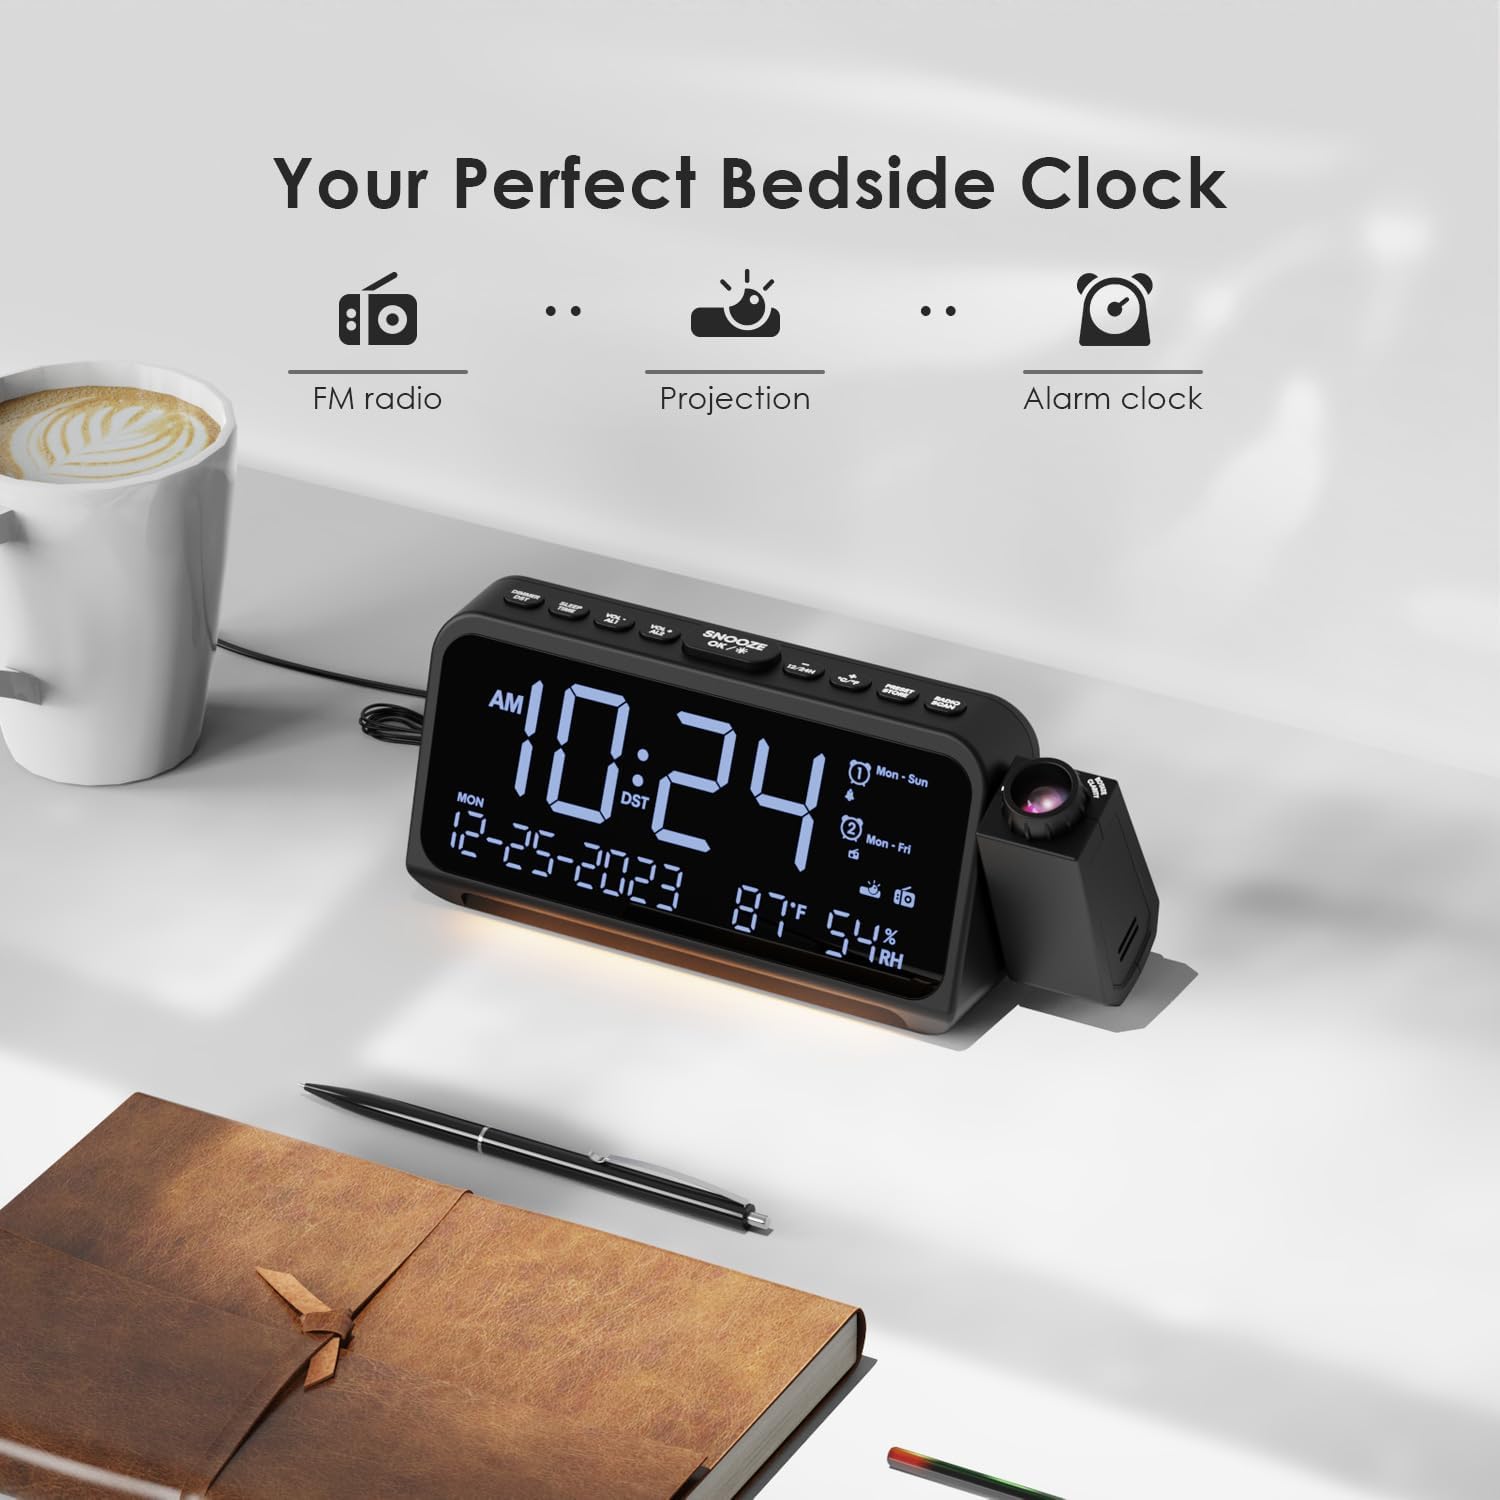
Image 4.1: The ROCAM CR1024 Projection Alarm Clock Radio positioned on a bedside table, highlighting its compact design and integrated projection feature. The display shows time, date, temperature, and humidity.
5. Setup
5.1. Power Connection
Connect the provided power adapter to the DC IN port on the back of the alarm clock and plug it into a standard wall outlet. The display will light up.

Image 5.1: The alarm clock connected to a wall outlet via its power adapter, illustrating the primary power source connection.
5.2. Battery Backup Installation
For memory backup during power outages, insert 2 AAA batteries (not included) into the battery compartment on the bottom of the unit. This will preserve time and alarm settings but will not power the display or other functions.

Image 5.2: The open battery compartment on the underside of the alarm clock, showing where two AAA batteries should be inserted for backup power.
5.3. Initial Time and Date Setting
- Press and hold the 12/24H button to enter time setting mode. The hour digits will flash.
- Use VOL- or VOL+ to adjust the hour. Press SNOOZE/OK/* to confirm and move to minute setting.
- Adjust minutes with VOL- or VOL+. Press SNOOZE/OK/* to confirm and move to year setting.
- Continue adjusting year, month, and day using VOL- or VOL+ and confirming with SNOOZE/OK/*.
- After setting the date, you can set the 12/24-hour format by pressing 12/24H.
- Press °C/°F to switch between Celsius and Fahrenheit for temperature display.
6. Operating Instructions
6.1. Display Brightness Adjustment
Short press the SNOOZE/OK/* button to cycle through 5 levels of LED display brightness (L-1 to L-5). This allows you to adjust the display to your preference for different lighting conditions.
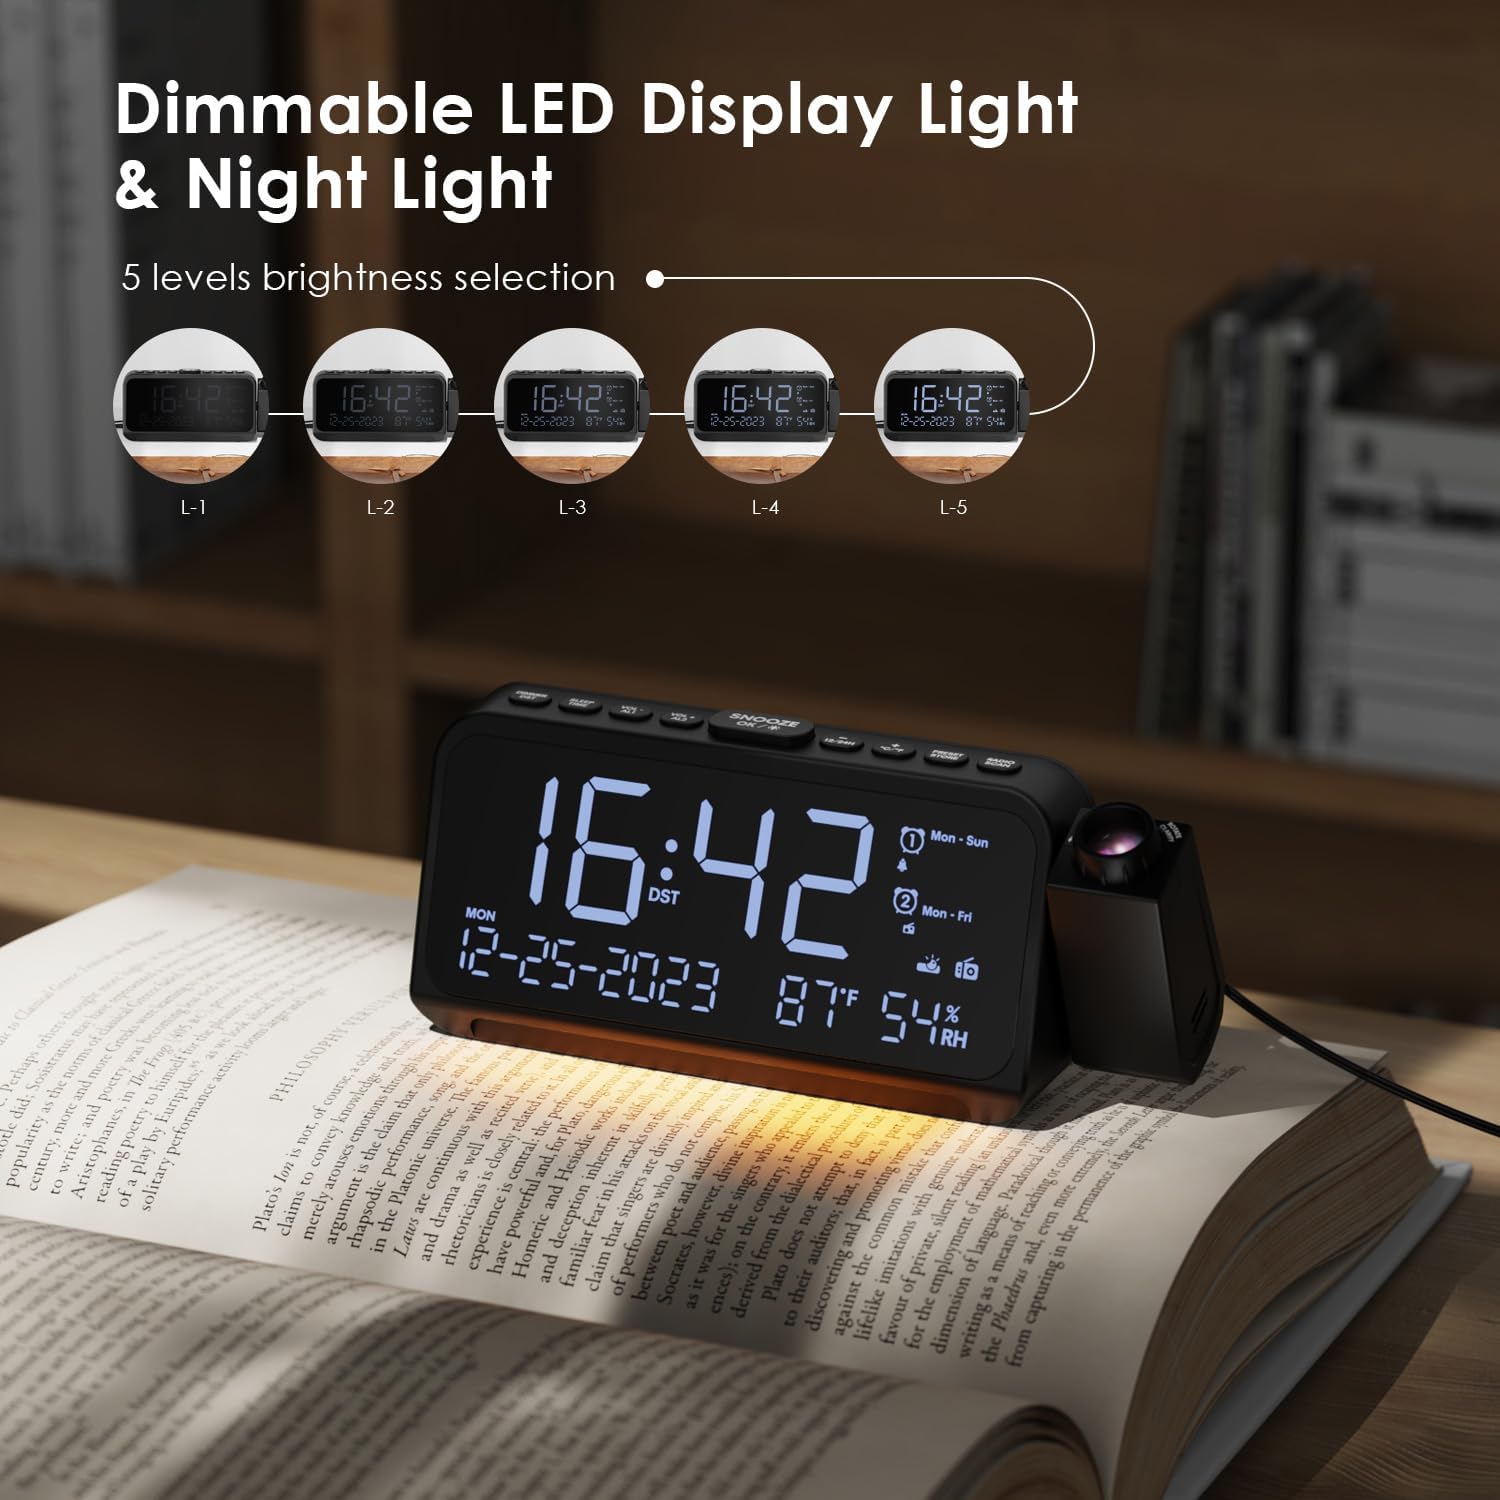
Image 6.1: The alarm clock demonstrating its 5-level dimmable LED display, with examples of different brightness settings (L-1 to L-5).
6.2. Projection Feature
- To activate or deactivate the projection, press the DIM button on the side of the projector.
- Press the DIM button repeatedly to cycle through 5 levels of projection brightness.
- Rotate the projector lens to adjust the focus of the projected image.
- Use the ROTATE button on the side of the projector to flip the projected time 180 degrees for optimal viewing angle. The projector can be physically rotated up to 270 degrees.

Image 6.2: The time projected clearly onto a wall from the alarm clock, illustrating the projection feature in a bedroom setting.

Image 6.3: A close-up of the projector lens, showing the rotation capability of the projected time for flexible viewing angles.
6.3. Alarm Settings (Alarm 1 & Alarm 2)
The device supports two independent alarms with customizable settings.
- Press and hold VOL-/AL1 to set Alarm 1. The hour digits will flash.
- Use VOL- or VOL+ to adjust the hour. Press SNOOZE/OK/* to confirm and move to minute setting.
- Adjust minutes with VOL- or VOL+. Press SNOOZE/OK/* to confirm.
- Select alarm sound: Use VOL- or VOL+ to choose between buzzer or FM radio. Press SNOOZE/OK/*.
- Select alarm mode: Use VOL- or VOL+ to choose between Mon-Sun, Mon-Fri, Sat-Sun, or One-Time. Press SNOOZE/OK/* to confirm and exit.
- Repeat steps for Alarm 2 using VOL+/AL2.
- To activate/deactivate an alarm, short press VOL-/AL1 or VOL+/AL2. The alarm icon will appear/disappear on the display.
- When an alarm sounds, press SNOOZE/OK/* for a 9-minute snooze. To turn off the alarm, press any other button.

Image 6.4: The alarm clock display illustrating the dual alarm settings, including options for alarm sound (buzzer or radio) and alarm frequency (Mon-Sun, Mon-Fri, Sat-Sun, One-Time).
6.4. FM Radio Operation
The alarm clock can store up to 30 FM radio stations (87.5 MHz - 108.0 MHz).
- Press RADIO/SCAN to turn the FM radio on or off.
- Auto-Scan: When the radio is on, press and hold RADIO/SCAN to automatically scan and save available stations.
- Manual Tuning: Short press RADIO/SCAN to switch between saved stations. To manually tune, press VOL- or VOL+.
- Saving Presets: Tune to your desired station. Press and hold PRESET/STORE. Use VOL- or VOL+ to select a preset number (P01-P30). Press PRESET/STORE again to save.
- Recalling Presets: Short press PRESET/STORE to cycle through saved stations.
- Volume Adjustment: Use VOL- or VOL+ to adjust the radio volume (7 levels).

Image 6.5: The alarm clock displaying an FM radio frequency (108.0 MHz) and illustrating the sleep timer function with options from 15 to 90 minutes, or off.
6.5. Sleep Timer
When the FM radio is on, press the SLEEP/TIME button to activate the sleep timer. Repeatedly press the button to cycle through sleep timer options: 15, 30, 60, 90 minutes, or OFF. The radio will automatically turn off after the selected duration.

Image 6.6: A hand interacting with the alarm clock, demonstrating the selection of sleep timer durations (15, 30, 60, 90 minutes, or OFF) for the FM radio.
6.6. USB Charging Ports
The alarm clock features two charging ports:
- Type-C Port: Input 5V-2A, Output 5V-1A.
- USB-A Port: Output 5V-1A.
These ports can be used to charge compatible electronic devices such as smartphones or tablets while the alarm clock is powered.

Image 6.7: The back of the alarm clock, clearly showing the Type-C and standard USB charging ports, along with their respective input/output specifications.
7. Maintenance
- Clean the device with a soft, dry cloth. Do not use abrasive cleaners or solvents.
- Ensure the projector lens is clean for clear projection.
- If storing the device for an extended period, remove the AAA backup batteries.
8. Troubleshooting
| Problem | Possible Cause | Solution |
|---|---|---|
| Display is blank. | No power, power adapter not connected. | Ensure the power adapter is securely plugged into the device and a working outlet. |
| Alarm does not sound. | Alarm not activated, volume too low, incorrect alarm mode. | Check if the alarm icon is displayed. Adjust alarm volume. Verify the alarm mode (Mon-Sun, Mon-Fri, etc.) is set correctly. |
| Radio static or poor reception. | Weak signal, antenna not extended. | Extend the FM antenna fully. Try repositioning the device for better reception. Perform an auto-scan again. |
| Projected time is blurry. | Projection focus needs adjustment. | Rotate the projector lens to adjust the focus until the image is clear. |
| USB charging not working. | Device not powered, cable issue, incompatible device. | Ensure the alarm clock is powered. Try a different USB cable or device. |
9. Specifications
- Brand: ROCAM
- Model Number: CR1024
- Color: White
- Product Dimensions (L x W x H): 20 x 3.81 x 8.4 cm (7.87 x 1.5 x 3.3 inches)
- Weight: 370 grams (0.82 lbs)
- Material: Plastic
- Display Type: Digital LED
- Power Source: Corded Electric
- Battery Backup: 2 x AAA batteries (not included)
- FM Radio Frequency: 87.5 MHz - 108.0 MHz
- USB-C Output: 5V-1A
- USB-A Output: 5V-1A
10. Warranty and Support
For warranty information and customer support, please refer to the documentation included with your purchase or visit the official ROCAM website. Keep your purchase receipt for warranty claims.