
1. Product Overview
This manual provides instructions for the assembly, operation, and maintenance of your YITAHOME 70" Mid Century Modern TV Stand. This entertainment center features a distinctive wavy fluted door panel design, ample storage with adjustable shelves, and is designed to accommodate TVs up to 80 inches. It is constructed from high-quality engineered wood for durability and stability.
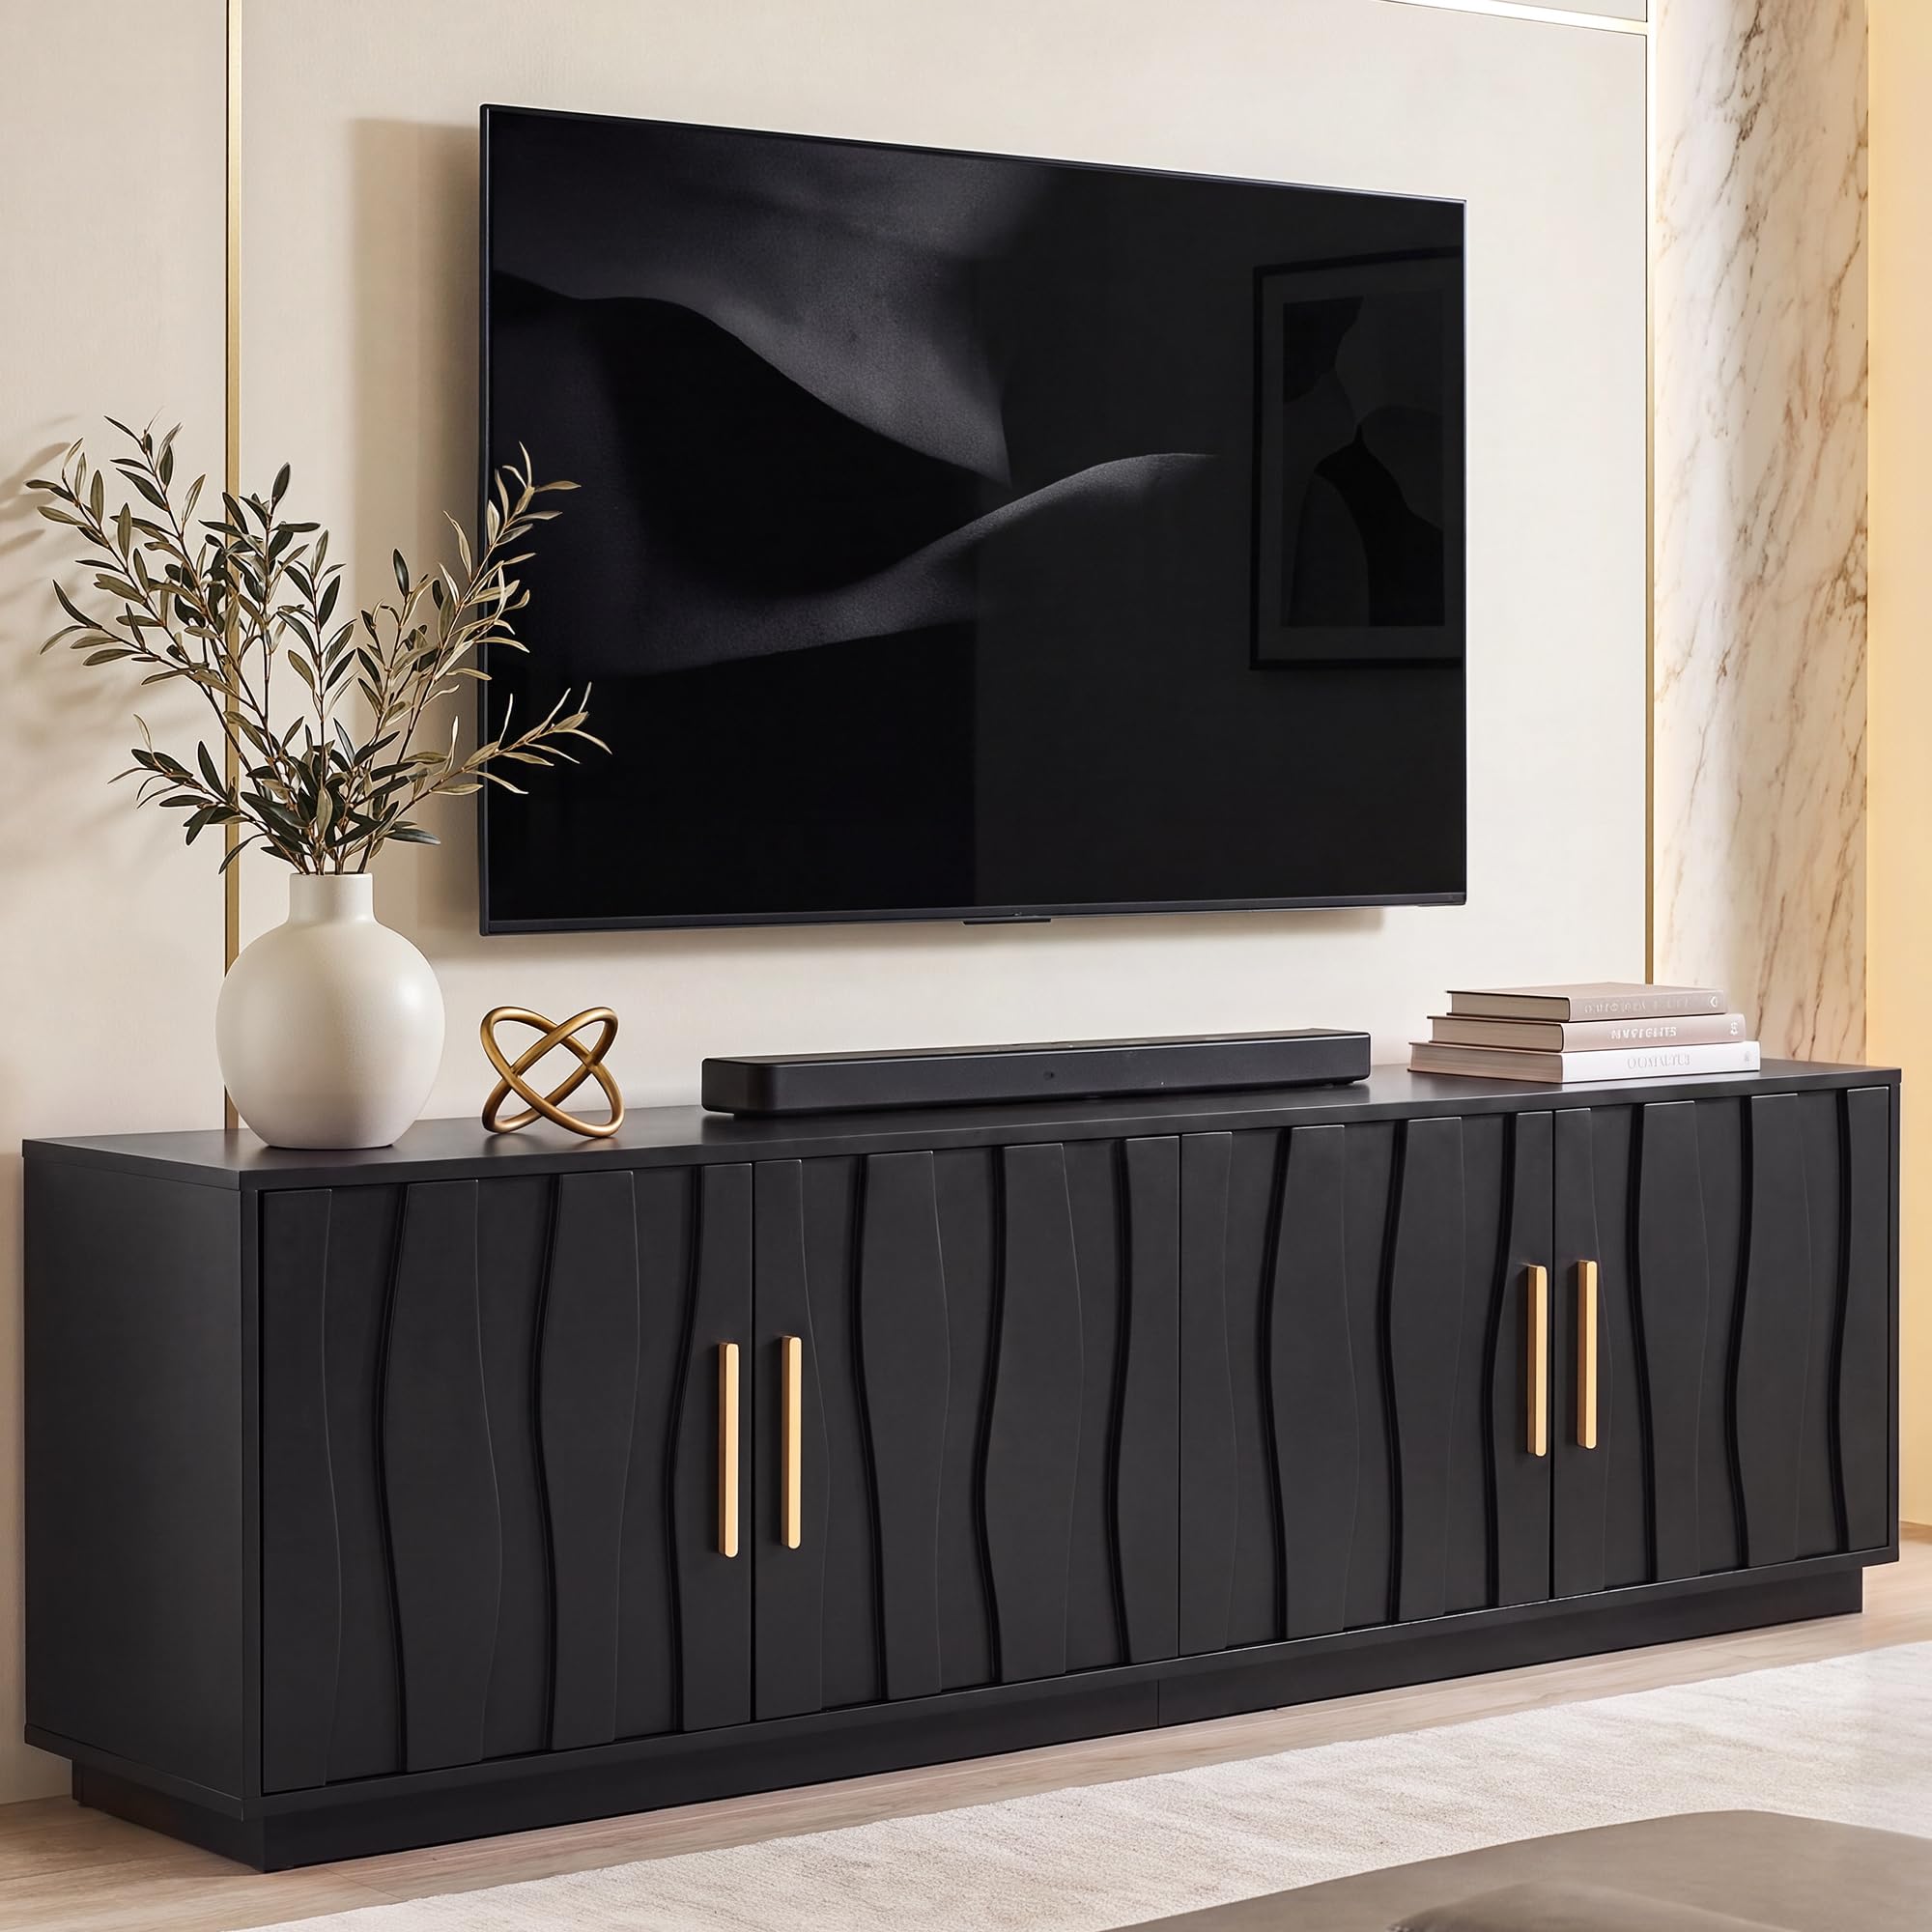
Image 1.1: The YITAHOME 70" Mid Century Modern TV Stand in Black.
2. Safety Information
Please read all instructions carefully before assembly and use. Failure to follow these instructions may result in injury or damage to the product.
- Keep all small parts and packaging materials away from children.
- Assemble the unit on a soft, clean surface to prevent scratches.
- Ensure all screws and fasteners are securely tightened before use. Periodically check and retighten as necessary.
- Do not overload the TV stand. Refer to the specifications for weight limits.
- Always use the included anti-tip hardware to secure the TV stand to a wall, especially in homes with children or pets, to prevent tipping.
- Do not stand or climb on the unit.
- Use caution when moving the assembled unit. It is recommended to have two people move it.
3. Parts List
Before beginning assembly, verify that all parts and hardware are present and undamaged. Refer to the detailed step-by-step instruction manual included in the packaging for a complete list of components. If any parts are missing or damaged, contact customer support immediately.
Note: The specific number and type of hardware may vary slightly. Always refer to the manual provided in your product packaging.
4. Setup and Assembly Instructions
Assembly of the YITAHOME TV Stand is designed to be straightforward. It is recommended that 1-2 adults perform the assembly. All parts are clearly labeled. Follow the step-by-step instructions provided in your product's assembly manual.
4.1 General Assembly Tips
- Lay out all components on a clean, soft surface to prevent scratches.
- Identify each part by its label before starting.
- Do not overtighten screws during initial assembly; tighten fully once the section is complete.
- Use a hand screwdriver for assembly; power tools may damage the wood.
4.2 Door Hinge Adjustment
After assembly, you may need to adjust the cabinet door hinges to ensure proper alignment and smooth operation. Refer to the diagram below for common adjustment scenarios.

Image 4.1: Guide for adjusting cabinet door hinges.
- Upper and Lower Mounting Screws (1): Support the door panel. Slightly loosen these screws on the same hinge base, move the base up or down, then retighten all screws once adjusted.
- Left/Right Adjustment Screw (2): Turn this screw to move the door panel left or right, adjusting the gap between two doors.
- Forward/Backward Adjustment and Locking Screw (3): After slightly loosening, the hinge arm can move forward or backward along the hinge. Retighten after adjustment. Use this if the door panel sticks out, sits inward, or does not close properly.
- Hinge Cup Mounting Screw (5): This fixed mounting screw generally does not require adjustment.
Common Adjustment Scenarios:
- A: One door is higher than the other: Support the door panel, loosen the (1) base mounting screws, move it up or down, then retighten.
- B: Door panel sticks out, sits inward, or does not close properly: Slightly loosen the (3) screw, move the hinge arm forward or backward. Keep both upper and lower hinges at the same depth, then lock them in place.
- C: Gap is wider at the top and narrower at the bottom, or vice versa: Adjust the (2) screws on the upper and lower hinges separately to change the door panel's tilt angle.
- D: Gap between two doors is too wide or too narrow overall: Adjust the (2) screws on both upper and lower hinges in the same direction and by the same amount.
5. Operation
5.1 Using the Storage Compartments
The TV stand features four cabinet doors with two adjustable inner shelves. These shelves can be repositioned to accommodate items of various heights, such as gaming consoles, DVD players, media accessories, books, or decorative items. To adjust a shelf, remove all items, lift the shelf, and reposition the shelf pins into the desired holes.

Image 5.1: Interior storage with adjustable shelves.
5.2 Cable Management
Back cable cutouts are provided to help manage and organize cords from your electronic devices, maintaining a clean and clutter-free appearance.
5.3 TV Placement
The 70-inch wide tabletop is designed to safely support televisions up to 80 inches. Ensure the TV's base fits securely on the tabletop and does not overhang excessively. For optimal safety, consider securing your TV to the wall using a separate TV mount.
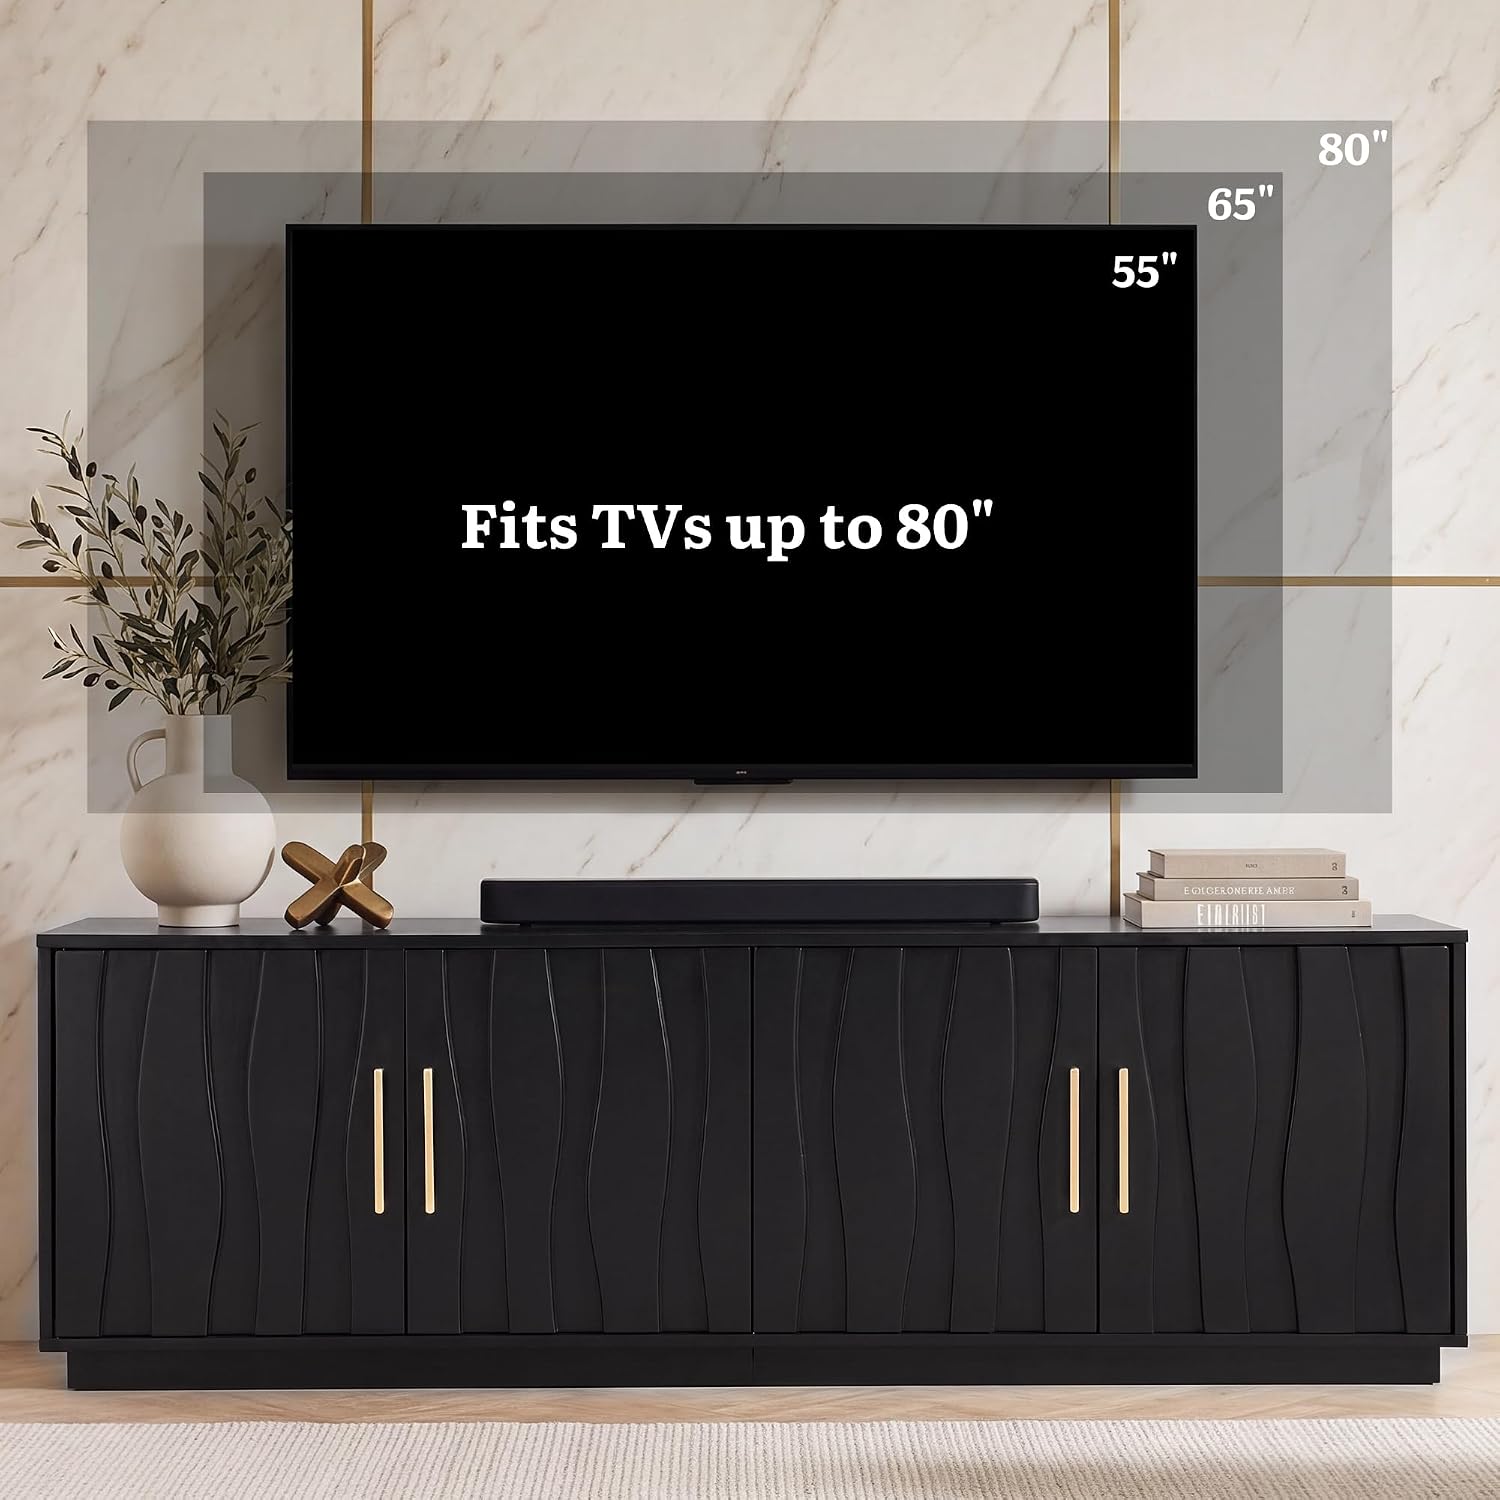
Image 5.2: TV stand accommodating a large television.
6. Maintenance
6.1 Cleaning
- Wipe the surface with a soft, damp cloth.
- Avoid using harsh chemicals, abrasive cleaners, or polishes that may damage the finish.
- Promptly wipe up spills to prevent staining.
6.2 General Care
- Avoid placing hot items directly on the surface; use coasters or protective pads.
- Keep the unit away from direct sunlight and extreme temperature changes to prevent warping or fading.
- Periodically check all fasteners and retighten as needed to ensure stability.
- The non-slip foot pads protect floors from scratches; ensure they remain in place.
7. Troubleshooting
| Problem | Possible Cause | Solution |
|---|---|---|
| Cabinet door is uneven or too high/low. | Hinge mounting screws need adjustment. | Refer to Section 4.2 "Door Hinge Adjustment" and adjust the upper and lower mounting screws (1). |
| Cabinet door sticks out or does not close properly. | Hinge forward/backward adjustment needed. | Refer to Section 4.2 "Door Hinge Adjustment" and adjust the forward/backward screw (3). |
| Gap between doors is uneven or incorrect. | Hinge left/right adjustment needed. | Refer to Section 4.2 "Door Hinge Adjustment" and adjust the left/right screw (2). |
| Unit feels unstable or wobbly. | Fasteners are loose or unit is not on a level surface. | Ensure all assembly screws are fully tightened. Check if the floor is level; use shims if necessary. |
| Missing parts or damaged components. | Manufacturing or shipping issue. | Do not proceed with assembly. Contact YITAHOME customer support immediately for replacement parts. |
8. Specifications
| Feature | Detail |
|---|---|
| Model Number | MAYIH8I2ZD |
| Dimensions (L x W x H) | 70 x 15.7 x 21.7 inches (178 x 40 x 55 cm) |
| Weight | 92.7 pounds (42.05 kg) |
| Material | Engineered Wood |
| Color | Black |
| TV Size Compatibility | Up to 80 inches |
| Storage | 4 cabinet doors, 2 adjustable inner shelves |

Image 8.1: Product dimensions and internal measurements.
9. Warranty Information
Specific warranty details for your YITAHOME product are typically included with the product packaging or available on the manufacturer's official website. Please refer to these resources for comprehensive information regarding warranty coverage, terms, and conditions. Generally, warranties cover manufacturing defects and material flaws under normal use.
Keep your purchase receipt as proof of purchase for any warranty claims.
10. Customer Support
If you have any questions, require assistance with assembly, or need to report missing/damaged parts, please contact YITAHOME customer support. Have your model number (MAYIH8I2ZD) and purchase information ready when contacting support.
For the most current contact information, please visit the official YITAHOME website or refer to the contact details provided in your product packaging.
YITAHOME Official Website: YITAHOME Store on Amazon
