
Introduction
Welcome to your new Pinmoco 18 Inch Metal Twin Bed Frame. This manual provides essential information for the safe assembly, proper operation of the integrated features, and general maintenance of your new bed frame. Please read all instructions carefully before beginning assembly and retain this manual for future reference.
Safety Information
Important Safety Warnings:
- Do not exceed a load capacity of 3500 lbs (1587.5 kg). Overloading can cause structural damage and injury.
- Be cautious of sharp edges during assembly and use. Wear protective gloves if necessary.
- Always follow the assembly instructions precisely to prevent instability or collapse. Incorrect assembly can lead to serious injury.
- Keep small parts and packaging materials away from children during assembly to prevent choking hazards.
- Ensure all bolts and screws are securely tightened before use. Periodically check and re-tighten all connections.
- Do not allow children to climb or play on the bed frame.
- Place the bed frame on a flat, level surface to ensure stability.
Package Contents
Before beginning assembly, please verify that all components listed below are present and undamaged. If any parts are missing or damaged, do not proceed with assembly. Contact customer service for assistance.
- Headboard and Footboard Sections
- Side Rails
- Metal Support Slats
- Center Support Legs
- Integrated Charging Station Unit (with 1 USB-A and 1 USB-C port)
- Dual RGB LED Light Strips
- LED Remote Control
- Mattress Retainer Rods (2)
- Assembly Hardware (screws, bolts, washers, nuts)
- Hex Key / Wrench (for assembly)
- Noise Insulation Strips
- Power Adapter for Charging Station and LED Lights
Assembly Instructions
Follow these steps carefully for proper assembly. Two people are recommended for easier and safer installation.
Step 1: Unpack and Identify Components
Lay out all parts on a clean, soft surface (like a carpet or blanket) to prevent scratches. Compare all components with the package contents list to ensure everything is present.
Step 2: Assemble the Frame Sides
Connect the side rails to the headboard and footboard sections using the provided hardware. Insert bolts and hand-tighten them initially. Ensure all connections are aligned correctly before proceeding. Do not fully tighten until the entire frame structure is complete.
This image illustrates the initial assembly of the bed frame's perimeter, connecting the main structural components.

Step 3: Install Center Support and Slats
Attach the center support legs to the designated points on the frame. Then, place the metal slats across the frame, securing them to the side rails as instructed. Ensure the noise insulation strips are applied to the slats where they contact the frame to minimize sound.
This image displays the bed frame with its metal slat support system and the generous under-bed storage space, highlighting the 16.5-inch clearance.

Step 4: Attach Mattress Retainer Rods
Install the two mattress retainer rods at the foot of the bed frame. These rods are designed to prevent the mattress from sliding off the frame.
This image highlights the retainer rods designed to keep the mattress in place and the robust support legs for stability.

Step 5: Install Charging Station
The charging station can be installed on either the left or right side of the bed frame, according to your preference. Secure it using the designated mounting points and hardware provided.
Step 6: Attach LED Light Strips
Carefully attach the LED light strips to the designated areas under the bed frame. Ensure they are securely fastened and the cables are neatly routed to the power adapter. Connect the power adapter to the LED controller and then to a wall outlet.
Step 7: Final Tightening
Once all components are in place and correctly aligned, go back and fully tighten all screws and bolts using the provided hex key/wrench. Do not overtighten.
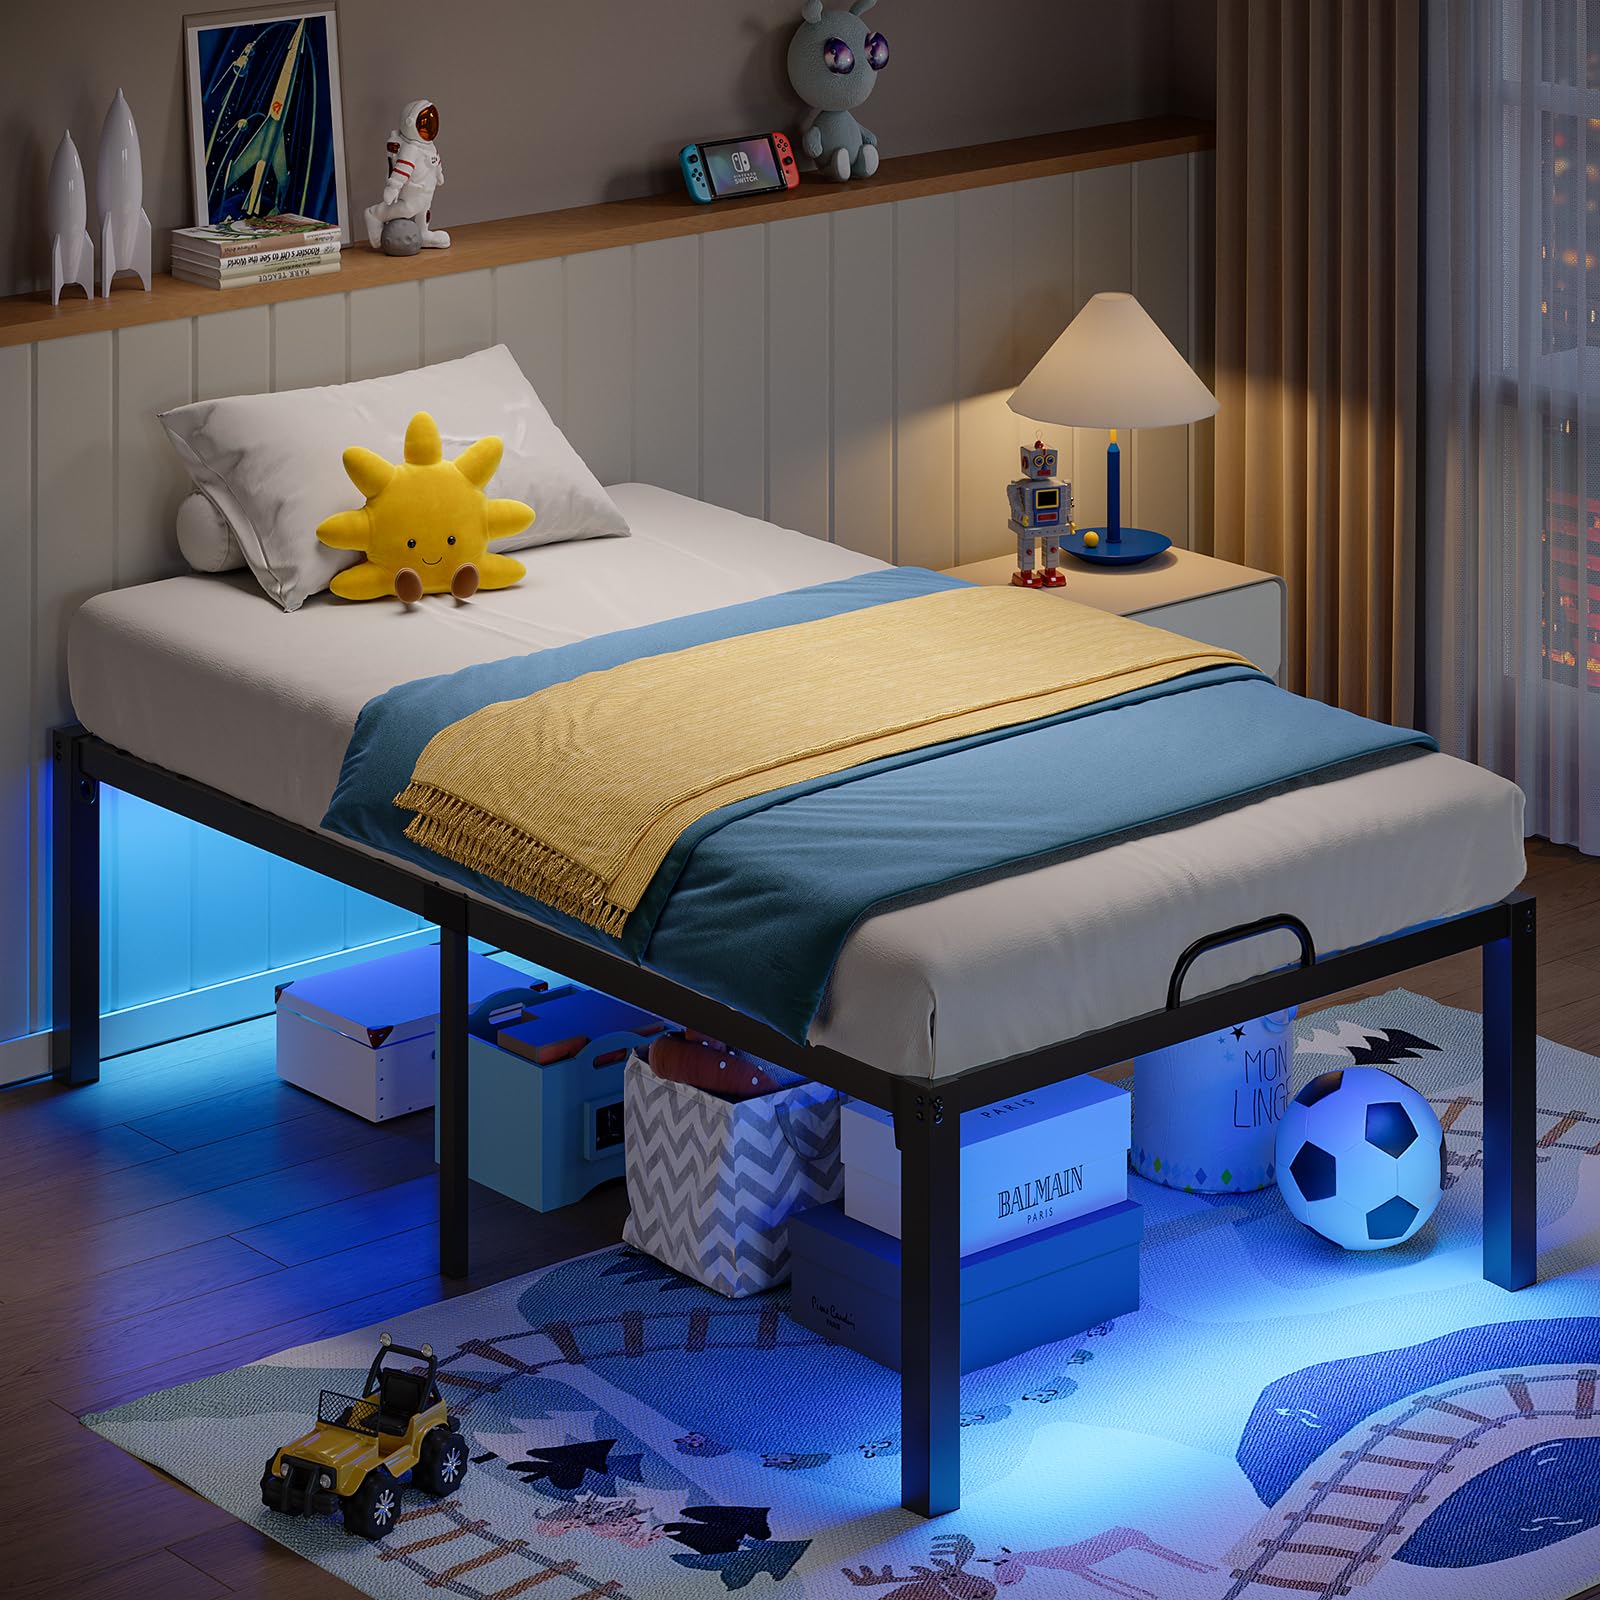
A fully assembled Pinmoco bed frame with LED lights illuminated, showcasing its modern design and under-bed storage potential.
Operating Instructions
Using the Dual RGB LED Lights
The integrated dual RGB LED lights offer customizable ambiance for your bedroom. They can be controlled via the included remote control or a dedicated mobile application.
- Remote Control: Point the remote control at the LED receiver (typically located near the power connection). Use the buttons to power on/off, change colors, select various lighting modes (e.g., flash, fade, strobe), and adjust brightness levels.
- Mobile App: Download the specified mobile application (refer to the product packaging or a separate QR code for the app name and download instructions). Follow the app's instructions to connect to the LED lights via Bluetooth. The app typically offers advanced features such as a wider range of color customization, music synchronization, and setting timing functions for automatic on/off.
Note: Ensure the LED light strips are properly connected to the power adapter and the adapter is plugged into a functional wall outlet.
Using the Charging Station
The integrated charging station provides convenient power access for your electronic devices directly from your bed frame. It features 1 USB-A port and 1 USB-C port.
- Connect your device's charging cable to the appropriate USB-A or USB-C port on the charging station.
- Ensure the bed frame's main power cord (connected to the charging station and LED lights) is securely plugged into a functional wall outlet.
The charging station will automatically provide power to your connected devices.
Maintenance
Proper maintenance will extend the life and performance of your bed frame.
- Cleaning: Wipe the metal frame with a soft, damp cloth. For stubborn marks, a mild soap solution can be used, followed by drying with a clean cloth. Avoid using abrasive cleaners, harsh chemicals, or solvents, as these can damage the finish.
- Regular Checks: Periodically (e.g., every 3-6 months) inspect all bolts, screws, and connections to ensure they remain tight. Re-tighten any loose hardware to maintain stability and prevent squeaking or noise.
- LED Lights: If the LED lights stop working, first check the power connection and the remote control battery. If issues persist, refer to the troubleshooting section.
- Charging Station: Keep the charging ports free of dust and debris. Use a dry, soft brush or compressed air to clean if necessary.
Troubleshooting
If you encounter any issues with your bed frame, refer to the following common problems and solutions:
Noise Issues (Squeaking/Creaking)
- Loose Connections: The most common cause of noise is loose bolts. Re-tighten all screws and bolts on the frame, especially at the joints and where slats connect.
- Slat Movement: Ensure the noise insulation strips are correctly installed between the metal slats and the frame. If missing or worn, consider adding felt pads or similar material.
- Uneven Floor: Ensure the bed frame is on a flat, level surface. If your floor is uneven, use furniture pads or shims under the legs to stabilize the frame.
Mattress Slippage
- Retainer Rods: Verify that the mattress retainer rods are correctly installed at the foot of the bed frame.
- Mattress Pad: Consider using a non-slip mattress pad between the mattress and the bed frame slats.
LED Lights Not Working
- Power Connection: Ensure the power adapter is securely plugged into both the wall outlet and the LED controller. Check if the wall outlet is functional.
- Remote Control Battery: Replace the battery in the LED remote control if it's not responding.
- App Connection: If using the mobile app, ensure Bluetooth is enabled on your device and the app is correctly paired with the LED lights.
- LED Strip Connection: Check that the LED light strips are securely connected to the controller.
Charging Station Not Functioning
- Power Supply: Confirm the bed frame's main power cord (which powers the charging station) is plugged into a live electrical outlet.
- Cable/Device Check: Try a different device or charging cable to rule out issues with your specific device or cable.
- Port Debris: Ensure the USB and Type-C ports are clear of any dust or debris that might obstruct the connection.
Specifications
| Feature | Detail |
|---|---|
| Model | Pinmoco 18 Inch Metal Twin Bed Frame with Charging Station and Dual LED Lights |
| Material | Metal |
| Product Dimensions (L x W x H) | 77.48" x 39.84" x 19.84" |
| Under Bed Storage Height | 16.5" |
| Maximum Weight Capacity | 3500 lbs (1587.5 kg) |
| Charging Ports | 1 USB-A, 1 USB-C |
| LED Lights | Dual RGB, Remote/App Control |
| Color | Black |
| Form Factor | Platform Bed (No Box Spring Needed) |
Warranty and Support
Pinmoco stands behind the quality of its products. For specific warranty information, including coverage duration and terms, please refer to the documentation included with your purchase or contact Pinmoco customer service directly. Keep your purchase receipt as proof of purchase for any warranty claims.
For technical support, missing parts, or any other inquiries, please contact Pinmoco customer service through the retailer's platform where you purchased the product or visit the official Pinmoco brand website for contact details. Our support team is available to assist you.
