
1. Introduction
The ThermoPro TP210B is a wireless thermometer designed to monitor temperatures in refrigerators and freezers. It features a main receiver unit and two wireless transmitters, providing real-time temperature readings, customizable high/low temperature alarms, and a long wireless range for convenient monitoring. This manual provides detailed instructions for setting up, operating, and maintaining your device.

Image 1.1: ThermoPro TP210B Receiver and Transmitters
2. Product Components
- 1 x Receiver Unit
- 2 x Wireless Transmitters (with built-in rechargeable batteries)
- 2 x AAA Batteries (for Receiver)
- 1 x USB-C Charging Cable (for Transmitters)
- 1 x User Manual
3. Setup Instructions
- Install Receiver Batteries: Open the battery compartment on the back of the receiver unit. Insert the two AAA batteries, ensuring correct polarity (+/-). Close the compartment.
- Charge Transmitters: The transmitters have built-in rechargeable lithium batteries. Before first use, fully charge both transmitters using the provided USB-C cable. A red indicator light on the transmitter will turn off when fully charged.
- Power On: Press the power button on the back of the receiver unit to turn it on. The display will illuminate.
- Automatic Pairing: The receiver and transmitters are pre-paired at the factory. Once both the receiver and transmitters are powered on, they should automatically connect within a few minutes. The receiver will display temperatures from both transmitters. If pairing fails, refer to the Troubleshooting section.
4. Operating Instructions
4.1 Display Overview
The receiver's backlit LCD displays current temperatures for both the refrigerator and freezer, along with maximum/minimum records and low battery indicators.

Image 4.1: Receiver Display Details
4.2 Button Functions
- MODE: Cycles through temperature display modes (current, alarm settings) and confirms settings. Press to silence an active alarm.
- UP ▲: Increases values when setting alarms.
- DOWN ▼: Decreases values when setting alarms.
- HISTORY/CLEAR: Displays maximum and minimum temperature records. Press and hold to clear Max/Min records.
- LIGHT/°F/°C: Toggles the backlight on/off. Press and hold to switch between Fahrenheit (°F) and Celsius (°C).
4.3 Temperature Unit Selection
To switch between Fahrenheit (°F) and Celsius (°C), press and hold the LIGHT/°F/°C button on the receiver for 3 seconds.
4.4 Setting Temperature Alerts
The device allows you to set custom high and low temperature alarm limits for both the refrigerator and freezer sections.
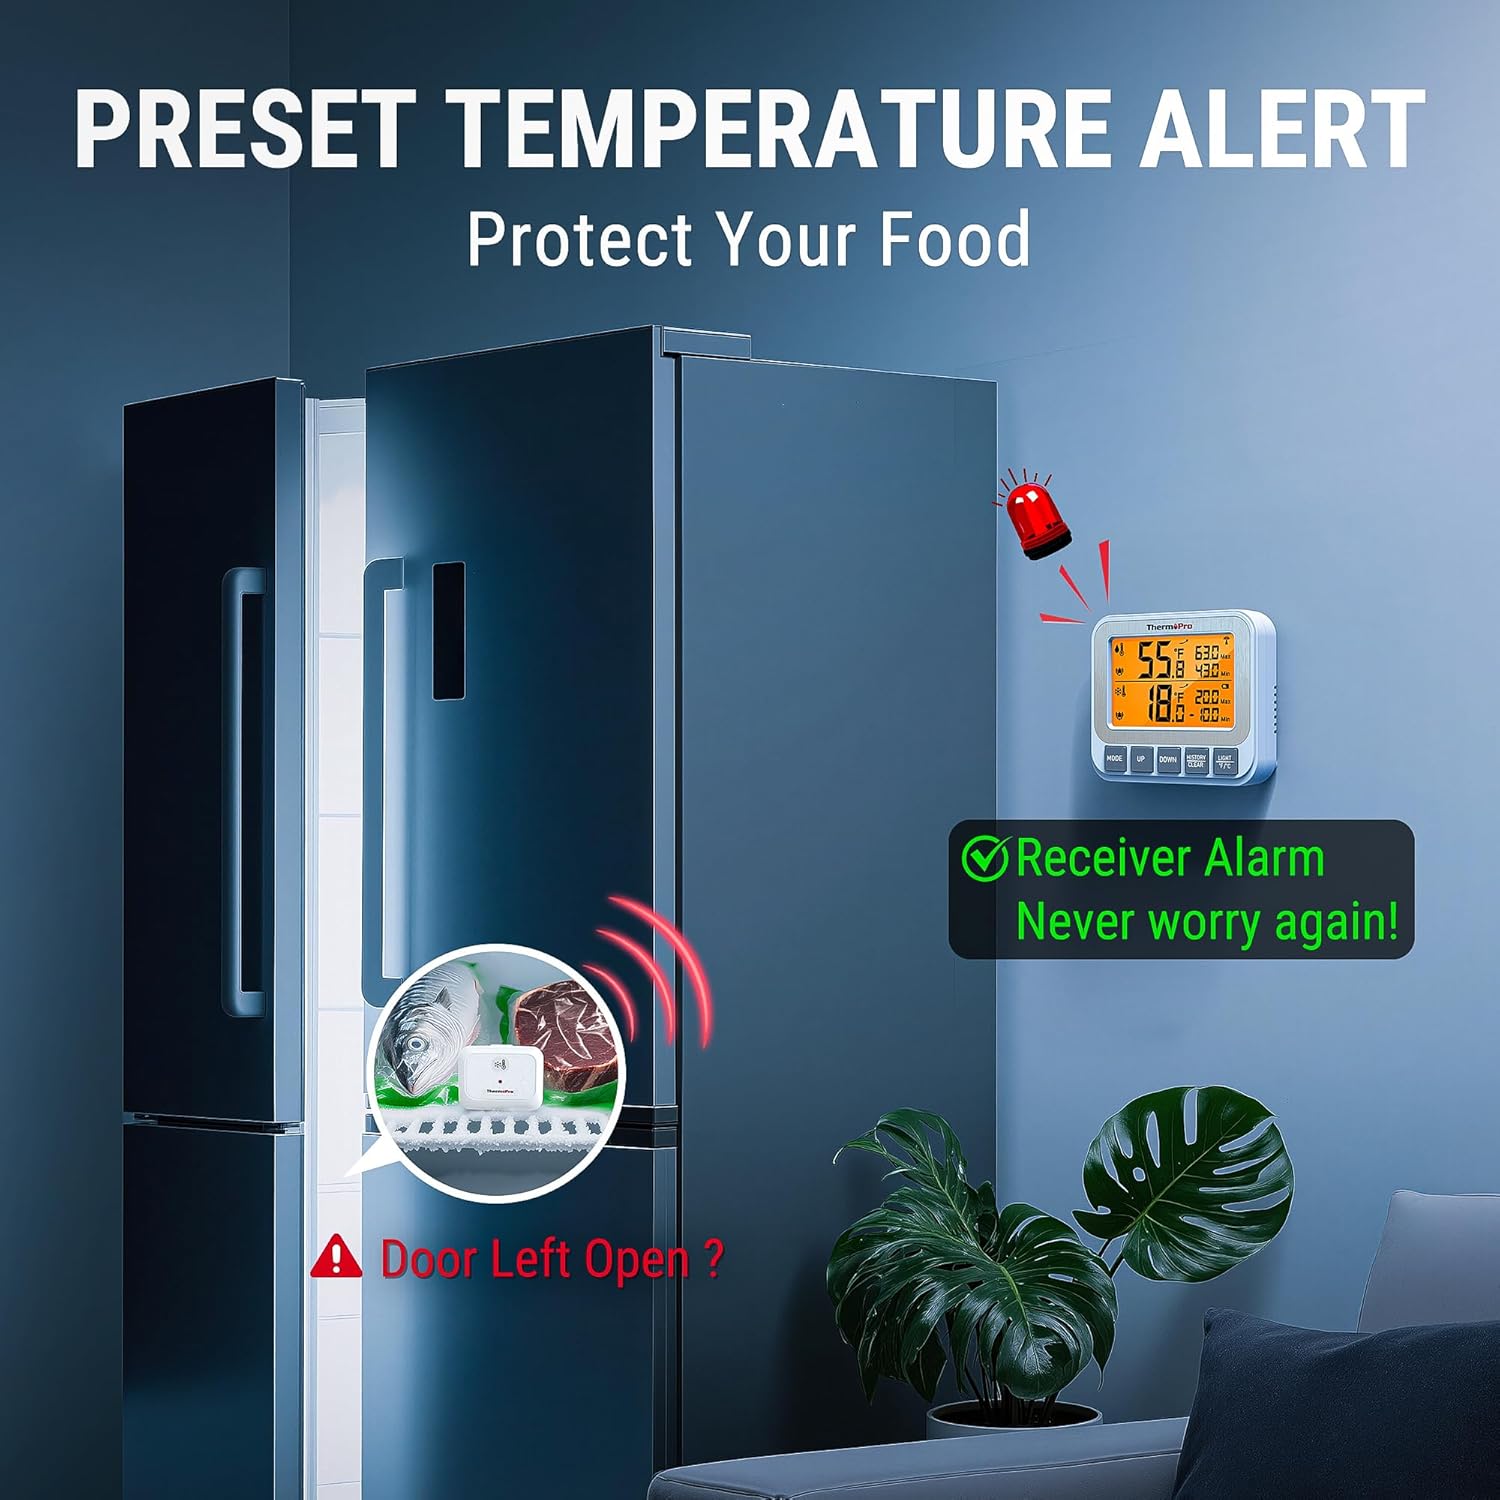
Image 4.2: Receiver Alarm Function
- Press the MODE button once to enter the refrigerator (top display) alarm setting mode. The high alarm limit will flash.
- Use the UP or DOWN buttons to adjust the high alarm limit.
- Press MODE again to confirm the high limit and move to the low alarm limit. The low alarm limit will flash.
- Use the UP or DOWN buttons to adjust the low alarm limit.
- Press MODE again to confirm the low limit and move to the freezer (bottom display) alarm setting mode. Repeat steps 2-4 for the freezer section.
- After setting both freezer limits, press MODE one more time to exit alarm setting mode and return to normal operation.
- If the temperature exceeds the set limits, the receiver will emit an audible alarm and the corresponding temperature will flash. Press any button to silence the alarm.
4.5 Clearing Max/Min Records
To view the maximum and minimum temperature records, press the HISTORY/CLEAR button. To clear these records, press and hold the HISTORY/CLEAR button for 3 seconds.
4.6 Wireless Range
The TP210B utilizes advanced RF technology to provide a strong and stable wireless connection up to 500 feet (150 meters) in an open area. Environmental factors such as walls, metal appliances, and other electronic devices may affect the actual range.

Image 4.3: Wireless Range Illustration
5. Placement Options
Both the receiver and transmitters offer flexible placement options for optimal convenience and performance.

Image 5.1: Multiple Mounting Options
5.1 Receiver Placement
- Magnetic Mount: The receiver has magnets on its back, allowing it to be attached to metallic surfaces like a refrigerator door.
- Table Stand: A built-in kickstand allows the receiver to be placed upright on a countertop or table.
- Hanging: A hanging hole is provided for wall mounting or hanging on a hook.
5.2 Transmitter Placement
- Stand: The transmitters can stand upright on a flat surface inside the refrigerator or freezer.
- Clip: A removable clip allows the transmitters to be attached to shelves or racks.
For best results, place transmitters in a location that accurately reflects the temperature of the food storage area, avoiding direct contact with cold walls or air vents.
6. Maintenance
6.1 Receiver Battery Replacement
The receiver uses 2 x AAA batteries. When the low battery indicator for the receiver appears on the display, replace both batteries with new ones. Ensure correct polarity.
6.2 Transmitter Charging
The transmitters use built-in rechargeable lithium batteries. When the low battery indicator for a transmitter appears on the receiver display, remove the transmitter from the cold environment and charge it using the provided USB-C cable. It is recommended to charge transmitters at room temperature for optimal battery life and safety.

Image 6.1: Receiver Battery and Transmitter Charging
7. Troubleshooting
| Problem | Possible Cause | Solution |
|---|---|---|
| No temperature display or '---' on receiver | Transmitter out of range, low battery, or not paired. | Move transmitter closer to receiver. Check transmitter battery level and recharge if necessary. Power cycle both receiver and transmitter to re-establish connection. |
| Inaccurate temperature readings | Transmitter placed too close to cold surfaces/vents, or sensor obstructed. | Relocate transmitter to a central area within the refrigerator/freezer. Ensure the sensor is not blocked. |
| Alarm sounds unexpectedly | Temperature exceeded set high/low limits. | Check the current temperature and compare with your set alarm limits. Adjust limits if needed (refer to section 4.4). Press any button to silence the alarm. |
| Short wireless range | Obstructions (walls, metal appliances), interference from other electronics. | Relocate receiver and/or transmitters to minimize obstructions. Avoid placing near large metal objects or other wireless devices. |
| Receiver display is dim or blank | Low receiver battery. | Replace the 2 x AAA batteries in the receiver. |
8. Specifications
| Feature | Detail |
|---|---|
| Model Number | TP210B |
| Wireless Range | Up to 500 ft (150 m) in open space |
| Temperature Range | -40°F to 158°F (-40°C to 70°C) |
| Temperature Accuracy | ±0.9°F (±0.5°C) from 32°F-122°F (0°C-50°C), otherwise ±1.8°F (±1.0°C) |
| Receiver Power | 2 x AAA batteries (included) |
| Transmitter Power | Built-in rechargeable lithium battery (charging cable included) |
| Display | Backlit LCD |
| Dimensions (Receiver) | Approximately 4.33 inches (length) |
9. Warranty and Support
ThermoPro provides a warranty for this product. For detailed warranty information, product registration, or technical support, please visit the official ThermoPro website or contact their customer service. Contact information can typically be found on the product packaging or the ThermoPro website.


