
Midea MMO20CXAMMPEBK
Midea 20L Solo Microwave Oven (MMO20CXAMMPEBK) Instruction Manual
Introduction
This manual provides essential information for the safe and efficient operation of your Midea 20L Solo Microwave Oven, model MMO20CXAMMPEBK. Please read these instructions thoroughly before using the appliance and retain them for future reference.
Important Safety Instructions
To reduce the risk of fire, electric shock, injury to persons, or exposure to excessive microwave energy when using your appliance, follow basic precautions, including the following:
- Read all instructions before using the appliance.
- Do not operate the oven if the door is damaged or if the seals are broken.
- Do not heat liquids or other foods in sealed containers as they are liable to explode.
- Only allow children to use the oven without supervision when adequate instructions have been given so that the child is able to use the oven in a safe way and understands the hazards of improper use.
- Use only utensils suitable for microwave ovens.
- When heating food in plastic or paper containers, keep an eye on the oven due to the possibility of ignition.
- If smoke is observed, switch off or unplug the appliance and keep the door closed in order to stifle any flames.
- Do not overcook food.
- Do not use the oven for storage purposes. Do not leave paper products, cooking utensils, or food in the oven when not in use.
- The oven must be placed on a flat, stable surface.
- Ensure adequate ventilation around the oven.
- Do not operate the oven without food inside.
- Always ensure the turntable and turntable support are correctly placed before operation.
Product Components
Familiarize yourself with the parts of your microwave oven:
- Oven Door: Provides access to the cooking cavity.
- Door Latch System: Secures the door during operation.
- Oven Window: Allows viewing of food during cooking.
- Control Panel: Contains the power level and timer knobs.
- Turntable Ring: Supports the glass turntable.
- Glass Turntable: Rotates food for even heating.
- Oven Cavity: The interior cooking space.

Image: Front view of the Midea 20L Solo Microwave Oven, showing the door, window, and control panel.
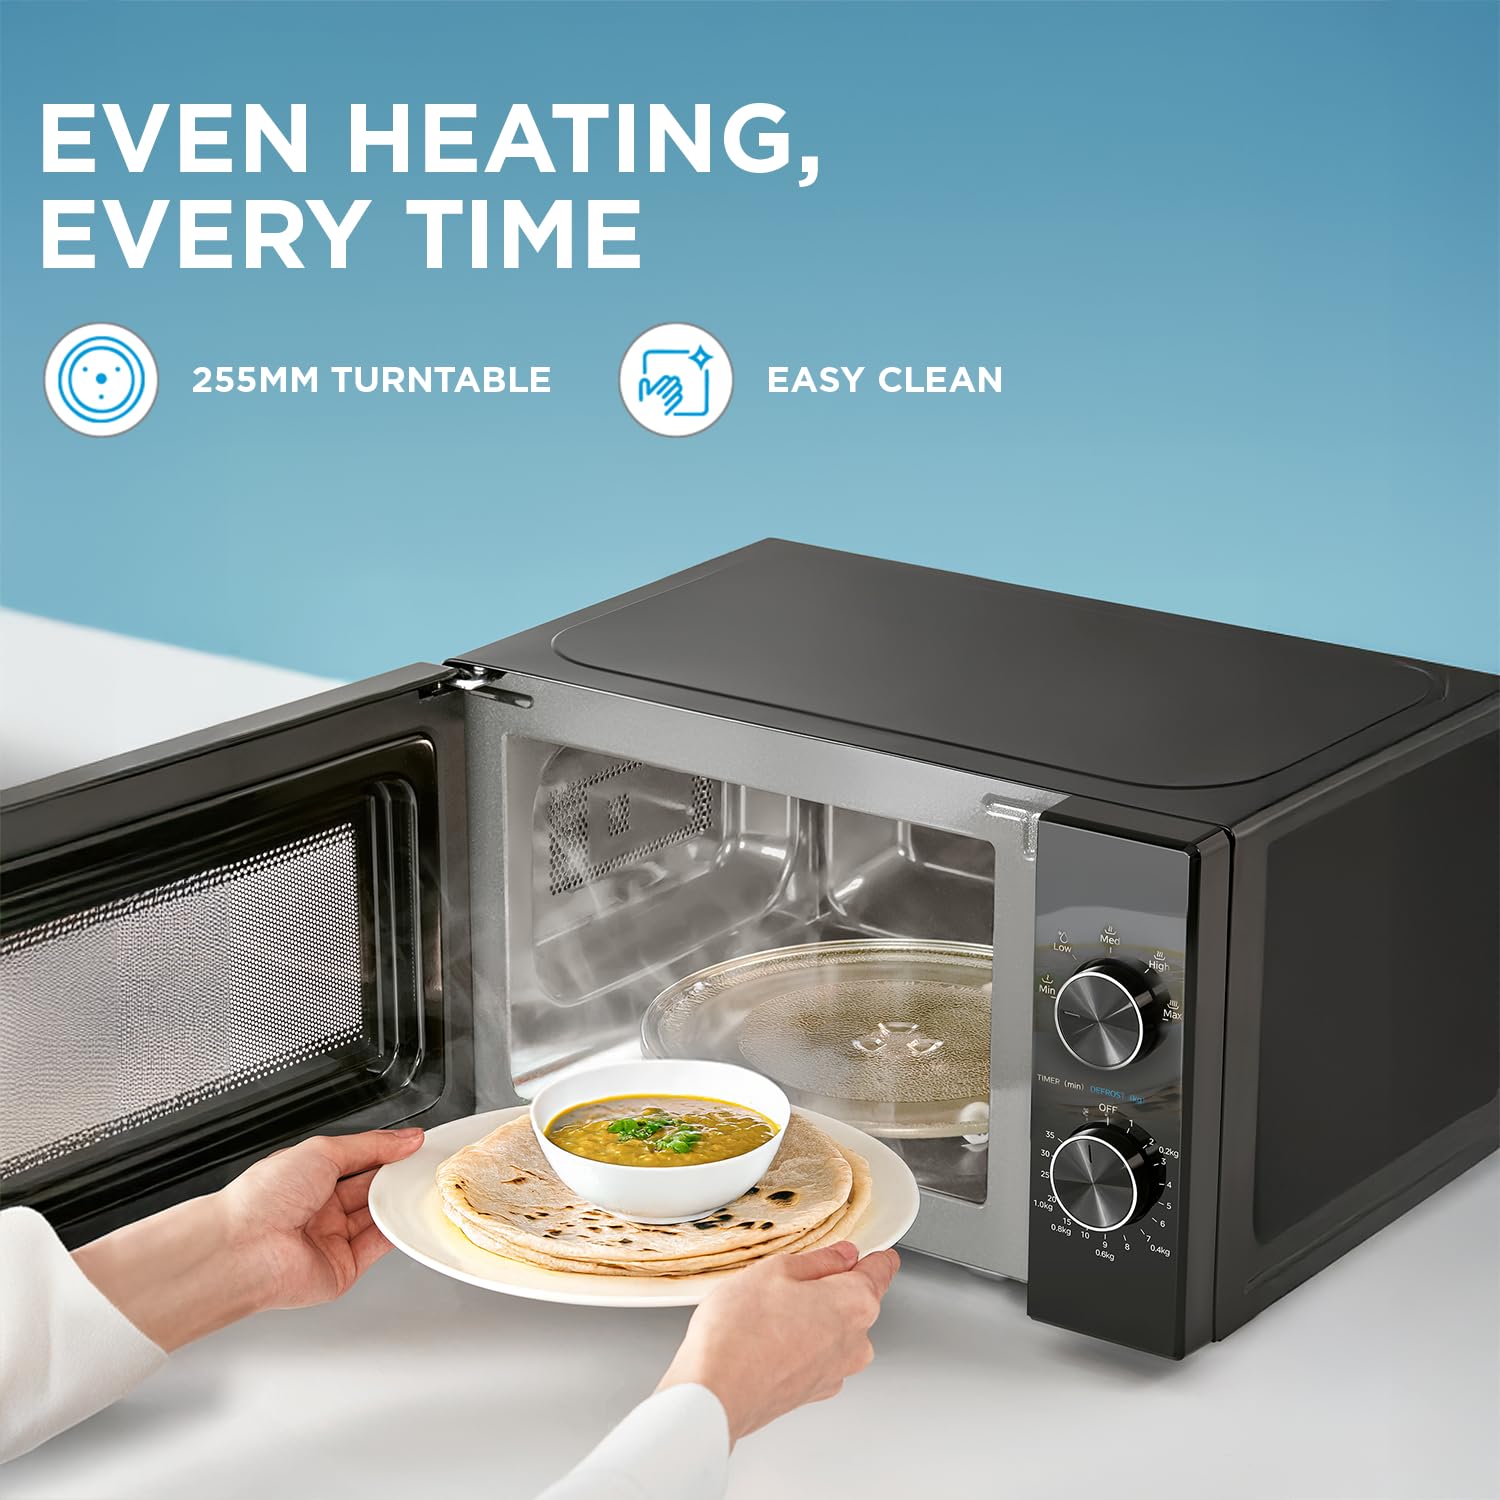
Image: Interior view of the Midea 20L Solo Microwave Oven, displaying the glass turntable and turntable ring.
Control Panel Overview
The control panel features two rotary knobs for setting power level and cooking time.

Image: Close-up of the Midea 20L Solo Microwave Oven control panel, showing the Power Level knob and the Timer/Defrost knob.
- Power Level Knob: Used to select one of the five available power settings.
- Timer/Defrost Knob: Used to set the cooking time or select the defrost function by weight or time.
Installation
- Placement: Place the oven on a flat, stable surface that can support its weight and the heaviest food likely to be cooked in it. Ensure there is adequate space for ventilation: at least 20 cm (8 inches) of space above the oven, 10 cm (4 inches) at the rear, and 5 cm (2 inches) on each side.
- Electrical Connection: Ensure the voltage and frequency of your power outlet match the specifications on the oven's rating label. The oven must be plugged into a properly grounded electrical outlet.
- Turntable Assembly: Place the turntable ring in the center of the oven cavity. Then, place the glass turntable securely on top of the turntable ring.

Image: Diagram illustrating the dimensions of the Midea 20L Solo Microwave Oven (43.9 cm depth, 35.5 cm width, 25.7 cm height) for proper placement.
Before First Use
Before using your new microwave oven, wipe the interior and exterior surfaces with a damp cloth to remove any dust or manufacturing residues. Ensure all packaging materials are removed from inside the oven cavity.
Operating Instructions
This section details how to use your Midea 20L Solo Microwave Oven for various cooking tasks.
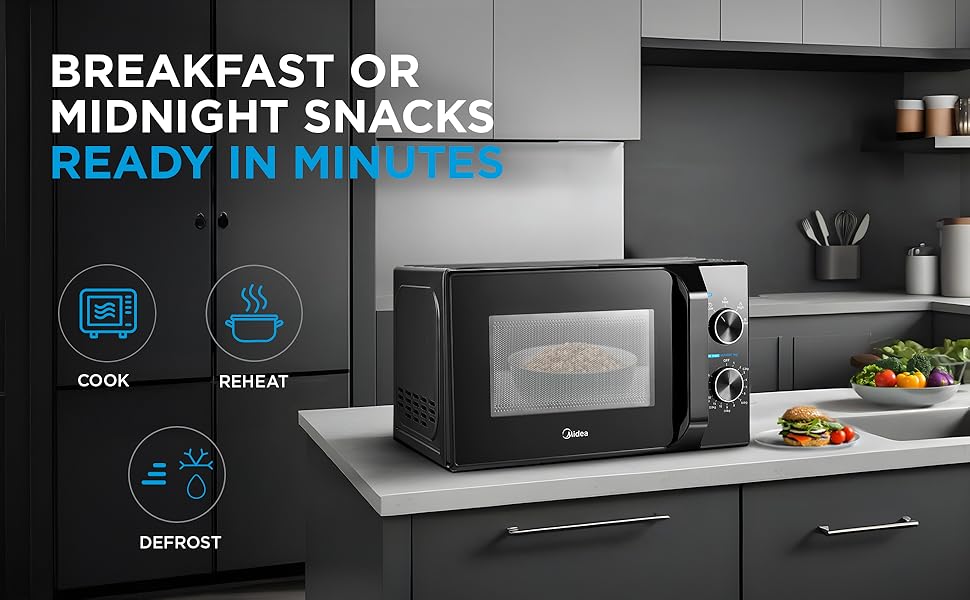
Image: A hand adjusting the rotary control knobs on the Midea microwave oven, demonstrating ease of use.
General Microwave Cooking
- Place the food in a microwave-safe container on the glass turntable.
- Close the oven door securely.
- Select Power Level: Turn the Power Level knob to your desired setting (see "Power Level Settings" below for details).
- Set Cooking Time: Turn the Timer/Defrost knob to the required cooking time. The oven will start automatically once the timer is set.
- When the cooking time is complete, the oven will emit an audible signal and turn off. Carefully remove the food.
Power Level Settings
Your microwave oven offers five power levels to suit different cooking needs:
| Setting | Power Output | Recommended Use |
|---|---|---|
| Low | 10% | Melting ice cream, keeping food warm. |
| Med. Low | 30% | Defrosting vegetables, softening butter. |
| Medium | 50% | Reheating pizza and pastries. |
| Med. High | 80% | Cooking vegetables. |
| High | 100% | Cooking popcorn, meat, boiling liquids. |
Defrost Function
The defrost function allows you to thaw frozen food efficiently. You can defrost by weight or by time.
- Place the frozen food in a microwave-safe container on the glass turntable.
- Close the oven door securely.
- Defrost by Weight: Turn the Timer/Defrost knob to the desired weight setting (e.g., 0.2kg, 0.4kg). The oven will automatically calculate the defrosting time.
- Defrost by Time: Turn the Timer/Defrost knob to the desired defrosting time.
- The oven will start automatically. During defrosting, it is recommended to turn the food over periodically for more even thawing.
- When defrosting is complete, the oven will emit an audible signal and turn off.
Care and Cleaning
Regular cleaning helps maintain the performance and longevity of your microwave oven.
- Exterior: Wipe the exterior surface with a damp cloth and mild detergent. Avoid abrasive cleaners.
- Interior: Clean the interior cavity after each use with a damp cloth. For stubborn food splatters, place a bowl of water with lemon juice inside and microwave on high for 2-3 minutes to loosen residue, then wipe clean.
- Oven Door and Seals: Clean the door, door seals, and adjacent parts frequently with a damp cloth to remove spills and spatters.
- Glass Turntable and Turntable Ring: These can be washed in warm soapy water or in a dishwasher. Ensure they are completely dry before placing them back in the oven.
- Never use harsh abrasive cleaners or sharp metal scrapers to clean the oven door glass since they can scratch the surface, which may result in shattering of the glass.
Troubleshooting
If you encounter issues with your microwave oven, refer to the following common problems and solutions:
| Problem | Possible Cause | Solution |
|---|---|---|
| Oven does not start | Power cord not securely plugged in. Door not closed properly. Fuse blown or circuit breaker tripped. | Ensure power cord is firmly plugged into outlet. Close the door completely. Check household fuse or reset circuit breaker. |
| Food not heating | Incorrect power level or cooking time set. Microwave-safe dish not used. | Adjust power level and cooking time as needed. Use only microwave-safe cookware. |
| Turntable not rotating | Turntable not properly placed. Turntable ring obstructed. | Ensure turntable is correctly seated on the turntable ring. Clean any food debris from under the turntable ring. |
| Excessive noise during operation | Turntable or turntable ring not correctly positioned. | Re-position the turntable and turntable ring. |
Specifications
Technical details for the Midea 20L Solo Microwave Oven (MMO20CXAMMPEBK):
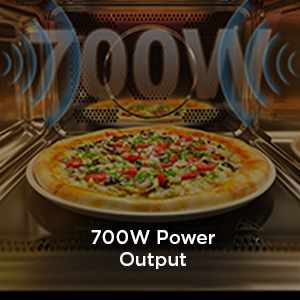
Image: Icon indicating 700W power output, a key specification of the microwave.
| Feature | Detail |
|---|---|
| Brand | Midea |
| Model | MMO20CXAMMPEBK |
| Capacity | 20 Litres |
| Installation Type | Countertop |
| Wattage | 700 Watts |
| Voltage | 230 Volts |
| Power Levels | 5 |
| Defrost System | Quick Defrost (by weight or time) |
| Turntable Diameter | 255 mm |
| Inner Material Type | Stainless Steel |
| Color | Black |
| Product Dimensions (LxWxH) | 43.9 x 35.5 x 25.7 Centimeters |
| Item Weight | 10.5 kg |
Warranty and Customer Support
Your Midea 20L Solo Microwave Oven is covered by a comprehensive warranty:
- Product Warranty: 2 years from the date of purchase.
- Magnetron Warranty: 10 years from the date of purchase.
Image: Icon highlighting the 10-year warranty on the magnetron, a key component of the microwave oven.
For warranty claims, technical assistance, or any other inquiries, please contact Midea customer support. Refer to the contact information provided in your purchase documentation or visit the official Midea website for details.
Manufacturer: Guangdong Midea Kitchen Appliances Manufacturing Co. Ltd
Importer: Midea India Private Limited, Office No. 517-522, 5th Floor, Park Centra, Sec 30,Gurgaon 122001,India
Related documentsMMO20CXAMMPEBK


Ask a question about this manual
Ask about setup, troubleshooting, compatibility, parts, safety, or missing instructions. Manuals+ will review the question and use this page’s manual context to help answer it.