
LOKLiK Cutting Machine & Auto Heat Press 2 15x15
LOKLiK Cutting Machine & Auto Heat Press 2 15x15 User Manual
Model: Cutting Machine & Auto Heat Press 2 15x15
Introduction
This manual provides detailed instructions for the safe and efficient operation, setup, and maintenance of your LOKLiK Cutting Machine and Auto Heat Press 2 15x15. Please read this manual thoroughly before using the product to ensure optimal performance and safety.
Important Safety Information
WARNING: To reduce the risk of injury, electric shock, fire, or damage to the product, always follow these basic safety precautions.
- Always operate the machine on a stable, level, and heat-resistant surface.
- Keep hands and fingers clear of the cutting blade and heating plate during operation.
- Do not expose the machine to water or excessive moisture.
- Unplug the machine from the power outlet when not in use or before cleaning.
- Ensure proper ventilation when using the heat press, as some materials may emit fumes.
- Keep out of reach of children.
Package Contents
Verify that all items are present in the package:
- LOKLiK Cutting Machine
- LOKLiK Auto Heat Press 2 15x15
- Power Cords (for both devices)
- USB Cable (for cutting machine)
- Cutting Blade (pre-installed or separate)
- Standard Cutting Mat (if applicable)
- User Manual (this document)
- Quick Start Guide
Product Overview
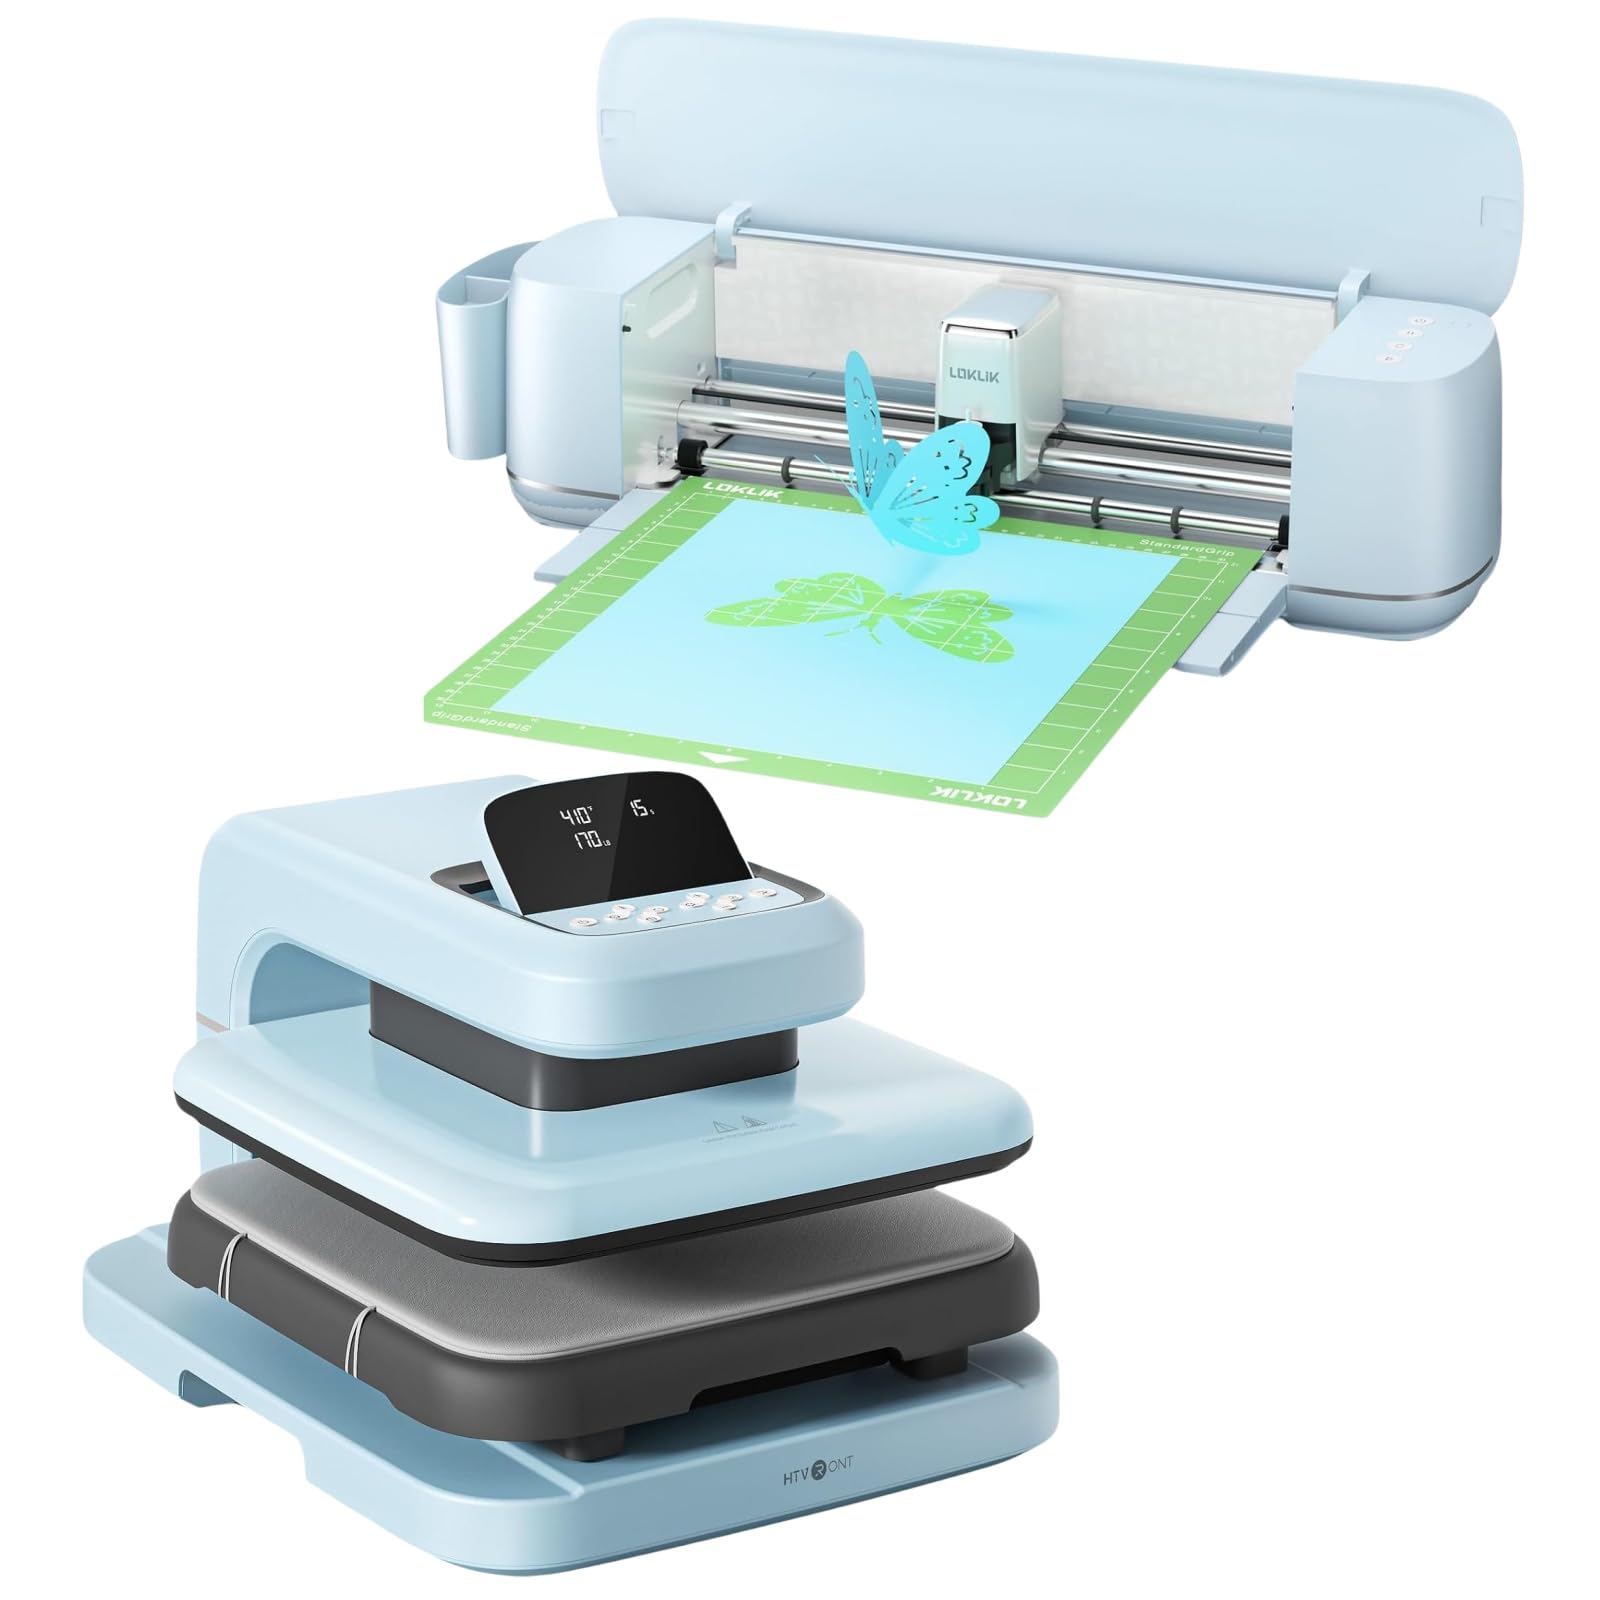
The LOKLiK Cutting Machine and Auto Heat Press 2 15x15 combine precision cutting with automated heat transfer capabilities, designed for various crafting and small business applications.
LOKLiK Cutting Machine Features:
- AI-Generated Designs: Integrated AI image generation for unique design creation.
- Matless Full-Length Cuts: Supports cutting smart materials up to 13 inches wide and 21 feet long without a mat.
- Zero-Cost Software: Access to LOKLiK IdeaStudio with over 18,000 designs and 30+ fonts, no subscription required. Compatible with iOS, Android, Windows, and Mac.
- Precise & Quiet Operation: Print-then-cut accuracy down to 0.5 mm and 15% quieter operation due to advanced noise-reduction technology.
- Versatile Material Compatibility: Cuts over 100 materials from 0.1mm to 2mm thick, including vinyl, cardstock, and more. Supports writing, drawing, scoring, and foil printing.
LOKLiK Auto Heat Press 2 15x15 Features:
- Auto Press & Auto Release: Hands-free operation for efficient heat transfer.
- Adjustable Pressure (Up to 170 LB): Customizable pressure settings for various materials like HTV, DTF, sublimation, and heat transfer paper.
- 0-75° Adjustable Screen & Pre-set Parameters: Intuitive display with real-time feedback, ergonomic design, and 4 preset/4 custom parameters for different materials.
- 1.77-inch Heating Height: Increased height for larger and thicker items like hoodies and multi-layer transfers.
- Fast & Even Heat: Dual-tube heating system reaches 410°F in 5 minutes 30 seconds, with adjustable time from 1-999 seconds.
- Auto Shut-off: Automatic shutdown after 15 minutes of standby time, with a beep reminder.
Setup Guide
1. Unpacking and Placement
- Carefully remove all components from the packaging.
- Place both the cutting machine and heat press on a stable, flat, and heat-resistant surface. Ensure adequate space around the heat press for ventilation.
- Remove any protective films or packaging materials from the devices.
2. Power Connection
- Connect the power cord to the LOKLiK Cutting Machine and then to a suitable power outlet.
- Connect the power cord to the LOKLiK Auto Heat Press 2 and then to a suitable power outlet.
3. Cutting Machine Software Installation
- Download the LOKLiK IdeaStudio software from the official LOKLiK website or app store (for iOS/Android).
- Install the software on your computer (Windows/Mac) or mobile device.
- Connect the cutting machine to your computer via the provided USB cable or pair it via Bluetooth.
- Follow the on-screen instructions in the software to complete the initial setup and calibration.
Operating Instructions
A. LOKLiK Cutting Machine Operation
1. Preparing Your Design
- Open LOKLiK IdeaStudio software.
- Create a new design or select from the extensive library. Utilize the AI image generation feature for unique creations.
- Adjust the design size and placement according to your material.

2. Loading Material
- For matless cutting: Load smart materials (up to 13 inches wide and 21 feet long) directly into the machine's feed slot. Ensure the material is aligned properly.
- For mat-based cutting: Place your material onto the cutting mat, ensuring it adheres securely. Load the cutting mat into the machine.

3. Performing a Cut
- In the IdeaStudio software, select the material type you are using. The software will suggest appropriate cut settings (blade depth, pressure, speed). Adjust if necessary.
- Ensure the correct blade is installed for your material.
- Initiate the cut from the software. The machine will perform the cut with high precision (down to 0.5 mm accuracy).
- Once cutting is complete, unload the material or mat.

B. LOKLiK Auto Heat Press 2 15x15 Operation
1. Power On and Pre-heating
- Plug in the heat press and turn on the power switch.
- Use the adjustable screen to set the desired temperature and time for your material. The machine can reach 410°F in approximately 5 minutes 30 seconds.
- Utilize the 4 preset or 4 custom parameters for various materials for quick setup.

2. Preparing Your Item for Pressing
- Place your garment or item on the lower platen of the heat press.
- Position your heat transfer material (HTV, DTF, sublimation paper, etc.) onto the item.
- Ensure the item and transfer are centered and flat. The 1.77-inch heating height accommodates thicker items like hoodies.

3. Adjusting Pressure
- The heat press allows for pressure adjustment up to 170 LB. Adjust the pressure based on your material and transfer type.
- Refer to the material manufacturer's recommendations for optimal pressure settings.


4. Initiating the Press Cycle
- Once temperature, time, and pressure are set, activate the press. The machine will automatically lower the heating plate, apply pressure, and begin the transfer cycle.
- The auto-release function will lift the heating plate once the cycle is complete.
- Carefully remove the item after the press cycle.
Maintenance
1. Cleaning the Cutting Machine
- Ensure the machine is unplugged before cleaning.
- Use a soft, dry cloth to wipe down the exterior.
- Periodically clean the blade housing and cutting area to remove any material debris. Use a small brush or compressed air if necessary.
- Replace the blade when it becomes dull to maintain cutting precision.
2. Cleaning the Heat Press
- Always unplug the heat press and allow it to cool completely before cleaning.
- Wipe the heating plate with a soft, damp cloth. For stubborn residue, use a specialized heat press cleaning solution, following its instructions.
- Clean the lower platen and silicone pad regularly.
- Avoid using abrasive cleaners or harsh chemicals that could damage the surfaces.
Troubleshooting
| Problem | Possible Cause | Solution |
|---|---|---|
| Cutting Machine not powering on. | Power cord not securely connected; power outlet issue. | Check power connections. Try a different outlet. |
| Cutting is inaccurate or incomplete. | Dull blade; incorrect cut settings; material not loaded correctly. | Replace blade. Adjust cut settings in IdeaStudio. Ensure material is flat and aligned. |
| Heat Press not heating up. | Power cord not connected; power switch off; internal fault. | Verify power connections and switch. If problem persists, contact support. |
| Transfer material not adhering properly. | Incorrect temperature, time, or pressure settings; material incompatibility. | Adjust settings according to material manufacturer's recommendations. Ensure even pressure. |
| Heat Press auto-shuts off unexpectedly. | 15-minute standby auto shut-off activated. | This is a safety feature. Simply power on again to resume operation. |
Specifications
| Feature | Detail |
|---|---|
| Brand | LOKLiK |
| Model | Cutting Machine & Auto Heat Press 2 15x15 |
| Cutting Machine Material Compatibility | 0.1mm to 2mm thick, over 100 materials |
| Cutting Machine Max Cut Width | 13 inches (matless) |
| Cutting Machine Max Cut Length | 21 feet (matless) |
| Cutting Machine Accuracy | 0.5 mm (print-then-cut) |
| Heat Press Plate Size | 15x15 inches |
| Heat Press Max Pressure | 170 LB |
| Heat Press Max Temperature | 410°F (210°C) |
| Heat Press Heating Time | Reaches 410°F in 5 min 30 sec |
| Heat Press Adjustable Time Range | 1-999 seconds |
| Heat Press Heating Height | 1.77 inches (4.5 cm) |
| Heat Press Auto Shut-off | 15 minutes standby |
| Operation Mode | Automatic |
| Color | Turquoise |
| Material (Construction) | Plastic (main body) |
Warranty and Support
For warranty information, technical support, or service inquiries, please refer to the official LOKLiK website or contact their customer service directly. Keep your purchase receipt as proof of purchase.
LOKLiK Official Website: Visit the LOKLiK Store on Amazon
Related documentsCutting Machine & Auto Heat Press 2 15x15


Ask a question about this manual
Ask about setup, troubleshooting, compatibility, parts, safety, or missing instructions. Manuals+ will review the question and use this page’s manual context to help answer it.