
1. Introduction
This manual provides essential instructions for the safe and efficient operation, maintenance, and troubleshooting of your leowin Portable Air Compressor, Model 5622. Please read this manual thoroughly before using the device and retain it for future reference.
2. Safety Information
Always observe basic safety precautions when using electrical appliances to reduce the risk of fire, electric shock, and personal injury.
- Keep the device away from children.
- Do not operate the compressor in wet conditions or near flammable liquids/gases.
- Ensure the nozzle is securely attached to the valve before inflation.
- Do not over-inflate items; always refer to the manufacturer's recommended pressure.
- Avoid prolonged continuous operation to prevent overheating. Allow the device to cool down between uses.
- Do not disassemble or modify the device. Contact support for repairs.
3. Package Contents
Verify that all items are present in your package:
- leowin Portable Air Compressor (Model 5622) x 1
- Type-C Charging Cable x 1
- Inflation Tube x 1
- Presta Valve Adapter x 1
- Air Nozzles x 2
- Ball Air Needle x 1

The package includes the main inflator unit, a Type-C charging cable, a flexible inflation tube, a Presta valve adapter for bicycles, two general-purpose air nozzles, and a ball air needle.
4. Product Overview
The leowin Portable Air Compressor is a handheld, cordless device designed for convenient inflation of various items. It features a digital display, preset pressure function, and an integrated LED light.

This image displays the main unit of the leowin Portable Air Compressor, highlighting its compact design, digital screen, and the flexible hose with a valve connector. Various adapters are also shown.

The digital display shows the current pressure and allows for setting target pressure. Buttons include power/mode ('R'), increase ('+'), decrease ('-'), and LED light control.
5. Setup
5.1 Charging the Device
Before first use, fully charge the air compressor. Connect the provided Type-C charging cable to the charging port at the bottom of the device and to a suitable USB power source. The battery indicator on the digital display will show charging status.
5.2 Attaching the Inflation Tube and Nozzle
- Screw the inflation tube securely into the outlet port on the front of the compressor.
- Select the appropriate nozzle or adapter for the item you wish to inflate.
- Attach the selected nozzle/adapter to the free end of the inflation tube.
6. Operating Instructions
6.1 Power On/Off and Mode Selection
- To power on: Long press the 'R' button for 2 seconds.
- To power off: Long press the 'R' button again, or the device will automatically shut off after a period of inactivity.
- To select unit: After powering on, press the 'R' button repeatedly to cycle through units: PSI, BAR, KPA, KG/CM².
- To select preset mode: The device has pre-calibrated modes for cars (36 PSI), bikes (45 PSI), motorcycles (32 PSI), and balls (9 PSI). Use the '+' or '-' buttons to select these modes or set a custom pressure. The memory function remembers the last used mode and parameters.
6.2 Inflation Process
- Connect the inflation tube with the appropriate nozzle to the item's valve. Ensure a secure connection to prevent air leakage.
- Power on the device and select your desired pressure unit and target pressure using the 'R', '+', and '-' buttons.
- Press the trigger to start inflation. The digital display will show the real-time pressure.
- The compressor will automatically stop once the preset target pressure is reached.
- Disconnect the inflation tube from the item.
This visual guide illustrates the simple three-step process: connecting the hose to the tire valve, setting the desired pressure on the digital display, and pressing the trigger to begin inflation.
6.3 Multipurpose Use
The leowin Portable Air Compressor is versatile and suitable for various inflation tasks:
- Car Tires: Inflate standard car tires (not for tires larger than 245 mm or over 50 PSI).
- Motorcycle Tires: Ideal for maintaining correct pressure.
- Bicycle Tires: Use the appropriate adapter for different valve types.
- Sport Balls: Utilize the ball air needle for basketballs, soccer balls, etc.
- Inflatable Toys: Suitable for pool toys and other small inflatables.
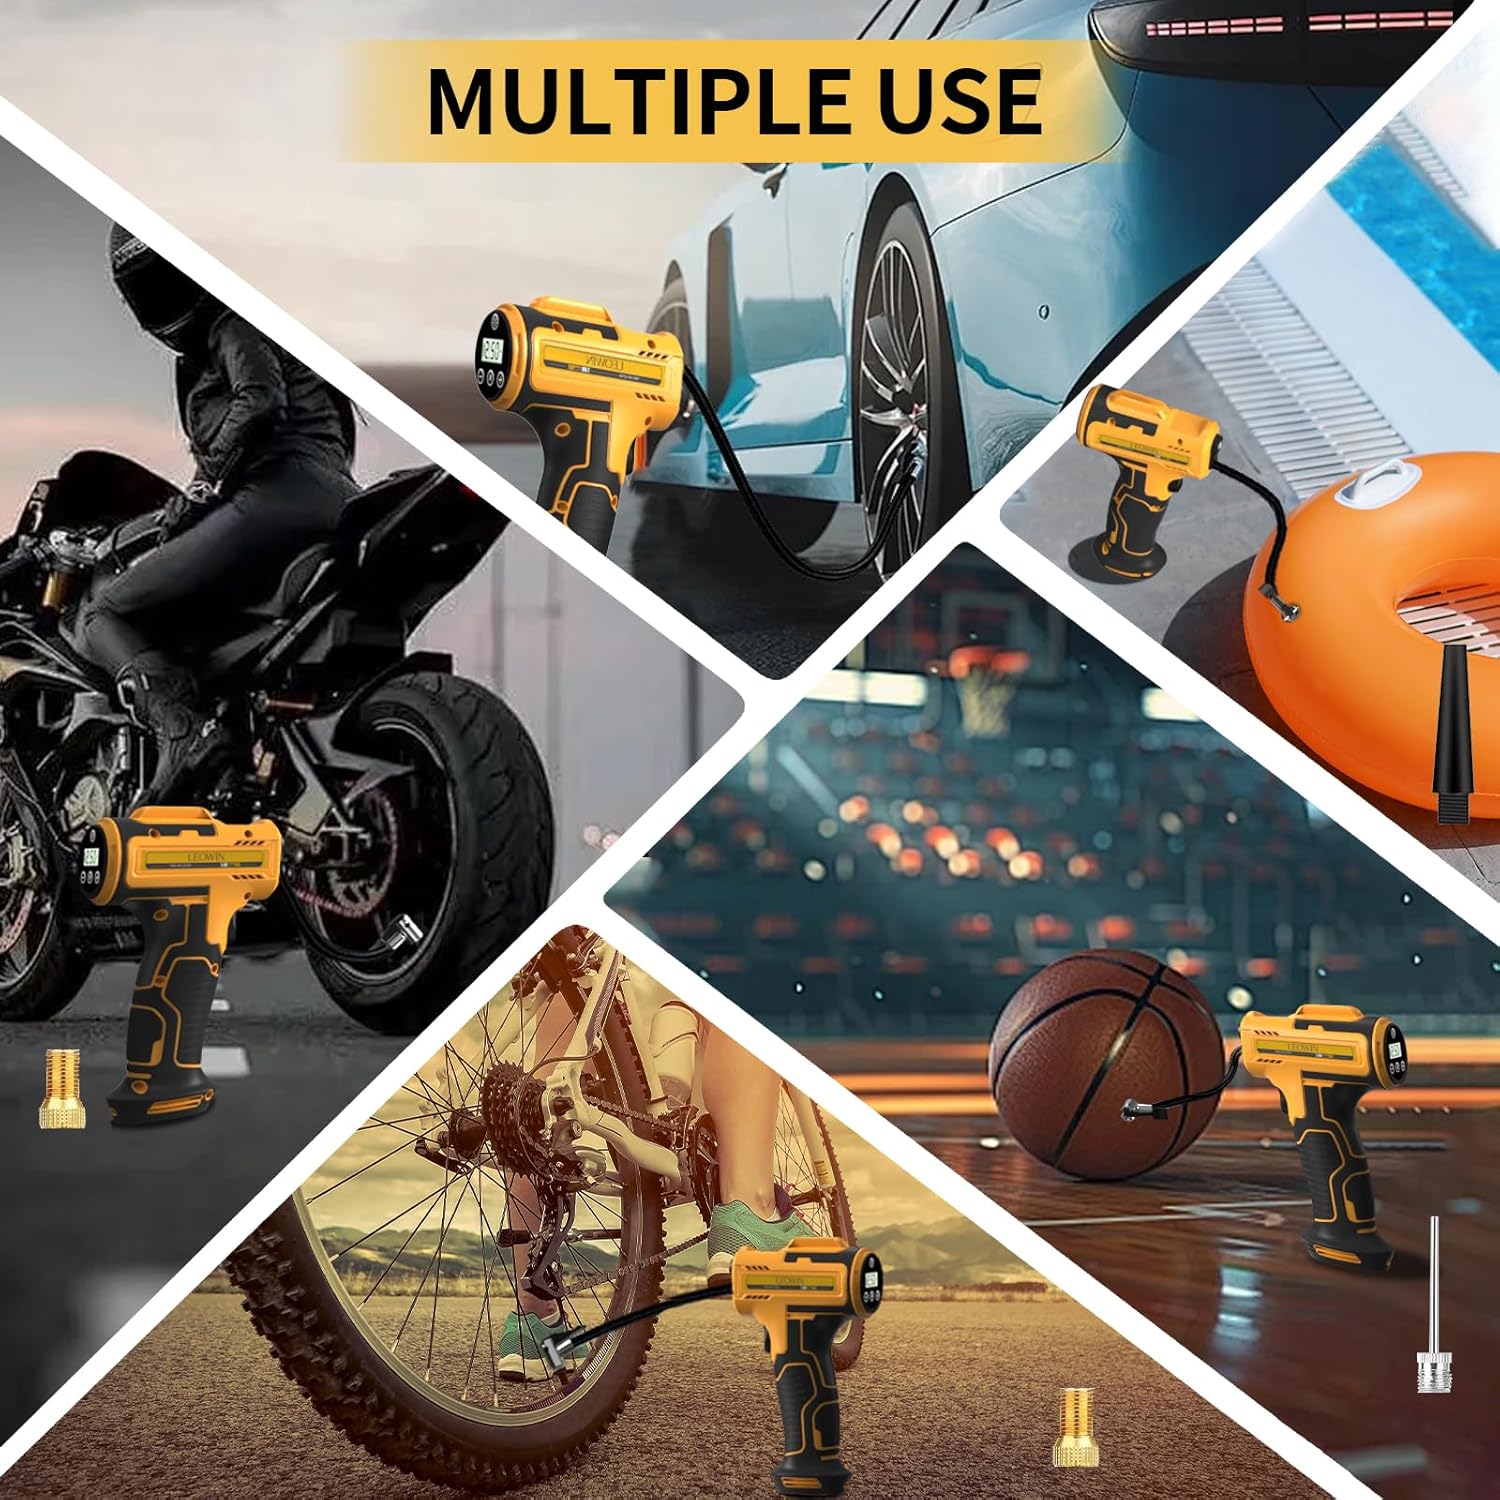
This image demonstrates the wide range of items that can be inflated, including car, motorcycle, and bicycle tires, as well as sports balls and pool inflatables.
6.4 LED Light Function
The integrated LED light provides illumination for nighttime or low-light conditions. Press the light button (bulb icon) to cycle through three modes:
- Mode 1: Steady illumination (flashlight).
- Mode 2: SOS signal.
- Mode 3: Strobe light.
7. Maintenance
- Clean the device with a soft, dry cloth. Do not use harsh chemicals or abrasive cleaners.
- Store the compressor in a cool, dry place away from direct sunlight and extreme temperatures.
- Ensure the inflation tube and nozzles are clean and free of debris before storage.
- Charge the battery periodically if the device is not used for extended periods to maintain battery health.
8. Troubleshooting
| Problem | Possible Cause | Solution |
|---|---|---|
| Device does not turn on. | Low battery or no charge. | Charge the device fully using the provided Type-C cable. |
| Inflation is slow or ineffective. | Loose connection or incorrect nozzle. | Ensure the inflation tube and nozzle are securely attached. Use the correct nozzle for the item. |
| Device overheats during use. | Prolonged continuous operation. | Allow the device to cool down for at least 10-15 minutes before resuming use. |
| Pressure reading is inaccurate. | Sensor issue or improper connection. | Ensure the connection is tight. If the issue persists, contact customer support. |
9. Specifications
- Brand: leowin
- Model Name: 5622
- Voltage: 7.4 Volts
- Power Source: Battery Powered (1 Lithium Ion battery included)
- Maximum Operating Pressure: 150 PSI (10.3 Bars)
- Air Flow Capacity: 25 Liters Per Minute
- Noise Level: 70 Decibels
- Item Weight: 0.64 Kilograms (1.41 pounds)
- Product Dimensions: 5.3"L x 2.4"W x 8.7"H
- Special Features: Automatic Shut-Off, Built-In Digital Gauge, Cordless, Portable, LED Light (Flashlight, SOS, Strobe)
- Hose Length: 10.6 Inches
- UPC: 762949574140

This diagram provides a clear visual representation of the physical dimensions of the leowin Portable Air Compressor, including its length, width, and height, along with the hose length.
10. Official Product Video
This video provides a visual demonstration of the leowin Portable Air Compressor, showcasing its features and ease of use for various inflation tasks.
11. Warranty and Support
The leowin Portable Air Compressor comes with a 1-year manufacturer's warranty. For warranty claims, technical support, or any inquiries, please refer to the contact information provided on the product packaging or the official leowin website.