
1. Introduction
This manual provides essential information for the safe and effective operation, maintenance, and setup of your Cecotec PerfectSurface 1000 Stand Disc Sander. Please read these instructions thoroughly before using the appliance and retain them for future reference.
2. Safety Instructions
Always observe basic safety precautions to reduce the risk of fire, electric shock, and personal injury. This tool is designed for sanding wood and similar materials. Do not use it for purposes other than those specified.
- Wear appropriate personal protective equipment: Always use safety glasses, hearing protection, and a dust mask.
- Secure the workpiece: Ensure the material being sanded is firmly clamped or held to prevent movement.
- Maintain a clean work area: Keep the work area free of clutter and well-lit.
- Avoid accidental starting: Ensure the switch is in the OFF position before plugging in the tool.
- Do not overreach: Maintain proper footing and balance at all times.
- Disconnect power: Always unplug the sander from the power source before making adjustments, changing accessories, or performing maintenance.
- Use the correct sanding disc: Ensure the disc is correctly sized (125mm) and suitable for the material.
3. Package Contents
Verify that all components are present upon unpacking:
- Cecotec PerfectSurface 1000 Stand Disc Sander
- Table Clamp
- 5 x 125mm Replacement Sanding Discs
- Vacuum Cleaner Connector
- User Manual
4. Product Overview
The Cecotec PerfectSurface 1000 is a corded electric disc sander designed for precision sanding tasks. It features a 140W pure copper motor for consistent performance and an adjustable sanding table for versatile applications.
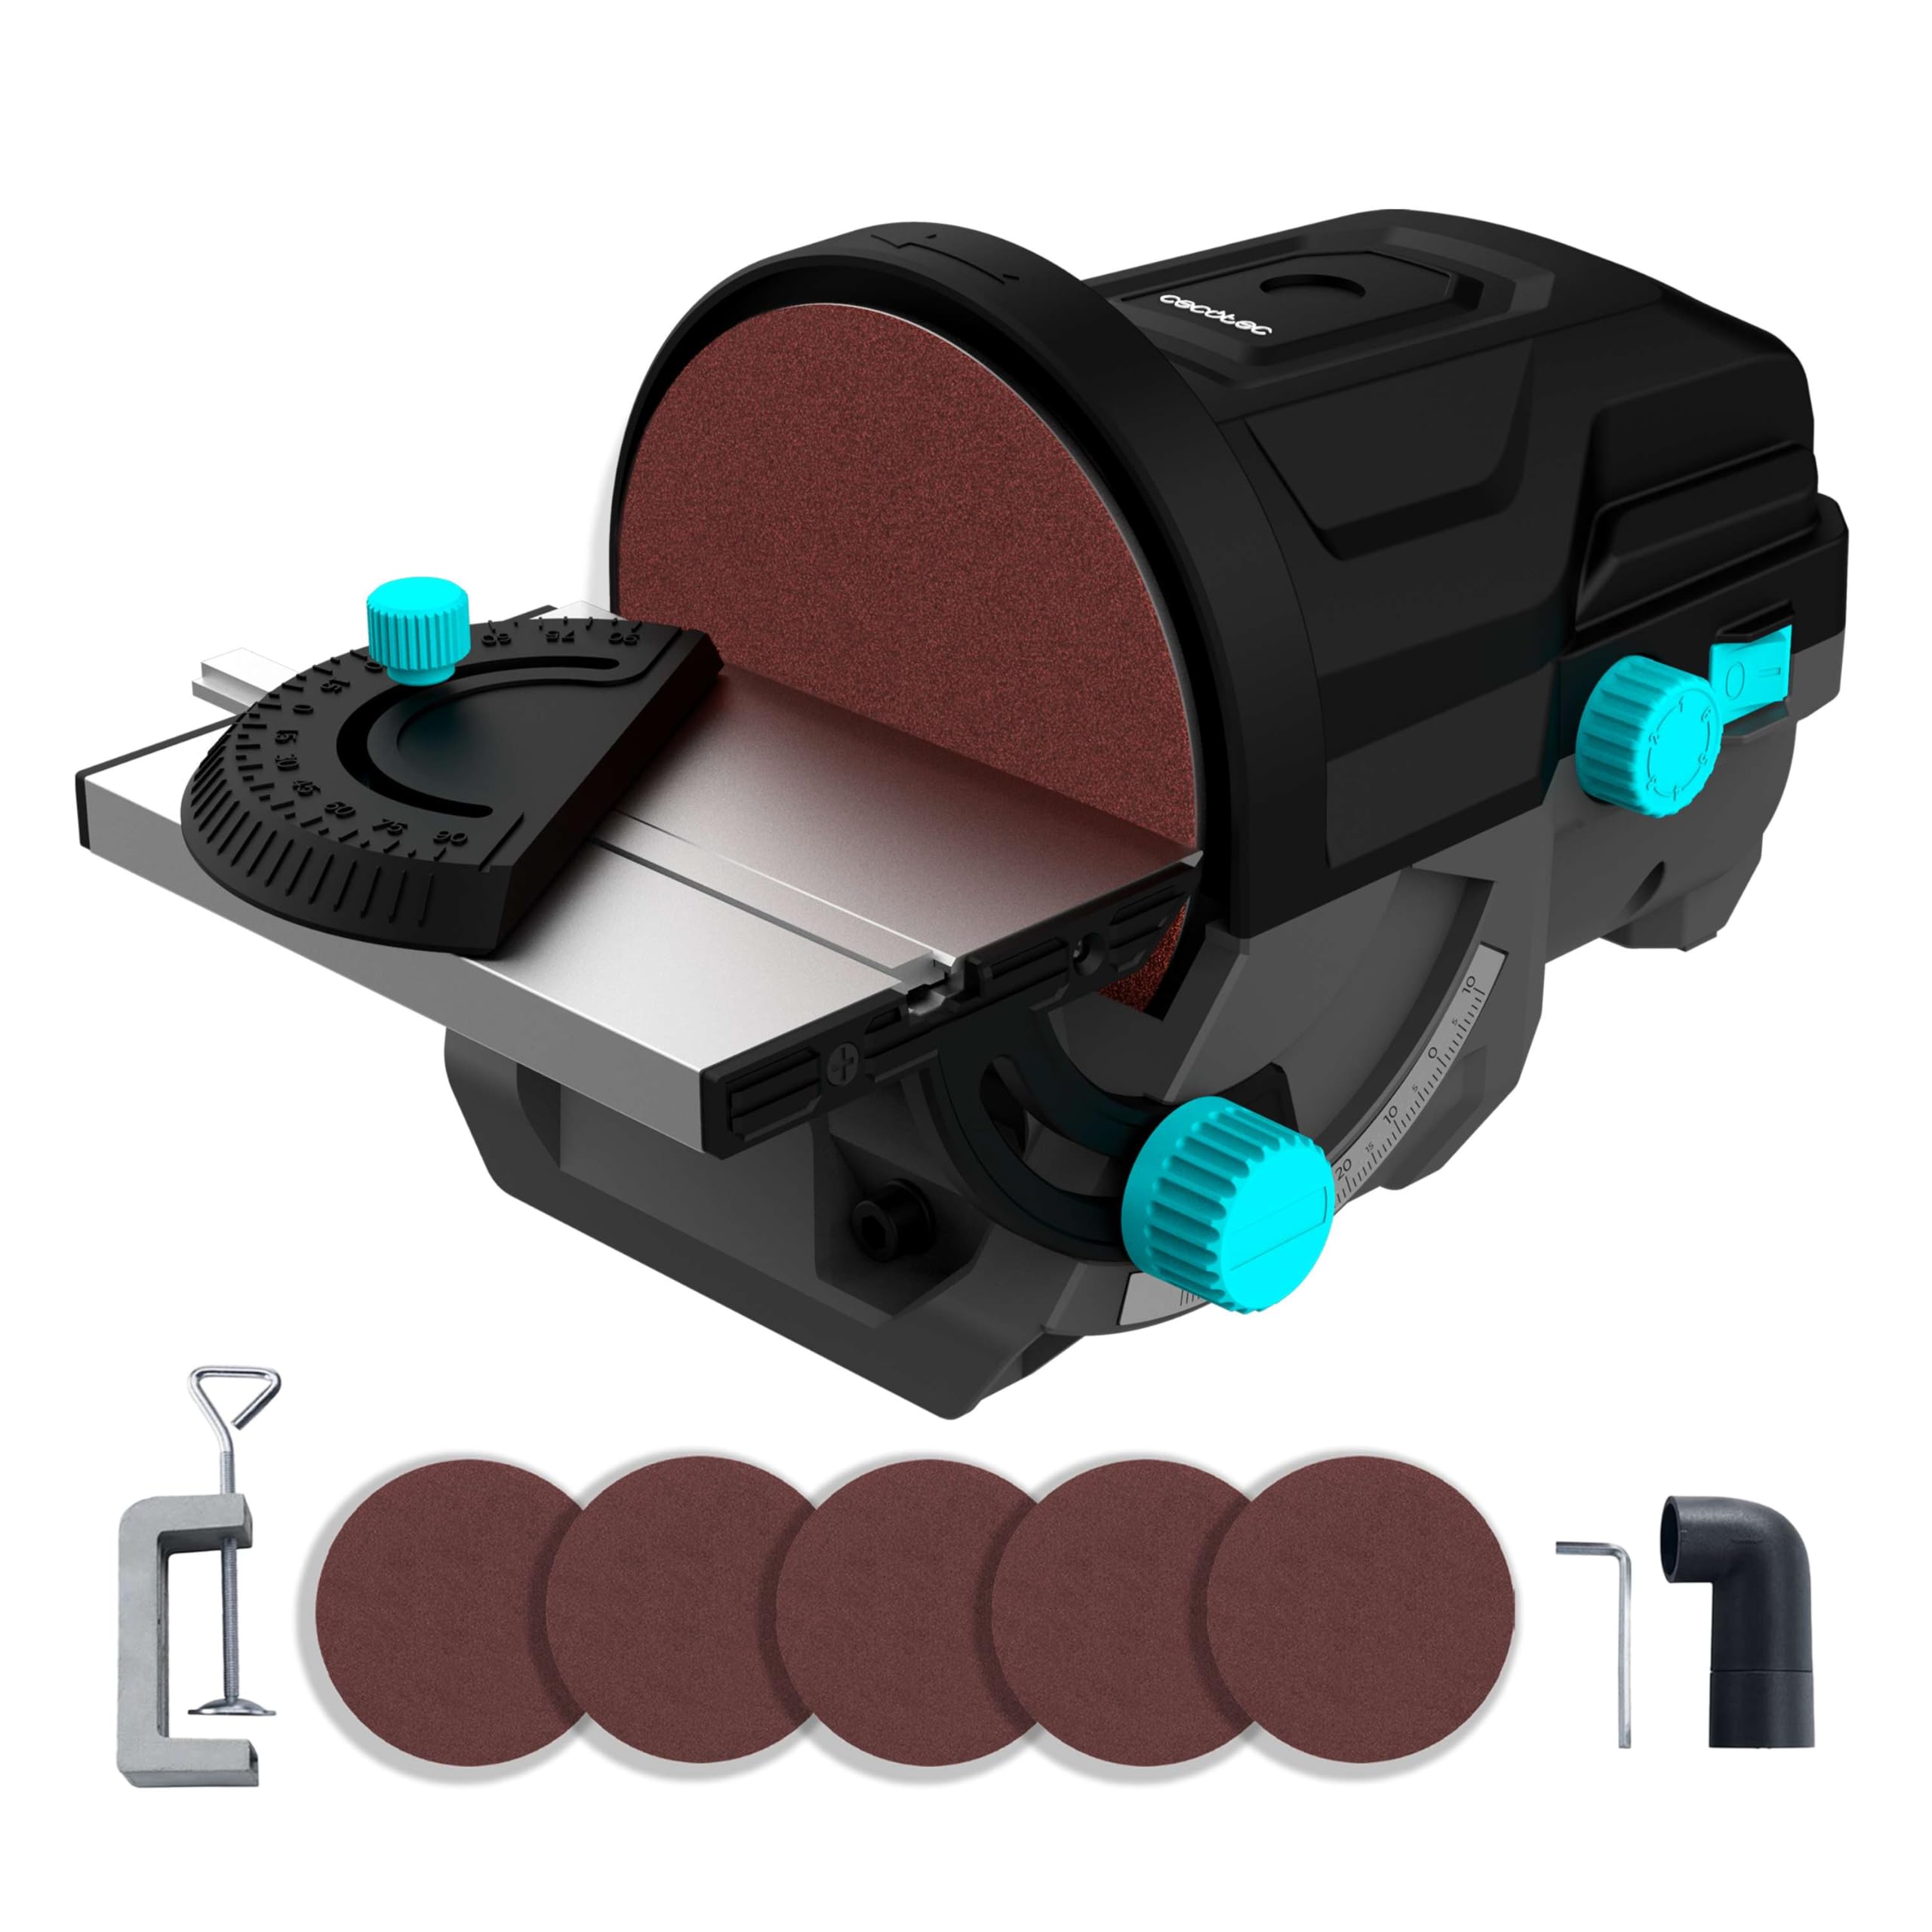
Figure 1: Overview of the Cecotec PerfectSurface 1000 Stand Disc Sander.
5. Setup
5.1 Mounting the Sander
The sander includes a specially designed clamp for secure attachment to a workbench, allowing for both vertical and horizontal operation. Ensure the workbench is stable and the clamp is tightened securely.

Figure 2: The sander can be securely clamped to a workbench for stable operation.
5.2 Attaching Sanding Discs
The sander uses 125mm sanding discs. To attach a disc, ensure the sander is unplugged. Align the disc with the sanding plate and press firmly to secure it. The sander comes with 5 replacement discs.

Figure 3: The sander includes 125mm replacement sanding discs.
5.3 Connecting Dust Extraction
For a cleaner work environment, connect a vacuum cleaner to the detachable adapter on the sander. This helps to collect dust generated during sanding operations.

Figure 4: Connecting a vacuum cleaner to the sander's dust extraction port.
6. Operating Instructions
6.1 Powering On/Off
Plug the sander into a suitable power outlet. Use the ON/OFF switch located on the unit to start and stop the motor. Always ensure the workpiece is ready before turning the sander on.
6.2 Adjusting the Sanding Table
The sanding table can be adjusted to various angles to achieve straight, clean cuts and perfect bevels. Loosen the locking knob, set the desired angle, and then tighten the knob firmly to secure the table in position.

Figure 5: The sanding table can be adjusted for angled work.
6.3 Sanding Techniques
Hold the workpiece firmly against the sanding disc and the adjustable table. Apply even, moderate pressure. Move the workpiece slowly and consistently across the disc to ensure uniform material removal and a smooth finish. For angled sanding, use the adjusted table to guide the workpiece.

Figure 6: Sanding a piece of wood using the disc sander.

Figure 7: Performing angled sanding for precise bevels.
7. Maintenance
7.1 Cleaning
Regularly clean the sander to prevent dust buildup, which can affect performance and motor life. Disconnect the power before cleaning. Use a brush or compressed air to remove dust from the motor vents and sanding area. Ensure the dust extraction port is clear.
7.2 Sanding Disc Replacement
Replace sanding discs when they become worn or clogged. Ensure the sander is unplugged. Carefully peel off the old disc and attach a new 125mm disc, pressing firmly to ensure good adhesion.
8. Troubleshooting
- Sander does not start: Check the power connection and ensure the switch is in the ON position. Verify the power outlet is functional.
- Poor sanding performance: The sanding disc may be worn or clogged. Replace the disc. Ensure appropriate pressure is applied to the workpiece.
- Excessive dust: Check that the vacuum cleaner is properly connected and functioning. Ensure the dust extraction port is not blocked.
- Unusual noise or vibration: Immediately turn off and unplug the sander. Inspect for loose parts or damage. If the issue persists, contact customer support.
9. Specifications
| Feature | Specification |
|---|---|
| Brand | Cecotec |
| Model Number | A01_EU01_100049 |
| Power Type | Corded Electric |
| Wattage | 140 W |
| Voltage | 140 V |
| Disc Diameter | 125 mm |
| Grit (Included) | Fine |
| Product Dimensions | 29.3 x 19.7 x 16.1 cm |
| Item Weight | 2.65 kg |
| Included Components | Disc sander, clamp, 5 replacement sanding discs, vacuum cleaner connector |
10. Warranty and Support
For warranty information or technical support, please refer to the documentation provided with your purchase or contact Cecotec customer service. Keep your proof of purchase for any warranty claims.