1. Introduction
Thank you for choosing the LEDLUX 96-inch Ceiling Fan. This industrial-style fan is engineered for powerful and efficient air movement in large spaces such as living rooms, warehouses, and commercial areas. Its reversible DC motor offers quiet operation and significant energy savings. This manual provides detailed instructions for safe installation, operation, and maintenance to ensure optimal performance and longevity of your ceiling fan.
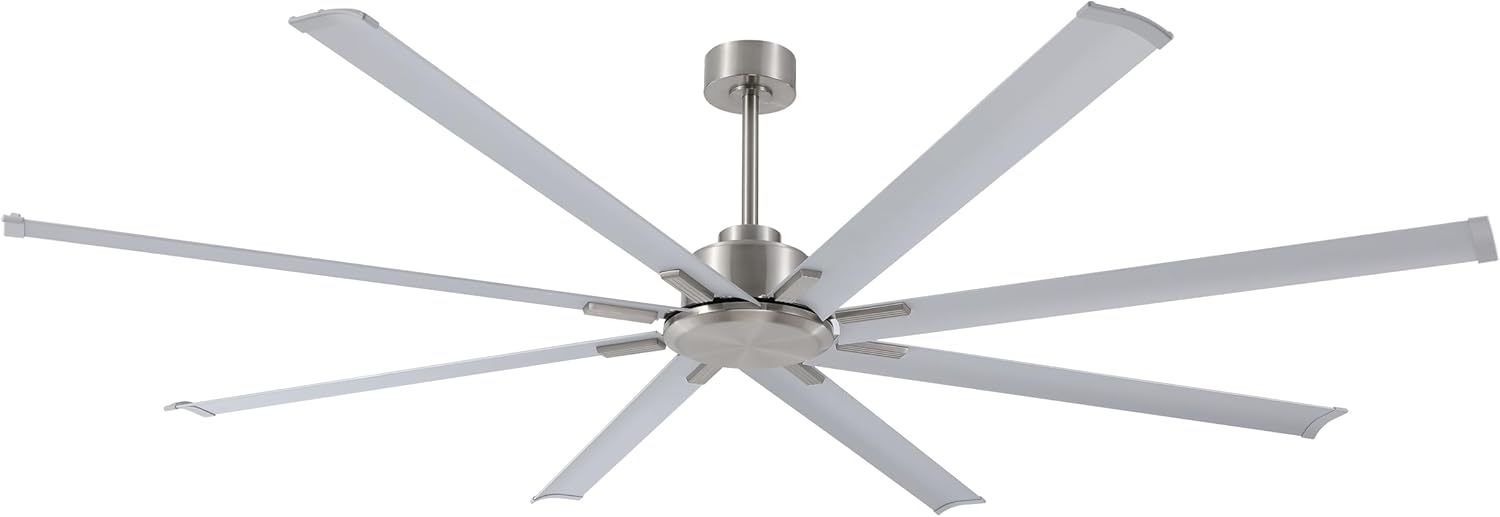
Figure 1.1: The LEDLUX 96-inch silver ceiling fan, designed for large spaces.
2. Safety Information
Please read all safety instructions carefully before beginning installation. Failure to follow these instructions may result in electric shock, fire, or personal injury.
- Always disconnect power at the main circuit breaker before installation or servicing.
- All wiring must be in accordance with national and local electrical codes. If you are unfamiliar with wiring, consult a qualified electrician.
- The mounting structure must be capable of supporting the weight of the fan (approximately 40.7 pounds).
- Ensure there is adequate clearance from the fan blades to any obstacles. A minimum of 7 feet (2.1 meters) from the floor to the blade is recommended.
- Do not operate the fan with damaged blades or any other damaged components.
- Do not insert objects into the path of the fan blades while the fan is operating.
3. Package Contents
Carefully unpack your ceiling fan and verify that all components are present and undamaged. If any parts are missing or damaged, contact LEDLUX customer service immediately.
- Fan Motor Housing Assembly
- Aluminum Fan Blades (9 pieces)
- Downrods (3 pieces: 4.5", 12", 24")
- Mounting Bracket
- Canopy and Canopy Cover
- Remote Control and Wall Mount Holder
- Hardware Pack (screws, washers, wire nuts)
- Instruction Manual
4. Setup and Installation
Professional installation is recommended. Ensure power is disconnected at the circuit breaker before proceeding.
4.1 Mounting the Fan
- Secure the mounting bracket to the ceiling outlet box. The outlet box must be listed for fan support.
- Select the appropriate downrod length (4.5", 12", or 24") for your ceiling height.
- Feed the electrical wires from the fan motor through the chosen downrod.
- Attach the downrod to the fan motor housing and secure it with the provided pin and screw.
- Carefully lift the fan assembly and hang it on the mounting bracket hook.
4.2 Electrical Wiring
Connect the fan's electrical wires to the household wiring according to the wiring diagram provided in the separate wiring guide (if applicable) or standard electrical practices. Typically, this involves connecting live, neutral, and ground wires.
4.3 Attaching Blades and Canopy
- Attach each of the 9 aluminum blades to the fan motor housing using the provided screws. Ensure all screws are tightened securely.
- Slide the canopy up to the ceiling and secure it to the mounting bracket with the canopy screws.

Figure 4.1: Fan dimensions and downrod options for various ceiling types.

Figure 4.2: Detail of the fan's central hub where blades are attached.
5. Operating Instructions
Your LEDLUX ceiling fan is controlled by a remote control, offering convenient operation from anywhere in the room.
5.1 Remote Control Functions
- Power Button: Turns the fan On or Off.
- Speed Control: Adjusts fan speed through 6 levels.
- Timer Function: Sets the fan to turn off automatically after 1, 2, 4, or 8 hours.
- Forward/Reverse Button: Changes the direction of blade rotation.
- Natural Wind Mode: Simulates a natural breeze by varying fan speed.

Figure 5.1: Overview of fan features and remote control icons.

Figure 5.2: The quiet operation of the DC motor and available timer settings.
5.2 Reversible DC Motor Function
The reversible DC motor allows you to change the direction of the fan blades for year-round comfort.
- Summer Mode (Counter-clockwise): Pushes cool air downwards, creating a cooling effect.
- Winter Mode (Clockwise): Draws air upwards, circulating warm air trapped near the ceiling throughout the room.

Figure 5.3: Illustration of summer and winter fan modes for optimal air circulation.
6. Maintenance
Regular maintenance will help prolong the life and performance of your ceiling fan.
- Cleaning: To avoid scratching the finish, clean the fan with a soft, damp cloth. Do not use abrasive cleaners or solvents.
- Blade Inspection: Periodically check the blade attachments for tightness. Loose blades can cause wobbling and noise.
- Motor Lubrication: The DC motor is permanently lubricated and does not require additional oiling.
7. Troubleshooting
If you experience issues with your fan, refer to the following common problems and solutions:
| Problem | Possible Cause | Solution |
|---|---|---|
| Fan does not start | No power to the fan; Loose wire connections; Remote control battery low. | Check circuit breaker; Verify all wire connections are secure; Replace remote control battery. |
| Fan wobbles | Loose blade screws; Unevenly installed blades; Loose mounting bracket. | Tighten all blade screws; Ensure blades are installed evenly; Secure mounting bracket. |
| Noisy operation | Loose screws; Motor housing rubbing; Incorrect installation. | Check and tighten all screws; Ensure no parts are rubbing; Re-check installation steps. |
| Remote control not working | Battery low or dead; Remote not paired; Obstruction between remote and receiver. | Replace battery; Refer to remote pairing instructions; Remove any obstructions. |
If the problem persists after attempting these solutions, please contact LEDLUX customer service.
8. Specifications
| Feature | Detail |
|---|---|
| Brand | LEDLUX |
| Model Number | SYCF9605 |
| Size | 96 inches |
| Color | Silver |
| Motor Type | Reversible DC Motor |
| Number of Blades | 9 |
| Blade Material | Aluminum |
| Control Method | Remote Control |
| Number of Speeds | 6 |
| Timer Settings | 1h, 2h, 4h, 8h |
| Power Source | DC |
| Item Weight | 40.7 pounds |
| Indoor/Outdoor Usage | Indoor |
| Recommended Room Type | Home Office, Living Room, Warehouse, Commercial Spaces |
9. Warranty and Support
LEDLUX products are manufactured to high-quality standards and are backed by a standard manufacturer's warranty. For specific warranty details, please refer to the warranty card included with your product or contact our customer service.
If you have any installation questions, pre-sales inquiries, or after-sales support needs, please contact our professional service team. We are committed to resolving your issues within 24 hours.
For further assistance, please visit the official LEDLUX store on Amazon: LEDLUX Store


