
1. Introduction
Thank you for choosing the Lafocuse Digital Alarm Clock ZH0154B. This 6.7-inch LED digital clock is designed to provide clear time display, alarm functions, temperature, and date information. It features adjustable brightness and flexible power options to suit your needs. Please read this manual carefully to ensure proper setup and operation.
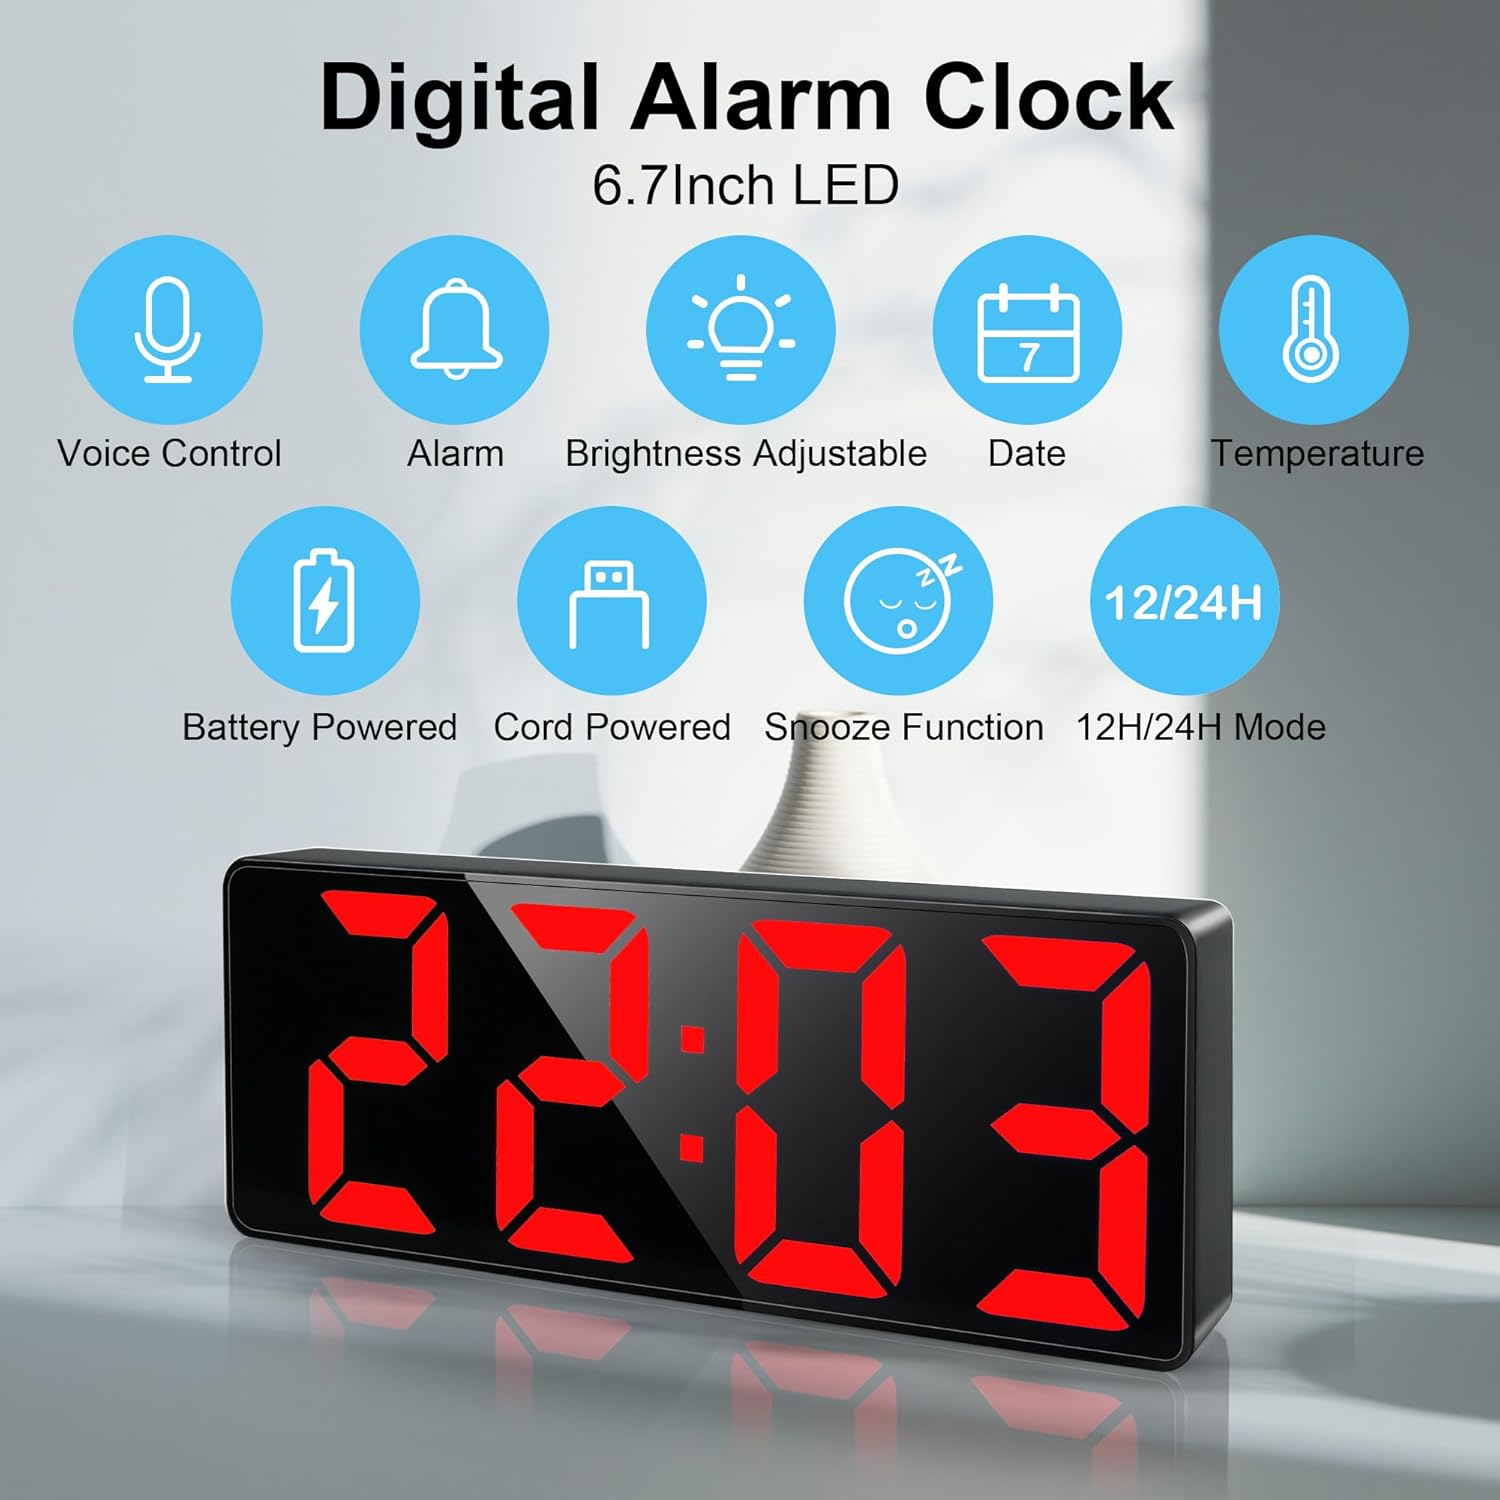
Image 1.1: Lafocuse Digital Alarm Clock ZH0154B showcasing its main features including time, date, temperature, and alarm functions.
2. Product Overview
The Lafocuse Digital Alarm Clock ZH0154B features a sleek design with a large LED display. Understanding the button layout and ports is essential for operation.

Image 2.1: Rear view of the alarm clock with labeled buttons and ports. Dimensions are also shown: 15.8cm (6.3 inches) length, 5.8cm (2.3 inches) height, and 2.5cm (1.0 inch) depth.
Button and Port Identification:
- DOWN: Used to decrease values during settings.
- UP: Used to increase values during settings.
- LIGHT/SNOOZE: Adjusts brightness or activates snooze function.
- MODE: Cycles through display modes (Time, Date, Temperature) and enters setting modes.
- ALARM: Enters alarm setting mode.
- Battery Compartment: Holds three AAA batteries for backup power.
- Power Cord Port: USB port for continuous power supply.
3. Setup
3.1 Powering the Device
The alarm clock offers two power options:
- USB Cable (Recommended): Connect the included USB cable to the Power Cord Port (7) on the back of the clock and plug the other end into a USB power adapter (not included) or a powered USB port. This provides continuous power, keeping the LED display constantly lit.
- AAA Batteries (Backup): Insert three AAA batteries (not included) into the Battery Compartment (6). When powered by batteries, the LED screen will not stay on continuously to conserve power. It will activate with a light touch and automatically turn off after 16 seconds.

Image 3.1: Illustration of the two power modes: USB for constant display and battery for touch-activated display.
3.2 Initial Time and Date Setting
Upon first power-up or after a reset, you may need to set the current time and date.
- Press and hold the MODE button (4) for 3 seconds to enter time setting mode. The year will flash.
- Use the UP (2) or DOWN (1) buttons to adjust the year.
- Press MODE again to confirm the year and move to month setting. The month will flash.
- Use the UP (2) or DOWN (1) buttons to adjust the month.
- Press MODE again to confirm the month and move to date setting. The date will flash.
- Use the UP (2) or DOWN (1) buttons to adjust the date.
- Press MODE again to confirm the date and move to hour setting. The hour will flash.
- Use the UP (2) or DOWN (1) buttons to adjust the hour.
- Press MODE again to confirm the hour and move to minute setting. The minute will flash.
- Use the UP (2) or DOWN (1) buttons to adjust the minute.
- Press MODE one last time to save all settings and exit.
4. Operating Instructions
4.1 Setting Time (12/24 Hour Mode)
To switch between 12-hour and 24-hour display modes:
- While in normal time display mode, press and hold the MODE button (4) until the display changes between 12H and 24H.
- Use the UP (2) or DOWN (1) buttons to select your preferred format.
- Press MODE (4) to confirm.
4.2 Setting Date and Temperature Display
The clock can cycle through time, date, and temperature displays.
- In normal display mode, short press the MODE button (4) to switch between Time, Date, and Temperature displays.

Image 4.1: The clock cycling through Temperature, Time, and Date display modes.
4.3 Setting Alarms and Snooze Function
The clock supports up to three alarm settings and an adjustable snooze duration.
- Press and hold the ALARM button (5) for 3 seconds to enter alarm setting mode. The alarm hour will flash.
- Use the UP (2) or DOWN (1) buttons to set the desired alarm hour.
- Press ALARM (5) again to confirm the hour and move to minute setting. The alarm minute will flash.
- Use the UP (2) or DOWN (1) buttons to set the desired alarm minute.
- Press ALARM (5) again to select the alarm mode. The display will show '1-5', '1-6', or '1-7'.
- 1-5: Alarm sounds Monday to Friday.
- 1-6: Alarm sounds Monday to Saturday.
- 1-7: Alarm sounds Monday to Sunday.
- Use the UP (2) or DOWN (1) buttons to select your preferred alarm mode.
- Press ALARM (5) again to save the alarm setting and exit.
To activate the snooze function:
- When the alarm sounds, press the LIGHT/SNOOZE button (3) to activate snooze. The alarm will pause and sound again after the set snooze duration.
- The default snooze time is 5 minutes. To adjust the snooze duration (1-60 minutes), press and hold the LIGHT/SNOOZE button (3) during alarm setting mode until the snooze time flashes, then use UP (2) or DOWN (1) to adjust.

Image 4.2: Setting the snooze time and selecting one of the three alarm modes.
4.4 Adjusting Brightness
The clock has 3 levels of brightness and an option to turn off the display completely.
- In normal time display mode, short press the LIGHT/SNOOZE button (3) to cycle through brightness levels (Bright, Medium, Low).
- To turn off the display completely (Non-disturb mode), press and hold the LIGHT/SNOOZE button (3). This is useful for preventing light disturbance during sleep. Press any button to reactivate the display.

Image 4.3: Visual representation of the adjustable brightness levels and the screen-off feature.

Image 4.4: The 'Turned-off Screen' feature in use, demonstrating how to avoid light disturbance at night by pressing and holding the SNOOZE/LIGHT button.
5. Maintenance
- Clean the clock with a soft, dry cloth. Do not use abrasive cleaners or solvents.
- Avoid exposing the clock to extreme temperatures, direct sunlight, or high humidity.
- If using batteries, replace them regularly to prevent leakage, especially if the clock will not be used for an extended period.
6. Troubleshooting
| Problem | Possible Cause | Solution |
|---|---|---|
| Display is off or flickering. | No power or low batteries. | Ensure USB cable is securely connected to a working power source. If using batteries, replace them. |
| Alarm does not sound. | Alarm not set or turned off. Incorrect alarm mode selected. | Verify alarm time and mode (1-5, 1-6, 1-7) are correctly set. Ensure alarm is activated. |
| Time/Date is incorrect. | Incorrectly set or power interruption. | Reset time and date following Section 3.2. Ensure continuous power via USB to prevent loss of settings. |
| Display turns off automatically. | Operating on battery power. | This is normal behavior for battery mode. Connect via USB for continuous display. |
7. Specifications
- Brand: Lafocuse
- Model Number: ZH0154B
- Color: Red
- Product Dimensions (L x W x H): 15.8 x 3.81 x 5.8 cm (6.3 x 1.5 x 2.3 inches)
- Material: Plastic
- Special Features: Night anti-disturbance, 6.7" LED screen
- Item Weight: 150 g
- Display Type: Digital
- Style: Modern
- Power Source: Corded Electric (USB) or 3x AAA Battery Powered
8. Warranty and Support
For warranty information and customer support, please refer to the documentation provided with your purchase or contact Lafocuse customer service directly. Keep your proof of purchase for any warranty claims.