
Introduction
This manual provides detailed instructions for the assembly, operation, maintenance, and troubleshooting of your Aoxun 12'x14' Hardtop Gazebo. Please read this manual thoroughly before beginning assembly or use to ensure proper setup and safe operation. This gazebo is designed to provide a comfortable and protected outdoor space for various activities.

This image shows the Aoxun 12'x14' Hardtop Gazebo fully assembled in a backyard patio, complete with outdoor dining furniture, demonstrating its spacious and functional design.
Safety Information
Your safety is paramount. Adhere to the following safety guidelines during assembly and use:
- Always follow assembly instructions carefully and completely.
- Use appropriate tools and safety gear, such as gloves and eye protection, during assembly.
- Secure the gazebo to a stable foundation using the provided anchoring frame to prevent tipping, especially in windy conditions.
- Do not assemble or use the gazebo in high winds (above 38 mph) or heavy rain/snow (above 4 inches of snow loading depth). Disassemble or secure the gazebo if severe weather is anticipated.
- Keep children and pets away from the assembly area to prevent accidents.
- Always turn off and unplug any electrical devices (e.g., fans, lights) before cleaning or storing the gazebo.
- Regularly inspect the gazebo for any signs of wear, damage, or loose connections.
Package Contents
Before beginning assembly, verify that all parts listed in the packing list are present and undamaged. The gazebo is typically packaged in three boxes.

This diagram illustrates the overall dimensions of the 12'x14' gazebo and indicates that the product is packaged in three separate boxes for shipping.
Setup and Assembly
Assembly of this gazebo requires 2-3 people and typically takes 2-3 hours. All parts are clearly labeled, and illustrated instructions are provided in the separate assembly guide. Follow the step-by-step instructions carefully.
- Preparation: Clear the assembly area. Ensure the ground is level and stable. Unpack all components and lay them out, verifying against the parts list.
- Frame Assembly: Begin by assembling the main aluminum frame components. Do not fully tighten screws until all parts are loosely connected to allow for adjustments.
- Roof Panel Installation: Install the polycarbonate roof panels. It is recommended to install one section at a time, securing the bottom rail before moving to the next section, to prevent panels from falling.
- Curtains and Netting: Attach the curtains and netting to the frame. The extra velcro straps provide convenience for securing the curtains.
- Anchoring: Once the gazebo is fully assembled, use the anchoring frame to securely fasten it to the ground. This is crucial for stability and safety.
- Final Tightening: Systematically tighten all screws and fasteners once the entire structure is aligned and stable.

This image highlights key product details, including the extra velcro straps for securing curtains, the robust aluminum frame construction, and the anchoring frame designed for enhanced stability.
Operating Instructions
Your Aoxun Hardtop Gazebo is designed for versatile outdoor use:
- Double Roof Design: The double-tier polycarbonate roof allows for air circulation, reducing heat buildup while providing protection from harmful UV rays. Hooks are integrated for hanging fans, lights, and decorations.
- Curtains and Netting: Utilize the included netting to keep insects out, ensuring a comfortable, mosquito-free environment. The removable curtains offer privacy and protection from adverse weather conditions.
- Weather Resistance: The gazebo is designed to withstand strong wind (up to Grade 7, 31-38 mph), prevent rainwater from gathering due to its water gutter design, and offer good waterproof performance. It also provides UV protection and is snow resistant up to 4 inches of depth.

This diagram explains the functionality of the gazebo's double-tier roof and integrated water gutter system, highlighting features like heat reduction, UV protection, ventilation, and effective rainwater management.

This image demonstrates the gazebo's protective capabilities against various weather conditions, including strong UV rays, heavy rain, and and snow, emphasizing its durability.
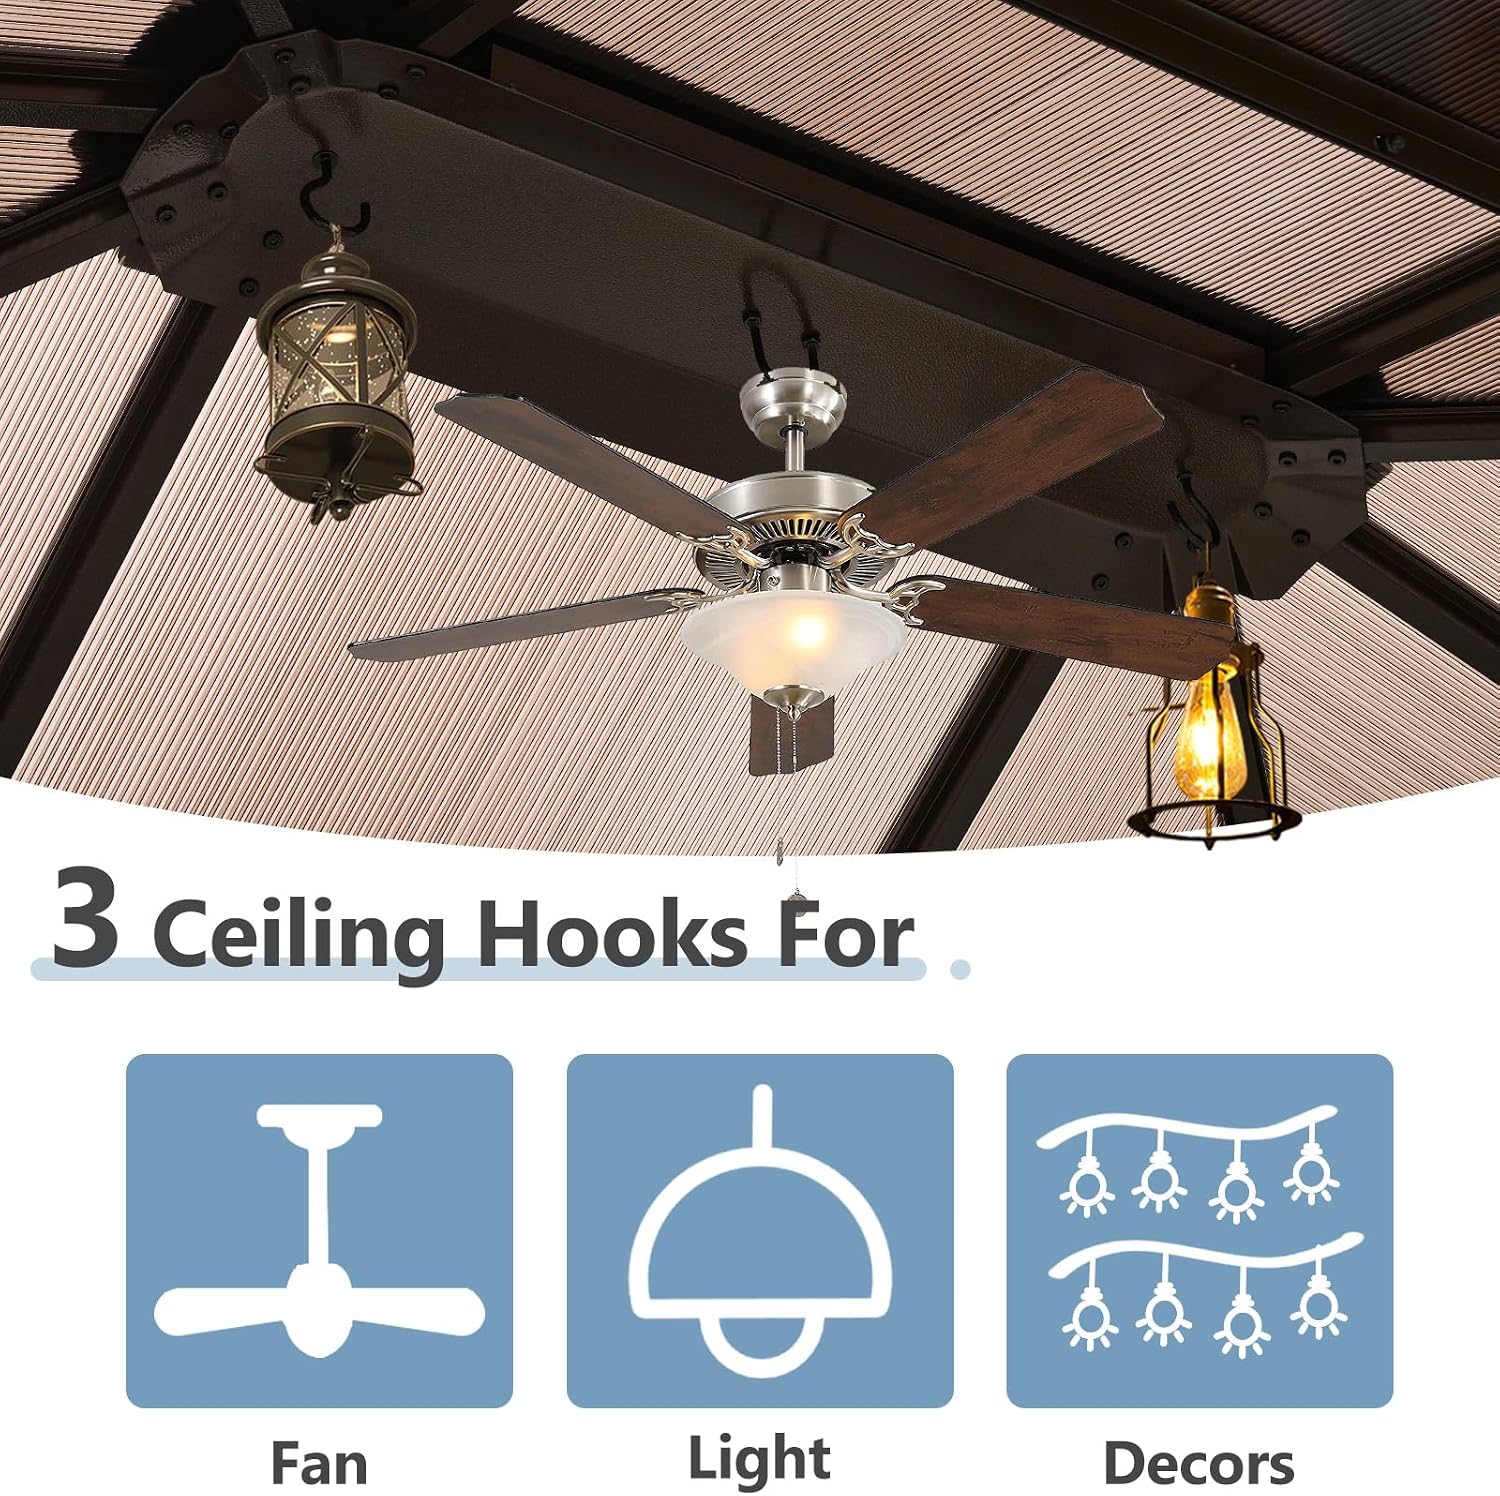
This image highlights the three integrated ceiling hooks within the gazebo, designed for conveniently hanging fans, lighting fixtures, or decorative items.

This graphic illustrates the versatile applications of the gazebo, showcasing its use as a perfectly ventilated open space, an anti-mosquito area with netting, and a private shaded retreat with curtains.
Maintenance
Proper maintenance will extend the life of your gazebo:
- Cleaning: Clean the frame and roof panels with a mild soap and water solution. Rinse thoroughly with clean water. Avoid abrasive cleaners or harsh chemicals.
- Fabric Care: The curtains and netting can be spot cleaned or removed for gentle washing according to fabric care instructions. Ensure they are completely dry before storing to prevent mildew.
- Inspection: Periodically inspect all bolts, screws, and connections to ensure they are tight. Re-tighten as necessary. Check for any signs of rust or damage to the frame.
- Winterization: In areas with heavy snowfall, it is recommended to remove accumulated snow from the roof to prevent structural damage. For prolonged periods of non-use or severe weather, consider disassembling and storing the gazebo indoors.
Troubleshooting
Refer to the table below for common issues and their solutions:
| Problem | Possible Cause | Solution |
|---|---|---|
| Holes do not align during assembly. | Parts are not correctly oriented or fasteners are overtightened prematurely. | Ensure all parts are correctly oriented according to the assembly guide. Do not fully tighten screws until all components are loosely assembled and aligned. |
| Gazebo feels flimsy after assembly. | Fasteners are not securely tightened or components are not fully seated. | Systematically check and securely tighten all bolts and screws. Verify that all structural components are correctly assembled and interlocked. |
| Water accumulates on the roof. | Improper roof panel installation or debris blocking water gutters. | Ensure roof panels are correctly installed and sealed. Clear any debris from the water gutters to allow for proper drainage. |
| Curtains/Netting do not hang properly. | Incorrect attachment or fabric is twisted. | Re-attach curtains/netting, ensuring they are not twisted and are properly secured to the frame. |
Specifications
- Brand: Aoxun
- Model Number: SG401BR09
- Product Dimensions: 168.1"L x 112.2"W x 144.09"H (12'x14')
- Floor Area: 168 Square Feet
- Item Weight: 197.31 Pounds
- Frame Material: Aluminum
- Roof Material: Polycarbonate
- Color: Brown
- Water Resistance Level: Waterproof
- Ultraviolet Light Protection: Yes
- Assembly Required: Yes (2-3 people, 2-3 hours estimated)
- Maximum Wind Resistance: Grade 7 (31-38 mph)
- Maximum Snow Loading Depth: 4 inches
- UPC: 799413406997
Warranty Information
Aoxun products are manufactured to high-quality standards. For specific warranty terms and conditions, please refer to the warranty card included with your product or contact Aoxun customer support. Keep your purchase receipt as proof of purchase for any warranty claims.
Customer Support
If you have any questions, require assistance with assembly, or need to report missing/damaged parts, please contact Aoxun customer support. You can find contact information on the official Aoxun website or through your retailer. For more information about Aoxun products, visit the Aoxun Store.