
CIARRA CABAF1A
CIARRA 5L 1500W Digital 8-in-1 Air Fryer Instruction Manual
Model: CABAF1A
1. Important Safety Instructions
Please read these instructions carefully before using the appliance and keep them for future reference. Failure to follow these instructions may result in electric shock, fire, or serious injury.
- Always place the air fryer on a stable, heat-resistant surface, away from walls and other appliances to allow for proper air circulation.
- Do not immerse the cord, plug, or the appliance housing in water or other liquid to protect against electrical shock.
- Close supervision is necessary when any appliance is used by or near children.
- Unplug from outlet when not in use and before cleaning. Allow to cool before putting on or taking off parts.
- Do not operate any appliance with a damaged cord or plug or after the appliance malfunctions or has been damaged in any manner.
- Do not use accessories not recommended by the appliance manufacturer as this may cause injuries.
- Do not let the cord hang over the edge of a table or counter, or touch hot surfaces.
- Do not place on or near a hot gas or electric burner, or in a heated oven.
- Extreme caution must be used when moving an appliance containing hot oil or other hot liquids.
- Do not use the appliance for other than intended use.
- Ensure the basket is properly inserted before operation.
- Do not block any ventilation openings.
2. Product Overview
The CIARRA CABAF1A Air Fryer is designed for healthy cooking with minimal oil, utilizing 360° cyclonic hot air technology. It features a digital touch screen and 8 pre-set programs for versatile cooking.
2.1 Components
- Main Unit with Digital Control Panel
- Removable Frying Basket
- Removable Crisper Plate
- Power Cord
2.2 Product Diagram

Figure 2.2.1: Front view of the CIARRA 5L Air Fryer with its basket containing food.

Figure 2.2.2: Detailed front view of the air fryer, highlighting its sleek design.
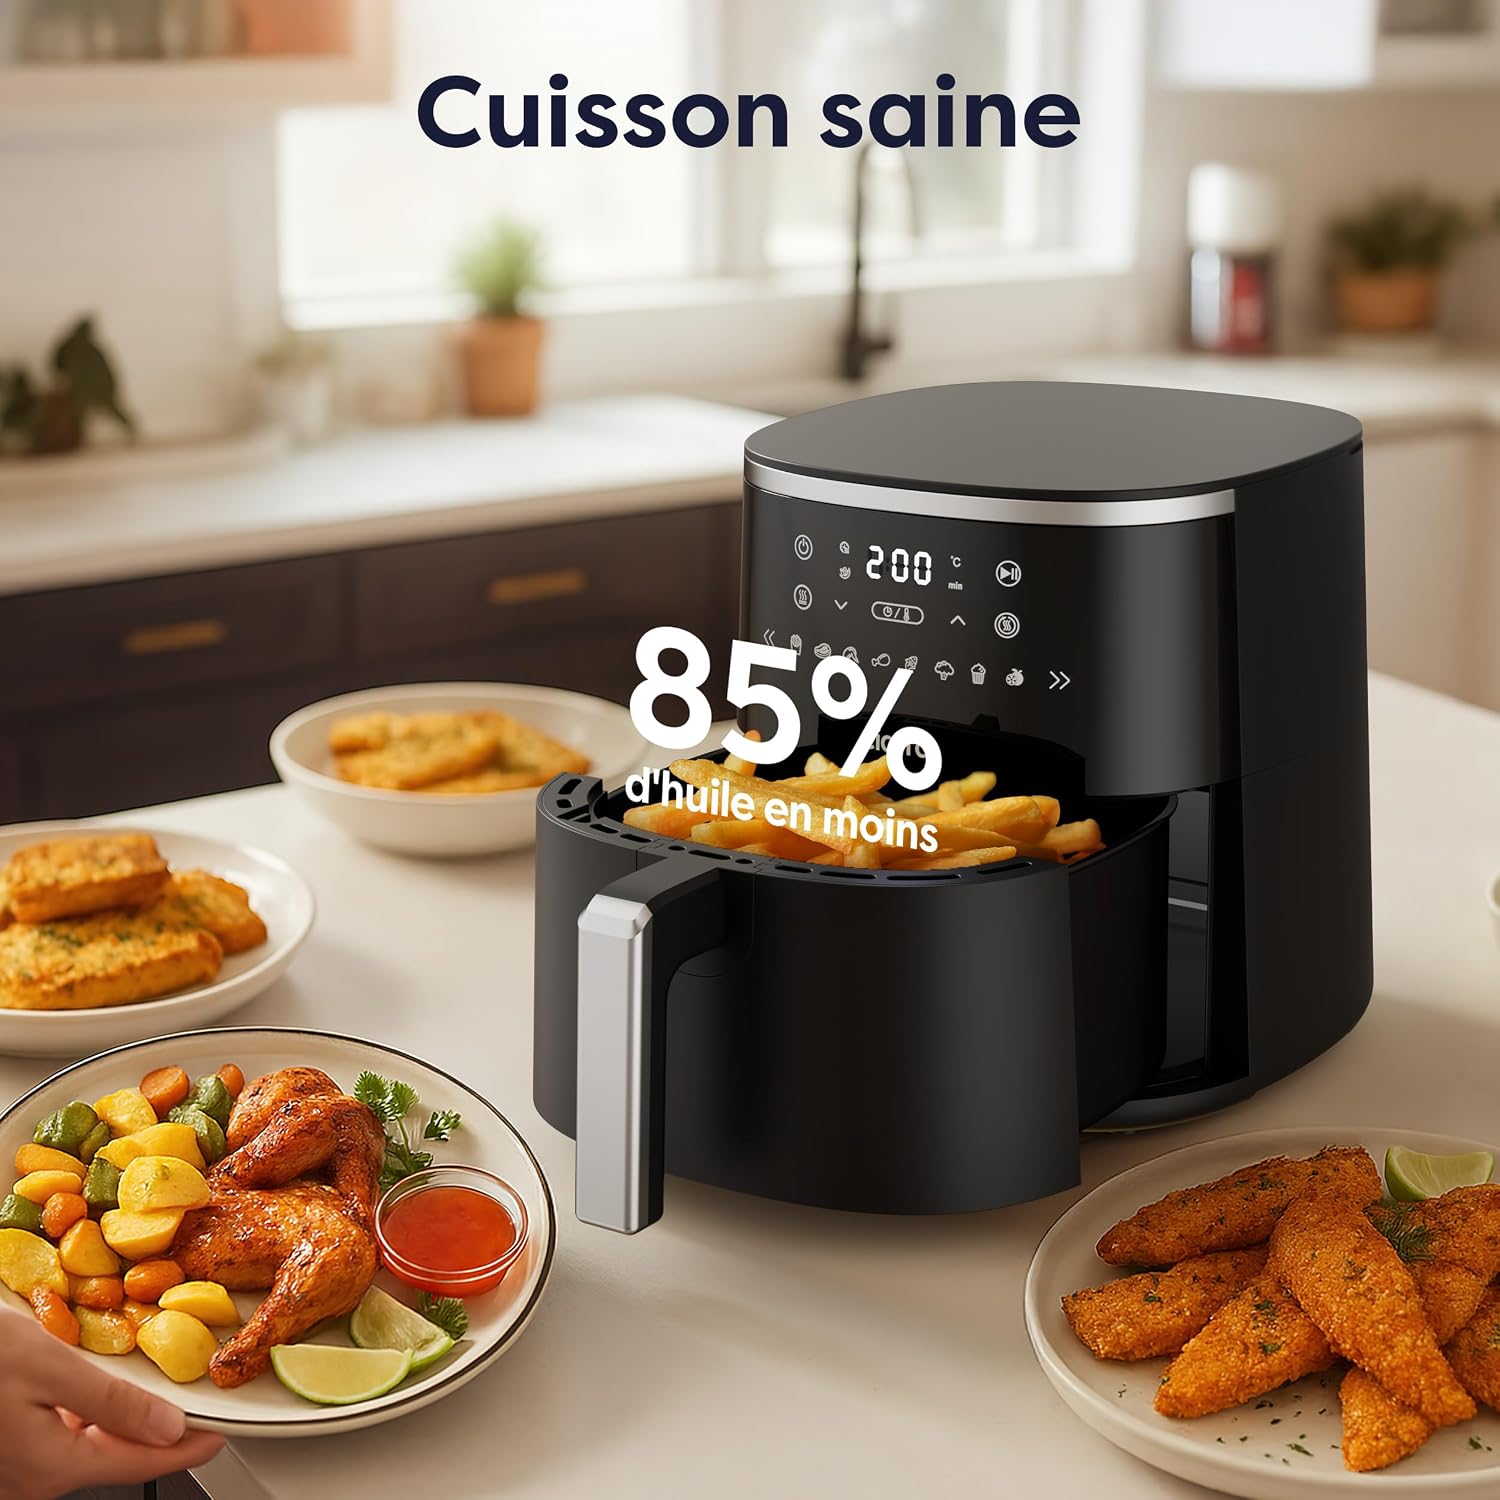
Figure 2.2.3: Side profile of the air fryer, showing its compact form factor.

Figure 2.2.4: Illustration of the internal heating element and 360° hot air circulation during operation.
3. Before First Use
- Remove all packaging materials, stickers, and labels from the appliance.
- Clean the frying basket and crisper plate thoroughly with hot water, dish soap, and a non-abrasive sponge.
- Wipe the inside and outside of the appliance with a damp cloth.
- Ensure all parts are completely dry before use.
- For the first use, it is recommended to run the air fryer empty for about 10 minutes at 180°C (356°F) to eliminate any manufacturing odors. A slight smell may be present, which is normal and will dissipate.
4. Operating Instructions
4.1 General Operation
- Place the appliance on a stable, level, heat-resistant surface.
- Insert the crisper plate into the frying basket.
- Place ingredients into the frying basket. Do not overfill.
- Slide the frying basket back into the air fryer.
- Plug the power cord into a grounded wall outlet.
- The digital display will illuminate.
4.2 Using Pre-set Programs
The air fryer comes with 8 pre-set programs for common dishes. These programs automatically set the optimal temperature and time.

Figure 4.2.1: Digital control panel with various pre-set cooking icons, including fries, steak, chicken wings, drumsticks, fish, vegetables, dessert, and dried fruits.
- Press the Power button to turn on the appliance.
- Use the program selection arrows (< / >) to cycle through the 8 pre-set icons (Fries, Steak, Wings, Drumsticks, Fish, Vegetables, Dessert, Dried Fruits).
- Once the desired program is selected, press the Start/Pause button to begin cooking.
- You can adjust the time and temperature manually even after selecting a pre-set program.
4.3 Manual Temperature and Time Setting

Figure 4.3.1: The responsive touch screen interface for setting temperature and time.
- Press the Power button to turn on the appliance.
- Press the Temperature button (°C) to adjust the temperature using the + / - buttons. Temperature range: 80°C to 200°C (176°F to 392°F).
- Press the Time button (min) to adjust the cooking time using the + / - buttons. Time range: 1 to 60 minutes (up to 9 hours for dehydration mode).
- Press the Start/Pause button to begin cooking.
4.4 Shake Reminder Function
For certain foods, the air fryer will emit a beep and display a "SHAKE" icon to remind you to shake or flip the ingredients for even cooking.

Figure 4.4.1: Demonstrating the shaking action for uniform cooking results.
- When the reminder appears, carefully pull out the frying basket. The appliance will automatically pause.
- Shake the basket gently or use non-abrasive tongs to flip the food.
- Slide the basket back into the air fryer. Cooking will resume automatically.
5. Cooking Tips
- For best results, preheat the air fryer for 3-5 minutes before adding ingredients.
- Lightly coat foods with a small amount of oil for a crispier texture.
- Do not overcrowd the basket. Cook in smaller batches if necessary to ensure even cooking and crispiness.
- Shake smaller ingredients halfway through the cooking process.
- Use an instant-read thermometer to ensure food is cooked to a safe internal temperature.
- The 5L capacity is ideal for 2-5 persons, capable of cooking 600g of fries, 10-12 chicken wings, a 6-inch pizza, or a whole small chicken.

Figure 5.1.1: Visual representation of the 5L capacity, showing various food items that can be cooked.
6. Cleaning and Maintenance
Regular cleaning will ensure optimal performance and extend the lifespan of your air fryer.

Figure 6.1.1: The air fryer basket and crisper plate are easy to clean, suitable for both dishwasher and hand washing.
6.1 Cleaning the Basket and Crisper Plate
- After each use, unplug the air fryer and allow it to cool completely.
- Remove the frying basket and crisper plate.
- Wash them with hot water, dish soap, and a non-abrasive sponge. The basket and crisper plate are dishwasher safe.
- For stubborn food residue, soak the basket and plate in warm, soapy water for about 10 minutes before cleaning.
6.2 Cleaning the Main Unit
- Wipe the exterior of the air fryer with a damp cloth. Do not use abrasive cleaners or scouring pads.
- Clean the interior of the appliance, including the heating element, with a soft brush or damp cloth.
- Ensure no water enters the appliance when cleaning the interior.
6.3 Storage
- Ensure the air fryer is completely cool and clean before storing.
- Store the appliance in a dry, cool place.
7. Troubleshooting
Refer to this section for common issues and their solutions.
| Problem | Possible Cause | Solution |
|---|---|---|
| Air fryer does not turn on. | Appliance not plugged in; Power outlet malfunction; Basket not properly inserted. | Ensure the power cord is securely plugged into a working outlet. Push the basket firmly into the main unit until it clicks into place. |
| Food is not cooked evenly. | Basket is overcrowded; Food not shaken/flipped. | Cook in smaller batches. Shake or flip ingredients halfway through cooking. |
| Food is not crispy. | Not enough oil; Temperature too low; Cooking time too short. | Lightly brush food with oil. Increase temperature or cooking time. |
| White smoke coming from the appliance. | Greasy residue from previous use; High-fat food being cooked. | Clean the basket and crisper plate thoroughly. Remove excess oil from food before air frying. |
| Appliance emits a burning smell. | Food residue on heating element; Overcooked food. | Unplug and allow to cool. Clean the heating element. Adjust cooking time/temperature. |
8. Specifications
- Model Number: CABAF1A
- Capacity: 5 Liters
- Power: 1500 Watts
- Voltage: 220 KW (Note: This seems to be a typo in the source data, typically voltage is in Volts, and power in Watts. Assuming 220V based on common European standards and 1500W power.)
- Material: Stainless Steel
- Color: Black
- Dimensions (L x W x H): 17.5 x 31.5 x 17.5 cm (6.9 x 12.4 x 6.9 inches)
- Weight: 3.4 Kilograms (7.5 lbs)
- Special Feature: Temperature Control
9. Warranty and Support
For detailed warranty information and customer support, please refer to the warranty card included with your purchase or visit the official CIARRA website. Keep your proof of purchase for any warranty claims.
For further assistance, you may contact CIARRA customer service through their official channels.
Related documentsCABAF1A


Ask a question about this manual
Ask about setup, troubleshooting, compatibility, parts, safety, or missing instructions. Manuals+ will review the question and use this page’s manual context to help answer it.