
1. Introduction
This instruction manual provides comprehensive guidance for the installation, operation, and maintenance of your BTJCRLEB Robot Vacuum Water Change Kit. This kit is designed to enhance the functionality of compatible robot vacuum models by providing an automatic water refill and drain system, reducing manual intervention and improving cleaning efficiency.
2. Package Contents
Before beginning installation, please ensure all components listed below are present in your package:
- Host Unit (Water Change Module)
- Water Splitter (1/2 inch to 1/4 inch)
- 2-point Pressure Reducing Valve
- 2-point Overflow Protection Switch
- Link Base Station Pipeline Kit
- 6-meter Pipe (diameter 6.5mm, shared for water intake and drainage)
- Water Pipe Single Pipe Fixing Clamps (2 units)
- Quick Connect of Water Pipe Bend (for turning)
- Check Valve (1/2 inch to 1/4 inch)
- Absorbent Cotton
- Waterproof Silicone Rubber Ring
- Tee Plug Cap
- Power Line
- Tube Cutter

3. Setup and Installation
Proper installation is crucial for the optimal performance of your water change kit. Follow these steps carefully:
3.1. Preparing the Robot Vacuum Base
The water change module integrates directly into the robot vacuum's base station. Ensure the base station is powered off and disconnected from any power source before proceeding.
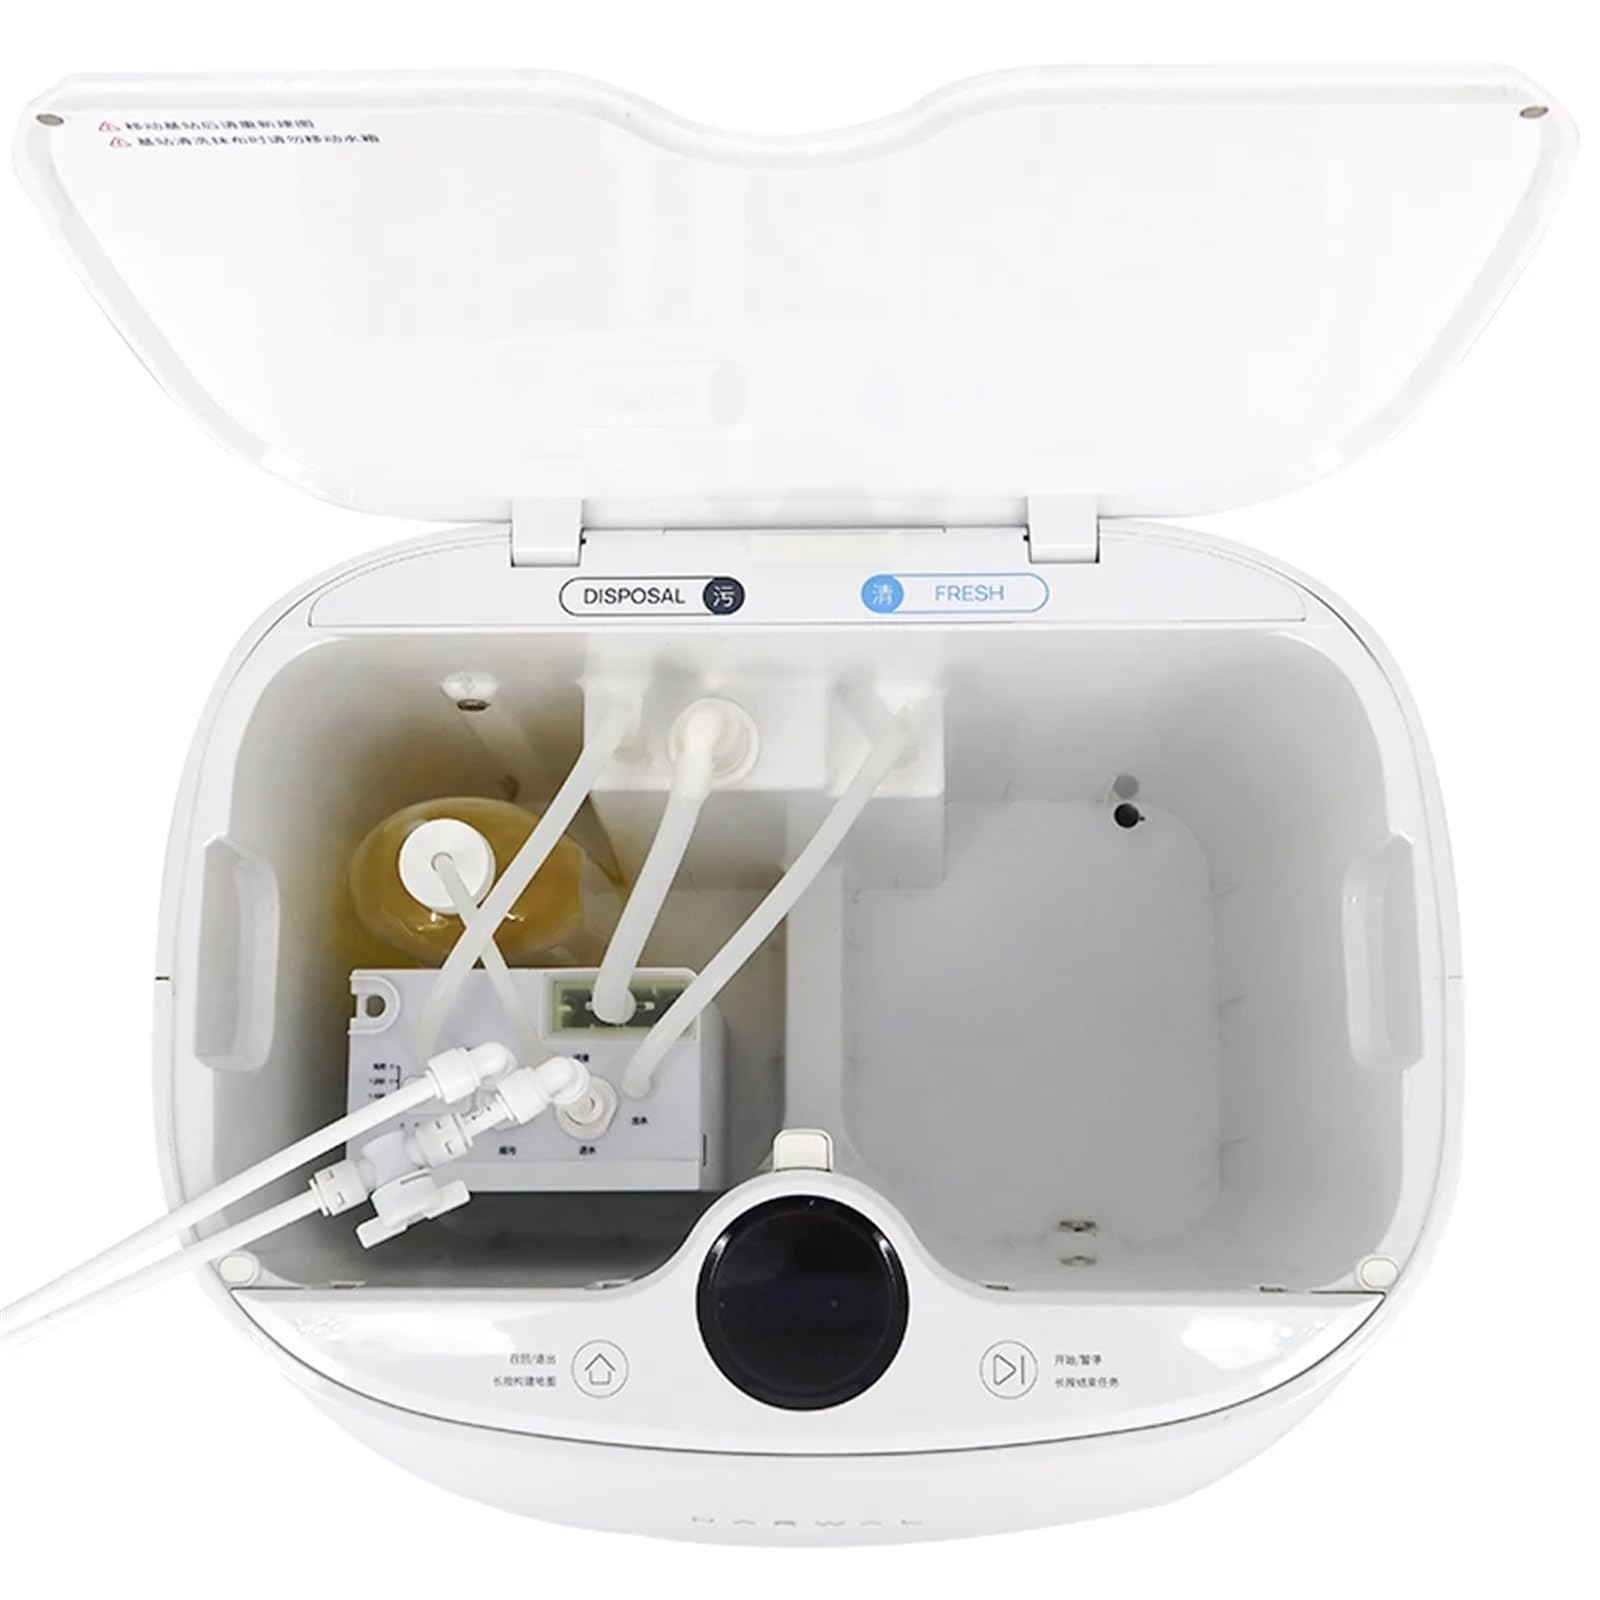

3.2. Connecting to Water Supply and Drainage
The kit requires connection to both a clean water supply and a drainage point. The 6-meter pipe is used for both functions.
- Water Supply Connection: Identify a suitable water tap (e.g., washing machine tap, toilet tap, or under-sink tap). Use the provided water splitter and check valve to connect the kit's water intake line to your chosen water source.
- Drainage Connection: The drainage line should be routed to a suitable drain, such as a sink drain or floor drain. The kit includes an overflow protection switch for safety.
- Routing Pipes: Carefully route the water supply and drainage pipes from the water change module to their respective connection points. Ensure pipes are not kinked or pinched. Use the provided pipe fixing clamps to secure the pipes and the tube cutter for precise length adjustments.

3.3. Module Integration
Insert the water change module into the designated compartment of your robot vacuum's base station. Ensure it is seated firmly and all internal connections are secure. The module replaces the need for manual water tank refills and emptying.

4. Operating the Water Change Kit
Once installed, the water change kit operates automatically in conjunction with your robot vacuum's cleaning cycles.
4.1. Automatic Water Supply and Drainage
The kit provides a stabilized water supply to the robot vacuum for continuous cleaning and automatically drains dirty water, eliminating the need for manual water tank management.

4.2. Self-Test Function
To verify proper installation and functionality, utilize the self-test feature available through your robot vacuum's companion application. Navigate to the 'Device Maintenance' section within the app and select 'Automatic Water Supply and Drainage Self Test'. Follow the on-screen prompts to initiate the test. During the test, ensure the robot vacuum remains docked to its base station.
5. Maintenance
The BTJCRLEB Water Change Kit is designed for simplified maintenance, contributing to the longevity and efficiency of your robot vacuum system.
- Reduced Clogging: The system is engineered to reduce clogging, ensuring a smoother operation.
- Leak Prevention: The kit features tight seals to minimize the risk of leaks, protecting your home environment.
- Extended System Life: By automating water management and reducing wear and tear on internal components, the kit helps extend the overall life of your robot vacuum.
Regularly inspect visible pipes and connections for any signs of wear or damage. Ensure the filter within the host unit (Figure 5) is clean and free of debris to maintain optimal performance.
6. Troubleshooting
This section addresses common issues you might encounter with your water change kit.
6.1. Common User Challenges Addressed by the Kit
The automatic water change kit is designed to resolve common inconveniences associated with manual robot vacuum maintenance:
- Forgot to add water: The automatic refill function ensures a continuous supply of clean water.
- Forget to drain sewage: The automatic drainage system handles dirty water disposal.
- Dirty drain tank: The system eliminates the need for a separate, frequently cleaned dirty water tank.
- Frequent water changes: Automation significantly reduces the frequency of manual water handling.

6.2. Water Flow Issues
If the robot vacuum is not receiving or draining water correctly:
- Check Connections: Verify that all water lines are securely connected to the water source, drainage, and the water change module. Ensure no lines are kinked or blocked.
- Water Supply Valve: Confirm that the water supply valve to which the kit is connected is fully open.
- Run Self-Test: Use the 'Automatic Water Supply and Drainage Self Test' in the companion app to diagnose potential issues.
7. Specifications
| Feature | Specification |
|---|---|
| Package Dimensions | 1.18 x 0.79 x 0.39 inches |
| Item Weight | 1.76 ounces |
| Number of Pieces | 1 (referring to the main module, kit includes multiple components) |
| Assembly Required | No (referring to the module itself, but installation of the kit requires assembly) |
| Manufacturer | ronglan |
8. Warranty and Support
For warranty information, technical support, or if you require special sizes for water distributors or adapters, please contact the manufacturer, BTJCRLEB, or your retailer. Refer to your purchase documentation for specific warranty terms and contact details.