
Introduction
The LUXPRO LP189 Mini Lantern is a compact, USB-C rechargeable LED light designed for versatility and portability. It features four distinct lighting modes and a dimmable function, making it suitable for various outdoor activities, camping, hiking, and emergency situations. This manual provides essential information for the safe and effective operation and maintenance of your LP189 Mini Lantern.
Key Features
- Versatile Design: Adjustable brightness through four light modes.
- USB-C Rechargeable: Convenient and modern charging capability.
- Dimmable LED: Personalize brightness levels for different settings.
- Compact Size: Easy to carry and store, ideal for outdoor activities and emergencies.
- Light Output: Up to 300 lumens maximum brightness.
- Run Time: 3 hours 30 minutes to 9 hours 30 minutes depending on brightness.
- Beam Distance: 1 to 12 meters.
- Material: Durable plastic construction.
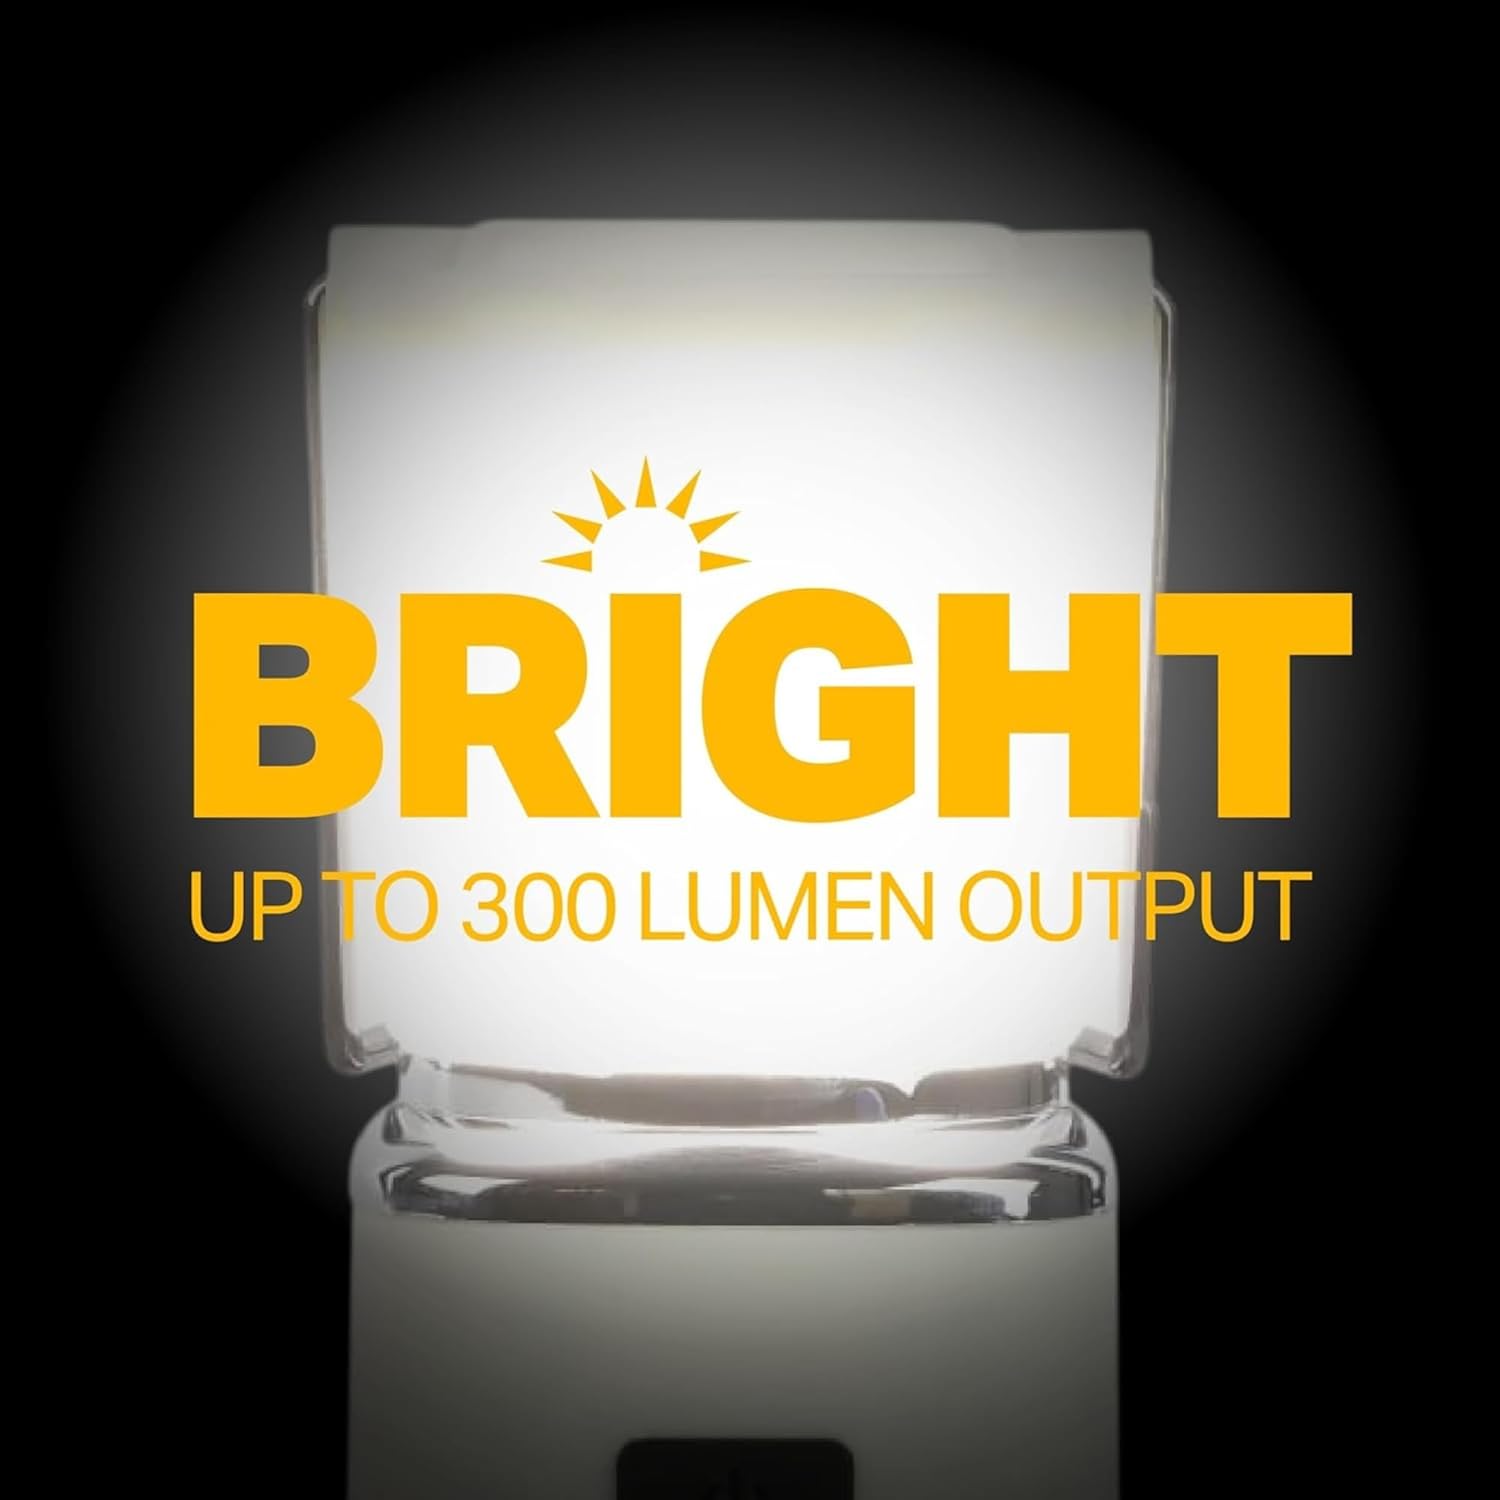
Image: The lantern highlighting its bright output of up to 300 lumens.

Image: The compact design of the LP189 Mini Lantern, emphasizing its portability.

Image: The lantern illustrating its four distinct lighting modes.

Image: The lantern demonstrating its dimmable feature for adjustable brightness.
Setup
Charging the Lantern
Before first use, fully charge your LUXPRO LP189 Mini Lantern. Use the provided USB-A to USB-C charging cable.
- Locate the USB-C charging port on the side of the lantern.
- Connect the USB-C end of the cable to the lantern and the USB-A end to a compatible USB power source (e.g., wall adapter, computer, power bank).
- The battery indicator lights (four blue LEDs) will illuminate to show the charging progress.
- Charging is complete when all four indicator lights are solid. A full charge typically takes approximately 3 hours.
Attaching the Carabiner
The lantern comes with a small S-carabiner for convenient hanging or attachment to gear.
- Attach the S-carabiner to the metal handle of the lantern.
- Ensure the carabiner is securely fastened before hanging the lantern.
Operating Instructions
Power On/Off and Mode Selection
The LP189 Mini Lantern features a single power button for all functions.
- To Turn On: Press the power button once. The lantern will illuminate in its last used mode (or default white mode).
- To Change Modes: While the lantern is on, press the power button repeatedly to cycle through the four lighting modes:
- Cool White
- Warm White
- Natural White (Cool + Warm mix)
- Red Light
- To Turn Off: If the lantern has been in a mode for more than 10 seconds, a single press of the power button will turn it off. If cycling through modes, continue pressing until the desired mode is reached, then wait 10 seconds before pressing again to turn off.
Dimming Function
Adjust the brightness of the white light modes (Cool, Warm, Natural) using the dimming function.
- While in any white light mode, press and hold the power button.
- The brightness will gradually decrease or increase. Release the button when the desired brightness level is reached.
- The light will blink once to indicate when it reaches its minimum or maximum brightness.
- Note: The Red Light mode is not dimmable.
Maintenance
- Cleaning: Wipe the lantern with a soft, damp cloth. Do not use abrasive cleaners or solvents.
- Storage: Store the lantern in a cool, dry place when not in use. For long-term storage, ensure the battery is partially charged (around 50%) to prolong battery life.
- Battery Care: Recharge the lantern regularly, even if not frequently used, to maintain battery health. Avoid fully discharging the battery for extended periods.
- Water Resistance: This product is not water resistant. Avoid exposure to rain or submersion in water.
Troubleshooting
| Problem | Possible Cause | Solution |
|---|---|---|
| Lantern does not turn on. | Battery is depleted. | Charge the lantern using the USB-C cable. |
| Lantern does not charge. | Charging cable or power source is faulty. | Try a different USB-C cable or power adapter. Ensure connections are secure. |
| Light output is dim. | Battery is low or dimming function is active. | Recharge the battery. Press and hold the power button to increase brightness. |
| Cannot switch modes. | Button not pressed correctly. | Ensure a quick, firm press of the power button to cycle modes. |
Specifications
| Specification | Value |
|---|---|
| Model Number | LP189BE |
| Brightness | 300 lumens (Max) |
| Battery Type | Lithium-Ion |
| Product Dimensions | 2"L x 2"W x 4.25"H |
| Item Weight | 4.3 ounces (0.27 Pounds) |
| Power Source | Rechargeable Battery (USB-C) |
| Material | Plastic |
| Water Resistance Level | Not Water Resistant |

Image: Infographic detailing the lantern's performance specifications including brightness, run time, and beam distance.
Warranty and Support
Warranty Information
The LUXPRO LP189 Mini Lantern is covered by a 1-year limited warranty from the date of purchase. This warranty covers manufacturing defects in materials and workmanship. It does not cover damage caused by misuse, accident, unauthorized modification, or normal wear and tear.
Customer Support
For technical assistance, warranty claims, or product inquiries, please contact LUXPRO customer support:
- Website: www.luxpro.com (placeholder)
- Email: support@luxpro.com (placeholder)
- Phone: 1-800-XXX-XXXX (placeholder)