
1. Introduction
This manual provides detailed instructions for the assembly, operation, and maintenance of your ANTSKU 6x8 FT Greenhouse. Designed with a heavy-duty aluminum frame and reinforced polycarbonate panels, this greenhouse offers an optimal environment for plant cultivation. Please read this manual thoroughly before beginning assembly or operation to ensure safe and correct usage.

Image: Exterior view of the ANTSKU 6x8 FT Greenhouse, showcasing its design and size.
2. Safety Information
Always prioritize safety during assembly and use. Failure to follow these instructions may result in injury or damage to the product.
- Read All Instructions: Ensure you understand all assembly steps and safety warnings before starting.
- Wear Protective Gear: Use gloves to protect hands from sharp edges of aluminum profiles and polycarbonate panels. Safety glasses are recommended.
- Two-Person Assembly: Assembly often requires two or more people for safe handling of large or heavy components.
- Choose a Level Site: Select a flat, level surface for installation to ensure stability and proper function of the greenhouse.
- Secure Anchoring: Properly anchor the greenhouse to the ground using the provided methods to prevent wind damage.
- Ventilation: Ensure adequate ventilation, especially during hot weather, to prevent overheating inside the greenhouse.
- Electrical Safety: If using electrical equipment inside, ensure it is rated for outdoor use and properly installed to avoid hazards.
- Children and Pets: Keep children and pets away from the assembly area. Do not allow them to play unsupervised inside the greenhouse.
3. Package Contents
Verify that all components are present before beginning assembly. The ANTSKU 6x8 FT Greenhouse is typically delivered in multiple boxes. If any parts are missing or damaged, contact customer support.
- Aluminum Frame Profiles
- Polycarbonate Panels (4mm thick, UV-coated)
- Door Assembly (Lockable)
- Adjustable Roof Vent Assemblies (x2)
- Hardware Kit (bolts, nuts, washers, clips, sealant)
- Rain Gutter System Components
- Ground Anchoring Hardware

Image: Illustration of various components included in the greenhouse kit.
4. Setup and Assembly
Follow these steps carefully for proper assembly. It is recommended to have at least two people for this process.
4.1 Site Preparation
- Clear the chosen area of debris and ensure it is level.
- Consider sun exposure, drainage, and proximity to water/power sources.
4.2 Frame Assembly
- Unpack all aluminum profiles and identify them according to the parts list.
- Assemble the base frame first, ensuring all corners are square and secure.
- Attach vertical supports and roof trusses. The tight triangular structure enhances stability.
- Install the four corner slant support bars for added panel stability.
- Utilize the added triangular connection boards to reinforce greenhouse connections.
4.3 Panel Installation
- Carefully slide the polycarbonate panels into the frame channels. Ensure the UV-protected side faces outwards.
- Secure panels with the provided clips or fasteners.
- Apply sealant to panel edges as instructed to ensure weatherproofing and prevent leaks.
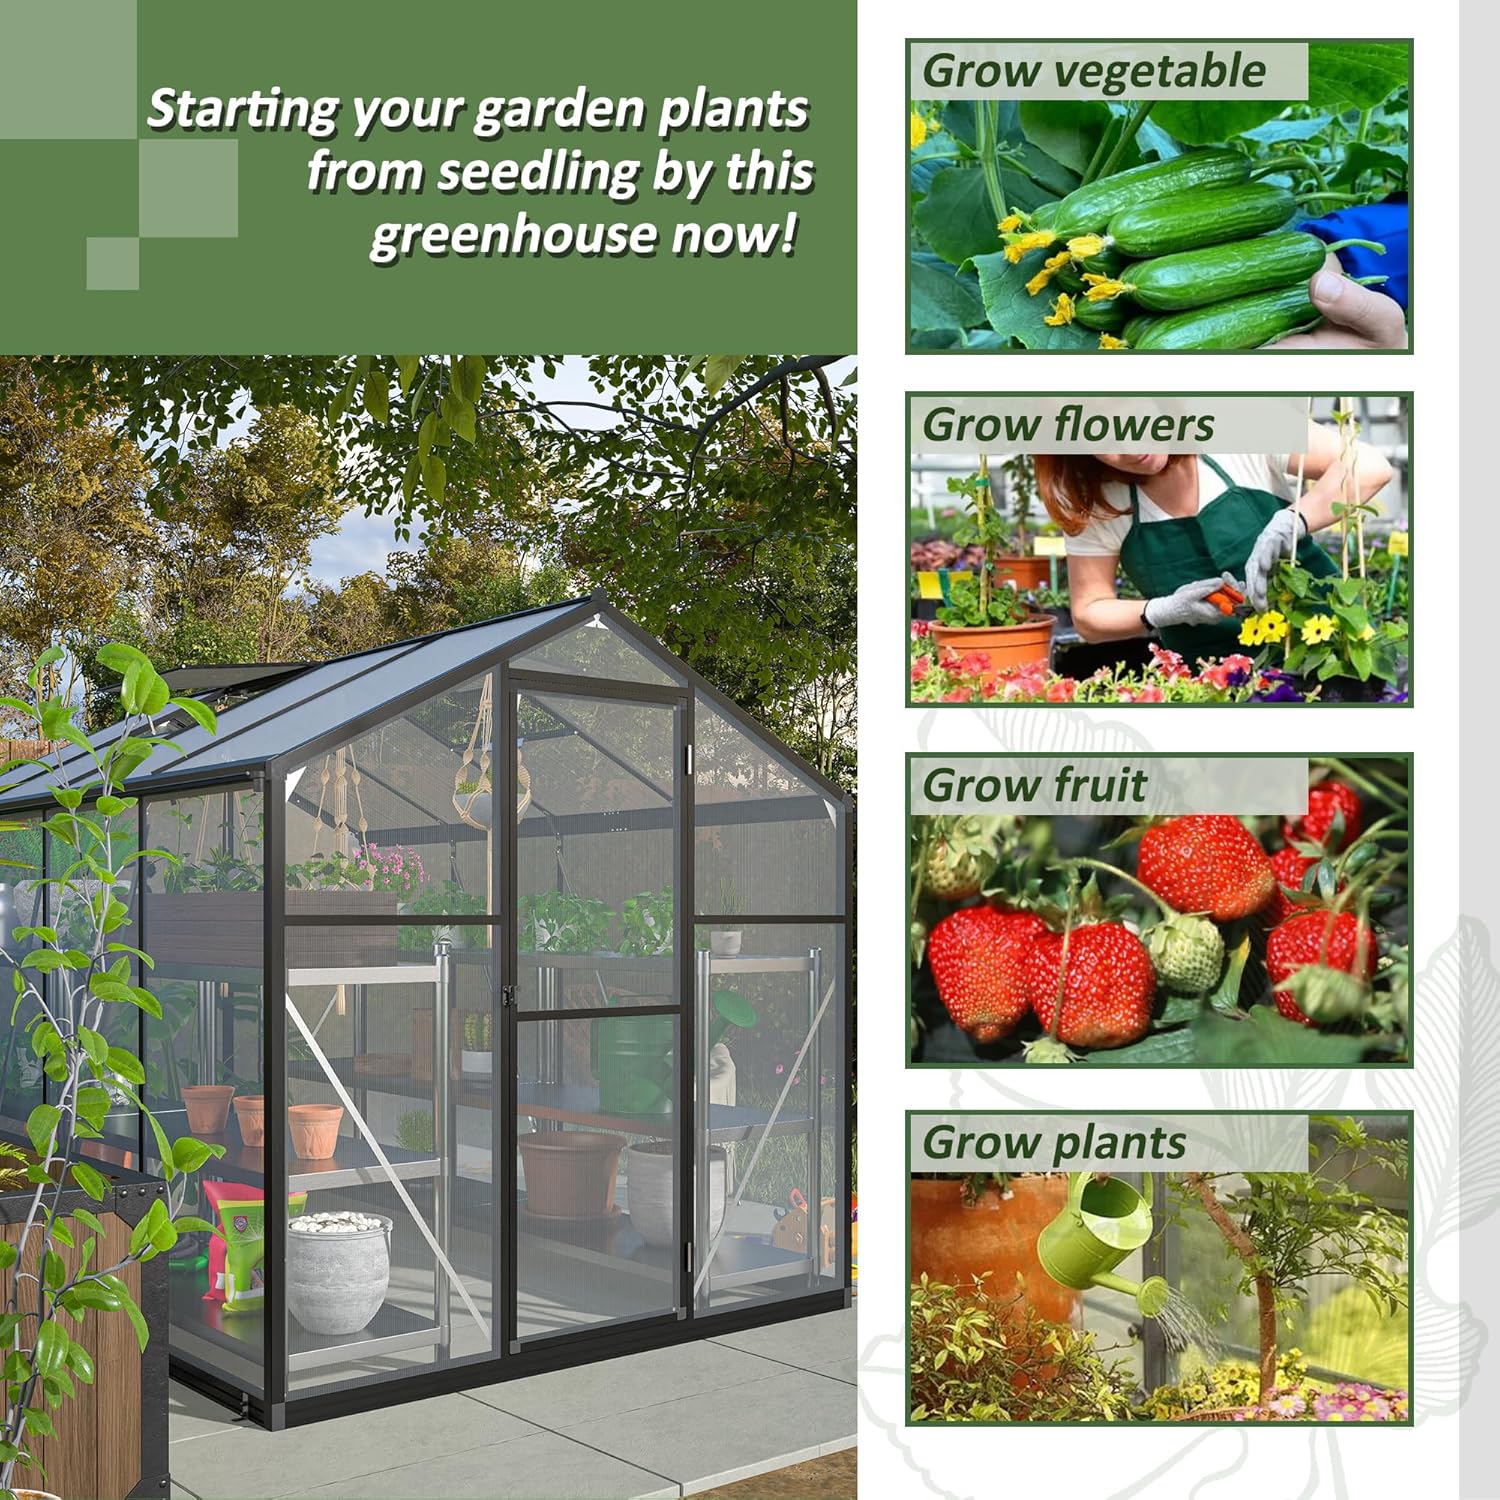
Image: Detailed view of support bars, connection boards, and sealant application for panel sealing.
4.4 Door and Vent Installation
- Assemble and install the lockable door according to the instructions. Ensure it opens and closes smoothly.
- Install the two adjustable roof vents. These are crucial for temperature and air circulation control.
4.5 Anchoring the Greenhouse
The greenhouse must be securely anchored to the ground to withstand wind and weather. Three methods are provided:
- Fixing to Wooden Stake: Use connectors to fix the greenhouse to wooden stakes driven into the ground.
- Burying Corner Stakes with Concrete: Bury the corner stakes of the base into the soil and fix them with concrete for maximum stability.
- Fixing to Concrete or Wood Floors: Use appropriate connectors to secure the greenhouse directly to an existing concrete slab or wooden deck.

Image: Visual guide illustrating three different methods for securely mounting the greenhouse base.
5. Operating Instructions
Proper operation ensures a healthy environment for your plants.
5.1 Ventilation and Temperature Control
- Utilize the two adjustable roof vents to regulate internal temperature and humidity. The vents can be set to 4 different angles.
- Open vents during warm periods to prevent overheating and ensure air circulation. Close them during cold weather or at night to retain heat.
- The lockable door can also be opened for additional ventilation when needed.

Image: Close-up of the adjustable roof vent mechanism and the integrated rain gutter system.
5.2 UV Protection
The polycarbonate panels are equipped with a UV coating to protect your plants from harmful solar radiation while allowing beneficial light transmission (up to 70%).
5.3 Rainwater Collection
The integrated rain gutter system on both sides effectively drains rain and snow. It includes 4 drainage ports that support the extension of 1-inch water pipes, allowing you to collect rainwater for watering plants inside the greenhouse.
6. Maintenance
Regular maintenance will extend the life and efficiency of your greenhouse.
- Cleaning Panels: Clean polycarbonate panels periodically with mild soap and water. Avoid abrasive cleaners or brushes that could scratch the surface.
- Frame Inspection: Annually inspect the aluminum frame for any loose bolts or connections. Tighten as necessary.
- Gutter Cleaning: Regularly clear the rain gutters of leaves and debris to ensure proper water drainage.
- Sealant Check: Inspect sealant around panels for cracks or deterioration and reapply if needed to maintain weatherproofing.
- Anchoring Check: Verify that the greenhouse remains securely anchored, especially after strong winds or storms.
7. Troubleshooting
Refer to this section for common issues and their solutions.
| Problem | Possible Cause | Solution |
|---|---|---|
| Greenhouse feels unstable | Improper anchoring; loose frame connections. | Ensure anchoring is done correctly as per Section 4.5. Tighten all frame bolts. |
| Water leakage | Damaged or improperly sealed panels; clogged gutters. | Check panel seals and reapply sealant if necessary. Clear rain gutters of debris. |
| Excessive heat inside | Insufficient ventilation. | Open roof vents to maximum angle. Open the door for additional airflow. |
| Panels rattling in wind | Panels not fully seated or clips loose. | Ensure all panels are fully inserted into channels and all clips/fasteners are secure. |
8. Specifications
Key specifications for the ANTSKU 6x8 FT Greenhouse (Model W2505).

Image: Diagram illustrating the precise dimensions of the ANTSKU 6x8 FT Greenhouse.
| Feature | Detail |
|---|---|
| Model Number | W2505 |
| Dimensions (L x W x H) | 100.12" x 74.65" x 80.43" (6x8 FT) |
| Frame Material | Heavy-Duty Aluminum |
| Cover Material | 4mm Polycarbonate (PC) with UV Coating |
| Color | Black |
| Number of Doors | 1 (Lockable) |
| Number of Vents | 2 (Adjustable Roof Vents) |
| Light Transmission | Up to 70% |
| Rain Gutter System | Integrated with 4 drainage ports |
| GTIN (UPC) | 709544663862 |
9. Warranty and Support
For any questions, missing parts, or support needs regarding your ANTSKU 6x8 FT Greenhouse, please contact customer service. The product typically includes a 30-day easy return policy. Please refer to your purchase documentation for specific warranty details.
Customer Support: Refer to the contact information provided with your purchase or on the retailer's website.