
1. Introduction
Thank you for choosing the Wiltec HS-A9K Compressor Set. This comprehensive airbrush system is designed for precision work, offering automatic start/stop functionality and a portable design. This manual provides essential information for the safe and efficient operation, setup, maintenance, and troubleshooting of your new compressor set. Please read this manual thoroughly before first use and keep it for future reference.
2. Safety Information
Always observe the following safety precautions to prevent injury or damage to the product:
- Ensure the power supply matches the specifications (12V DC).
- Do not operate the compressor in wet or damp conditions.
- Keep the compressor and airbrush away from children.
- Always disconnect the power before cleaning or performing maintenance.
- Use only in well-ventilated areas to avoid inhaling paint fumes.
- Never point the airbrush at people or animals.
- Do not modify the compressor or airbrush in any way.
3. Package Contents
Carefully unpack all components and check against the list below. If any parts are missing or damaged, please contact customer support.
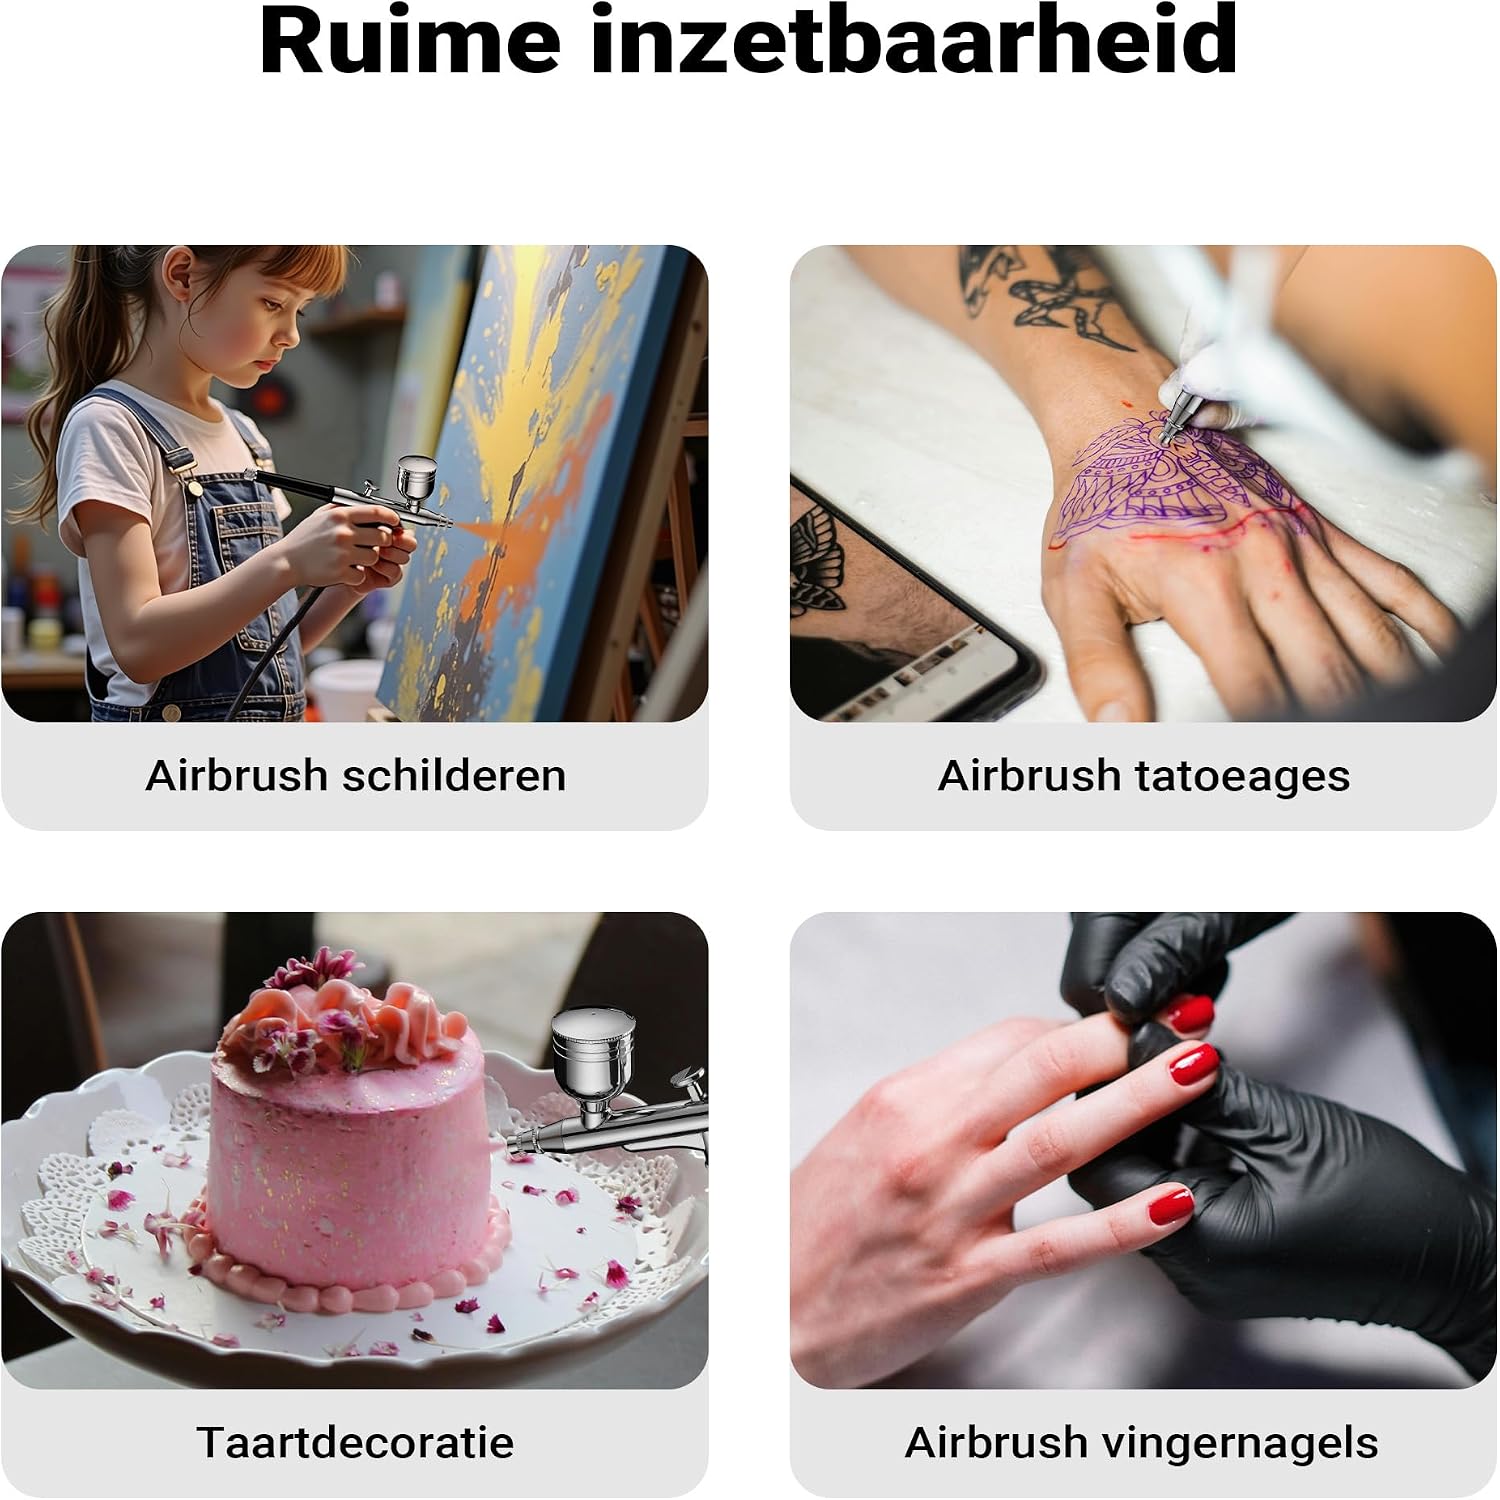
Figure 3.1: Overview of included components.
- Compressor x 1
- Airbrush x 1
- Airbrush Holder x 2
- Pipette x 1
- Wrench x 1
- Air Hose (1.8 m) x 1
- 12V DC Power Adapter x 1
- Moisture Separator x 1
- Airbrush Cleaning Set x 1 (includes brushes and needles)
- 0.2 mm Nozzle and Cap x 1
- 0.5 mm Nozzle and Cap x 1
- 0.2 mm Needle x 1
- 0.5 mm Needle x 1
- 40 cc Paint Cup x 1
- 20 cc Paint Cup x 1
4. Product Overview
The Wiltec HS-A9K compressor set is designed for versatility and ease of use, featuring a compact compressor and a high-quality airbrush with multiple nozzle options.
4.1 Compressor Features
- Automatic Start/Stop: The compressor automatically starts at 1 Bar (14.5 PSI) and stops at 1.5 Bar (21.75 PSI), ensuring energy efficiency and consistent pressure during operation.
- Adjustable Pressure: Easily adjust the air pressure to suit your specific application, with a maximum pressure of 2.8 Bar (40.6 PSI).
- Compact and Portable: Weighing approximately 1.02 kg and with dimensions of 12 x 12 x 6.2 cm, the compressor is lightweight and easy to transport.

Figure 4.1: Product dimensions and key components.

Figure 4.2: Compact size for easy portability.
4.2 Airbrush Features
- Dual-Action Control: Allows independent control of air and paint flow for precise application.
- Interchangeable Nozzles: Includes 0.2 mm, 0.3 mm (pre-installed), and 0.5 mm nozzles for various detail levels and paint viscosities.
- Fine Atomization: Designed for smooth and even paint distribution.

Figure 4.3: Fine atomization and simple air control.
5. Setup
Follow these steps for initial setup of your Wiltec HS-A9K Compressor Set:

Figure 5.1: Simple operation and connection diagram.
- Place the Compressor: Position the compressor on a stable, flat surface in a well-ventilated area.
- Connect Air Hose: Attach one end of the air hose to the air outlet on the compressor and the other end to the airbrush. Ensure connections are secure.
- Connect Power: Plug the 12V DC power adapter into the compressor's power input, then plug the adapter into a suitable electrical outlet.
- Install Moisture Separator (Optional): If desired, install the moisture separator between the compressor and the air hose to prevent moisture from reaching your paint.
- Select Nozzle/Needle: Choose the appropriate nozzle and needle size (0.2mm, 0.3mm, or 0.5mm) for your project and install them into the airbrush. The 0.3mm nozzle is typically pre-installed.
- Fill Paint Cup: Use the pipette to carefully fill the airbrush's paint cup with your desired airbrush-ready paint. Do not overfill.
6. Operating Instructions
Once set up, you can begin using your airbrush set:
- Turn On Compressor: Press the power button on the compressor. The compressor will start automatically when pressure drops below 1 Bar and stop when it reaches 1.5 Bar.
- Adjust Air Pressure: Use the rotary switch on the compressor to adjust the air pressure level. The indicator lights will show the current pressure setting.
- Test Spray: Before applying to your project, perform a test spray on a scrap piece of material to check paint consistency and air pressure.
- Airbrush Operation (Dual-Action):
- Press down on the trigger to release air.
- Pull back on the trigger to release paint.
- Adjust the amount of paint by varying how far you pull back the trigger.
- Painting: Maintain a consistent distance from your surface and use smooth, even strokes.
- Finish Work: When finished, release the trigger, turn off the compressor, and disconnect the power.

Figure 6.1: Easy pressure adjustment on the compressor.
7. Maintenance and Cleaning
Regular cleaning and maintenance are crucial for the longevity and optimal performance of your airbrush set.
- Empty Paint Cup: After each use, empty any remaining paint from the cup.
- Flush with Cleaner: Fill the paint cup with an appropriate airbrush cleaner or water (for water-based paints) and spray it through the airbrush until clear.
- Disassemble Airbrush: Carefully disassemble the airbrush, removing the needle, nozzle, and air cap.
- Clean Components: Use the provided cleaning brushes and needles to thoroughly clean all paint residue from the airbrush body, nozzle, needle, and paint cup. Pay special attention to the nozzle, as dried paint can easily clog it.
- Reassemble: Once all parts are clean and dry, carefully reassemble the airbrush. Do not overtighten components.
- Compressor Care: Wipe down the compressor exterior with a damp cloth. Ensure air vents are clear of dust.
8. Troubleshooting
If you encounter issues, refer to the following common problems and solutions:
- No Air Flow:
- Check if the compressor is powered on and the power adapter is securely connected.
- Ensure the air hose connections are tight.
- Verify the airbrush trigger is pressed down.
- No Paint Flow or Splattering:
- The nozzle or needle might be clogged. Clean thoroughly as per Section 7.
- Paint might be too thick. Thin paint with appropriate reducer.
- Needle might not be pulled back far enough.
- Air pressure might be too low. Adjust pressure on the compressor.
- Compressor Not Starting/Stopping Automatically:
- Ensure the air hose is securely connected and there are no leaks.
- Check for any obstructions in the air intake or outlet.
- Air Leakage:
- Tighten all connections (air hose to compressor, air hose to airbrush).
- Check O-rings for damage and replace if necessary.
9. Specifications
| Feature | Specification |
|---|---|
| Brand | Wiltec |
| Model Name | Wiltec HS-A9K Compressor Set |
| Item Model Number | 65120 |
| Product Dimensions | 12 x 12 x 6.2 cm |
| Item Weight | 1.02 Kilograms |
| Power Source | Corded Electric (12V DC) |
| Automatic Start Pressure | 1 Bar (14.5 PSI) |
| Automatic Stop Pressure | 1.5 Bar (21.75 PSI) |
| Maximum Pressure | 2.8 Bar (40.6 PSI) |
| Air Flow | 12 liters per minute |
| Material | Plastic |
| Color | Silver-colored |
| Recommended Applications | Painting, Airbrush Tattoos, Cake Decorating, Nail Art |
| Country of Origin | China |
| First Available Date | October 31, 2024 |
| Guaranteed Software Updates Until | Not applicable / Unknown |
10. Warranty and Support
Your Wiltec HS-A9K Compressor Set comes with a standard manufacturer's warranty. Please refer to your purchase documentation for specific warranty terms and conditions.
For technical support, troubleshooting assistance, or to inquire about replacement parts, please contact Wiltec customer service. Contact information can typically be found on the Wiltec website or your product packaging.