
Introduction
Thank you for purchasing the SeeYing JS-2S Turntable. This manual provides essential information for the proper setup, operation, and maintenance of your new record player. Please read these instructions carefully before use to ensure optimal performance and longevity of your device. This turntable features a belt-drive system, two-speed playback (33 1/3 and 45 RPM), an AT-3600L magnetic cartridge, Bluetooth connectivity, USB recording to PC, and includes a pair of 36-watt stereo bookshelf speakers.
Safety Instructions
- Power Source: Use only the provided power adapter. Ensure the voltage matches your local power supply.
- Water and Moisture: Do not expose the unit to rain, moisture, or liquids. Do not place objects filled with liquids, such as vases, on the unit.
- Heat Sources: Keep the unit away from heat sources such as radiators, heat registers, stoves, or other apparatus (including amplifiers) that produce heat.
- Ventilation: Ensure proper ventilation. Do not block any ventilation openings.
- Cleaning: Unplug the unit from the wall outlet before cleaning. Use a soft, dry cloth only.
- Servicing: Do not attempt to service this product yourself. Refer all servicing to qualified service personnel.
- Children: Keep out of reach of children. Small parts may be a choking hazard.
Package Contents
Verify that all items listed below are included in your package:
- SeeYing JS-2S Turntable Unit
- Dust Cover
- Platter
- Drive Belt (pre-installed or separate)
- Counterweight
- Anti-skating Weight
- AT-3600L Magnetic Cartridge (pre-installed)
- Stereo Bookshelf Speakers (2 units)
- Speaker Connection Cables
- Power Adapter
- USB Cable for PC Link
- 45 RPM Adapter
- Slipmat
- Cartridge Alignment Protractor
- User Manual
Product Overview
Familiarize yourself with the components of your SeeYing JS-2S Turntable.
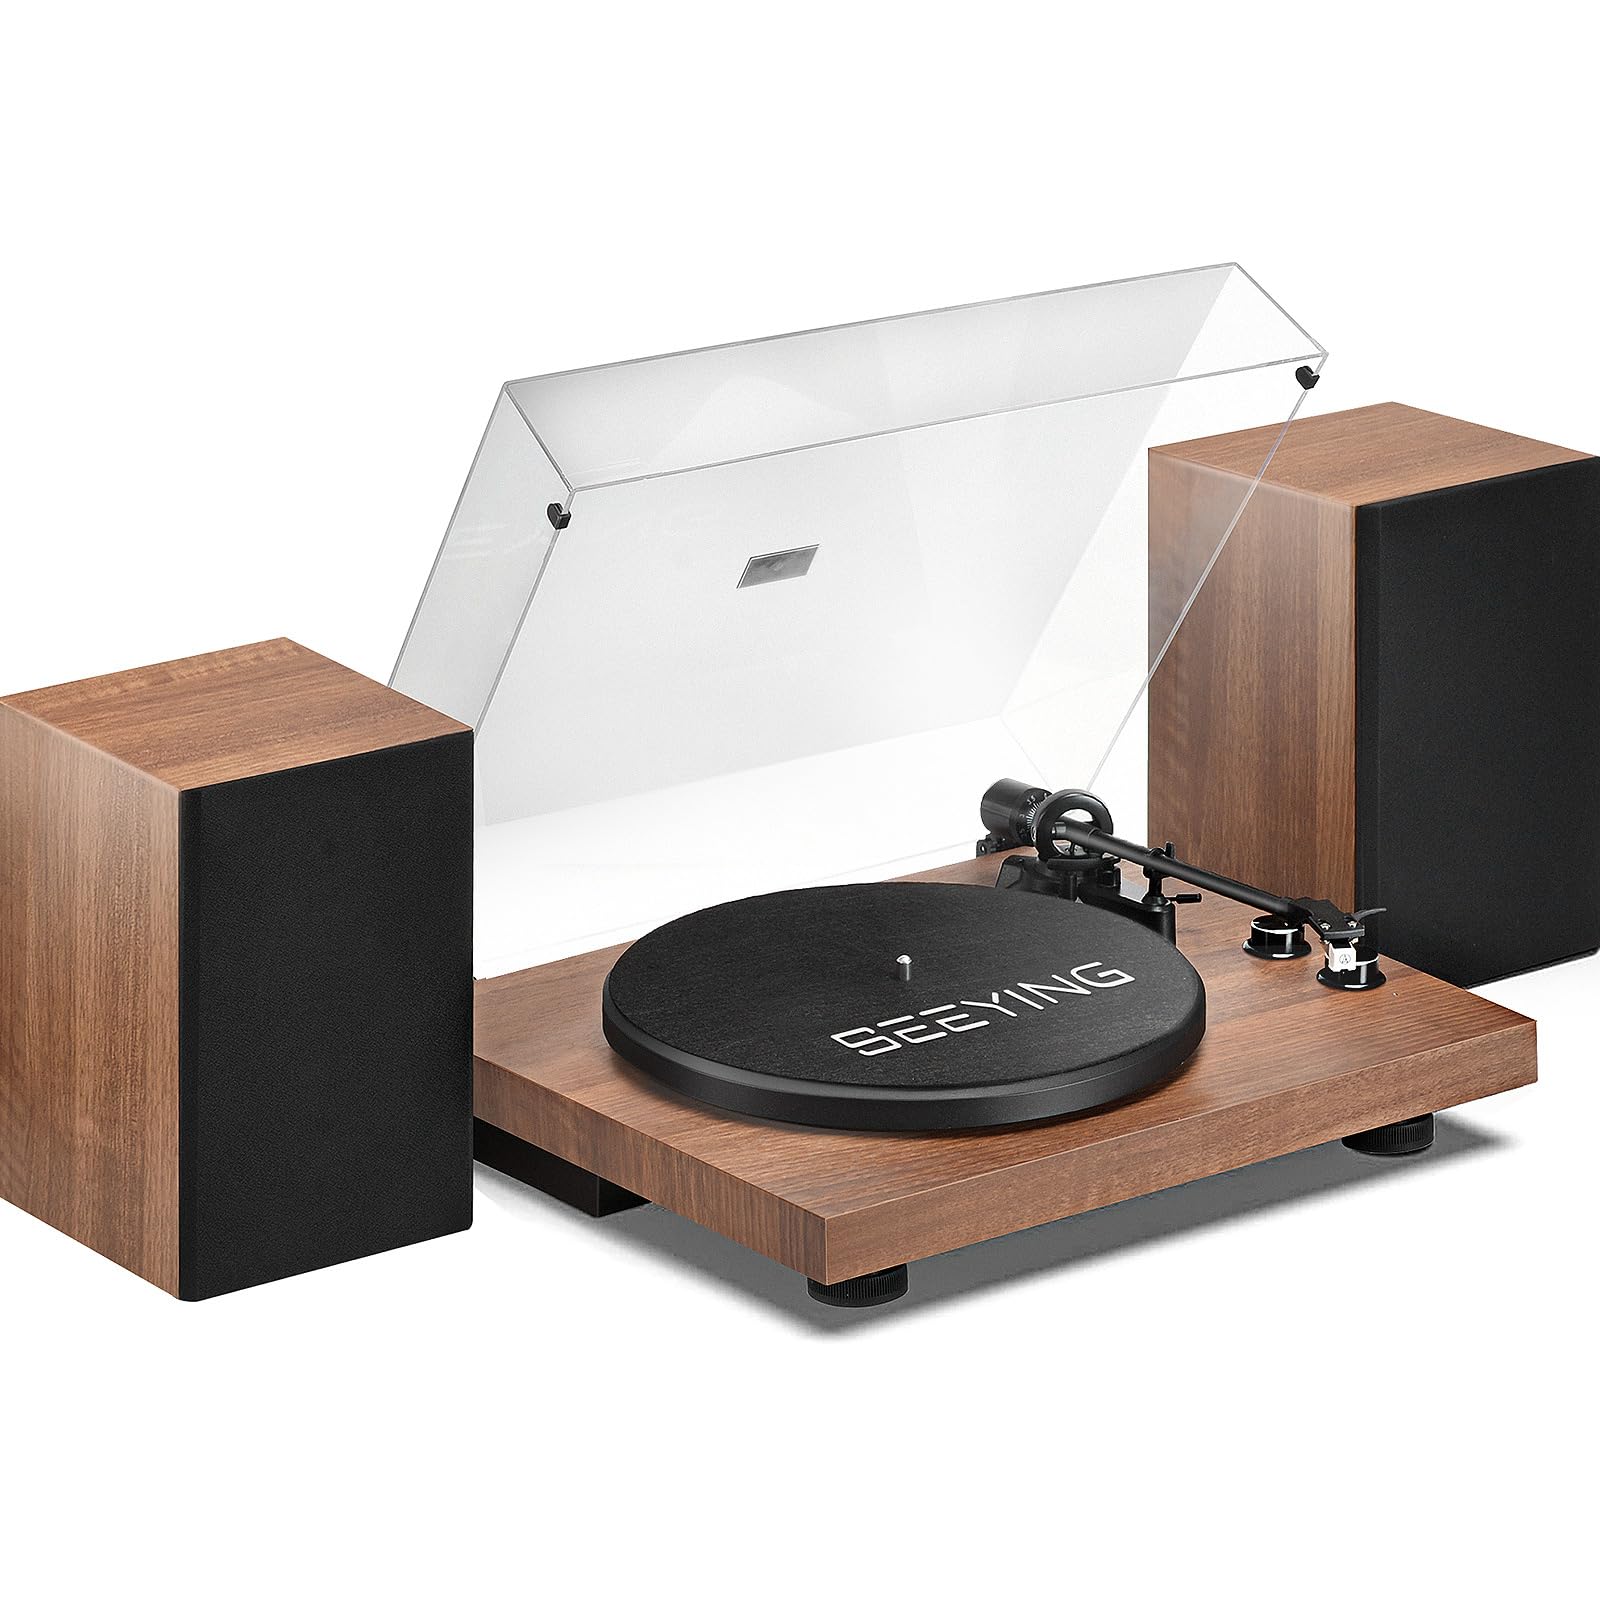
Figure 1: Overall view of the SeeYing JS-2S Turntable with included stereo bookshelf speakers.
Rear Panel Connections

Figure 2: Detailed view of the turntable's rear panel, showing RCA Jacks, Phono-Line Out Switch, USB-PC port, and External Speaker Jacks.
- RCA Jacks (L/R): For connecting to an external amplifier or active speakers.
- Phono-Line Out Switch: Selects between PHONO (for phono input on an amplifier) and LINE (for auxiliary input on an amplifier or active speakers, utilizing the turntable's built-in preamplifier).
- USB-PC Port: For connecting to a computer to digitize vinyl records.
- External Speaker Jacks: Connects to the included passive stereo bookshelf speakers.
- DC IN: Power input for the adapter.
Tonearm and Cartridge

Figure 3: Close-up of the pre-installed AT-3600L magnetic cartridge, responsible for reading the grooves of your vinyl records.
Stereo Bookshelf Speakers

Figure 4: An exploded view illustrating the internal components of the included stereo bookshelf speakers, designed for natural sound reproduction.
Setup
- Unpacking: Carefully remove all components from the packaging. Retain packaging for future transport or storage.
- Placement: Place the turntable on a stable, level surface away from direct sunlight, heat sources, and excessive vibration.
- Install Platter and Belt:
- Place the platter onto the turntable spindle.
- Locate the drive belt (if not pre-installed) and stretch it around the motor pulley and the inner rim of the platter. Ensure the belt is flat and not twisted.

Figure 5: The turntable platter, showing the spindle and the area for belt placement.
- Install Slipmat: Place the felt slipmat on top of the platter.
- Install Dust Cover: Insert the hinges of the dust cover into the slots at the rear of the turntable.
- Connect Speakers: Connect the included stereo bookshelf speakers to the 'SPEAKERS' output terminals on the rear of the turntable using the provided speaker cables. Ensure correct polarity (red to red, black to black).
- Connect Power: Connect the power adapter to the 'DC IN' port on the rear of the turntable, then plug it into a wall outlet.
- Balance Tonearm and Set Tracking Force:
- Gently remove the stylus protector.
- Place the counterweight onto the rear of the tonearm. Rotate it until the tonearm is balanced horizontally (floating freely).
- Once balanced, hold the counterweight steady and rotate the numbered ring until '0' aligns with the line on the tonearm.
- Rotate the entire counterweight (including the numbered ring) counter-clockwise to the recommended tracking force for the AT-3600L cartridge, which is typically 3.5 grams.

Figure 6: The adjustable counterweight for setting the precise tracking force of the stylus.
- Set Anti-skating: Attach the anti-skating weight to the tonearm's anti-skating post. The recommended setting is usually the first or second groove for the AT-3600L.
Operating Instructions
Playing a Vinyl Record
- Ensure the turntable is powered on.
- Place a record on the platter.
- Select the correct speed (33 1/3 or 45 RPM) using the speed selector switch, located near the volume knob. Use the 45 RPM adapter for singles if needed.
- Lift the tonearm using the cueing lever.
- Position the tonearm over the desired starting groove of the record.
- Gently lower the tonearm using the cueing lever. The stylus will descend onto the record and playback will begin.
- Adjust the volume using the volume knob.
- At the end of the record, the auto-stop feature will engage, and the platter will stop spinning. Lift the tonearm and return it to the tonearm rest.

Figure 7: The turntable with speakers, highlighting the speed selection switch for 33 1/3 and 45 RPM records.
Bluetooth Streaming
The built-in Bluetooth receiver allows you to stream music wirelessly from your smartphone, tablet, or other Bluetooth-enabled device through the turntable's speakers.
- Ensure the turntable is powered on.
- Switch the turntable to Bluetooth mode (refer to your device's specific control for mode selection, often indicated by a blue LED).
- On your mobile device, enable Bluetooth and search for available devices.
- Select 'SeeYing JS-2S' (or similar name) from the list to pair.
- Once paired, you can play music from your device, and the audio will output through the turntable's connected speakers.

Figure 8: A smartphone wirelessly connected to the turntable via Bluetooth, demonstrating the wireless input capability.
USB Recording to PC
You can convert your vinyl records into digital MP3 files using the USB-PC connection.
- Connect the turntable to your computer using the provided USB cable.
- Install appropriate recording software on your computer (e.g., Audacity, available for free online).
- Follow the instructions of your chosen recording software to set up the input device (the turntable) and begin recording.
- Play your vinyl record as described above. The audio will be sent to your computer for digitization.
Maintenance
- Stylus Care: Regularly clean the stylus using a soft brush, brushing gently from back to front. Avoid touching the stylus with your fingers. Replace the stylus when sound quality degrades (typically after 300-500 hours of playback).
- Record Care: Keep your records clean and free of dust. Use a carbon fiber brush before each play. Store records vertically in their sleeves.
- Unit Cleaning: Wipe the turntable and dust cover with a soft, dry, lint-free cloth. Do not use harsh chemicals or abrasive cleaners.
- Belt Maintenance: Periodically check the drive belt for wear or stretching. Replace if necessary to maintain consistent playback speed.
Troubleshooting
| Problem | Possible Cause | Solution |
|---|---|---|
| No power | Power adapter not connected; power outlet faulty. | Ensure power adapter is securely connected and plugged into a working outlet. |
| No sound or low volume | Speakers not connected; Phono/Line switch incorrect; volume too low; stylus damaged. | Check speaker connections. Ensure Phono/Line switch is set correctly for your setup. Increase volume. Inspect stylus for damage. |
| Skipping or distorted sound | Tracking force incorrect; record dirty/damaged; stylus worn; turntable not level. | Re-adjust tracking force. Clean record. Replace stylus. Ensure turntable is on a level surface. |
| Bluetooth not connecting | Turntable not in Bluetooth mode; device too far; previously paired device connected. | Ensure turntable is in Bluetooth mode. Move device closer. Disconnect from other Bluetooth devices. |
| Incorrect playback speed | Wrong speed selected; drive belt worn or dislodged. | Select correct speed (33 1/3 or 45 RPM). Check and re-seat or replace drive belt. |
Specifications
- Brand: SeeYing
- Model: JS-2S
- Drive Type: Belt Drive
- Speeds: 33 1/3 RPM, 45 RPM
- Cartridge: AT-3600L Magnetic Cartridge
- Speakers: 2 x 18W Stereo Bookshelf Speakers (36 Watts total)
- Connectivity: Bluetooth, RCA Line Out, RCA Phono Out, USB-PC
- Special Features: Adjustable Counterweight, Built-in Preamplifier, USB Recording, Auto Stop
- Material: Wood, Plastic
- Color: Wood Yellow
Warranty and Support
This product comes with a standard manufacturer's warranty. For specific warranty details, please refer to the warranty card included in your package or contact SeeYing customer support. If you encounter any issues not covered in this manual, please contact our customer service for assistance.
Customer Support: Please refer to the contact information provided on the product packaging or the official SeeYing website for support inquiries.


