
Introduction
Thank you for choosing the AGARO Primo Sandwich Maker. This appliance is designed for quick and easy preparation of grilled sandwiches, paninis, and toasts. Please read this manual carefully before using the appliance to ensure safe and efficient operation. Keep this manual for future reference.
Important Safeguards
When using electrical appliances, basic safety precautions should always be followed, including the following:
- Read all instructions before use.
- Do not touch hot surfaces. Use handles or knobs.
- To protect against electrical shock, do not immerse cord, plugs, or the appliance in water or other liquid.
- Close supervision is necessary when any appliance is used by or near children.
- Unplug from outlet when not in use and before cleaning. Allow to cool before putting on or taking off parts, and before cleaning the appliance.
- Do not operate any appliance with a damaged cord or plug, or after the appliance malfunctions or has been damaged in any manner. Contact customer service for examination, repair, or adjustment.
- The use of accessory attachments not recommended by the appliance manufacturer may cause injuries.
- Do not use outdoors.
- Do not let cord hang over edge of table or counter, or touch hot surfaces.
- Do not place on or near a hot gas or electric burner, or in a heated oven.
- Extreme caution must be used when moving an appliance containing hot oil or other hot liquids.
- Always attach plug to appliance first, then plug cord into the wall outlet. To disconnect, turn any control to "off", then remove plug from wall outlet.
- Do not use appliance for other than intended use.
- The appliance is not intended to be operated by means of an external timer or separate remote-control system.
Product Overview
Familiarize yourself with the components of your AGARO Primo Sandwich Maker.

Image: The AGARO Primo Sandwich Maker shown open, displaying its non-stick grill plates and two prepared sandwiches.
- Non-stick Grill Plates: For easy cooking and cleaning.
- Heat-Resistant Body: Ensures safe handling during operation.
- Power Indicator Light (Red): Illuminates when the appliance is powered on and preheating.
- Ready Indicator Light (Green): Illuminates when the appliance has reached the optimal cooking temperature.
- Handle: For opening and closing the sandwich maker.
- Latching Mechanism: Secures the plates during cooking.
- Power Cord: For connecting to an electrical outlet.

Image: A close-up view of the AGARO Primo Sandwich Maker's LED indicator lights, showing red for power and green for ready to use.
Setup
- Unpack: Carefully remove the sandwich maker and all packaging materials.
- Clean Plates: Before first use, wipe the non-stick grill plates with a damp cloth or sponge. Dry thoroughly.
- Initial Heating: Plug the appliance into a suitable electrical outlet (220V-240V-50Hz). The red power indicator light will illuminate. Allow the sandwich maker to heat up for approximately 5-10 minutes until the green ready indicator light illuminates. This process helps to burn off any manufacturing residues. A slight odor or smoke may be present during this initial heating; this is normal.
- Cool Down: Unplug the appliance and allow it to cool completely.
- Final Wipe: Once cool, wipe the plates again with a damp cloth. The appliance is now ready for use.
Operating Instructions
- Prepare Ingredients: Prepare your sandwich ingredients. For best results, use bread slices that fit the grill plates.
- Preheat: Close the sandwich maker and plug it into a 220V-240V-50Hz electrical outlet. The red power indicator light will turn on. Wait for the green ready indicator light to illuminate, indicating the appliance has reached the optimal cooking temperature.
- Place Sandwich: Carefully open the sandwich maker using the handle. Place your prepared sandwich onto the lower grill plate. Do not overfill.
- Close and Latch: Gently close the top plate and press down lightly until the latching mechanism secures. The green light may turn off during cooking as the thermostat maintains temperature.
- Cook: Cook for approximately 3-5 minutes, or until the sandwich is golden brown and toasted to your preference. Cooking time may vary depending on ingredients and desired crispness. The automatic temperature control feature ensures optimal cooking results.
- Remove Sandwich: Once cooked, carefully open the sandwich maker. Use a heat-resistant plastic or wooden spatula to remove the sandwich. Do not use metal utensils, as they can damage the non-stick coating.
- Repeat or Unplug: If making more sandwiches, close the lid and wait for the green light to illuminate again before placing the next sandwich. When finished, unplug the appliance from the wall outlet.
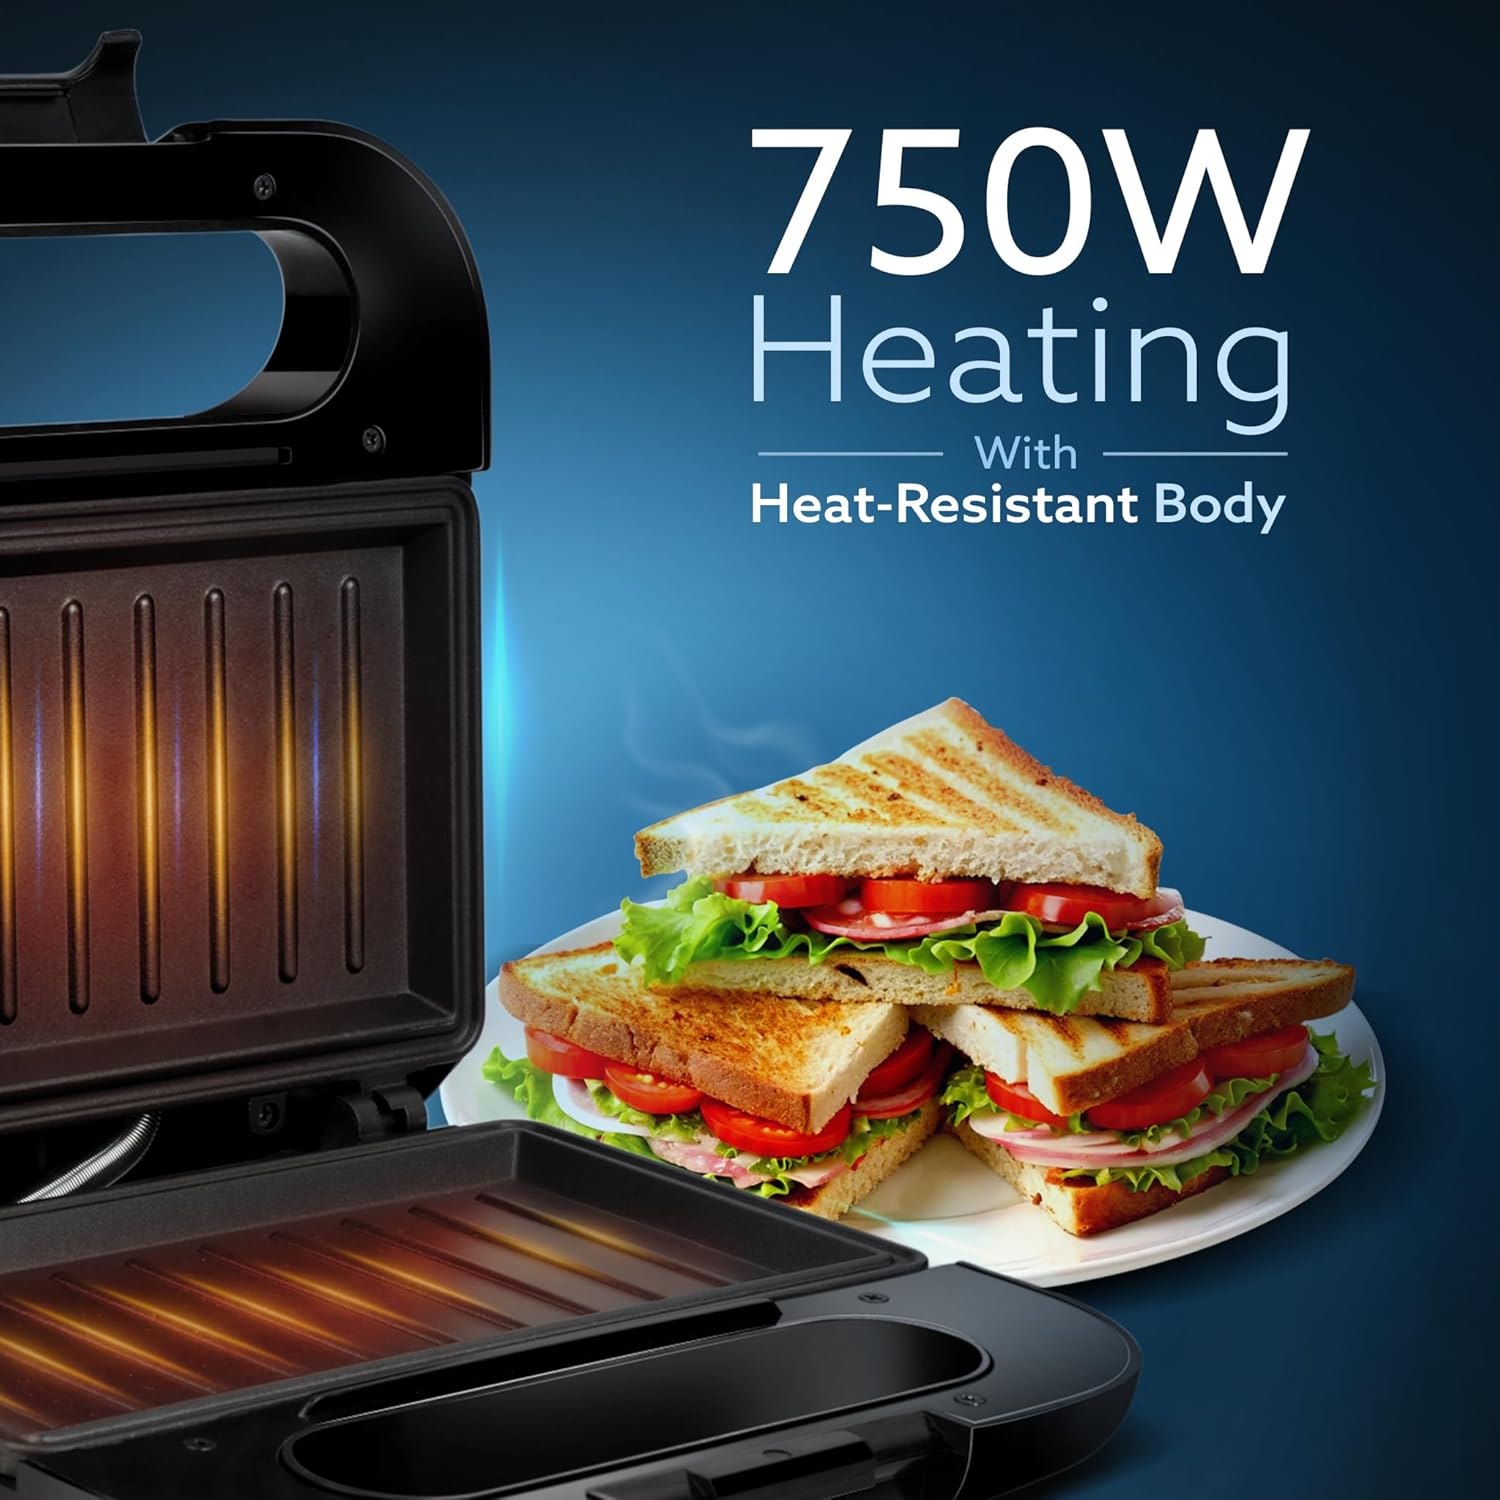
Image: The AGARO Primo Sandwich Maker shown with internal heating elements glowing, indicating it is actively heating to cook sandwiches.
Cleaning and Maintenance
Proper cleaning and maintenance will extend the life of your sandwich maker.
- Unplug and Cool: Always unplug the appliance and allow it to cool completely before cleaning.
- Wipe Grill Plates: Wipe the non-stick grill plates with a soft, damp cloth or sponge. For stubborn food residue, dampen the cloth with a small amount of cooking oil to soften the residue, then wipe clean. Do not use abrasive cleaners, scouring pads, or metal brushes, as these will damage the non-stick coating.
- Clean Exterior: Wipe the exterior of the sandwich maker with a damp cloth. Do not immerse the appliance in water or any other liquid.
- Storage: Once clean and dry, store the sandwich maker in a cool, dry place. The compact design allows for easy storage.
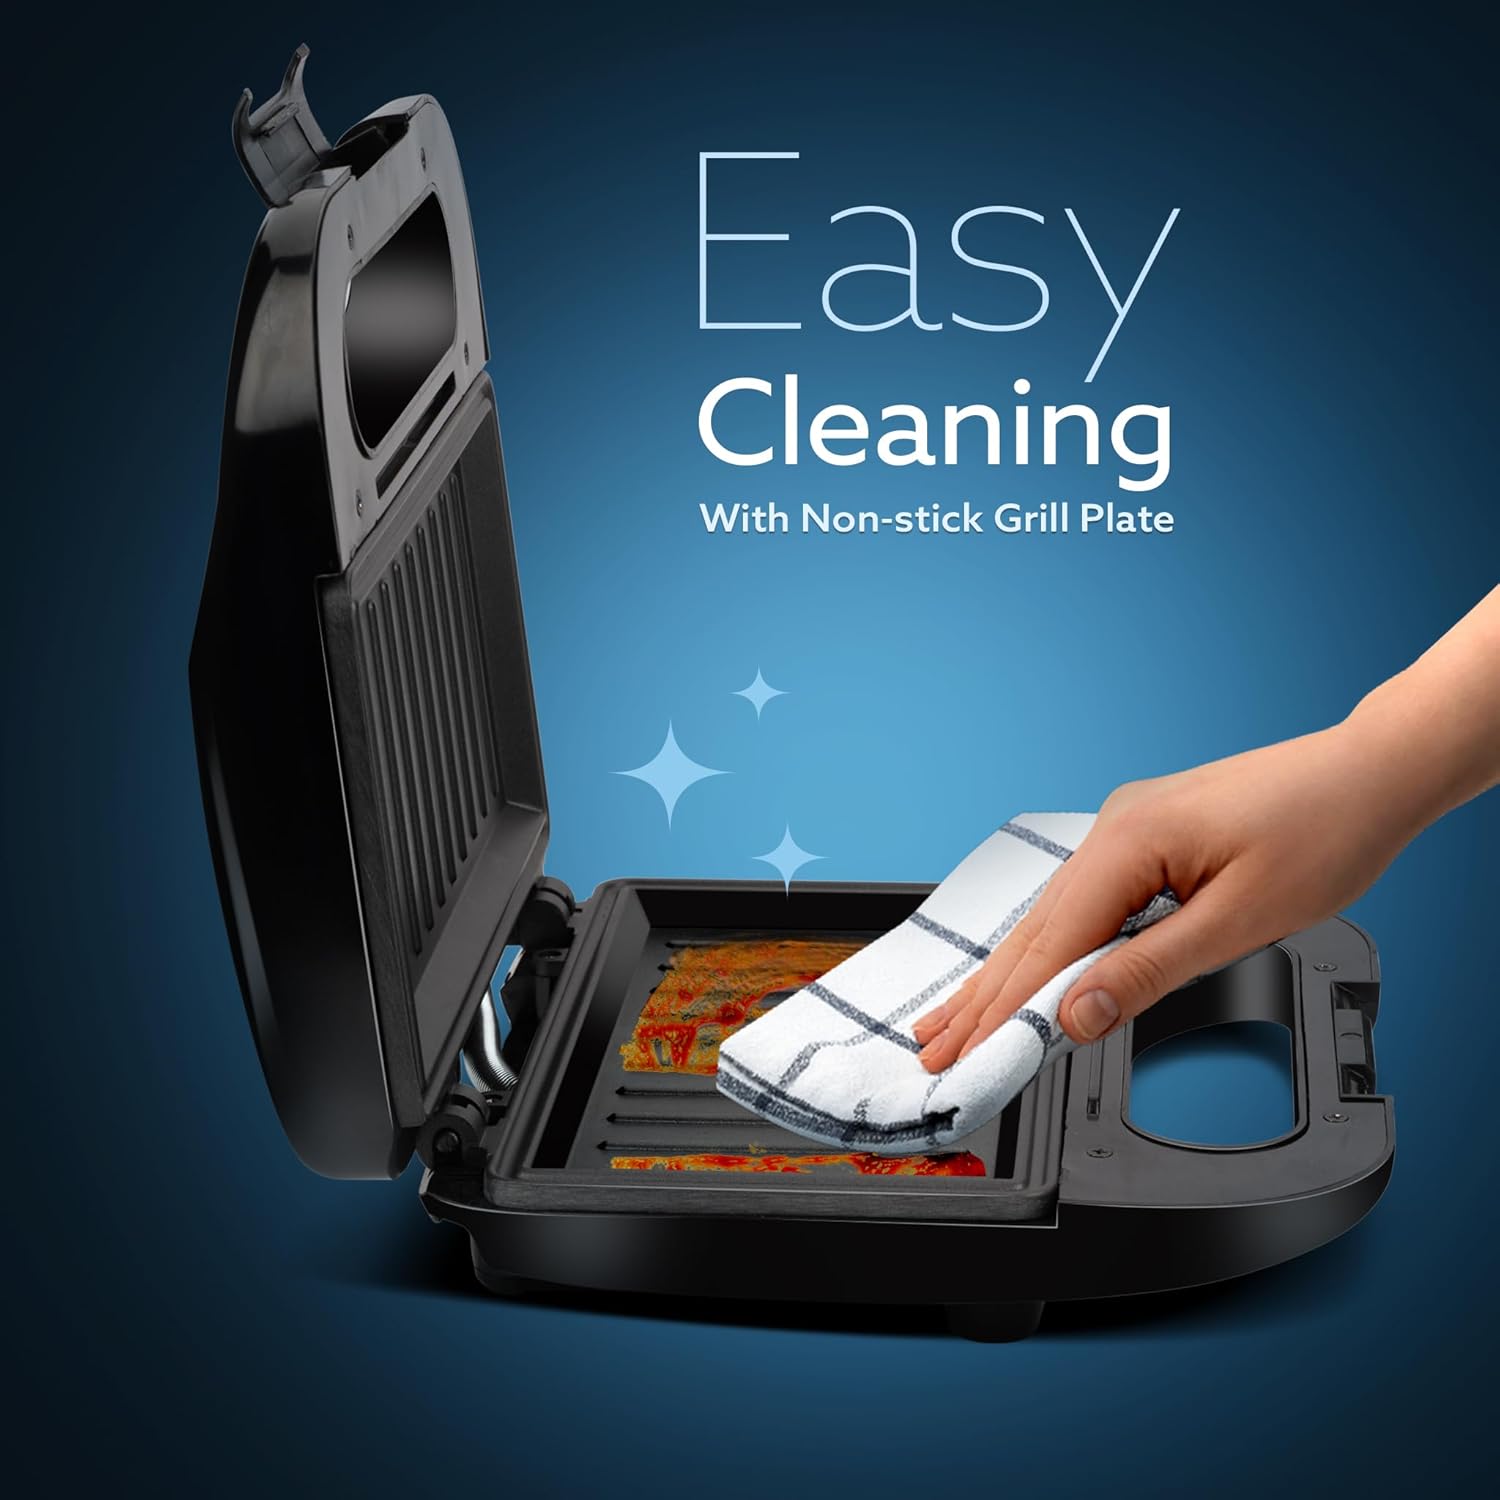
Image: A hand wiping the non-stick grill plate of the AGARO Primo Sandwich Maker with a cloth, demonstrating easy cleaning.
Troubleshooting
| Problem | Possible Cause | Solution |
|---|---|---|
| Appliance does not turn on. | Not plugged in; power outlet not working. | Ensure the power cord is securely plugged into a working electrical outlet. Check the circuit breaker. |
| Sandwiches are not cooking evenly. | Insufficient preheating; uneven ingredient distribution. | Allow the appliance to fully preheat until the green indicator light illuminates. Distribute ingredients evenly within the sandwich. |
| Smoke or odor during first use. | Manufacturing residues burning off. | This is normal for initial use. Ensure good ventilation. It should dissipate after a few uses. |
| Food sticks to grill plates. | Plates not properly cleaned; excessive sugar in ingredients. | Ensure plates are clean before use. Lightly brush plates with cooking oil or butter if needed. Avoid excessive sugar in fillings. |
Specifications
- Model: Primo
- Power: 750W
- Voltage: 220V-240V~50Hz
- Product Dimensions: 22.2D x 11W x 21.5H Centimeters
- Material: Plastic
- Features: Non-stick grill plates, Automatic Temperature Control, LED Indicator Lights
- Manufacturer: Universal Corporation Limited
- Country of Origin: India
Warranty and Support
The AGARO Primo Sandwich Maker comes with a 2-year warranty from the date of purchase. This warranty covers manufacturing defects under normal household use.
The warranty does not cover:
- Damage caused by misuse, abuse, or negligence.
- Damage caused by unauthorized repairs or modifications.
- Normal wear and tear.
- Commercial use.
For warranty claims, technical support, or any product-related inquiries, please contact AGARO customer service. Please have your purchase receipt and product model number (Primo) ready when contacting support.
Manufacturer Contact Information: Universal Corporation Limited, HSIIDC Industrial Estate, Sonipat, Haryana.
Product Videos
No official product videos from the seller were found in the provided data to embed in this manual.