
1. Introduction
This manual provides instructions for the operation and maintenance of the Retevis MA1 Amateur Radio Mobile Transceiver. The MA1 is a high-performance 50W mobile radio designed for amateur radio enthusiasts, offering multiband reception and advanced communication features.

Image 1.1: The Retevis MA1 Amateur Radio Mobile Transceiver with its detachable control panel and speaker microphone.
2. Key Features
- Cross-band Repeater Functionality: The MA1 radio can operate as an inter-band relay, facilitating seamless communication across different frequency bands.
- Stable Transmission with Superheterodyne Receiver: Equipped with a superheterodyne receiver, the device ensures a stable transmission signal and strong resistance to interference, even in challenging conditions.
- Detachable and Reversible Control Panel: The front control panel can be detached and inverted, offering flexible installation options and preventing potential damage to the speaker, while ensuring clear audio output.
- High Power Output for Long-Range Communication: The 50W high power output ensures a stable signal for reliable long-distance communication, suitable for travel or emergency rescue operations.
- TX Noise Cancellation Function: Equipped with a TX noise cancellation feature, the radio transmits clearly even in noisy environments, crucial for rapid response in emergency situations.
- Multiband Reception: The mobile dual-band radio supports reception across 2m, 70cm, FM, AM, and aviation bands, offering diverse listening experiences.
- Dual Display/Dual Watch: Simultaneously displays and monitors both 2m and 70cm frequencies, enhancing communication flexibility and efficiency.

Image 2.1: Visual representation of the cross-band relay feature, showing signal transmission between 2m and 70cm bands.

Image 2.2: Illustration of the superheterodyne receiver's role in providing stable communication.

Image 2.3: The detachable control panel, allowing for versatile mounting and improved user experience.

Image 2.4: Representation of the radio's high power enabling communication over extended distances.
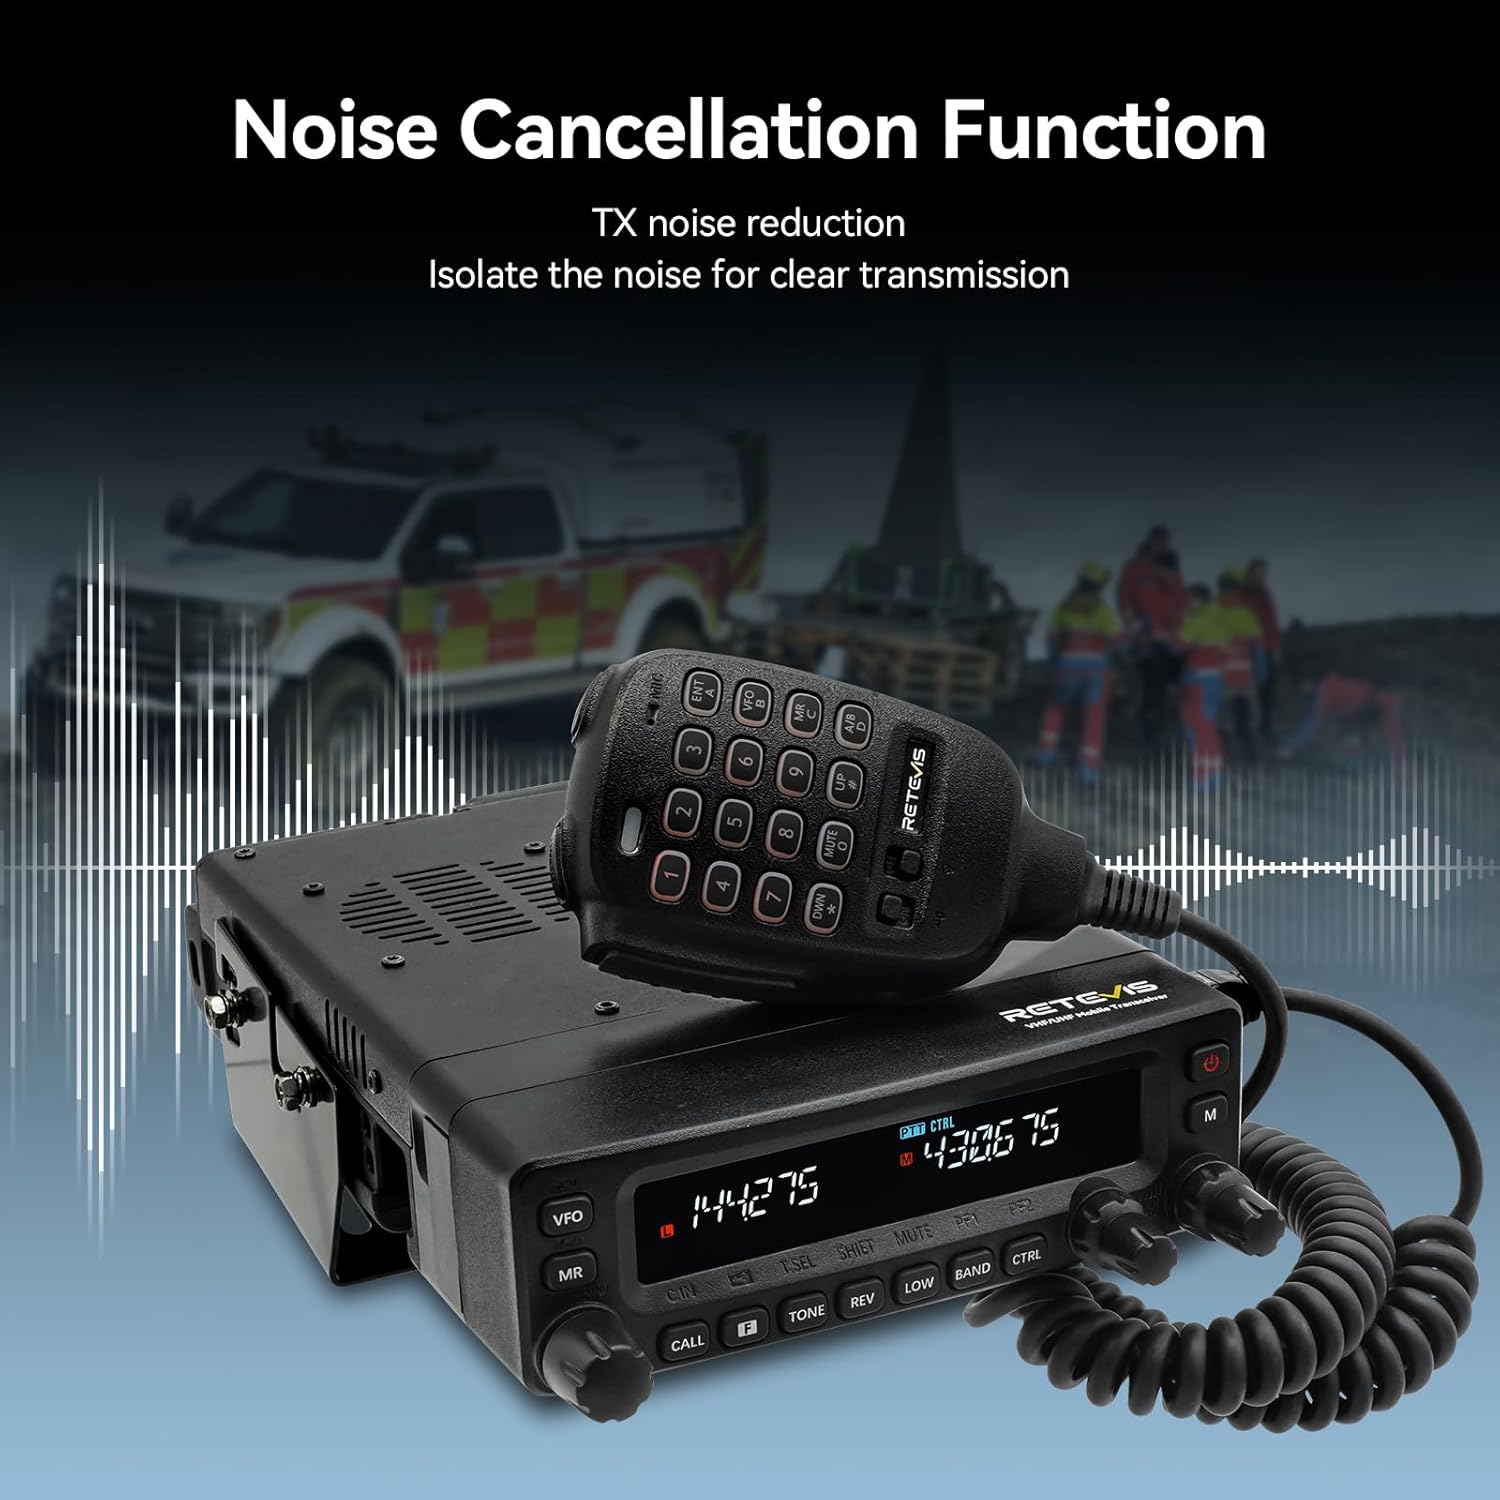
Image 2.5: The noise cancellation function ensuring clear voice transmission amidst background noise.
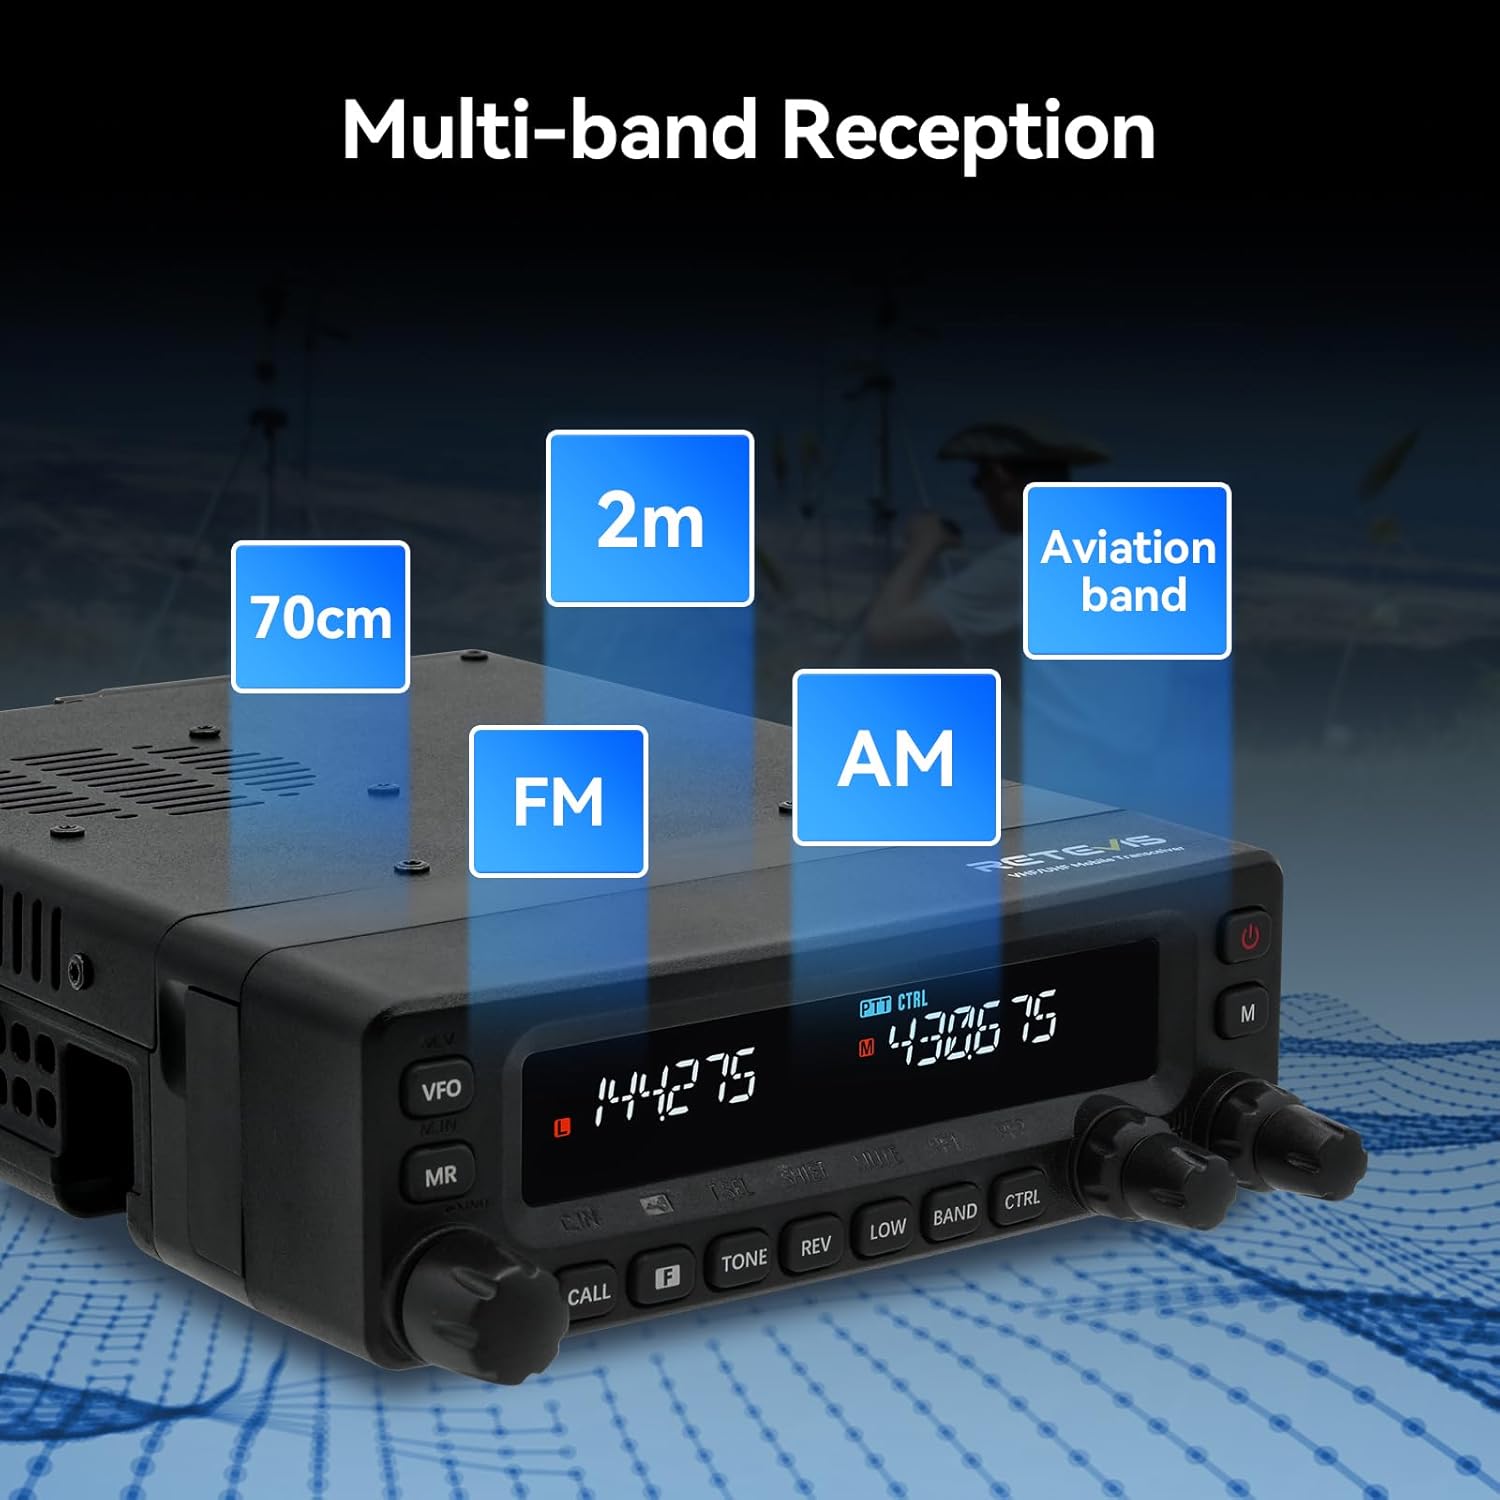
Image 2.6: The radio's ability to receive signals from multiple frequency bands including 2m, 70cm, FM, AM, and aviation.
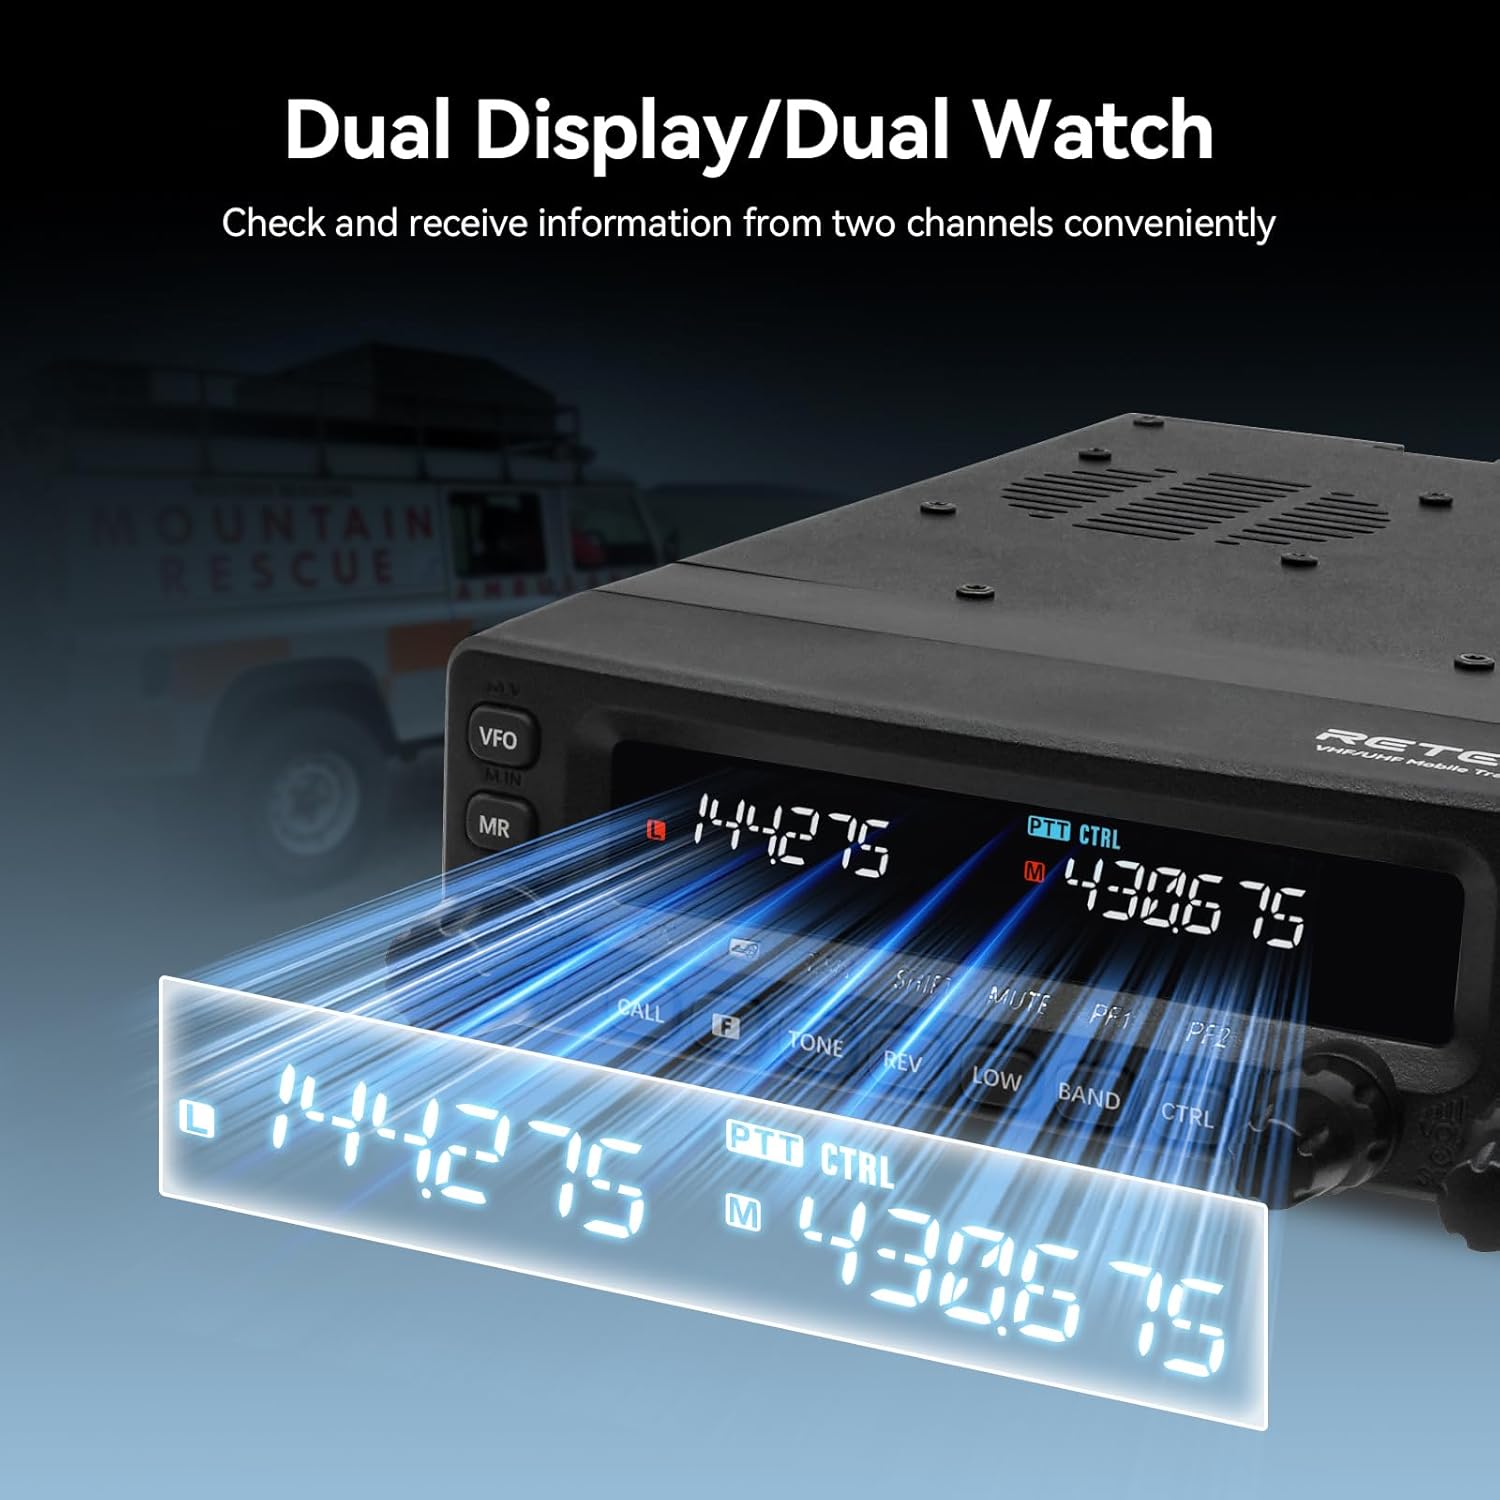
Image 2.7: The radio's display showing two frequencies simultaneously for dual watch operation.
3. Package Contents
Please verify that all items listed below are included in your package. If any items are missing or damaged, contact your retailer.

Image 3.1: All components included in the Retevis MA1 Amateur Radio package.
- MA1 Amateur Radio x1
- Speaker Microphone x1
- Data Cable x1
- Fuse x2
- Power Cable x1
- 3m Connection Cable x1
- Microphone Bracket x1
- Panel Bracket x1
- Radio Bracket x1
- Screws (various)
- User Manual x1
4. Setup
4.1 Mounting the Radio
- Choose a stable and secure location in your vehicle or operating area for the main radio unit. Ensure adequate ventilation.
- Use the provided radio bracket and screws to securely mount the main unit.
4.2 Mounting the Detachable Control Panel
- Select a convenient location for the control panel, ensuring it is easily accessible and visible.
- Attach the panel bracket to your chosen surface using the provided screws.
- Connect the control panel to the main unit using the 3m connection cable. The panel can be inverted for optimal viewing angle.
4.3 Connecting the Speaker Microphone
- Plug the speaker microphone cable into the designated port on the control panel.
- Use the microphone bracket to secure the speaker microphone when not in use.

Image 4.1: The speaker microphone and its connection points, highlighting the flexibility of operation.
4.4 Power Connection
- Connect the provided power cable to the main radio unit.
- Connect the other end of the power cable to a suitable 12V DC power source (e.g., vehicle battery). Ensure correct polarity.
- Install the fuses as instructed to protect the radio from power surges.
Note: The product specifications mention 'AA batteries required', which is typically for handheld devices. For this mobile transceiver, it is powered by a 12V DC source, usually from a vehicle. Please disregard the AA battery note for the main unit's power supply.
5. Operating Instructions
5.1 Powering On/Off
Press and hold the power button on the control panel to turn the radio on or off.
5.2 Frequency Selection and Tuning
- Use the VFO (Variable Frequency Oscillator) knob to adjust the frequency.
- The MA1 supports dual display, allowing you to monitor two frequencies simultaneously.

Image 5.1: The control knobs allow for independent adjustment of various settings.
5.3 Mode Selection (FM/AM)
The radio supports FM and AM modes. Refer to the full user manual for specific button presses to switch between modes, including the aviation band reception.
5.4 Transmitting
- Ensure you are on an authorized frequency.
- Press the PTT (Push-To-Talk) button on the speaker microphone to transmit. Release to receive.
- Utilize the TX noise cancellation feature for clear transmissions, especially in noisy environments.
5.5 Adjusting Power Output
The radio offers adjustable power output. Use the 'LOW' button or menu option to switch between high and low power settings as needed.

Image 5.2: The 'LOW' button for adjusting the radio's power output.
5.6 FM Radio Function
The MA1 includes an FM radio function for entertainment. Consult the detailed manual for instructions on how to activate and tune the FM broadcast receiver.

Image 5.3: The MA1 radio's FM broadcast reception capability.
6. Maintenance
- Cleaning: Use a soft, dry cloth to clean the radio's exterior. Do not use harsh chemicals or abrasive cleaners.
- Connections: Periodically check all cable connections for security and signs of wear.
- Environment: Avoid exposing the radio to extreme temperatures, direct sunlight for prolonged periods, or excessive moisture.
- Fuse Replacement: If the radio fails to power on, check the fuses in the power cable. Replace with the correct type and rating (provided spares).
7. Troubleshooting
- No Power:
- Ensure the power cable is securely connected to both the radio and the 12V power source.
- Check the fuses in the power cable. Replace if blown.
- Verify the 12V power source is functioning correctly.
- No Audio:
- Check the volume level.
- Ensure the speaker microphone is properly connected.
- Verify that the squelch level is not set too high.
- Cannot Transmit:
- Ensure the PTT button is fully pressed.
- Check if the frequency is busy or if there are any transmission restrictions (e.g., repeater offset settings).
- Verify antenna connection.
- Poor Reception:
- Check antenna connection and condition.
- Adjust squelch level.
- Ensure you are within range of the transmitting station or repeater.
For further troubleshooting, refer to the comprehensive user manual or contact Retevis customer support.
8. Specifications
| Attribute | Value |
|---|---|
| Brand | Retevis |
| Model Number | EUA9305A |
| Color | Black |
| Number of Channels | 800 |
| Frequency Range | 144-148 MHz, 430-450 MHz (VHF/UHF) |
| Product Dimensions | 14 cm (D) x 21.2 cm (W) x 4.4 cm (H) |
| Power Source | 12V DC (Vehicle Power) |
| Compatible Devices | Retevis RM |
| Country of Origin | China |
9. Warranty and Support
9.1 Manufacturer Warranty
Retevis offers a 2-year warranty for the radio body and a 1-year warranty for accessories. Additionally, a 30-day return policy is provided for returns without specific reason.
9.2 Post-Warranty Service
Beyond the warranty period, maintenance services are still available. Buyers are responsible for any associated costs. For service inquiries, please contact Retevis customer support via Amazon, and a response will be provided within 12 hours.


