
1. Introduction
This manual provides essential information for the safe and effective use of your Hatteker 6-in-1 Multi-Function Grooming Kit. This versatile electric grooming device is designed for body grooming, hair cutting, beard trimming, body hair shaving, and precision detailing. Please read these instructions carefully before first use and retain them for future reference.
2. Product Overview
The Hatteker 6-in-1 Multi-Function Grooming Kit includes a main trimmer unit and a range of interchangeable attachments and accessories to meet various grooming needs.
- Multi-Functionality: Designed for body grooming, hair cutting, beard trimming, body hair shaving, and precision detailing.
- Hypoallergenic Blades: Features hypoallergenic stainless steel blades, suitable for sensitive areas.
- Digital Display: Real-time battery indicator and travel lock function.
- Rechargeable: Cordless operation with extended battery life and USB charging.
- Waterproof Design: Fully washable for easy cleaning.
- Storage: Includes two charging and storage docks for organization.


3. Safety Information
General safety instructions apply. Keep out of reach of children. Do not use near water. Avoid contact with eyes. Always unplug before cleaning. Do not ingest or inhale small parts. Always follow the instructions provided with the product.
4. Setup
4.1 Initial Charging
- Before first use, fully charge the trimmer. Connect the USB charging cord to the trimmer and a compatible USB power source (e.g., wall adapter, computer, power bank).
- The LED display will show the battery percentage, indicating charging progress. A full charge takes approximately 1.5 hours and provides up to 90 minutes of use.
- The trimmer can be charged directly via the USB cord or by placing it in one of the provided charging docks.
4.2 Attaching and Detaching Trimmer Heads
- Ensure the trimmer is turned off before changing heads.
- To attach a head: Align the desired trimmer head with the main unit and press it down until it clicks securely into place.
- To detach a head: Gently push the head upwards from the front of the trimmer until it releases.

5. Operating Instructions
5.1 General Operation
- Select and attach the appropriate trimmer head and guide comb for your desired grooming task.
- Press the power button to turn on the trimmer. The LED display will show the remaining battery life.
- Gently glide the trimmer against the direction of hair growth for optimal results.
- After use, press the power button to turn off the trimmer.
5.2 Using Specific Attachments
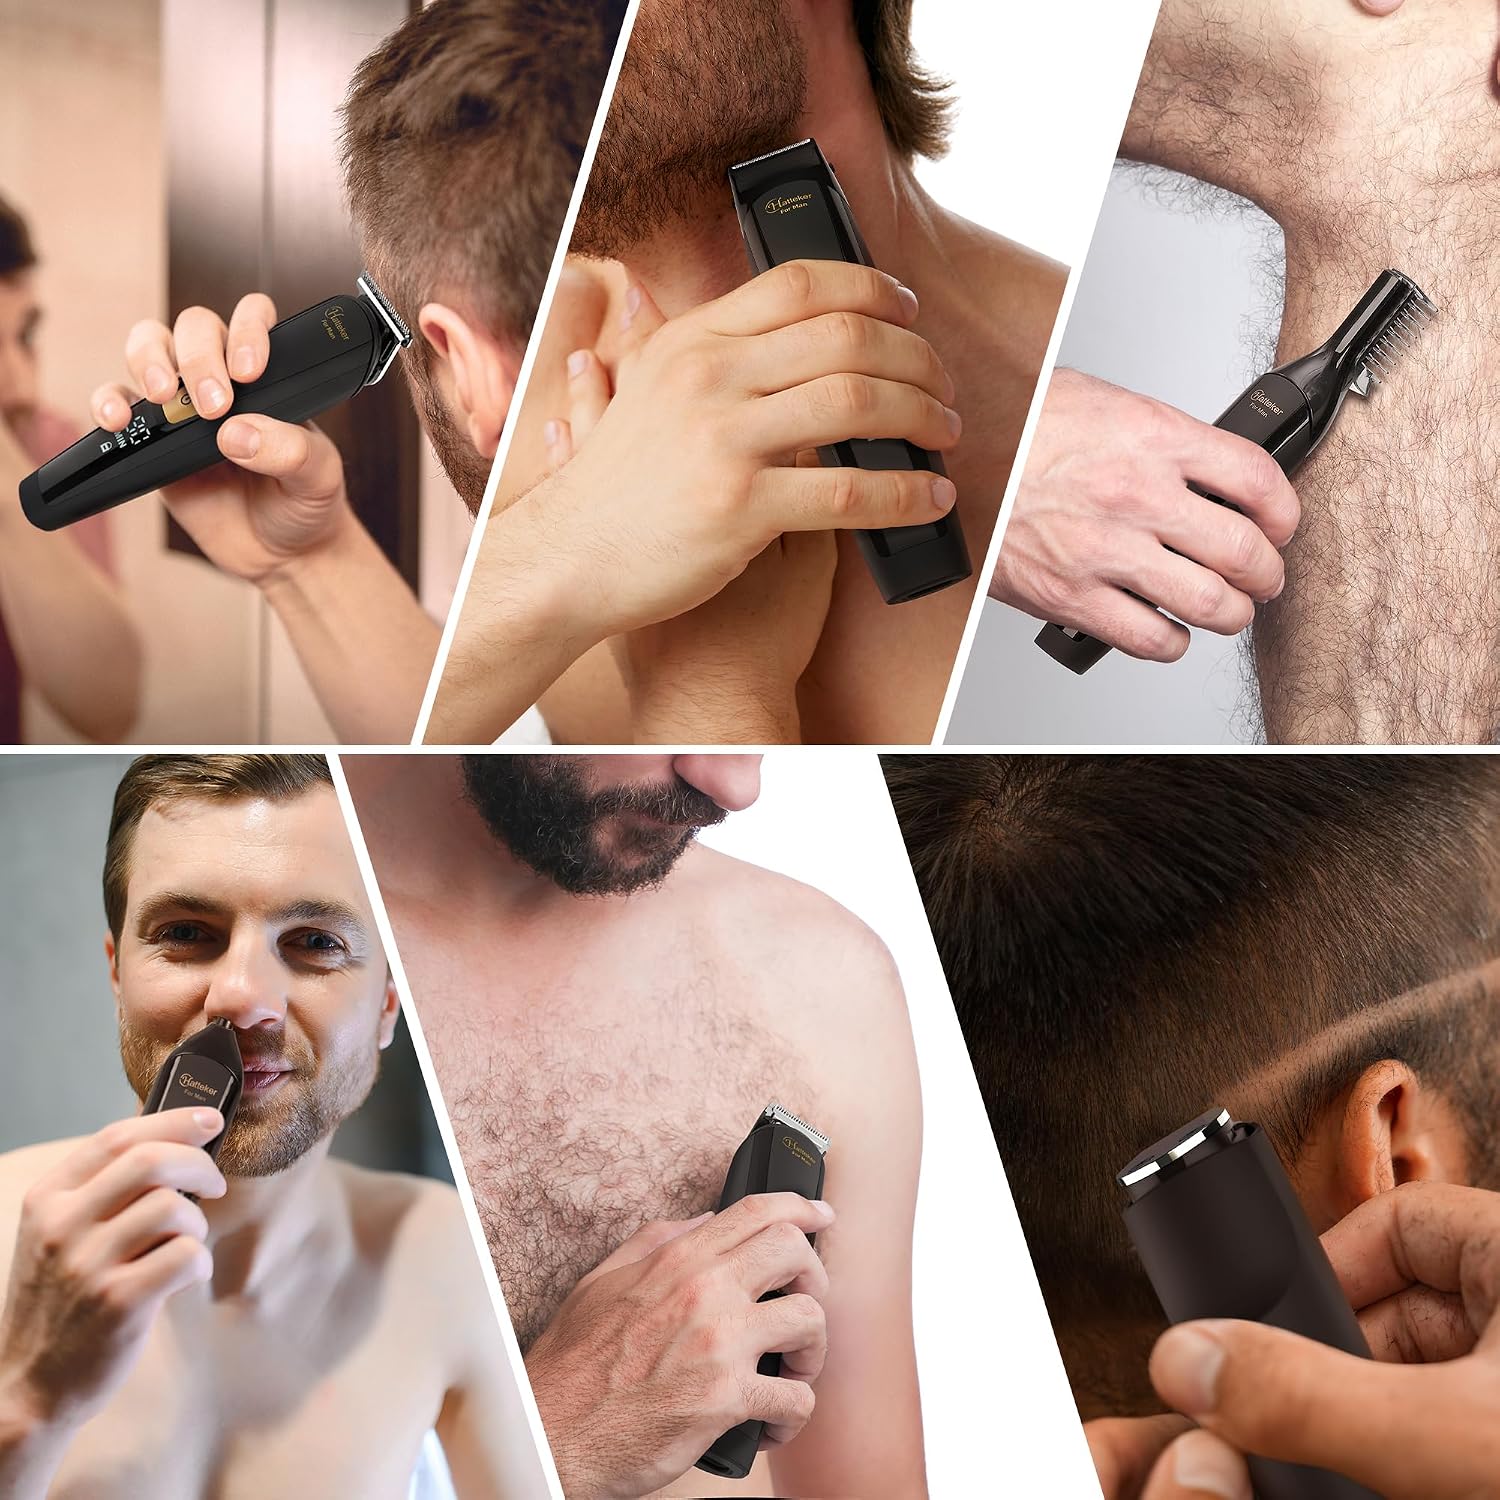
- Full-Size Trimmer Head: Ideal for beard, hair, and body trimming. Use with guide combs (3mm/7mm) for desired lengths.
- Precision Trimmer: For detailed styling, sharp lines, and edging.
- Nose Hair Trimmer: For safely trimming nose and ear hair.
- Micro Shaver: For a close, smooth finish on small areas.
- Body Trimmer: Specifically designed for sensitive areas like the bikini line, underarms, and groin, with hypoallergenic stainless steel blades to prevent nicks and irritation.
- Hair Clipper: For general hair cutting, use with various length guide combs (3mm/6mm/9mm/12mm/15mm) and left/right ear taper combs.
5.3 Travel Lock Function
To prevent accidental activation during travel, the trimmer features a travel lock. Press and hold the power button for three seconds to activate or deactivate the lock. The lock icon on the LED display will indicate its status.

5.4 Product Demonstration Video
6. Maintenance
6.1 Cleaning
- The trimmer features an IPX6 waterproof design, allowing for easy cleaning under running water.
- After each use, turn off the trimmer and detach the head.
- Rinse the trimmer head and blades under running water to remove hair and debris. Use the included cleaning brush for thorough cleaning if necessary.
- Ensure the trimmer and attachments are completely dry before reattaching or storing.

6.2 Storage
Store the trimmer and all attachments in the provided charging/storage docks or the travel bag to keep them organized and protected. Ensure the trimmer is fully charged before long-term storage.
7. Troubleshooting
- Trimmer not turning on: Ensure the battery is charged. Check if the travel lock function is activated (indicated by a lock icon on the LED display); deactivate by pressing and holding the power button for three seconds.
- Reduced performance: Clean the blades and trimmer head thoroughly. Ensure no hair or debris is obstructing the blades. The blades may require lubrication (refer to manufacturer guidelines if oil is provided).
- Charging issues: Verify the USB cable is securely connected to both the trimmer/dock and the power source. Try a different USB port or adapter.
8. Specifications
| Feature | Detail |
|---|---|
| Model Number | 661601UK |
| Brand | Hatteker |
| Power Source | Battery Powered |
| Item Weight | 780 Grams |
| Package Dimensions | 9.53 x 8.7 x 3.07 inches |
| Batteries | 1 AAA batteries required (included) |
| Recommended Uses | Back Hair, Chest, Ear, Face, Leg, Mustache, Nose, Pubic, Under Arm |
| Color | Black2 |
9. Warranty and Support
For warranty information or technical support, please refer to the documentation included with your product packaging or contact Hatteker customer service directly. Keep your purchase receipt as proof of purchase.

