
1. Introduction
This manual provides essential information for the safe and efficient operation, installation, and maintenance of your Durastar DRTHC122XNA1 Through-the-Wall Air Conditioner. Please read these instructions thoroughly before installation and use, and retain them for future reference.
2. Safety Information
Important Safety Instructions:
- Always connect the unit to a properly grounded electrical outlet with the correct voltage (208V / 230V).
- Do not operate the unit with a damaged power cord or plug. If the cord is damaged, it must be replaced by qualified service personnel.
- Ensure the unit is installed securely in a wall opening according to local electrical and building codes.
- Do not block air intake or exhaust vents. Maintain clear space around the unit for proper airflow.
- Turn off and unplug the unit before performing any maintenance or cleaning.
- Keep children and pets away from the unit during operation.
- Do not attempt to repair or modify the unit yourself. Refer all servicing to qualified personnel.
3. Product Overview
The Durastar DRTHC122XNA1 is a 12,000 BTU through-the-wall air conditioner designed for cooling and supplemental heating. It features a remote control for convenient operation.
Key Components:
- Air Conditioner Unit
- Remote Control
- Air Filter (internal)
Features:
- 12,000 BTU Cooling Capacity
- 10,600 BTU Supplemental Heating Capacity
- Covers areas of approximately 450-550 sq. ft.
- Multiple operating modes: Cool, Heat, Fan, Dry, Auto
- Adjustable fan speeds
- Programmable timer
- Sleep mode
- Remote control operation
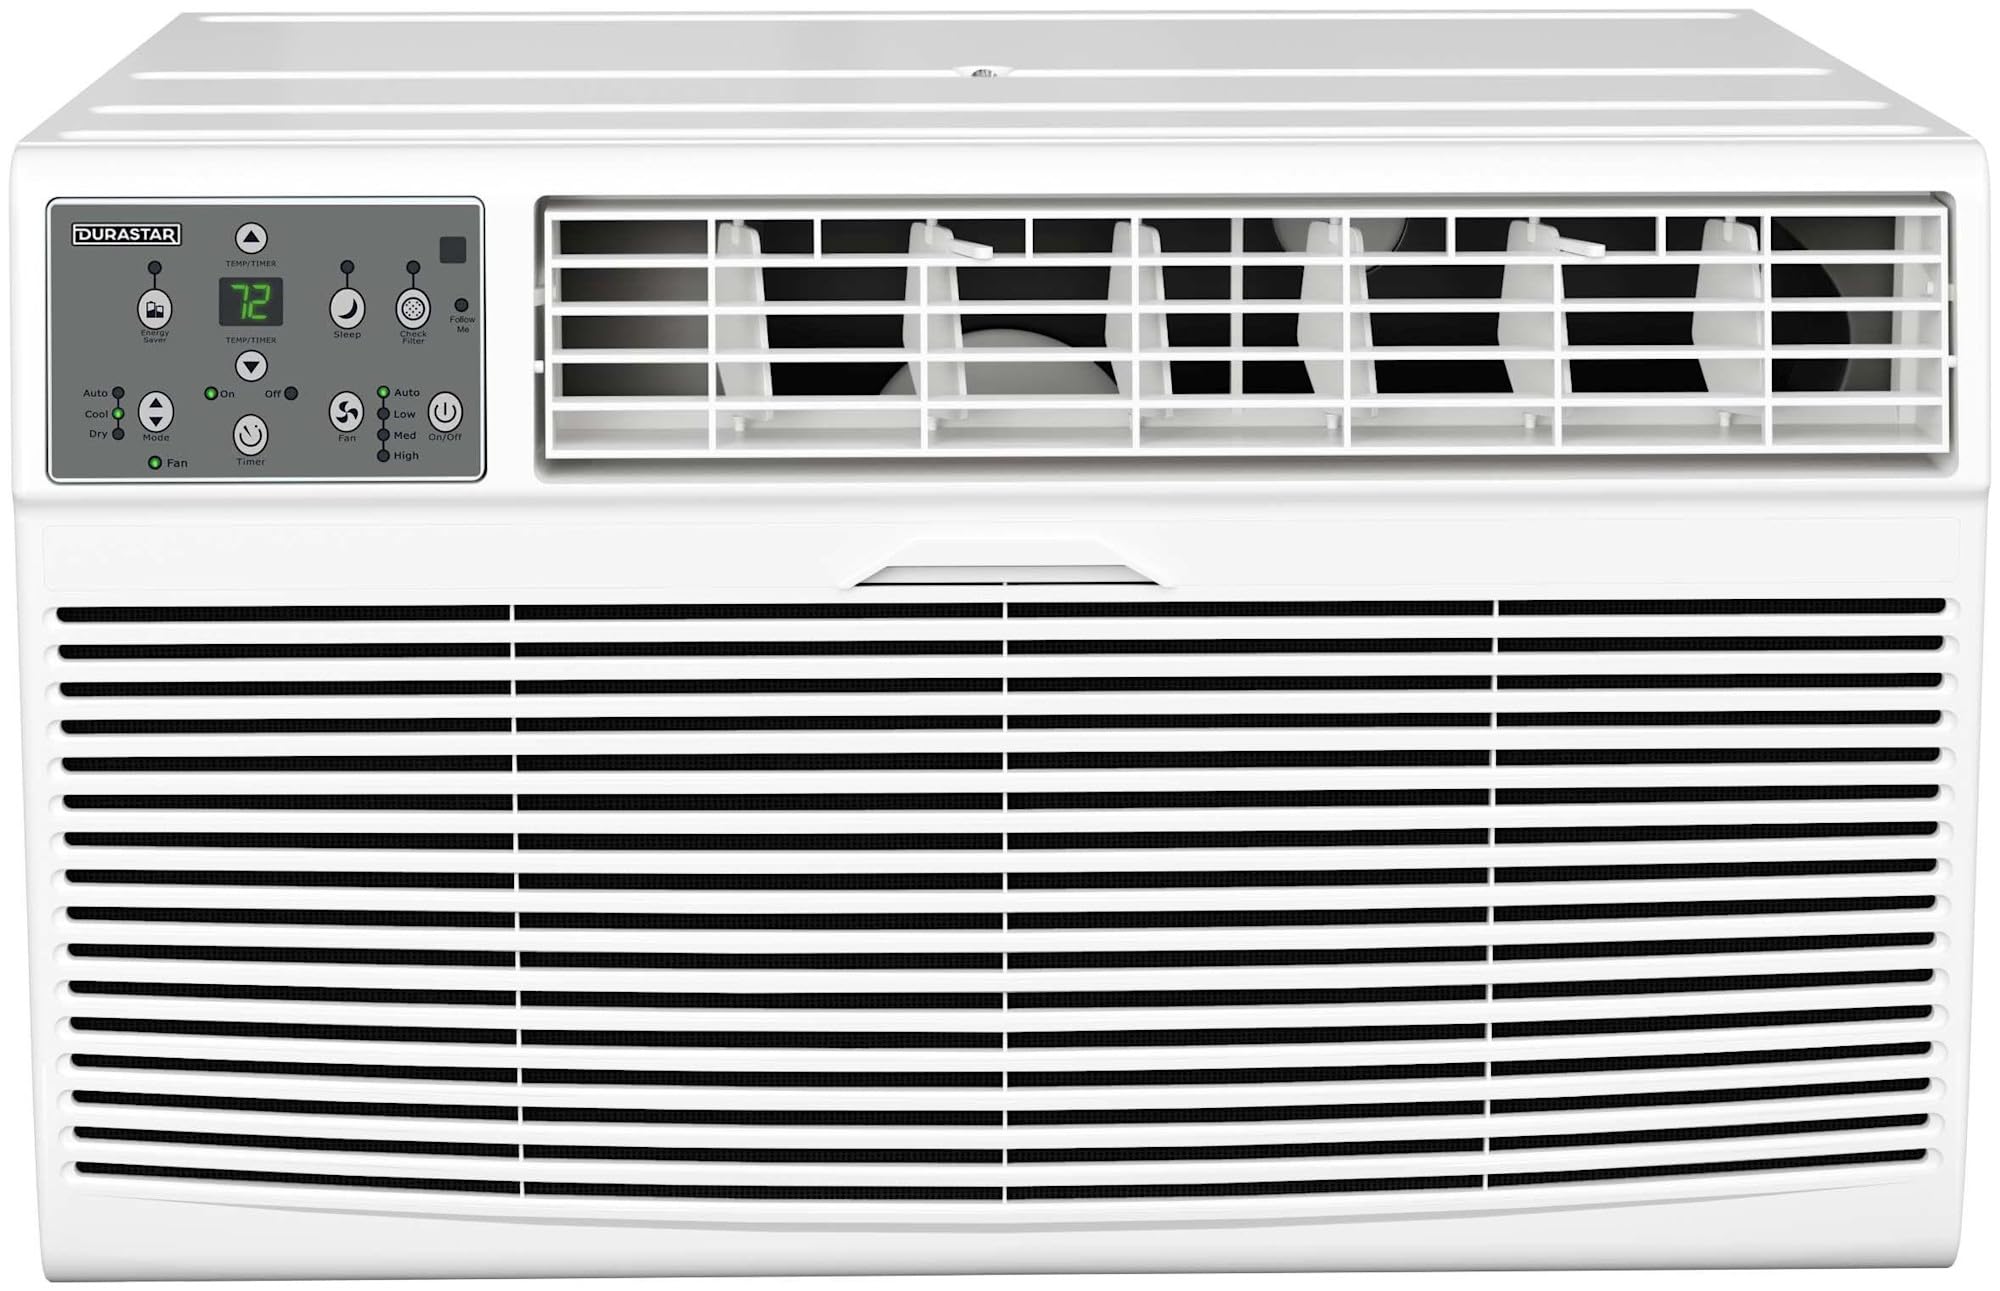
Image 3.1: Front view of the Durastar DRTHC122XNA1 Through-the-Wall Air Conditioner unit.

Image 3.2: The remote control for the Durastar DRTHC122XNA1 Air Conditioner, showing various function buttons and the display.
4. Setup and Installation
The DRTHC122XNA1 is designed for through-the-wall installation. A wall sleeve (Durastar DRWTCSLV) is required and sold separately for proper installation. Professional installation is recommended.
4.1 Site Selection
- Choose a wall location that can support the unit's weight (approximately 75 lbs).
- Ensure there are no obstructions to airflow both inside and outside the room.
- The unit requires a dedicated 208V / 230V electrical outlet with a NEMA 6-20P plug type. Ensure the outlet is within reach of the power cord.

Image 4.1: The air conditioner installed in a wall, showing the required NEMA 6-20P electrical plug type and unit dimensions.
4.2 Wall Opening Dimensions
The unit dimensions are approximately 20.25 inches (Depth) x 24.25 inches (Width) x 14.5 inches (Height). The wall opening should accommodate these dimensions, along with the wall sleeve if used, ensuring a snug fit and proper sealing to prevent air leakage.

Image 4.2: Exterior view of the air conditioner installed through a wall, demonstrating proper outdoor clearance.
4.3 Electrical Connection
This unit operates on 208V / 230V AC power. It comes with a NEMA 6-20P plug. Ensure your electrical circuit and outlet are compatible and properly grounded. Do not use extension cords or adapter plugs.
5. Operating Instructions
The unit can be operated using the control panel on the unit or the included remote control.
5.1 Remote Control Functions
- ON/OFF: Powers the unit on or off.
- MODE: Cycles through operating modes: Auto, Cool, Dry, Heat, Fan.
- TEMP ▲/▼: Adjusts the desired temperature setting.
- FAN SPEED: Selects fan speed: High, Medium, Low, Auto.
- TIMER ON/OFF: Sets the unit to turn on or off automatically after a set period.
- SLEEP: Activates sleep mode for quiet operation and energy saving during sleep.
- FOLLOW ME: Allows the remote control to act as a thermostat, sensing the temperature at its location.
- ℃/℉: Toggles temperature display between Celsius and Fahrenheit.
- LED DISPLAY: Turns the unit's LED display on or off.
- ENERGY SAVER: Activates energy-saving features.
5.2 Operating Modes
- COOL Mode: Provides cooling. Set desired temperature and fan speed.
- HEAT Mode: Provides supplemental heating. Set desired temperature and fan speed.
- FAN Mode: Circulates air without cooling or heating. Select desired fan speed.
- DRY Mode: Reduces humidity in the room. The fan speed is automatically controlled.
- AUTO Mode: The unit automatically selects cooling, heating, or fan-only operation based on the room temperature and your set temperature.
6. Maintenance
Regular maintenance ensures optimal performance and extends the lifespan of your air conditioner. Always unplug the unit before cleaning or servicing.
6.1 Air Filter Cleaning
The air filter should be cleaned every two weeks or more frequently depending on usage and air quality.
- Open the front panel of the unit.
- Carefully remove the air filter.
- Wash the filter with warm, soapy water. Rinse thoroughly.
- Allow the filter to air dry completely before reinstalling. Do not expose to direct sunlight or heat.
- Reinsert the dry filter and close the front panel.
6.2 Exterior Cleaning
Wipe the exterior of the unit with a soft, damp cloth. Do not use harsh cleaners, waxes, or polishes that could damage the finish or internal components.
6.3 Seasonal Storage
If the unit will not be used for an extended period, clean the air filter and ensure the unit is dry. Store the unit in a dry, protected area.
7. Troubleshooting
Before contacting customer support, review the following common issues and solutions.
| Problem | Possible Cause | Solution |
|---|---|---|
| Unit does not turn on | No power; Power cord unplugged; Circuit breaker tripped | Check power connection; Ensure plug is fully inserted; Reset circuit breaker |
| Insufficient cooling/heating | Dirty air filter; Temperature setting too high/low; Blocked air vents; Room size exceeds capacity | Clean air filter; Adjust temperature setting; Clear obstructions; Ensure unit matches room size |
| Unusual noise | Loose parts; Unit not level; Debris in fan | Check for loose components; Ensure unit is level; Inspect for debris (unplug first) |
| Remote control not working | Dead batteries; Obstruction between remote and unit | Replace batteries; Remove obstructions; Ensure remote is pointed at the unit |
8. Specifications
| Specification | Detail |
|---|---|
| Model Number | DRTHC122XNA1 |
| Cooling Capacity | 12,000 BTU |
| Heating Capacity | 10,600 BTU (Supplemental) |
| Coverage Area | 450-550 Sq. Ft. |
| Voltage | 208V / 230V |
| Wattage | 1495 watts |
| Item Weight | 75 pounds |
| Product Dimensions (D x W x H) | 20.25 x 24.25 x 14.5 inches |
| Sound Level | 65.4 Decibels |
| Installation Method | Through The Wall |
| Special Features | Remote Controlled |
| Color | White |
9. Warranty Information
This Durastar DRTHC122XNA1 Air Conditioner comes with a 2-Year Manufacturer Warranty. Please refer to the warranty documentation included with your product for specific terms, conditions, and registration details. Keep your proof of purchase for warranty claims.
10. Customer Support
For technical assistance, troubleshooting beyond this manual, or warranty inquiries, please contact Durastar customer support. Visit the official Durastar website for the most current contact information and support resources.
Durastar Official Website: Visit the Durastar Store on Amazon


