
1. Introduction
The Klein Tools CL810 Pro Digital Clamp Meter is a versatile and accurate instrument designed for professional electrical measurements. It features auto-ranging capabilities, True RMS for precise readings of complex signals, and a variety of measurement functions including AC/DC current, voltage, resistance, continuity, frequency, inrush, and capacitance. This manual provides detailed instructions for the safe and effective use of your CL810 clamp meter.
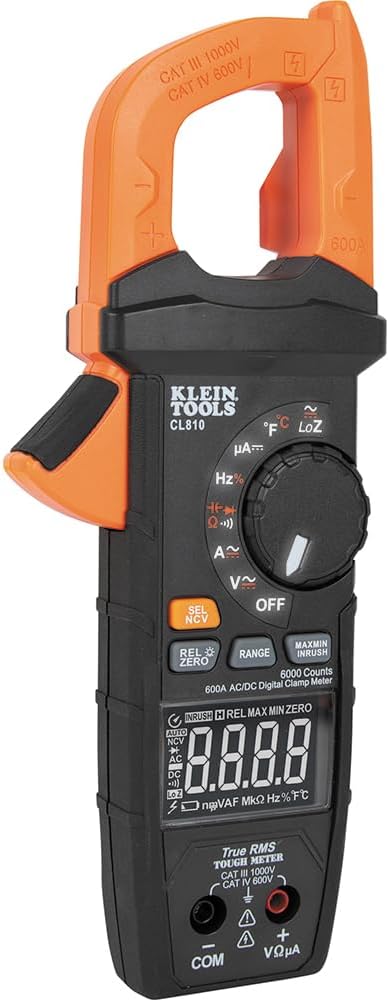
Image 1.1: Front view of the Klein Tools CL810 Pro Digital Clamp Meter.
2. Safety Information
Always adhere to safety precautions when using electrical testing equipment. Failure to follow these instructions can result in serious injury or death.
- Read and understand all instructions in this manual before use.
- Wear appropriate personal protective equipment (PPE), including safety glasses and insulated gloves.
- Do not use the meter if it appears damaged or is operating abnormally.
- Verify meter operation on a known live circuit before and after use.
- Adhere to the CAT III 1000V and CAT IV 600V safety ratings.
- Do not attempt to measure current on uninsulated conductors.
- Keep fingers behind the finger guards on the test leads during measurements.

Image 2.1: Close-up of the clamp jaw, showing the safety warning to test on a known live circuit before use.
3. Package Contents
Your Klein Tools CL810 Pro Digital Clamp Meter package includes the following items:
- CL810 Digital Clamp Meter
- Carrying Case
- Test Leads with CAT III/CAT IV Safety Caps (1 red, 1 black)
- Thermocouple (K-type)
- 3 x AAA Batteries (included and pre-installed)
- Instruction Manual
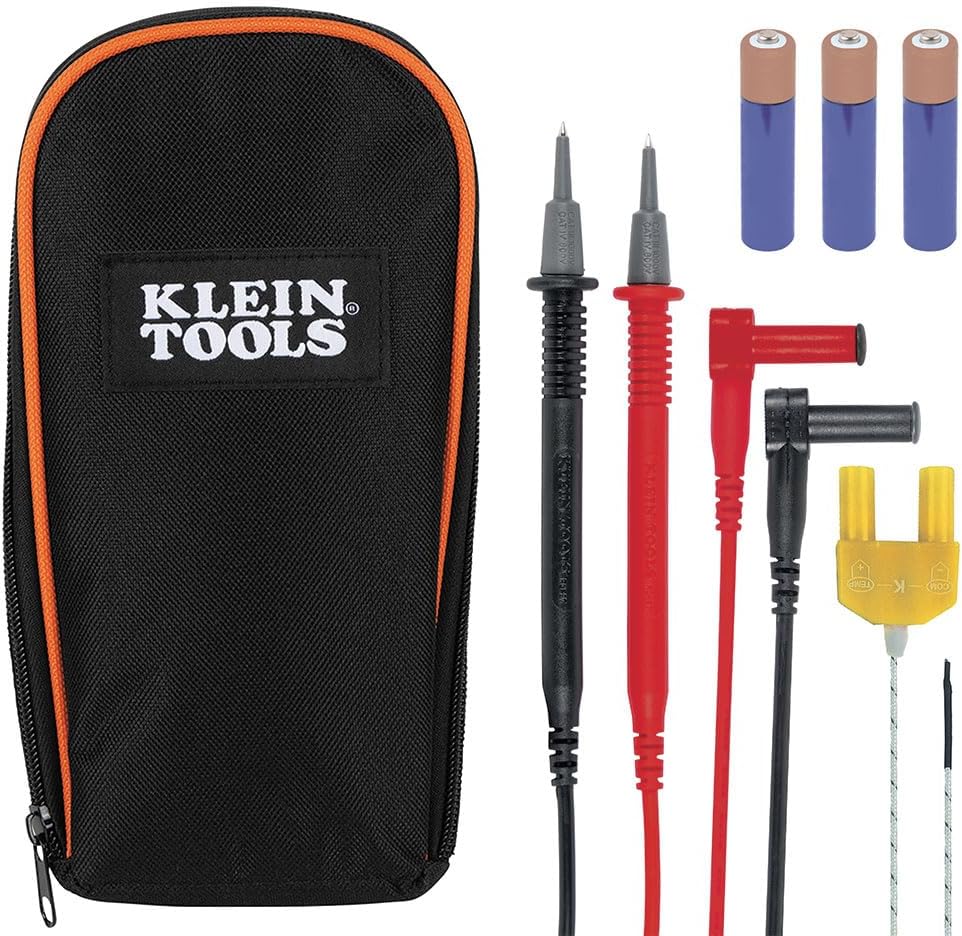
Image 3.1: The CL810 clamp meter with its included carrying case, test leads, thermocouple, and AAA batteries.
4. Product Features
The CL810 clamp meter is equipped with several features to enhance its functionality and user experience:
- True RMS Technology: Provides accurate readings for both sinusoidal and non-sinusoidal waveforms.
- LoZ (Low Impedance) Mode: Helps eliminate ghost voltages for more reliable voltage measurements.
- Transflective Reverse-Contrast Display: Ensures clear visibility of readings in various lighting conditions, from bright sunlight to dim environments.

Image 4.1: The CL810's display provides clear readings in both bright sunlight and indoor conditions.
- Illuminated Dial: The function selector dial illuminates, allowing for easy selection of measurement modes in low-light conditions.
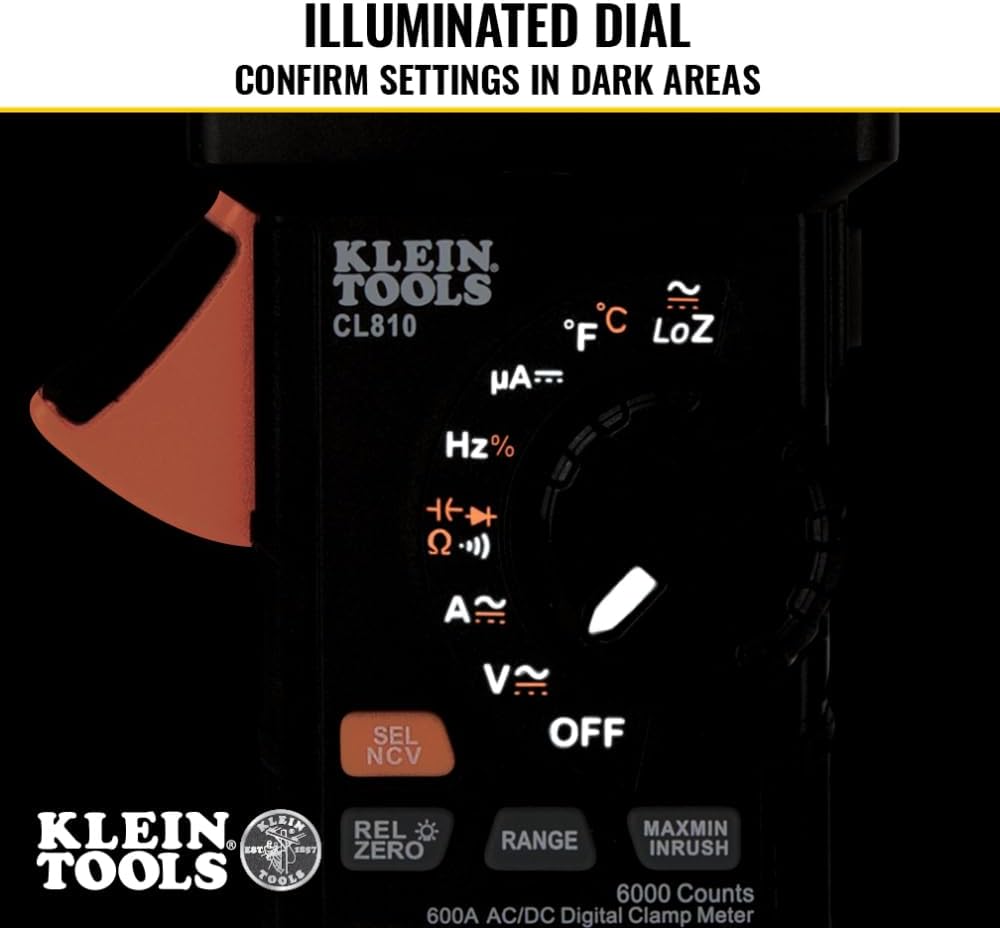
Image 4.2: The illuminated dial helps confirm settings when working in dimly lit areas.
- Large Jaw Opening: The clamp jaw opens wide (1.4 inches) to accommodate thicker cables, simplifying current measurements.
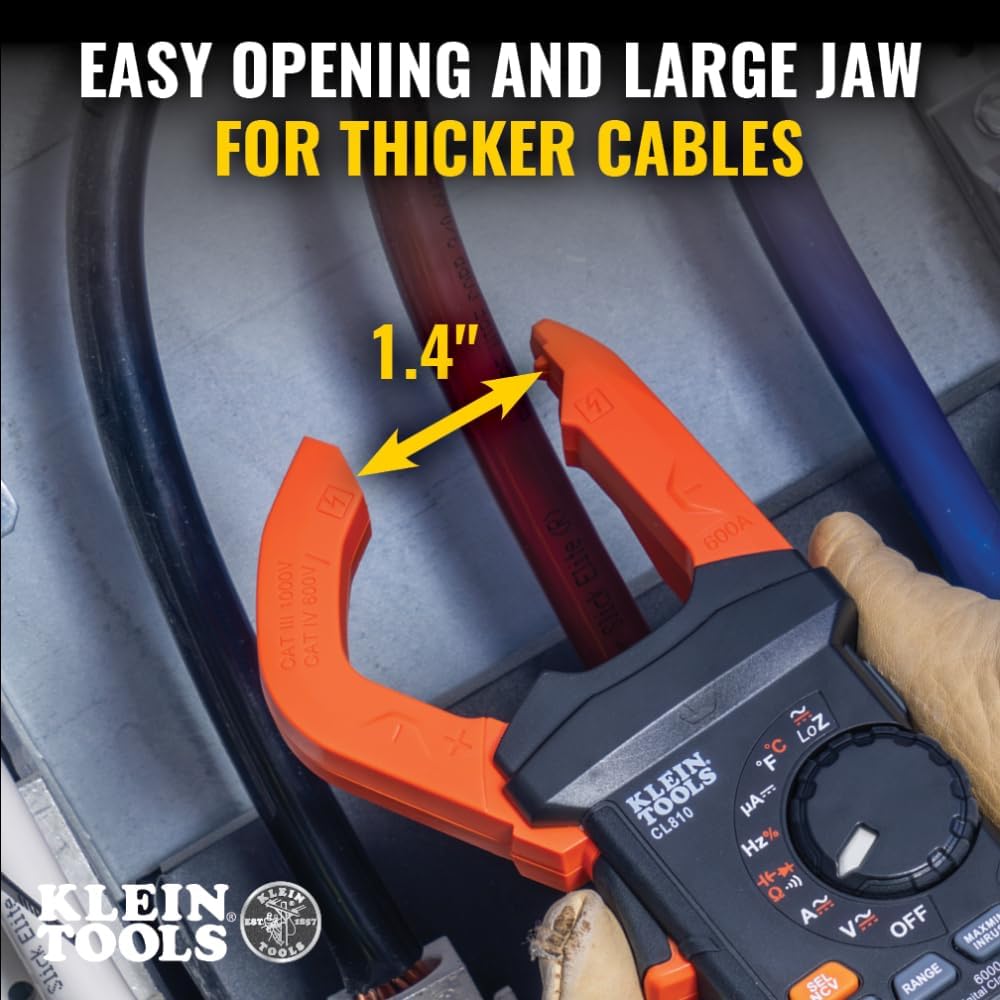
Image 4.3: The clamp meter's large jaw opening allows for easy clamping around thicker electrical cables.
- Built-in Worklight: An integrated worklight illuminates the measurement area, improving visibility in dark or confined spaces.
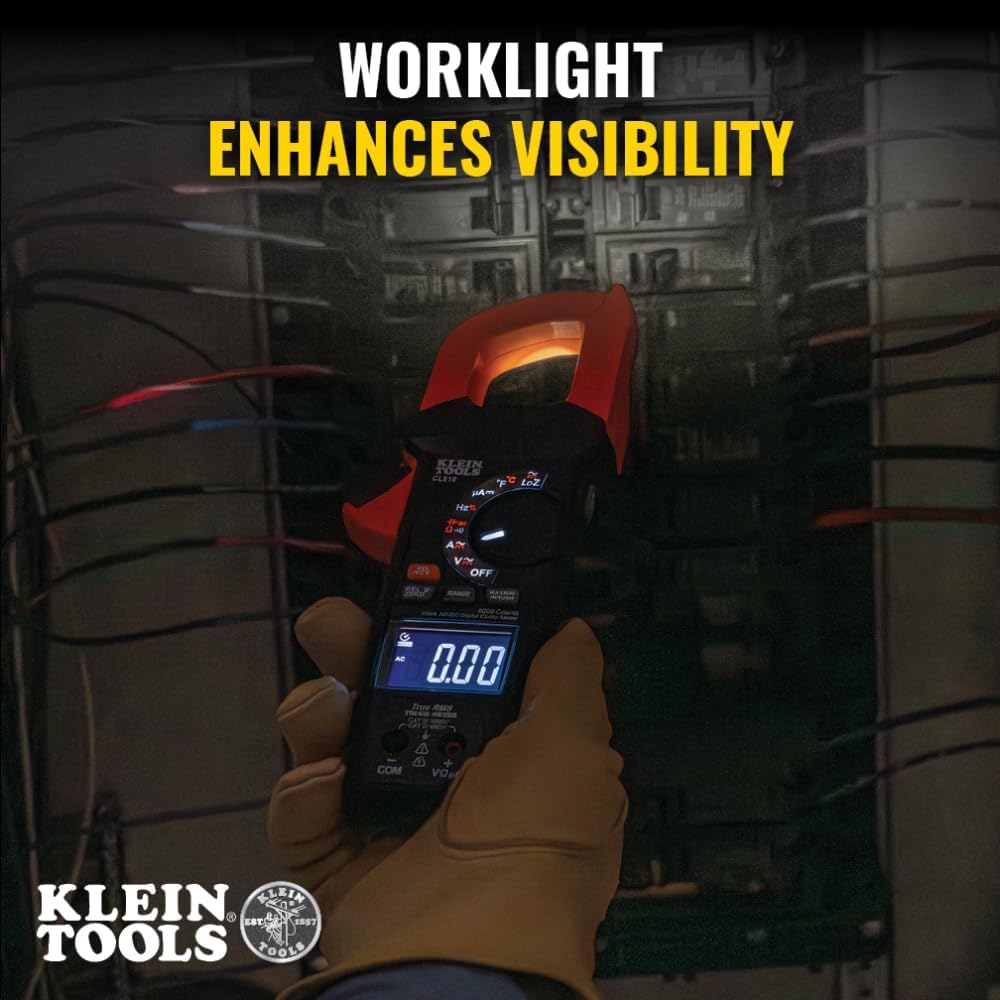
Image 4.4: The built-in worklight enhances visibility when working in dark environments, such as inside an electrical panel.
- Non-Contact Voltage (NCV) Detection: Integrated into the clamp jaw, providing audible and visual alerts that intensify as the meter approaches a voltage source.
- Additional Functions: Includes Max/Min values, relative mode, DC zero function, data hold, and auto power-off.
- Durable Design: Features 6.6-Foot (2 m) drop protection and IP40 ingress protection for reliability in demanding environments.
5. Setup
5.1. Battery Installation
The CL810 clamp meter comes with three AAA batteries pre-installed. If replacement is needed:
- Ensure the meter is OFF and disconnect all test leads.
- Locate the battery compartment on the back of the meter.
- Use a screwdriver to open the battery compartment cover.
- Remove the old batteries and insert three new AAA batteries, observing correct polarity (+/-).
- Replace the battery compartment cover and secure it with the screw.
6. Operating Instructions
6.1. General Operation
To turn the meter ON, rotate the function selector dial from the OFF position to the desired measurement function. The meter will automatically power off after approximately 15 minutes of inactivity to conserve battery life. To turn the meter OFF, rotate the dial back to the OFF position.
6.2. Measuring AC/DC Current (Clamp Function)
Use the clamp jaw to measure current without breaking the circuit.
- Rotate the function selector dial to the A~ (AC Current) or A= (DC Current) position.
- Press the clamp trigger to open the jaw.
- Place the jaw around a single conductor. Ensure the jaw is fully closed.
- Read the current value on the display.
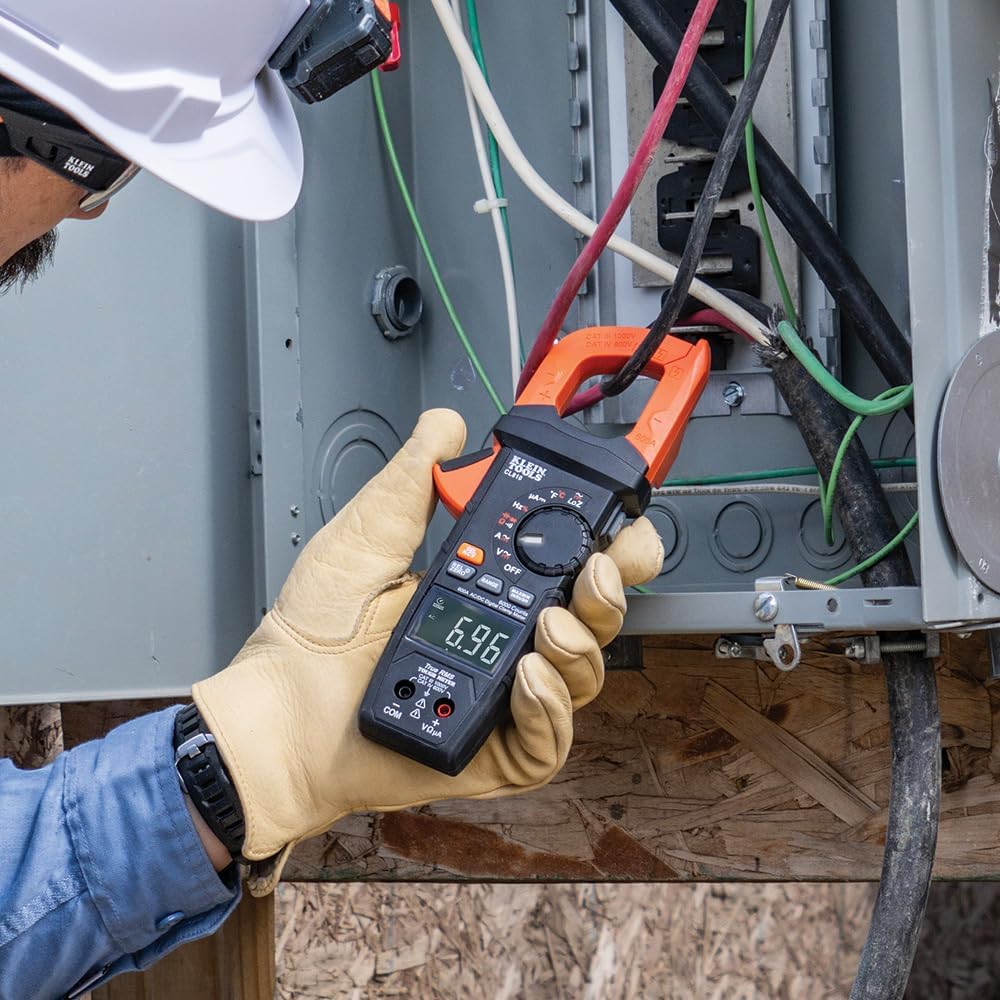
Image 6.1: An electrician using the CL810 clamp meter to measure AC current on a conductor.
6.3. Measuring Voltage (AC/DC)
Use the included test leads for voltage measurements.
- Insert the black test lead into the COM jack and the red test lead into the VΩµA jack.
- Rotate the function selector dial to the V~ (AC Voltage) or V= (DC Voltage) position.
- Connect the test leads to the circuit points where voltage is to be measured.
- Read the voltage value on the display.
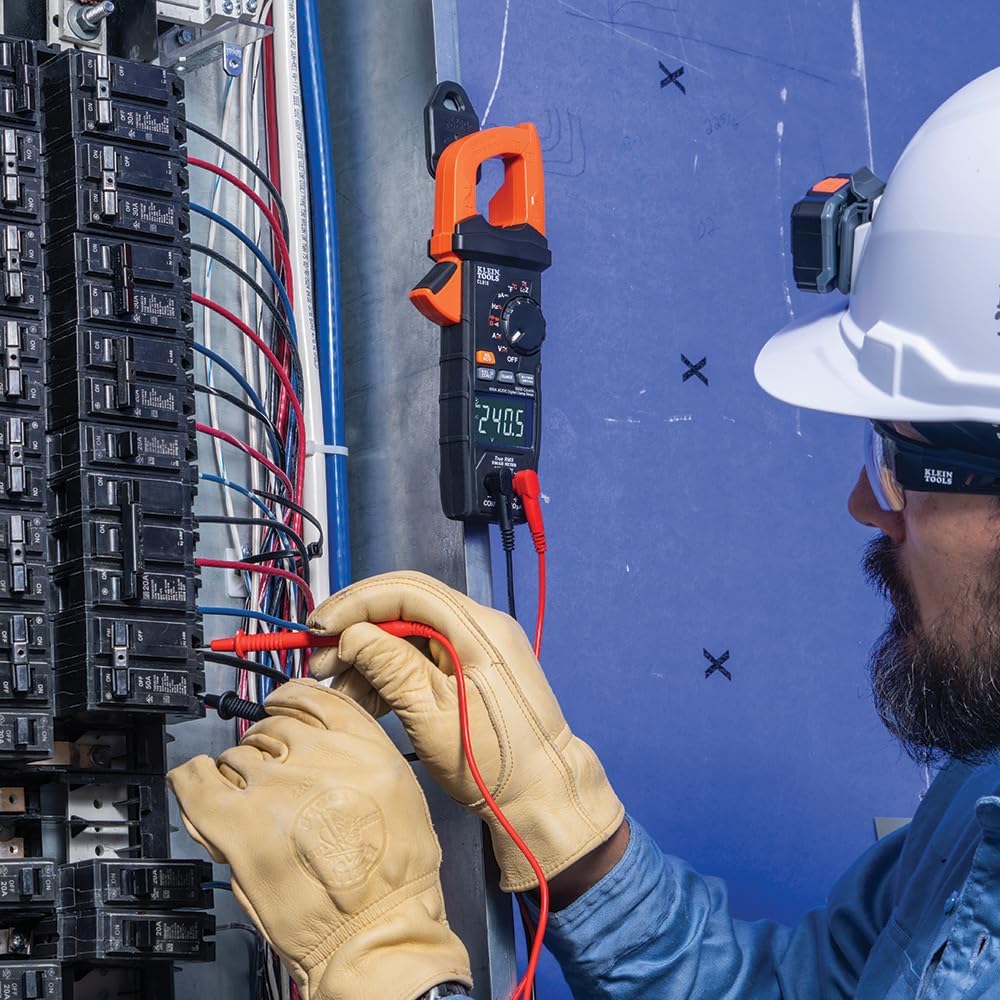
Image 6.2: An electrician using the CL810 with test leads to measure voltage in an electrical panel.
6.4. Resistance, Continuity, Capacitance, Frequency, Diode Test
These functions are selected by rotating the dial to the corresponding symbols (Ω for resistance, )) for continuity, etc.) and using the test leads as described for voltage measurement. For continuity, an audible tone indicates a continuous circuit.
6.5. Temperature Measurement
The CL810 can measure temperature using the included K-type thermocouple.
- Rotate the function selector dial to the °F/°C position.
- Insert the thermocouple into the VΩµA and COM jacks, observing polarity.
- Place the thermocouple tip on the object or area to be measured.
- Read the temperature on the display. Press the SEL button to switch between Fahrenheit and Celsius.
6.6. LoZ (Low Impedance) Mode
The LoZ mode provides a low input impedance to drain ghost voltages, ensuring more accurate voltage readings in circuits where induced voltages might be present. Activate this mode by pressing the SEL button when in a voltage measurement range, if available.
6.7. NCV (Non-Contact Voltage) Detection
The NCV function allows for quick detection of AC voltage without direct contact.
- Rotate the function selector dial to the NCV position.
- Move the tip of the clamp meter near the conductor or outlet.
- The meter will emit audible beeps and the NCV indicator light will flash, intensifying as it gets closer to a voltage source.
6.8. Inrush Current Measurement
The Inrush function measures the initial surge of current when a device is first turned on, which is useful for diagnosing motor startup issues. Activate this function by pressing the MAX/MIN/INRUSH button when in an AC current range.
6.9. Max/Min, Relative Mode, Data Hold, DC Zero
- MAX/MIN: Press the MAX/MIN/INRUSH button to cycle through maximum, minimum, and current readings.
- Relative Mode (REL): Press the REL/ZERO button to store the current reading as a reference, displaying subsequent measurements relative to this value.
- Data Hold (HOLD): Press the HOLD button to freeze the current reading on the display. Press again to release.
- DC Zero: In DC current mode, press the REL/ZERO button to zero out any offset before taking a measurement.
7. Maintenance
7.1. Cleaning
Wipe the meter with a clean, dry, lint-free cloth. Do not use abrasive cleaners or solvents. Ensure the meter is off and disconnected from all circuits before cleaning.
7.2. Storage
When not in use, store the meter and its accessories in the provided carrying case in a cool, dry place, away from direct sunlight and extreme temperatures. Remove batteries if storing for extended periods to prevent leakage.
7.3. Battery Replacement
Refer to Section 5.1 for battery replacement instructions. Replace batteries promptly when the low battery indicator appears on the display.
8. Troubleshooting
If you encounter issues with your CL810 clamp meter, refer to the following common problems and solutions:
- No Display/Meter Does Not Turn On:
- Check battery installation and polarity.
- Replace batteries if they are low or depleted.
- Inaccurate Readings:
- Ensure test leads are fully inserted and making good contact.
- Verify the correct measurement function is selected.
- For current measurements, ensure the clamp jaw is fully closed around a single conductor.
- Consider using LoZ mode for voltage measurements to eliminate ghost voltages.
- NCV Not Detecting Voltage:
- Ensure the NCV function is selected.
- Move the meter closer to the voltage source.
- Verify the voltage source is active.
9. Specifications
| Specification | Value |
|---|---|
| Brand | KLEIN TOOLS |
| Model Number | CL810 |
| Measurement Type | Multimeter (Clamp Meter) |
| AC/DC Current | Up to 600A |
| AC/DC Voltage | Up to 1000V |
| Resistance | Yes |
| Capacitance | Yes |
| Frequency/Duty Cycle | Yes |
| Temperature | Yes (via thermocouple) |
| Diode Test | Yes |
| Continuity | Yes |
| True RMS | Yes |
| LoZ Mode | Yes |
| NCV Detection | Yes |
| Inrush Current | Yes |
| Display | Transflective Reverse-Contrast LCD, 6000 Counts |
| Power Source | 3 x AAA Batteries |
| Drop Protection | 6.6 Feet (2 m) |
| Ingress Protection | IP40 |
| Dimensions (L x W x H) | 9.01 x 3.47 x 1.18 inches |
| Item Weight | 12.96 ounces |
10. Warranty and Support
Klein Tools products are manufactured to high standards of quality and durability. For information regarding warranty coverage, product registration, or technical support, please visit the official Klein Tools website or contact their customer service department. Keep your purchase receipt as proof of purchase.
Official Klein Tools Website: www.kleintools.com


