
1. Introduction
The MSI PRO A620M-B is a high-performance motherboard designed for AMD Ryzen 7000 series processors, offering a robust foundation for your computing needs. This manual provides essential information for the proper setup, operation, maintenance, and troubleshooting of your motherboard, ensuring optimal performance and longevity.
Key Features:
- Fast and efficient performance for demanding applications.
- Multiple ports for comprehensive connectivity, supporting a wide range of peripherals.
- Intuitive operation and easy setup, simplifying the build process.
- Option to upgrade and expand, providing future-proofing for your system.
- Robust design ensuring durability and stable operation.
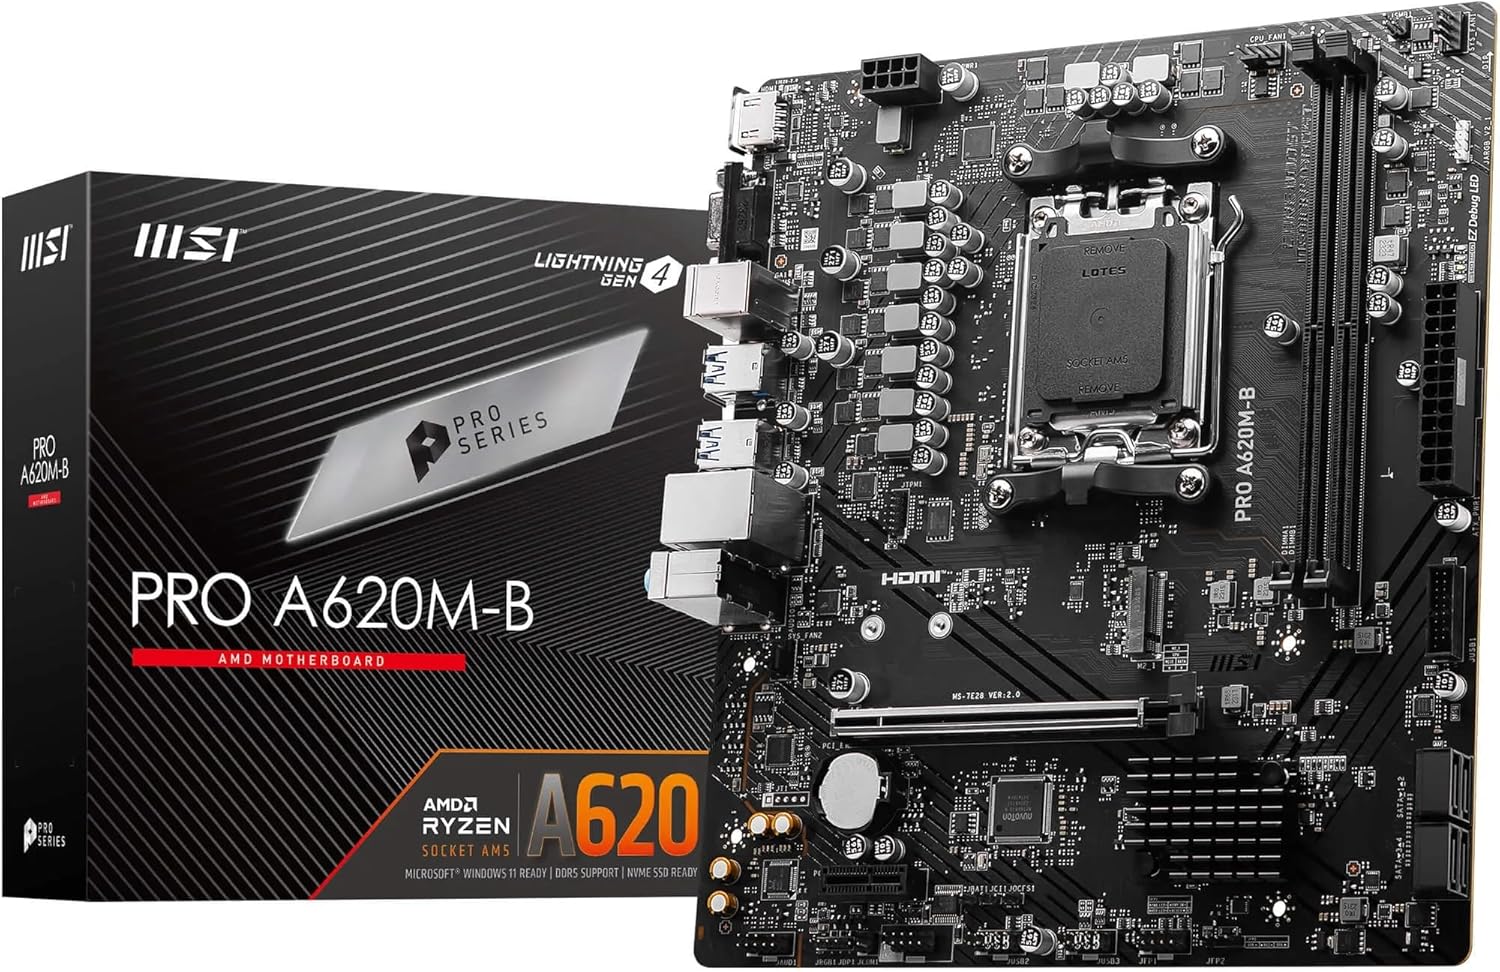
Image: The MSI PRO A620M-B motherboard displayed alongside its retail packaging, highlighting the product's design and branding.
2. Setup and Installation
Proper installation is crucial for the stability and performance of your system. Follow these steps carefully.
2.1 Unpacking and Pre-installation
Before beginning installation, ensure you have a clean, static-free workspace. It is recommended to wear an anti-static wrist strap.

Image: The MSI PRO A620M-B motherboard shown with its essential accessories, including the I/O Shield, SATA cable, and M.2 screw, which are typically found in the retail package.
Included Components:
- MSI PRO A620M-B Motherboard
- I/O Shield
- SATA Cable(s)
- M.2 Screw(s)
- User Manual (this document)
2.2 Component Installation
Install components onto the motherboard before mounting it into the PC case.

Image: A direct overhead view of the MSI PRO A620M-B motherboard, clearly showing the layout of the CPU socket, RAM slots, PCIe slots, and various connectors.
CPU Installation (AMD AM5 Socket):
- Locate the AM5 CPU socket on the motherboard.
- Lift the retention lever to open the socket.
- Carefully align the CPU with the socket, matching the golden triangle on the CPU to the triangle on the socket. Do not force the CPU into place.
- Lower the retention lever to secure the CPU.
- Apply thermal paste and install the CPU cooler according to its manufacturer's instructions.
RAM Installation (DDR5 DIMM):
- Open the clips on both ends of the DDR5 DIMM slots.
- Align the notch on the RAM module with the key in the DIMM slot.
- Press down firmly on both ends of the RAM module until the clips snap into place.
- For dual-channel performance, install RAM modules in the recommended slots (refer to the motherboard's silkscreen or full manual for specific slot pairing).

Image: An angled perspective of the MSI PRO A620M-B motherboard, drawing attention to the Memory Boost feature for enhanced RAM performance and the Lightning Gen4 PCIe slot for high-speed expansion cards.
Storage Installation (M.2 SSDs & SATA Drives):
- M.2 SSD: Locate the M.2 slot(s). Insert the M.2 SSD at a slight angle, then gently push it down and secure it with the provided M.2 screw.
- SATA Drives: Connect SATA data cables from your storage drives (HDDs/SSDs) to the SATA ports on the motherboard. Connect power cables from your power supply to the drives.
Graphics Card Installation:
- Open the retention clip on the primary PCIe x16 slot.
- Align your graphics card with the slot and press down firmly until it clicks into place and the retention clip closes.
- Secure the graphics card to your PC case with screws.
- Connect any necessary PCIe power cables from your power supply to the graphics card.
2.3 Power and Front Panel Connections
Connect the power supply and front panel cables to the motherboard.
Power Connections:
- 24-Pin ATX Power: Connect the large 24-pin cable from your power supply to the main ATX power connector on the motherboard.
- CPU Power: Connect the 8-pin (or 4+4 pin) CPU power cable from your power supply to the CPU power connector near the CPU socket.
Front Panel Connections:
Connect the cables from your PC case's front panel (Power Button, Reset Button, HDD LED, Power LED, USB ports, Audio jacks) to the corresponding headers on the motherboard. Refer to the motherboard's silkscreen labels for correct pin alignment.

Image: A detailed diagram illustrating the rear input/output (I/O) panel of the MSI PRO A620M-B motherboard, labeling ports such as HDMI, VGA, Keyboard/Mouse (PS/2), USB 5Gbps Type-A, USB 2.0, 2.5G LAN, and Audio Boost jacks.
3. Operating Instructions
Once all components are installed, you can proceed with initial setup and operating system installation.
3.1 First Boot and BIOS/UEFI Access
- Connect your monitor, keyboard, and mouse to the appropriate ports on the rear I/O panel.
- Power on your system.
- During startup, repeatedly press the DEL key to enter the BIOS/UEFI setup utility. (Other keys like F2 may also work depending on BIOS version).
3.2 BIOS/UEFI Settings
The BIOS/UEFI interface allows you to configure various system settings.
- Boot Order: Set the boot priority for your storage devices (e.g., USB drive for OS installation, then your primary SSD/HDD).
- XMP/EXPO: Enable XMP (Extreme Memory Profile) or EXPO (Extended Profiles for Overclocking) for your DDR5 RAM to run at its advertised speeds (up to 6800 MHz).
- Fan Control: Adjust fan curves for optimal cooling and noise levels.
- System Information: View details about your installed CPU, RAM, and other hardware.
- Save & Exit: Always save changes before exiting the BIOS/UEFI.
3.3 Driver and Operating System Installation
After configuring BIOS/UEFI, install your operating system and necessary drivers.
- Operating System: Boot from your OS installation media (USB drive or DVD) and follow the on-screen prompts to install Windows or your preferred operating system.
- Drivers: After OS installation, install the latest drivers for your motherboard's chipset, LAN, audio, and any discrete graphics card. These can typically be found on the MSI official website.
4. Maintenance
Regular maintenance helps ensure the longevity and stable operation of your motherboard and PC components.
4.1 Cleaning
- Dust Removal: Periodically clean dust from inside your PC case, especially from fans, heatsinks, and the motherboard surface. Use compressed air or a soft brush. Ensure the system is powered off and unplugged before cleaning.
- Component Checks: Ensure all cables are securely connected and no components are loose.
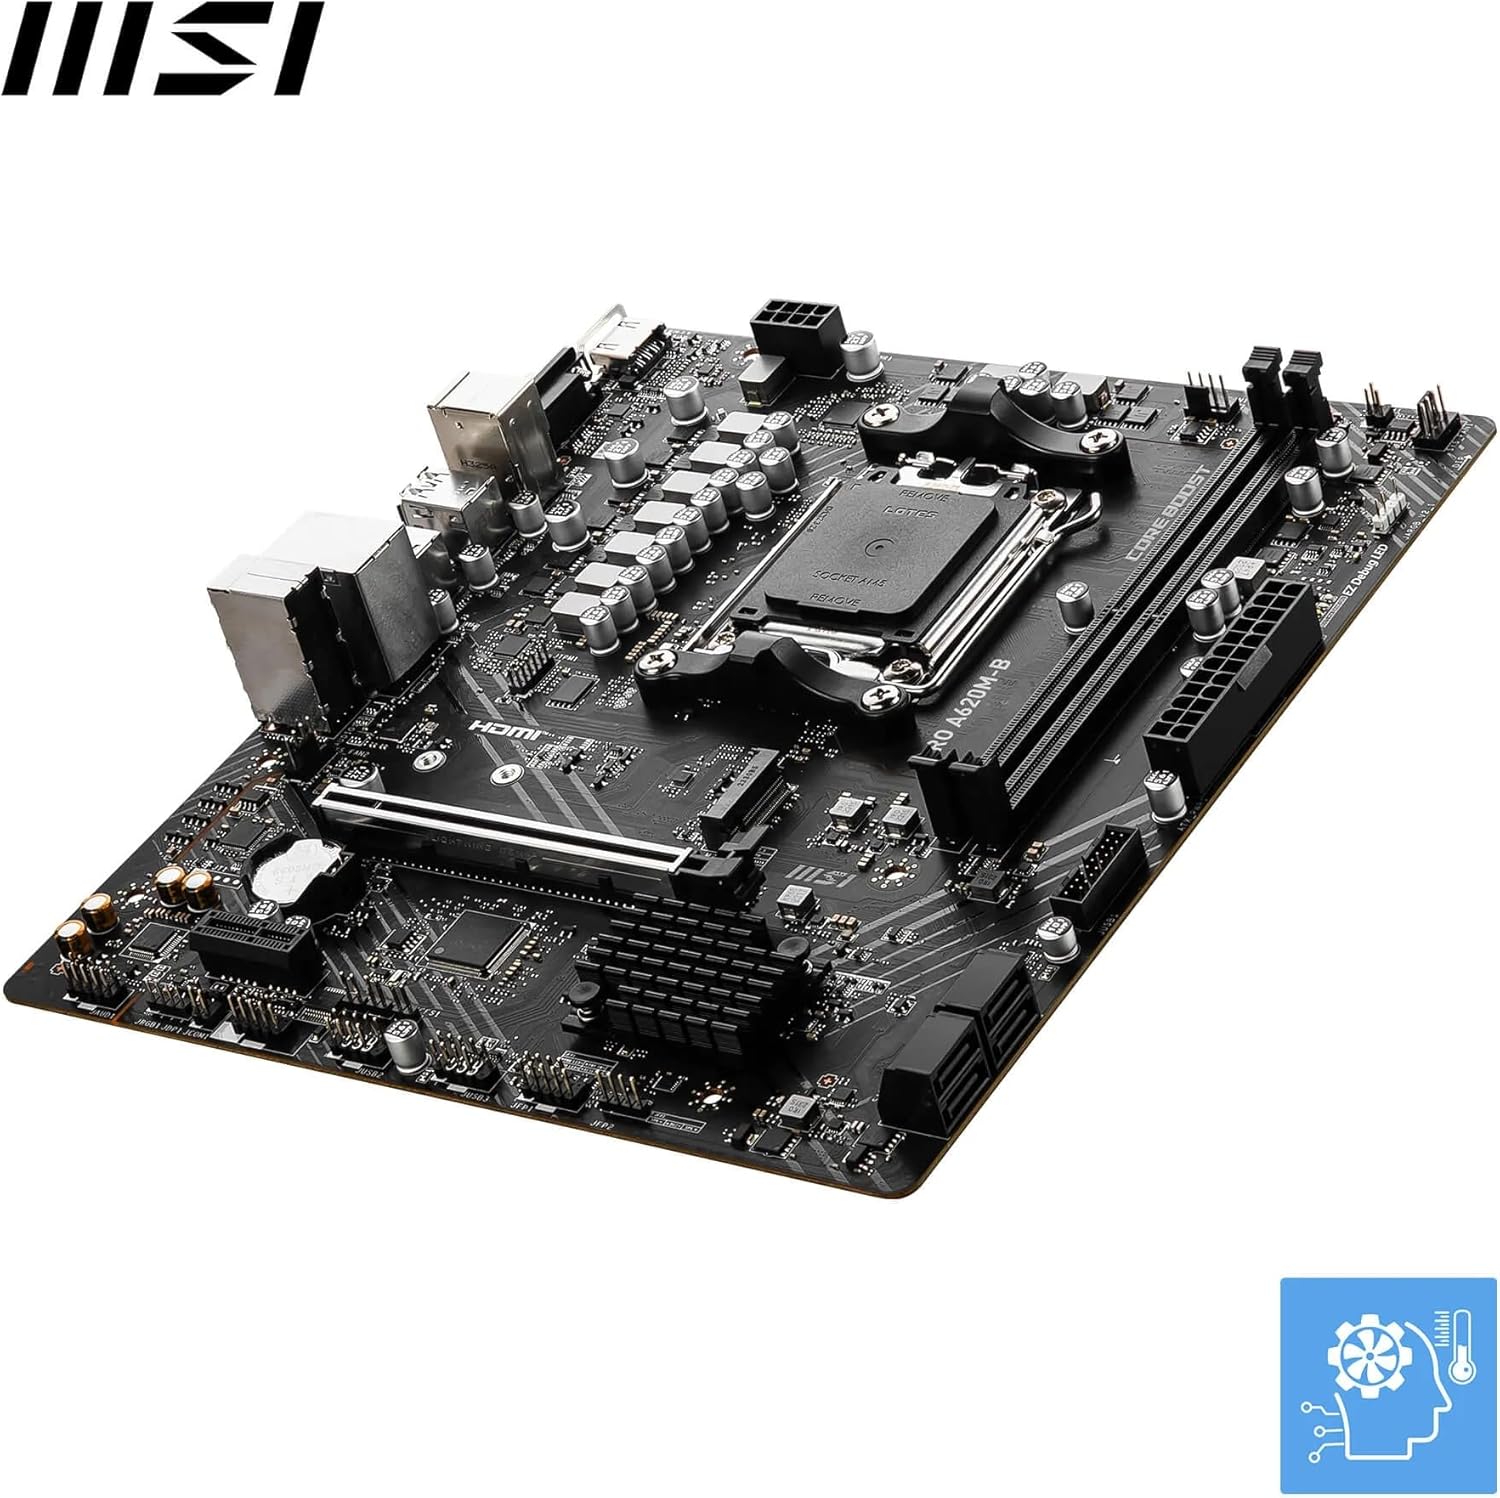
Image: An angled view of the MSI PRO A620M-B motherboard, highlighting the chipset heatsink and VRM cooling components, which are crucial for maintaining stable temperatures during operation.
4.2 BIOS Updates
Updating your BIOS can improve compatibility, stability, and performance. Visit the official MSI website for the latest BIOS versions and instructions on how to update (e.g., using MSI M-Flash utility).
5. Troubleshooting
This section provides solutions to common issues you might encounter.
Common Issues and Solutions:
- No Power:
- Ensure the power supply is switched on and all power cables (24-pin ATX, 8-pin CPU, PCIe for GPU) are securely connected.
- Check the front panel power button connection to the motherboard.
- No Display:
- Verify that the monitor cable is connected to the graphics card (or motherboard if using integrated graphics) and the monitor is powered on.
- Reseat the graphics card and RAM modules.
- If your CPU has integrated graphics, try removing the discrete GPU and connecting the monitor to the motherboard's video output.
- System Fails to Boot / Blue Screen Errors:
- Check RAM installation; try booting with one RAM stick at a time.
- Verify storage drive connections (SATA/M.2).
- Reset BIOS settings to default (usually an option in the BIOS or by clearing the CMOS battery).
- Peripheral Issues (USB, Audio, LAN):
- Ensure drivers are correctly installed.
- Check physical connections of peripherals.
- Verify settings in BIOS/UEFI.
If issues persist, consult the comprehensive user manual available on the MSI website or contact MSI technical support.
6. Specifications
Detailed technical specifications for the MSI PRO A620M-B motherboard.
| Feature | Specification |
|---|---|
| Model Name | PRO A620M-B |
| Item Model Number | 7E28-017R |
| Brand | MSI |
| CPU Socket | AMD AM5 |
| Compatible Processors | AMD Ryzen 7000 series |
| Chipset Type | AMD A620 Series |
| RAM Memory Technology | DDR5 |
| Memory Speed | Up to 6800 MHz (OC) |
| Computer Memory Type | DIMM |
| Main Power Connector | 24-Pin |
| Item Weight | 1.43 pounds |
| Platform | Windows |
| Date First Available | January 3, 2025 |
7. Warranty and Support
For detailed warranty information and technical support, please refer to the official MSI website.
- Official MSI Website: www.msi.com
- MSI Support Page: www.msi.com/support
- Product Page (MSI PRO A620M-B): Check MSI's official product page for the latest drivers, BIOS updates, and detailed specifications.
No official product videos were available in the provided data for this manual.