
MSI Pro MP242A E2
MSI PRO MP242A E2 Monitor User Manual
Model: Pro MP242A E2 | Brand: MSI
Introduction
This manual provides comprehensive instructions for the setup, operation, maintenance, and troubleshooting of your MSI PRO MP242A E2 24-inch IPS 1920 x 1080 (FHD) Gaming Office Monitor. Designed for both daily office tasks and immersive gaming, this monitor offers high performance and visual enjoyment.

Figure 1: Front view of the MSI PRO MP242A E2 Monitor.
Setup
1. Unboxing and Component Check
Carefully remove all components from the packaging. Ensure the following items are present:
- MSI PRO MP242A E2 Monitor
- Monitor Stand (Base and Neck)
- Power Cable
- HDMI Cable (or other video cables as included)
- User Manual (this document)
- Warranty Card
2. Stand Assembly
The monitor features a tool-less assembly for quick and easy setup. Align the stand neck with the slot on the back of the monitor and push until it clicks into place. Then, attach the base to the neck and secure it, typically with a captive screw.
For VESA mounting, remove the stand and attach a compatible VESA mount (100x100mm) to the four screw holes on the back of the monitor.
3. Connecting Cables
Connect the necessary cables to the monitor's rear ports. Ensure all connections are secure.
- Power Cable: Connect one end to the monitor's power input and the other to a power outlet.
- Video Cable: Connect either an HDMI, DisplayPort, or VGA cable from your computer's graphics card to the corresponding port on the monitor.

Figure 2: Close-up view of the monitor's rear ports, including DisplayPort, HDMI, VGA, and Headphone out.
- Audio Out (Optional): If using external speakers or headphones, connect them to the 3.5mm audio output jack.
Utilize the integrated cable clip on the stand to manage cables for a tidy workspace.
Operating the Monitor
1. Power On/Off
Press the power button, typically located on the back or bottom edge of the monitor, to turn it on or off. The power indicator light will illuminate when the monitor is active.
2. OSD (On-Screen Display) Menu Navigation
The monitor's settings are adjusted via the OSD menu, accessed using the joystick or buttons on the back of the monitor. Navigate through the menu options to customize your display settings.
3. Display Settings
- Brightness & Contrast: Adjust these settings to suit your viewing environment.
- Color Modes: Select from various preset color modes (e.g., Standard, Gaming, FPS, Cinema) or customize your own.
- Refresh Rate: The monitor supports a 120Hz refresh rate for smoother visuals. Ensure your graphics card settings are configured to utilize this refresh rate.
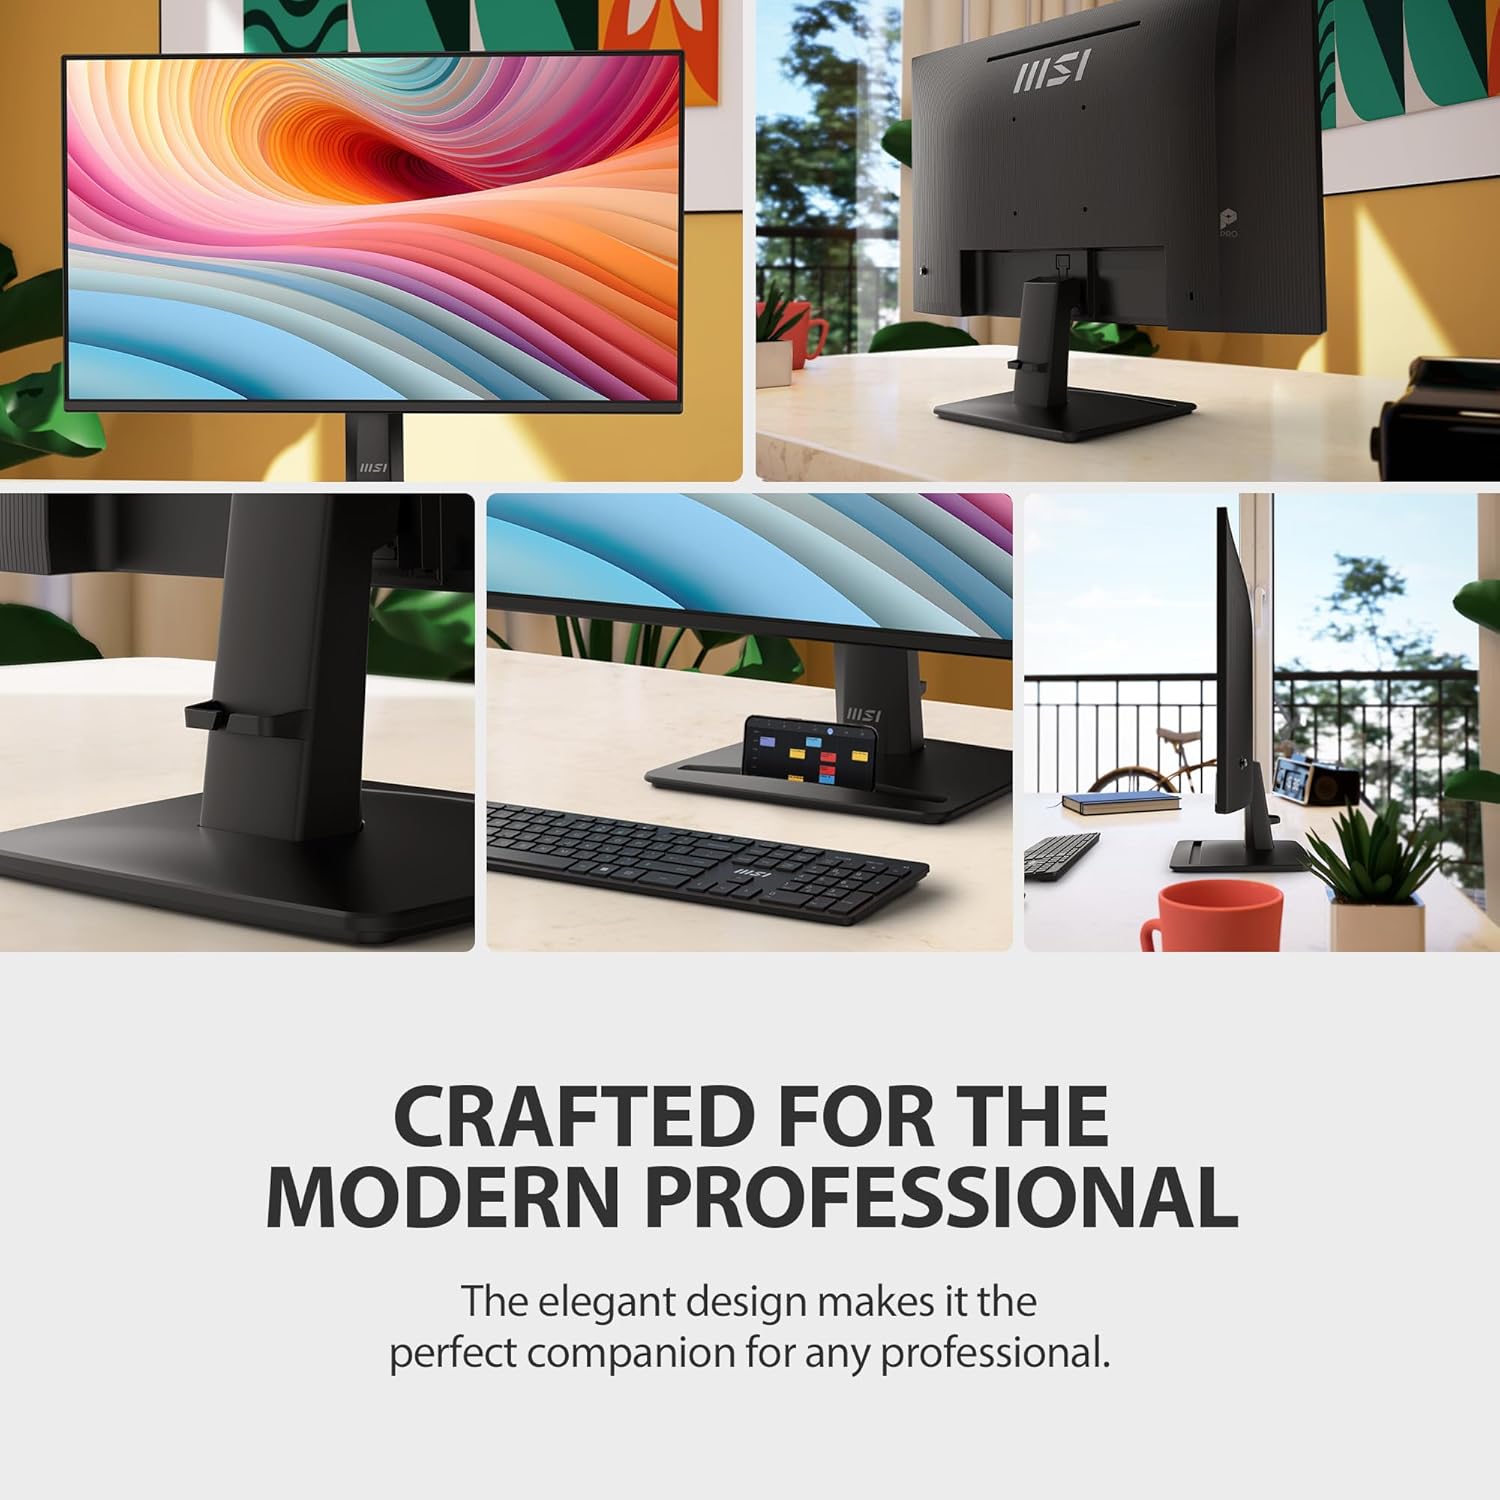
Figure 3: The monitor on a desk, illustrating the visual difference between 120Hz and 60Hz refresh rates.
- Adaptive-Sync: This technology synchronizes the monitor's refresh rate with your graphics card's frame rate to eliminate screen tearing and stuttering. Enable it through the OSD menu or your graphics card control panel.
- PerfectEdge Design: The 4-sided frameless design enhances multi-display setups by minimizing distractions.

Figure 4: An example of a multi-monitor setup utilizing the PerfectEdge design for a seamless viewing experience.
4. MSI Eye Care Features (EyesErgo & Eye-Q Check)
The monitor incorporates MSI EyesErgo technology, which includes Anti-Flicker and Less Blue Light features to reduce eye strain during prolonged use. The MSI Eye-Q Check feature helps users self-check their eyes and reminds them to take breaks.

Figure 5: Diagram illustrating the layers of MSI EyesErgo technology, including Less Blue Light PRO, Anti-Flicker, and Anti-Glare.
5. Audio (Built-in Speakers)
The monitor includes built-in speakers for audio output. Adjust volume through the OSD menu or your computer's sound settings.
6. MSI Display Kit Software
For advanced control and customization, install the MSI Display Kit software on your computer. This application allows for easy adjustment of display settings, split window layouts, and other tools.
7. Accessory Slot
The monitor stand features an accessory slot, providing convenient storage for small peripherals like smartphones, helping to keep your workspace organized.

Figure 6: The accessory slot on the monitor stand, designed to hold small items like a smartphone.
8. MSI Power Link
This feature allows a connected mini-PC to be powered on by the monitor's power button, enhancing efficiency and simplifying power management for integrated setups.
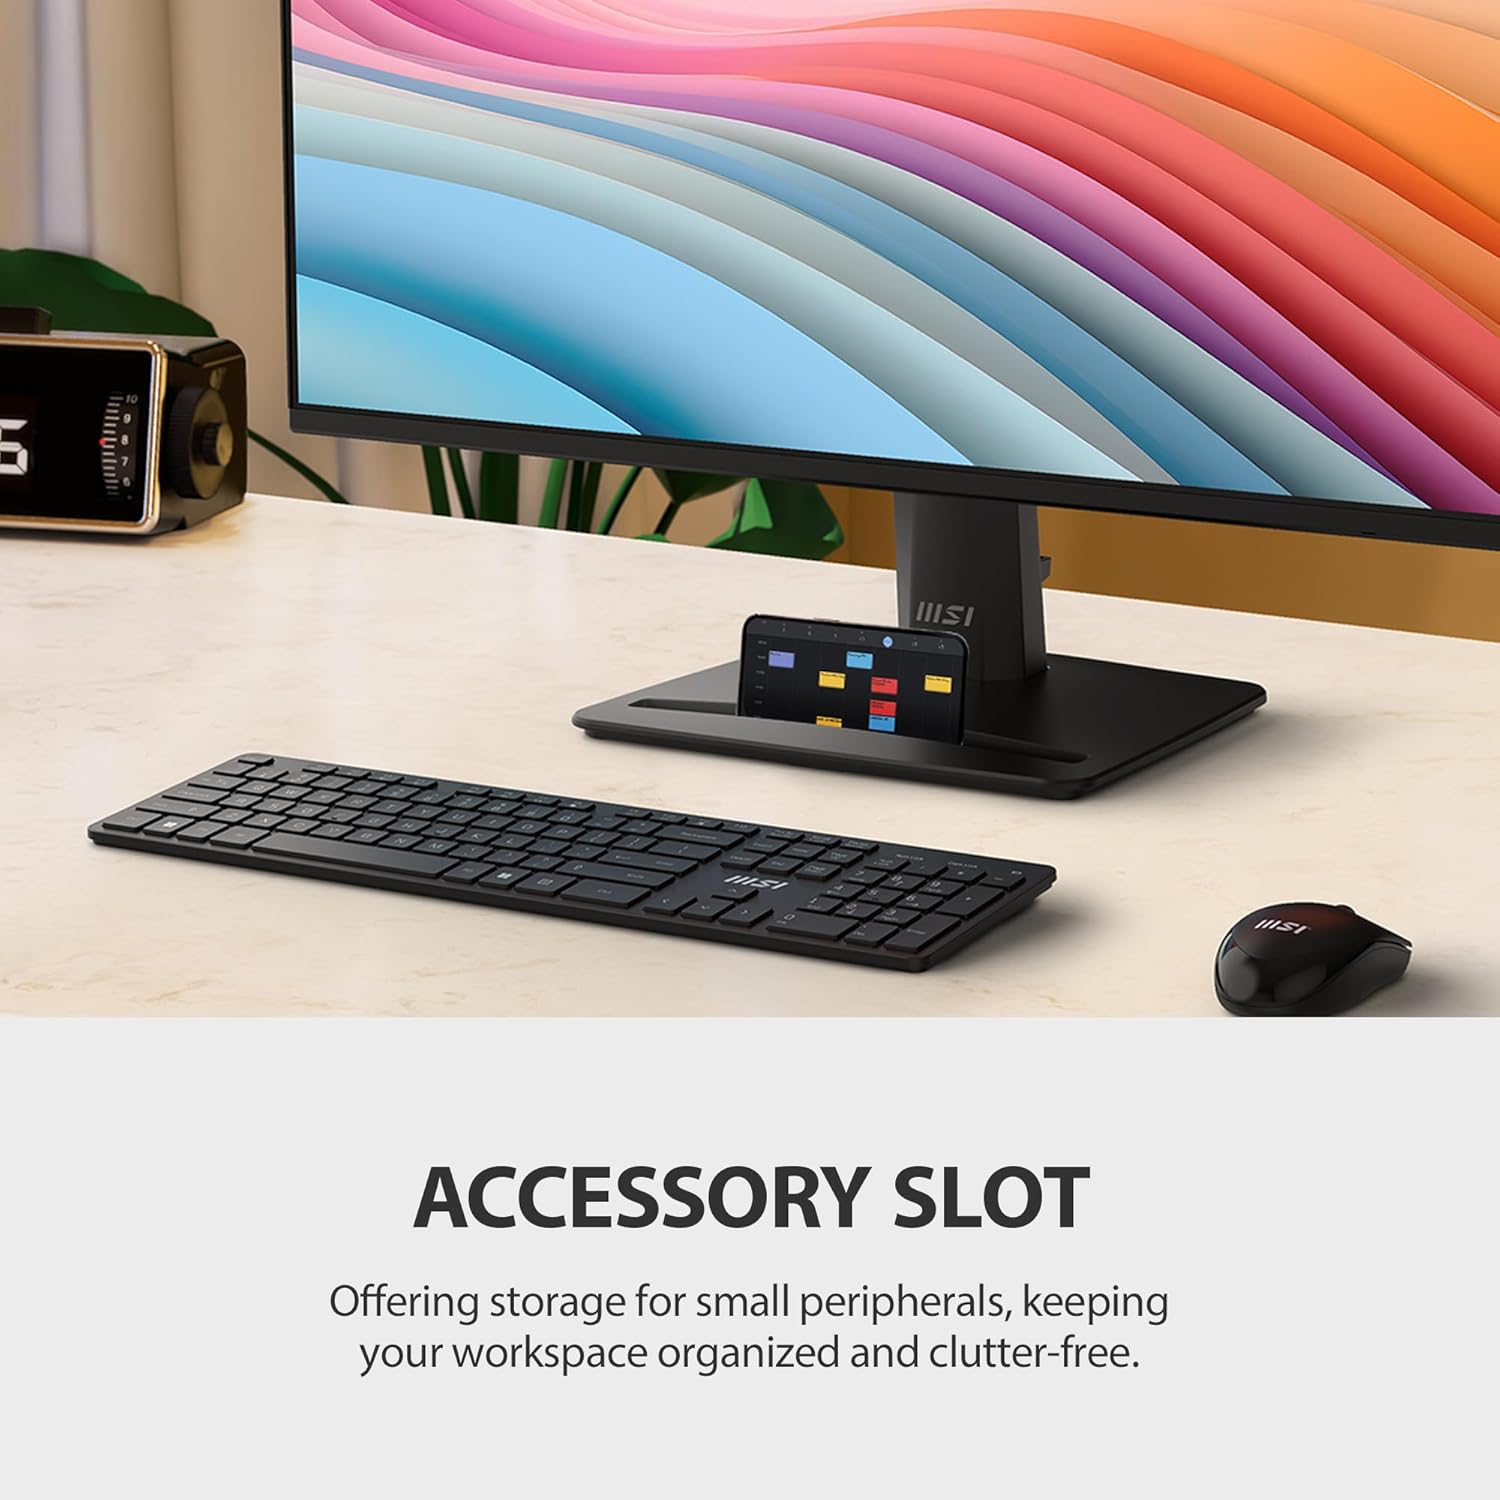
Figure 7: Illustration of the MSI PowerLink feature, showing how the OSD button can power on a connected mini-PC.
Maintenance
1. Cleaning the Monitor
To clean the screen, gently wipe it with a soft, lint-free cloth. For stubborn marks, dampen the cloth slightly with water or a non-abrasive screen cleaner. Avoid using harsh chemicals or abrasive materials.
For the monitor casing, use a soft, dry cloth. Do not spray cleaning solutions directly onto the monitor.
2. Storage
When storing the monitor for extended periods, place it in its original packaging or a suitable protective container to prevent dust and damage. Store in a cool, dry place away from direct sunlight and extreme temperatures.
Troubleshooting
If you encounter issues with your monitor, refer to the following common problems and solutions:
| Problem | Possible Cause | Solution |
|---|---|---|
| No image on screen | Power cable disconnected, video cable loose, incorrect input source selected. | Check power and video cable connections. Press the OSD button to select the correct input source (HDMI, DisplayPort, VGA). |
| Image flickering or unstable | Loose video cable, incorrect refresh rate, graphics driver issue. | Ensure video cable is securely connected. Verify refresh rate in display settings. Update graphics drivers. |
| Colors appear incorrect or tinted | Color settings misconfigured, faulty video cable. | Reset color settings to default via OSD. Try a different video cable. |
| No sound from speakers | Volume too low, audio output not selected, faulty audio cable (if external). | Increase volume via OSD or computer. Ensure monitor is selected as audio output device. |
If the problem persists after trying these solutions, please contact MSI customer support.
Specifications
Key technical specifications for the MSI PRO MP242A E2 Monitor:
| Feature | Detail |
|---|---|
| Screen Size | 23.8 inches |
| Resolution | 1920 x 1080 (FHD) |
| Refresh Rate | 120Hz |
| Response Time | 1ms (MPRT) |
| Panel Type | IPS |
| Aspect Ratio | 16:9 |
| Video Ports | HDMI, VGA, DisplayPort |
| Audio Ports | Headphone out |
| Built-in Speakers | Yes |
| VESA Mount Compatible | Yes |
| Adjustments | Tilt |
| Product Dimensions (with stand) | 7.4 x 21.26 x 16.1 inches |
| Weight | 10.6 Pounds |

Figure 8: Overview of key features including screen size, resolution, refresh rate, response time, IPS panel, built-in speakers, and Perfect Edge design.
Warranty and Support
For warranty information, please refer to the warranty card included with your product or visit the official MSI website. Keep your proof of purchase for warranty claims.
For technical support, driver downloads, or further assistance, please visit the MSI support page or contact their customer service directly. Contact details can typically be found on the MSI website or in your product documentation.
You can find more information and support at the official MSI Store on Amazon.
Related documentsPro MP242A E2


Ask a question about this manual
Ask about setup, troubleshooting, compatibility, parts, safety, or missing instructions. Manuals+ will review the question and use this page’s manual context to help answer it.