
Sharper Image 1018376
Sharper Image 2-in-1 Window Vacuum Cleaner Kit User Manual
Model: 1018376 | Brand: Sharper Image
Introduction
Thank you for choosing the Sharper Image 2-in-1 Window Vacuum Cleaner Kit. This innovative, cordless device is designed to simplify your cleaning routine, providing streak-free results on various smooth surfaces. Its integrated vacuum, spray bottle, and squeegee offer an efficient and convenient solution for maintaining sparkling clean windows, mirrors, shower doors, and more.
Key Features:
- 2-in-1 Design: Combines spray, scrub, and vacuum functions.
- Cordless Operation: Built-in rechargeable battery for up to 40 minutes of runtime.
- Drip-Free Suction: Effectively removes dirty water, preventing streaks and drips.
- Washable Microfiber Pads: Two reusable pads included for extended use.
- Versatile Use: Ideal for windows, mirrors, shower doors, and car windshields.

Figure 1: Overview of the Sharper Image Window Vacuum Cleaner Kit and its key features.
Package Contents
Please ensure all items are present and in good condition upon opening the package:
- Window Vacuum Unit (with integrated squeegee and waste water tank)
- Spray Bottle with Scrubber Attachment
- 2 x Washable Microfiber Scrub Pads
- USB-C Charging Cable

Figure 2: All components included in the Sharper Image 2-in-1 Window Vacuum Cleaner Kit.
Setup
1. Charging the Device
- Locate the USB-C charging port on the handle of the Window Vacuum Unit.
- Connect the provided USB-C charging cable to the port and plug the other end into a compatible USB power adapter (not included).
- The indicator light will illuminate during charging and turn off when fully charged. A full charge provides approximately 40 minutes of runtime.
2. Assembling the Spray Bottle with Scrubber
- Unscrew the spray nozzle from the spray bottle.
- Fill the 11.8 fl oz spray bottle with your preferred window or glass cleaning solution.
- Attach one of the washable microfiber scrub pads to the scrubber attachment on the spray bottle. Ensure it is securely fastened.
- Screw the spray nozzle back onto the bottle securely.

Figure 3: Components of the cleaning kit ready for assembly and use.
Operating Instructions
1. Prepare the Surface (Spray)
Using the assembled spray bottle with scrubber, spray the cleaning solution evenly onto the surface you wish to clean. Ensure adequate coverage for effective cleaning.
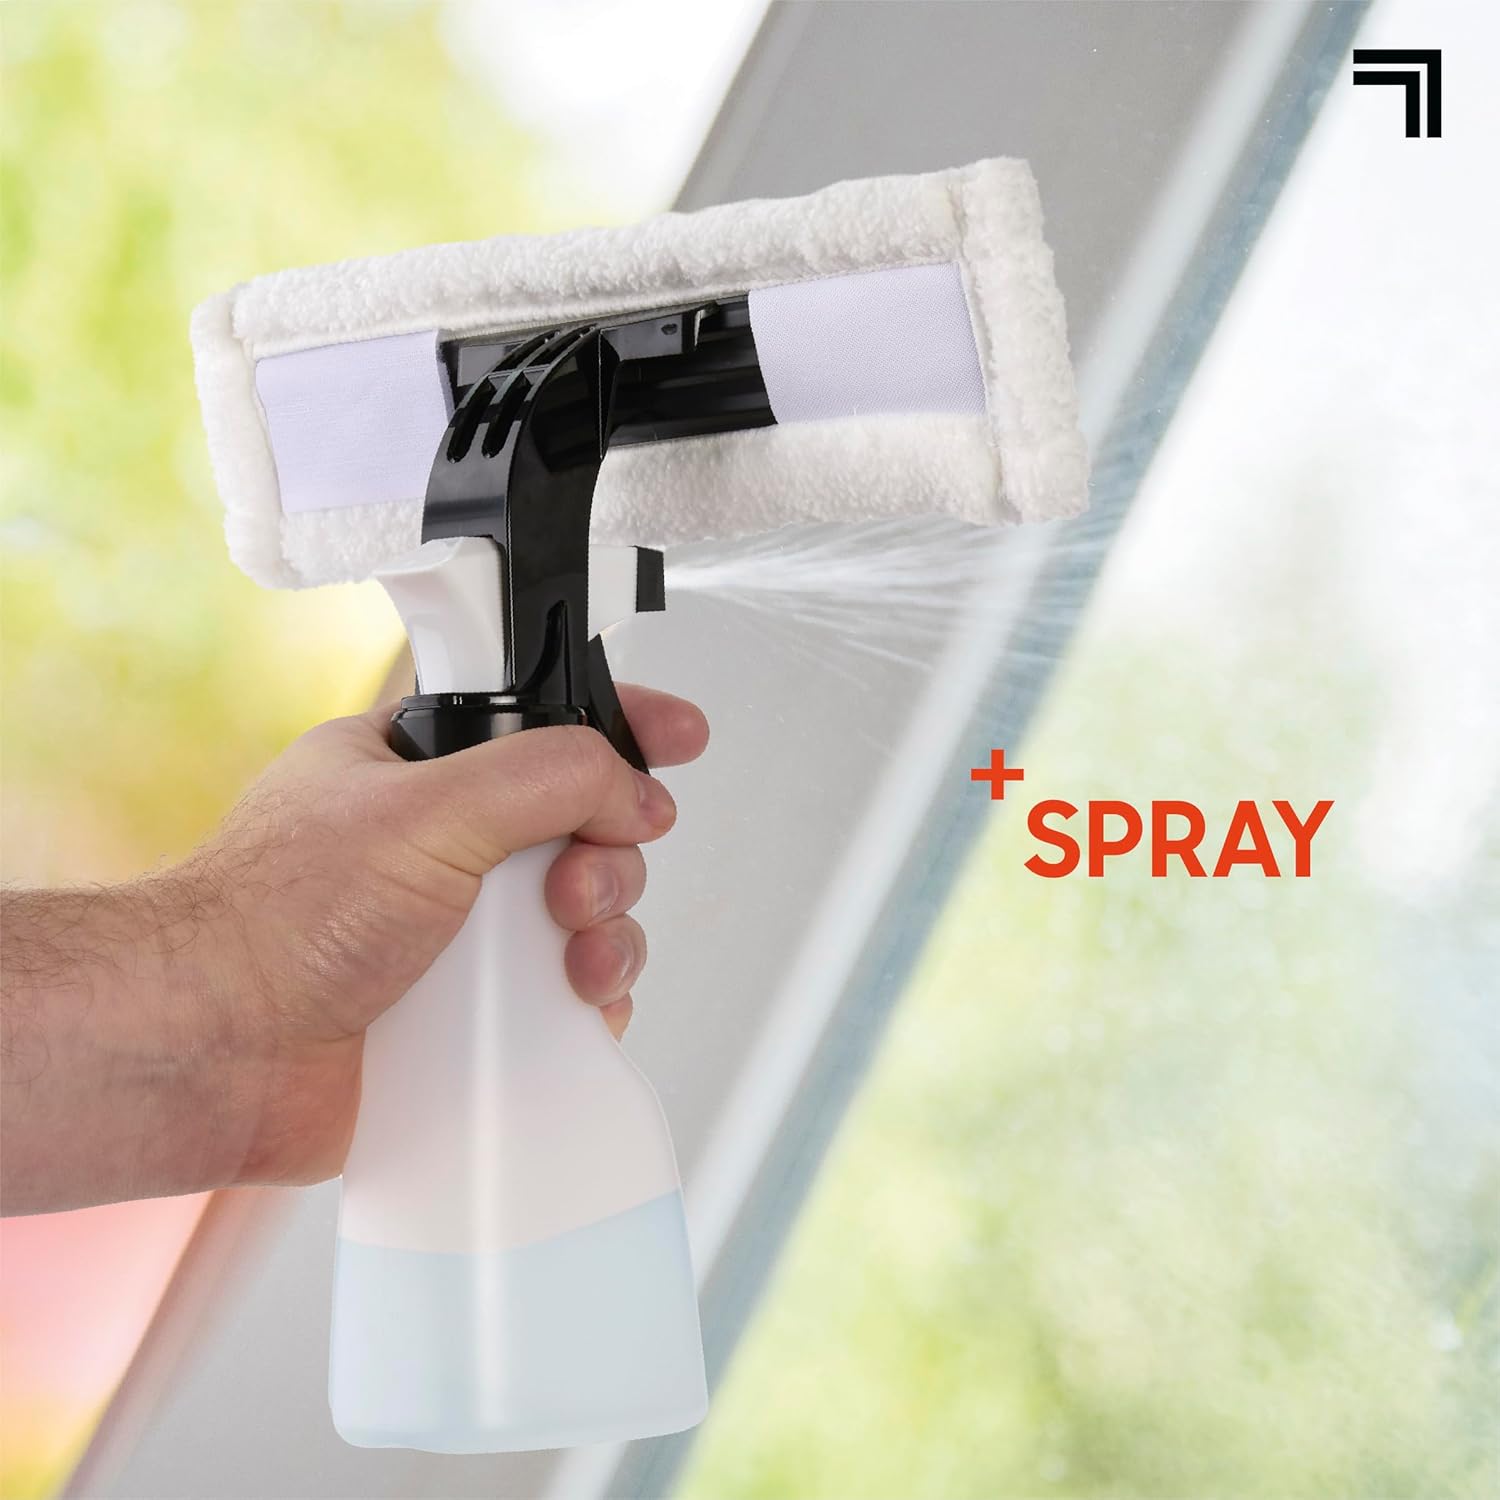
Figure 4: Spraying the cleaning solution onto the surface.
2. Scrub the Surface
Use the microfiber pad attached to the spray bottle to gently scrub the sprayed surface. This helps to loosen dirt, grime, and smudges.

Figure 5: Scrubbing the surface with the microfiber pad.
3. Vacuum the Water
Turn on the Window Vacuum Unit by pressing the power button. Place the squeegee blade firmly against the top of the wet surface and pull downwards in a straight, even motion. The vacuum will suction the dirty water into its waste water tank, leaving a streak-free finish. Overlap strokes slightly for best results.

Figure 6: Vacuuming dirty water for a streak-free finish.
Maintenance
1. Emptying the Waste Water Tank
After each use, or when the tank reaches its maximum fill line, detach the waste water tank from the main vacuum unit. Carefully empty the dirty water and rinse the tank with clean water. Allow it to air dry before reattaching.
2. Cleaning the Microfiber Pads
The microfiber scrub pads are washable and reusable. Remove them from the scrubber attachment and wash them by hand or machine with mild detergent. Air dry completely before reuse or storage.
3. Storing the Device
Store the Window Vacuum Cleaner Kit in a cool, dry place away from direct sunlight. Ensure the waste water tank is empty and clean, and the microfiber pads are dry before storage.
Troubleshooting
| Problem | Possible Cause | Solution |
|---|---|---|
| Device does not turn on. | Battery is depleted. | Charge the device fully using the provided USB-C cable. |
| Poor suction or leaves streaks. | Waste water tank is full. | Empty the waste water tank. |
| Squeegee blade is dirty or worn. | Clean the squeegee blade. If worn, replacement may be necessary (contact customer support). | |
| Improper technique. | Ensure the squeegee is held firmly against the surface and pulled in a straight, even motion. Overlap strokes slightly. | |
| Spray bottle not spraying. | Bottle is empty or nozzle is clogged. | Refill the spray bottle. Clean the nozzle by rinsing with warm water. |
Product Specifications
| Feature | Detail |
|---|---|
| Brand | Sharper Image |
| Model Name | Window Vacuum Cordless Power Washer |
| Item Model Number | 1018376 |
| UPC | 840397504459 |
| Color | White |
| Product Dimensions | 11"L x 3"W x 14"H |
| Item Weight | 1.9 pounds |
| Runtime | 40 minutes |
| Noise Level | 68 dB |
| Cleaning Path Width | 10.25 Inches |
| Battery Type | 1 Lithium Ion battery (included) |
| Recommended Uses | Car Windshield, Glass, Mirror, Shower Door, Window |
Warranty and Support
This Sharper Image 2-in-1 Window Vacuum Cleaner Kit is backed by a 90-day manufacturer warranty. This warranty covers defects in materials and workmanship under normal use.
For any questions, issues, or warranty claims, please contact Sharper Image customer support through the Amazon messaging system for a quick resolution. Please have your product model number (1018376) and purchase details ready when contacting support.
Related documents1018376

Ask a question about this manual
Ask about setup, troubleshooting, compatibility, parts, safety, or missing instructions. Manuals+ will review the question and use this page’s manual context to help answer it.