
1. Introduction
This manual provides detailed instructions for the installation, setup, operation, and maintenance of your LIFEMOI Outdoor Dual-Band WiFi Extender with Solar Panel. This device is designed to extend your existing WiFi network coverage to outdoor areas, utilizing solar power for continuous operation.
2. Safety Information
- Read all instructions carefully before installation and use.
- Ensure the device is installed in a location with adequate sunlight for optimal solar charging.
- Do not attempt to open or modify the device. Refer all servicing to qualified personnel.
- Keep the device away from extreme heat sources or open flames.
- Use only the provided or recommended accessories for installation.
3. Package Contents
Verify that all items are present in your package:
- 1x WiFi Extender (with integrated solar panel)
- 1x User Manual
- 1x Mounting Bracket
- Screws and Wall Plugs for installation
4. Product Overview
The LIFEMOI Outdoor Dual-Band WiFi Extender is equipped with a 15W/5V solar panel, a 20000mAh built-in battery, and two external high-gain antennas. It supports 2.4GHz WiFi at 300Mbps and features an IP65 waterproof and dustproof enclosure with a built-in lightning arrester.
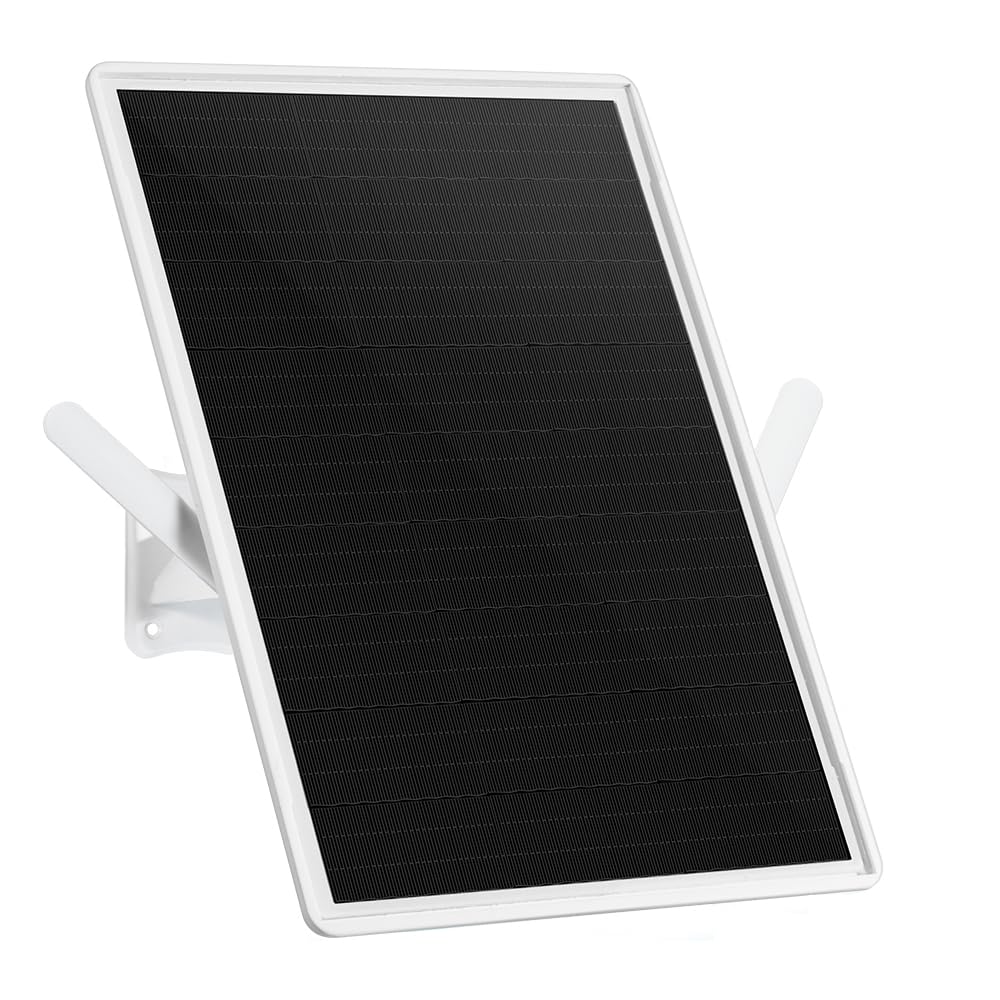
Figure 4.1: The LIFEMOI Outdoor Dual-Band WiFi Extender, featuring a solar panel for continuous power and two external high-gain antennas for extended coverage.

Figure 4.2: Rear view of the WiFi extender, highlighting mounting points and antenna connections.
5. Installation
Proper installation is crucial for optimal performance and durability.
5.1 Mounting Location
- Choose a location that receives direct sunlight for most of the day to ensure continuous solar charging.
- Mount the device horizontally or at a 45-degree angle for best WiFi coverage.
- Ensure the location is within range of your existing router's WiFi signal for initial pairing.
5.2 Mounting Steps
- Attach the mounting bracket to the back of the solar panel unit.
- Position the device at the desired outdoor location (e.g., wall, pole, tree).
- Mark the drilling points for the mounting bracket.
- Drill holes and insert wall plugs if mounting on a wall.
- Secure the mounting bracket to the surface using the provided screws.
- Adjust the angle of the solar panel to maximize sun exposure.
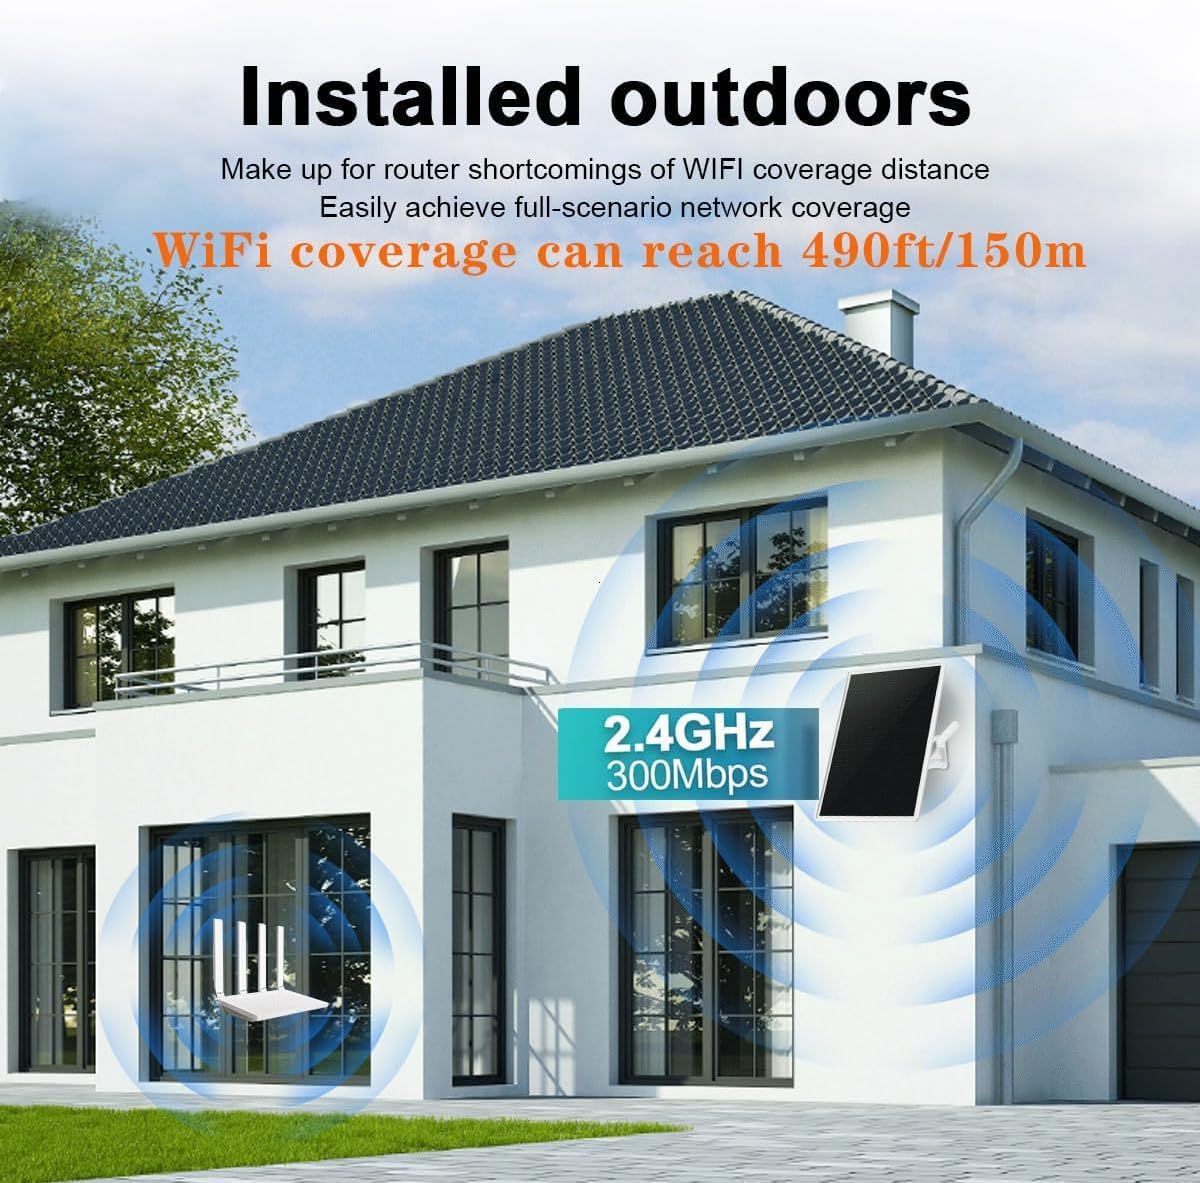
Figure 5.1: Example installation of the WiFi extender on an exterior wall of a building, demonstrating its outdoor placement.
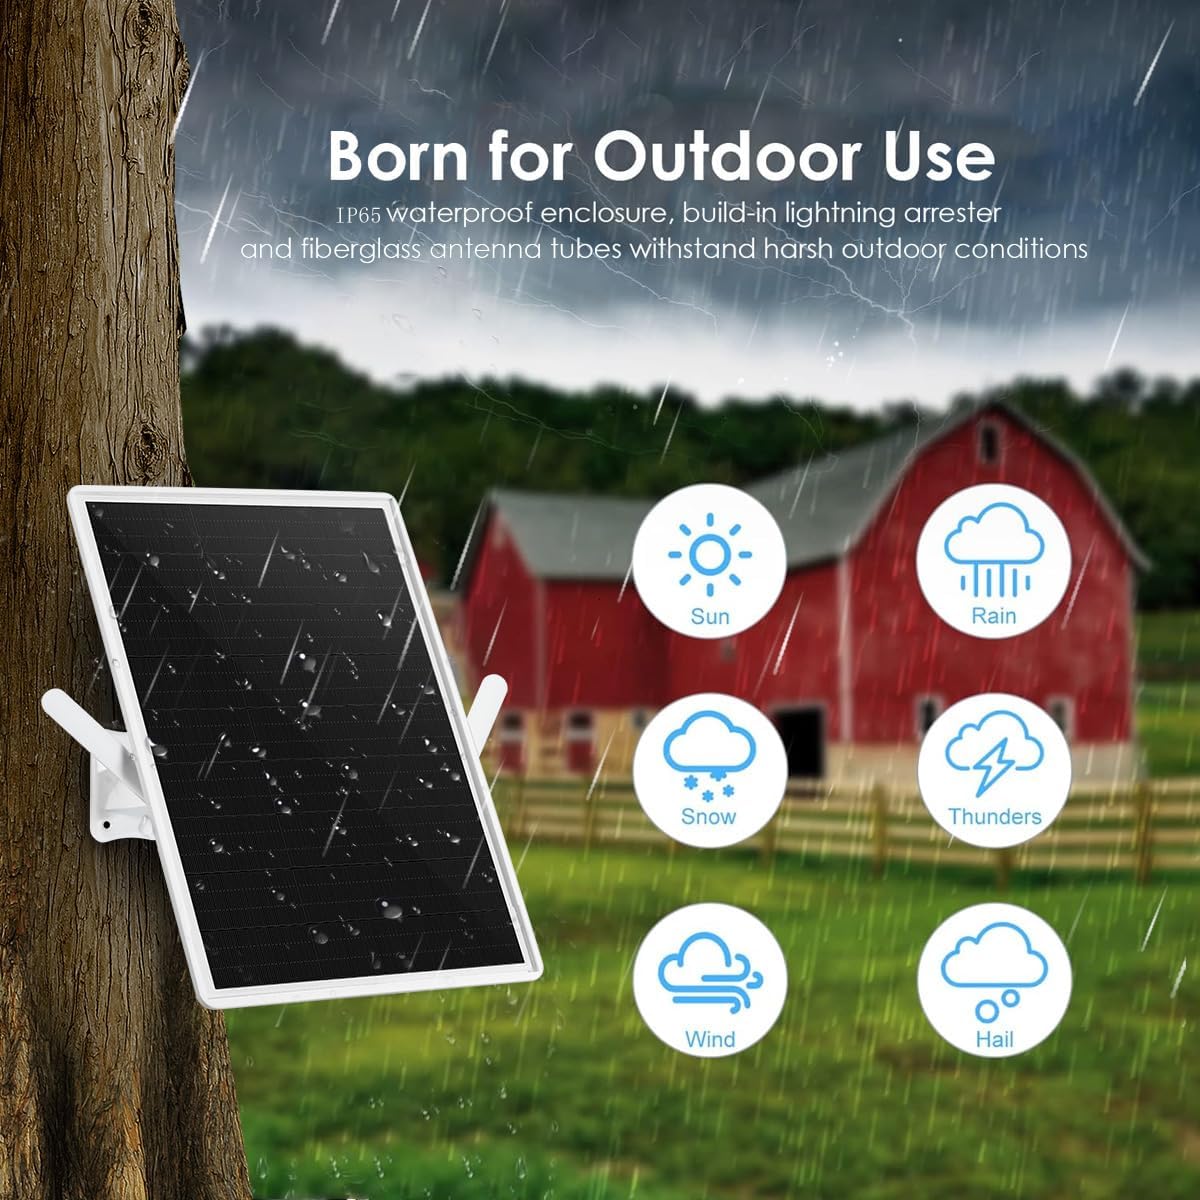
Figure 5.2: The WiFi extender mounted on a tree, showcasing its IP65 dustproof and waterproof design, suitable for various outdoor conditions including sun, rain, snow, and wind.
6. Setup
Follow these steps to configure your WiFi extender.
6.1 Initial Power-up
- Before initial setup, ensure the device is fully charged. It is recommended to charge it overnight via solar power or using the Type-C port.
- Once powered, the device will broadcast its own WiFi network (SSID).
6.2 Network Configuration
- Connect your computer or smartphone to the extender's WiFi network (SSID usually found on the device label or in the manual).
- Open a web browser and enter the default IP address (e.g., 192.168.1.1) or domain name (e.g., repeater.net) provided in the manual.
- Log in using the default username and password (also found in the manual).
- Follow the on-screen wizard to select your existing WiFi network (router's SSID).
- Enter the password for your existing WiFi network.
- Configure the extender's new SSID and password, or choose to clone your router's settings.
- Save the settings and restart the extender if prompted.
- Once restarted, the extender will broadcast the extended WiFi network.

Figure 6.1: A step-by-step diagram illustrating the process of connecting and configuring the WiFi extender to an existing network.
7. Operating
After successful setup, the extender will operate automatically.
7.1 LED Indicators
The device features an LED indicator to show its status:
- Green: Device is operating normally, and the internal battery is sufficiently charged.
- Orange: Device is operating, but the internal battery charge is at a medium level.
- Red: Device is operating, but the internal battery is low.
- Flashing Red: Internal battery is critically low and requires immediate recharging. Connect to a Type-C power source if solar charging is insufficient.
7.2 Optimal Performance
For maximum WiFi coverage (up to 150 meters in clear, unobstructed conditions), ensure the extender is positioned optimally and has a strong signal from the main router.

Figure 7.1: Illustrates various outdoor scenarios where the extended WiFi coverage can be beneficial, such as by a pool, in a yard, park, or farm.
8. Maintenance
Regular maintenance helps ensure the longevity and performance of your device.
- Cleaning: Periodically clean the solar panel surface with a soft, damp cloth to remove dust, dirt, or debris that may hinder charging efficiency.
- Enclosure: Inspect the device enclosure for any signs of damage or wear, especially after severe weather conditions.
- Antennas: Ensure antennas are securely attached and free from obstruction. The antennas are detachable and can be replaced with more powerful ones if needed (SMA connector).
- Battery: The integrated 20000mAh lithium battery is continuously recharged by the solar panel. If prolonged periods of low sunlight occur, you can manually charge the device via its Type-C interface.
9. Troubleshooting
If you encounter issues with your WiFi extender, refer to the following common problems and solutions.
| Problem | Possible Cause | Solution |
|---|---|---|
| No power/LED off | Low battery, insufficient solar charging. | Ensure solar panel is clean and exposed to direct sunlight. Charge via Type-C port. |
| Weak or no extended WiFi signal | Extender too far from router, obstructions, incorrect placement. | Relocate extender closer to the router. Ensure optimal placement (horizontal or 45° angle). Check for physical obstructions. |
| Cannot connect to extender's WiFi | Incorrect WiFi password, extender not configured. | Verify the WiFi password. Re-run the setup wizard via the web interface. |
| Slow internet speed | Signal degradation, network congestion. | Ensure a strong signal between the router and extender. Minimize interference from other devices. |
10. Specifications
Technical details of the LIFEMOI Outdoor Dual-Band WiFi Extender:
- Brand: LIFEMOI
- Model Number: 中継器-150M
- Wireless Communication Standard: 802.11b/n/ac
- Data Transfer Rate: 300 Mbps
- Frequency Band Class: Single-band (2.4 GHz)
- Supported Frequency Bands: 2.4 GHz
- Special Features: 20000mAh Battery, 15W Solar Panel, IP65 Waterproof
- Coverage Range: Up to 150 meters (490 feet) in open areas
- Compatible Devices: WiFi Routers
- Product Dimensions (D x W x H): 1.2 x 25 x 33 cm
- Operating Temperature: -30°C to +60°C (-22°F to +158°F)
- Power Source: Solar Panel (15W/5V), Built-in 20000mAh Lithium Battery, Type-C input
- Color: White
- Country of Origin: China
11. Warranty and Support
Your LIFEMOI Outdoor Dual-Band WiFi Extender comes with a 1-year manufacturer's warranty.
For technical support or warranty claims, please contact your retailer or visit the official LIFEMOI website for further assistance.